

Hot Oil Treatment for Scalp: Benefits, Steps, Best Oils
Hot Oil Treatment for Scalp: Benefits, Steps, Best Oils
Your scalp feels tight, itchy, and dry no matter what you try. Flakes show up on your shoulders. Your hair looks dull because your scalp can't produce enough natural oils to keep things balanced. This happens more often with textured hair since those natural oils struggle to travel down coily or curly strands. Product buildup makes things worse, clogging follicles and creating an environment where nothing can thrive.
Hot oil treatments can fix this. Warming oils helps them penetrate deeper into your scalp, bringing moisture where you need it most. The heat opens your pores and increases blood flow, which soothes irritation and creates better conditions for healthy hair growth. You're not just adding moisture to the surface. You're treating the root cause.
This guide walks you through everything you need to know about hot oil scalp treatments. You'll learn why the method works, how to identify your specific scalp needs, which oils work best for different concerns, and the exact steps to apply treatment safely at home. By the end, you'll have a routine that keeps your scalp healthy and your hair looking its best.
Why hot oil on your scalp works
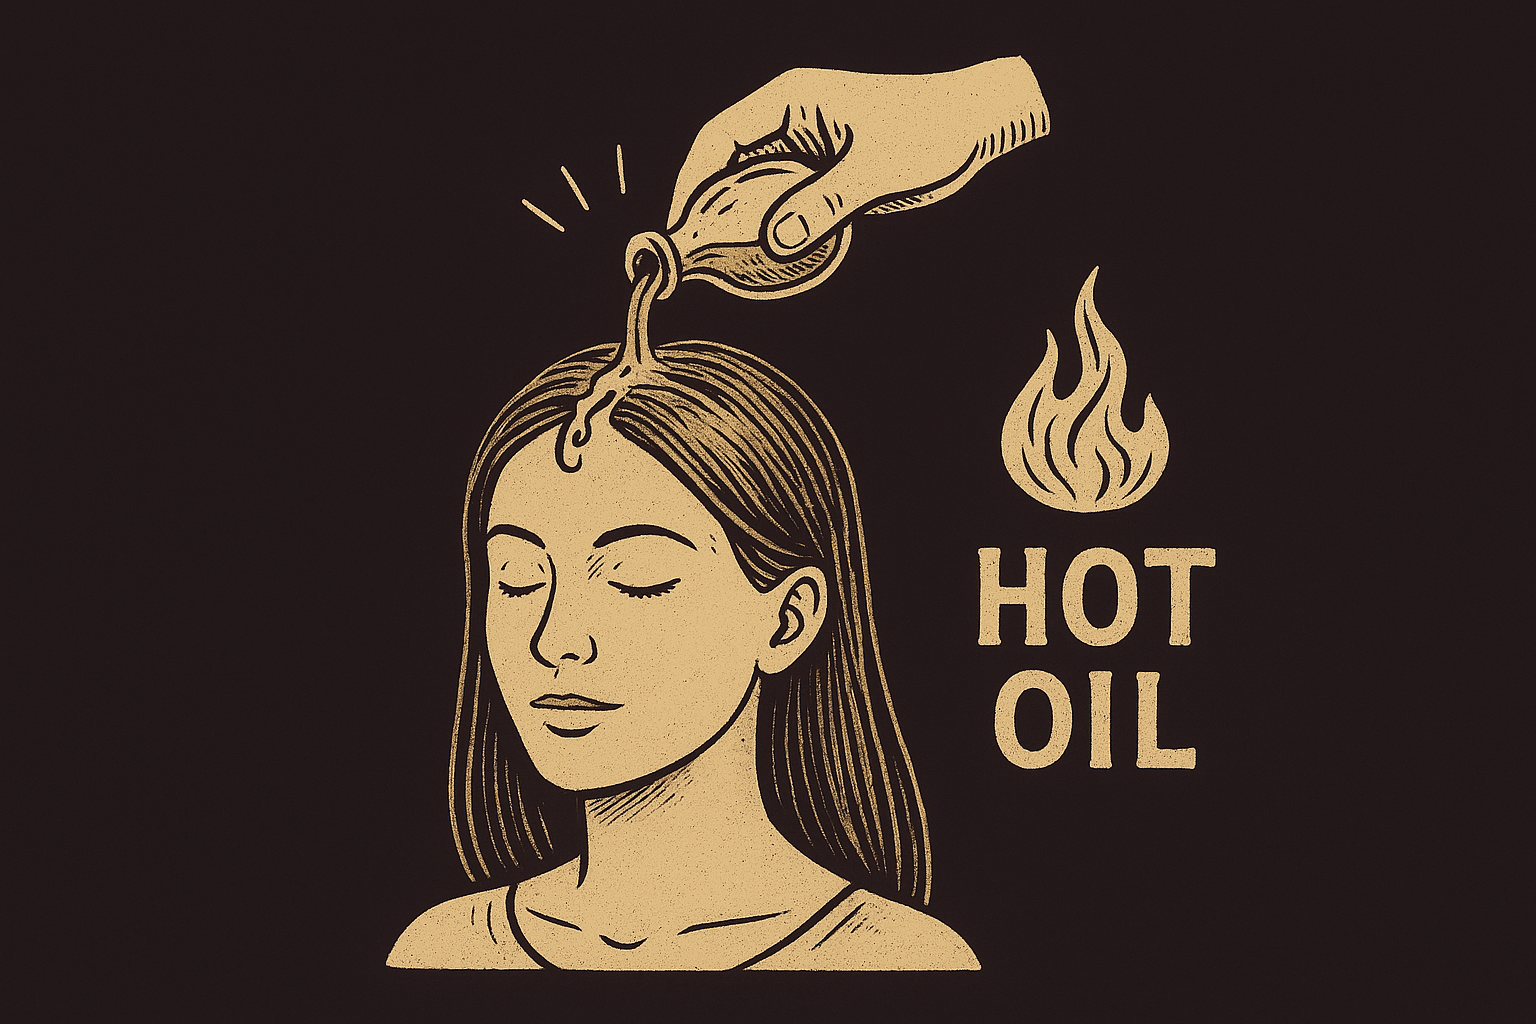
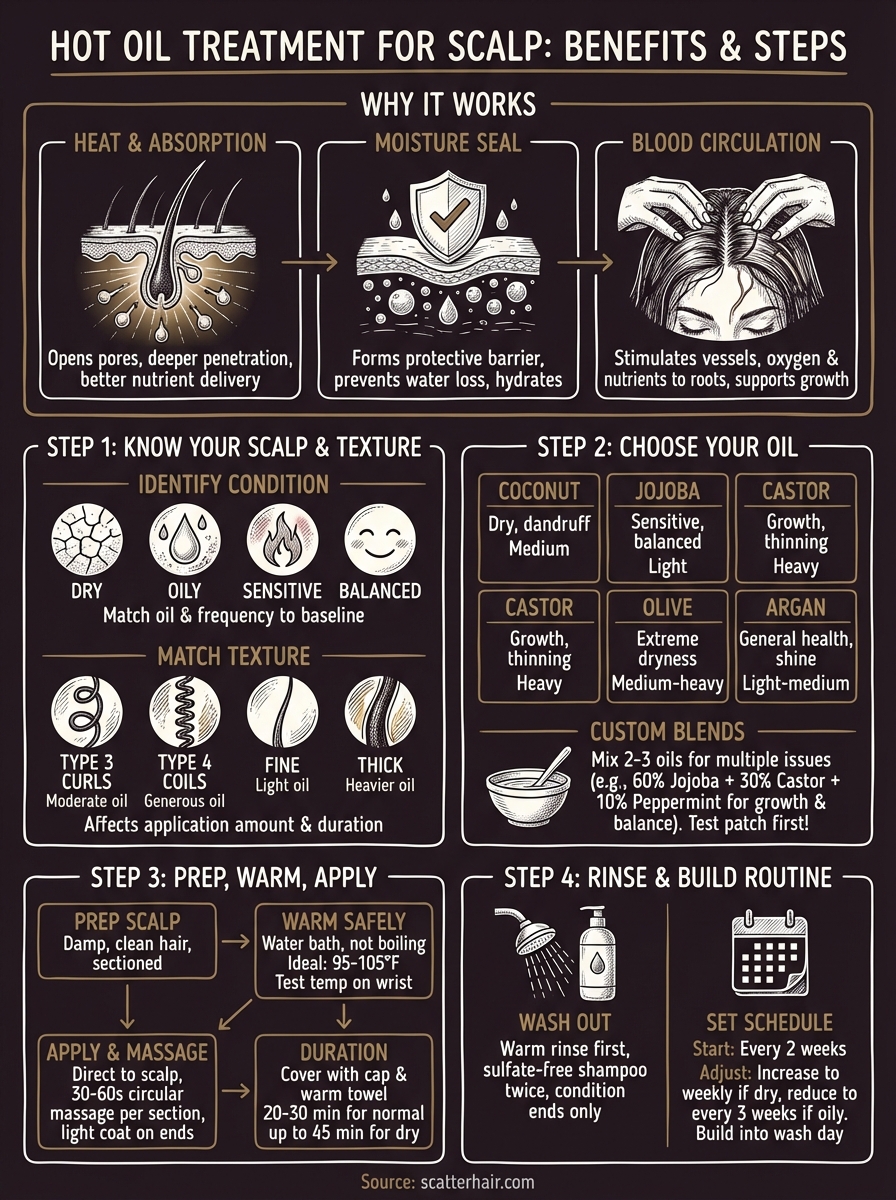
Your scalp responds to heat and oil in ways that solve multiple problems at once. Warming oil changes its molecular structure, making it thinner and more fluid. This allows the oil to penetrate your scalp's outer layers instead of sitting on the surface. Room temperature oils create a barrier, but heated oils actually travel into your pores and hair follicles, delivering nutrients where your scalp needs them most.
Heat opens your pores and increases absorption
When you apply warm oil to your scalp, the heat causes your pores to expand. This natural response creates pathways for the oil to reach deeper layers of your skin. Your scalp can absorb vitamins, fatty acids, and minerals from the oil more effectively. The warmth also softens any buildup or dead skin cells, making it easier to remove them during your wash routine.
Heat transforms oil from a surface treatment into a delivery system that reaches the root of scalp issues.
Oil seals in moisture and protects
A hot oil treatment for scalp health works because oil molecules form a protective layer over your skin. This barrier prevents water loss from your scalp throughout the day. Your scalp naturally produces sebum, but textured hair makes it harder for those oils to distribute. External oils fill this gap, keeping your scalp hydrated and reducing the tightness or flaking you experience with dryness.
Blood circulation drives growth and healing
Massaging warm oil into your scalp does more than just apply product. The gentle pressure combined with heat stimulates blood vessels beneath your skin. Increased blood flow brings more oxygen and nutrients to your hair follicles, which supports healthier growth. This circulation also helps remove toxins and reduces inflammation that causes itching or irritation. Regular treatments create an environment where your scalp can function at its best.
Step 1. Know your scalp and texture
You need to understand your specific scalp condition before choosing oils or starting any treatment. Your scalp type determines which oils work best and how often you should apply them. Different textures also respond differently to heat and oil, so what works for someone with loose waves won't necessarily work for tight coils. Taking time to assess your scalp now prevents wasted effort and disappointing results later.
Identify your scalp condition
Check your scalp by running your fingers through your hair at the roots. Dry scalps feel tight and produce visible flakes that look white or gray. Oily scalps leave residue on your fingers and your hair looks greasy within a day of washing. Sensitive scalps show redness, itching, or burning sensations. A balanced scalp feels comfortable without flaking or excess oil. Your scalp condition guides how much oil to use and which ingredients to prioritize in your hot oil treatment for scalp care.
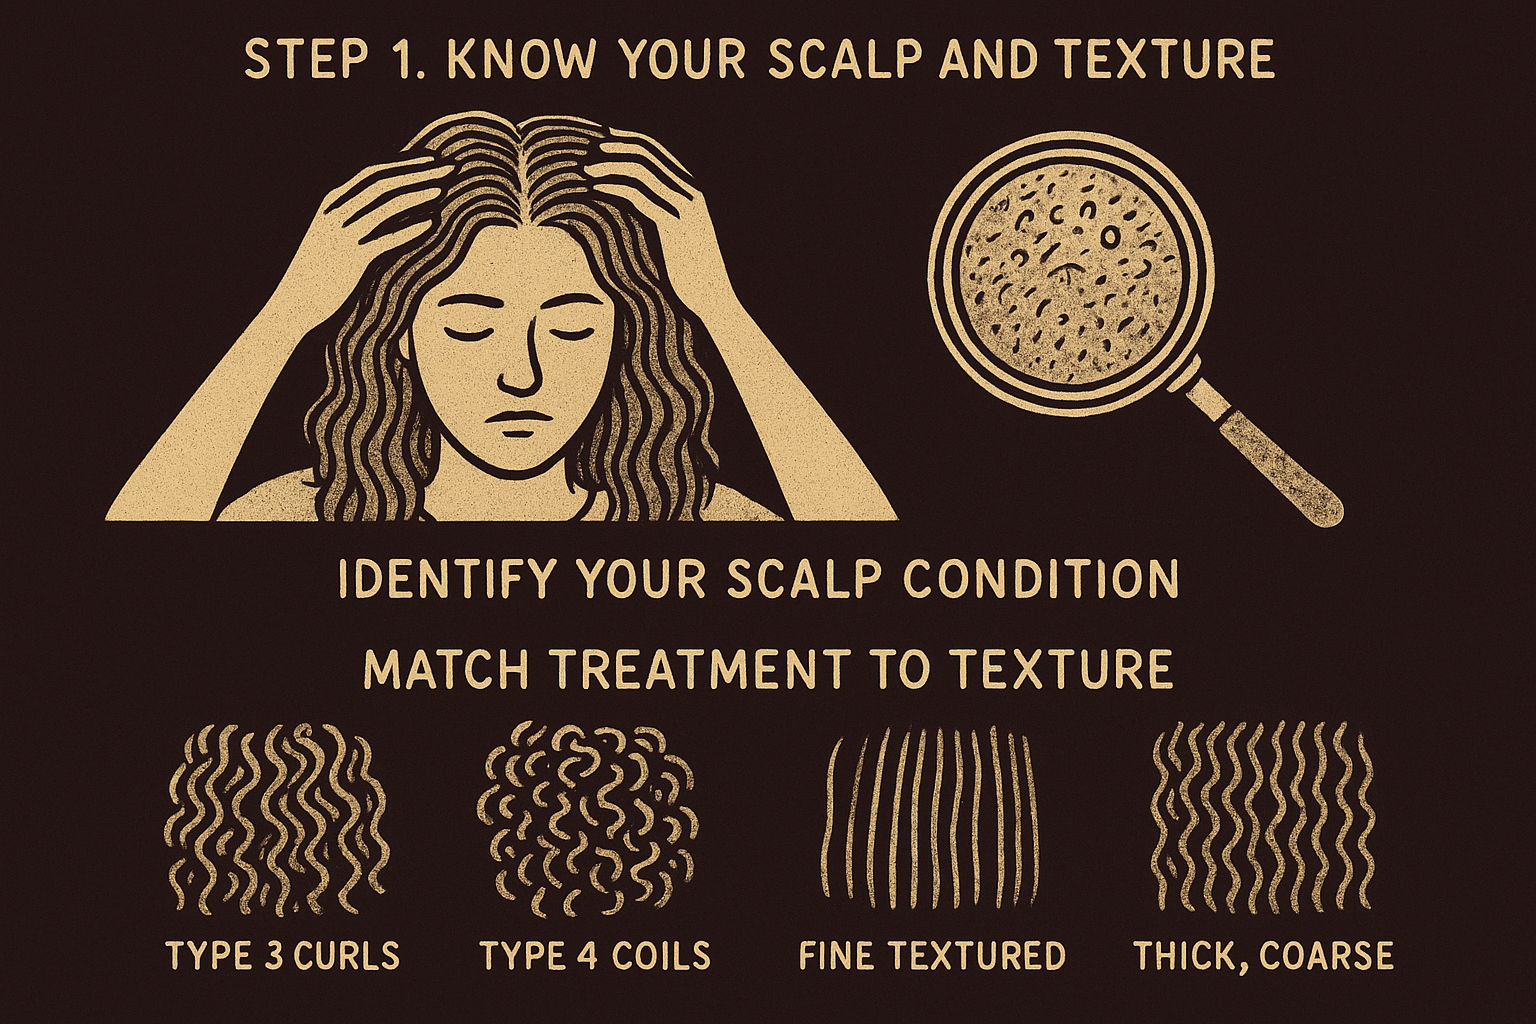
Understanding your scalp's baseline condition helps you track improvement after each treatment.
Match treatment to texture
Your hair texture affects how you apply oil and how long you leave it on. Type 3 curls need moderate oil application focusing on both scalp and length. Type 4 coils require generous amounts because their structure makes it harder for natural oils to travel down the strand. Fine textured hair absorbs oil quickly but can become weighed down, so use lighter oils in smaller amounts. Thick, coarse textures benefit from heavier oils that can penetrate dense strands. This matching process ensures your treatment addresses your specific needs rather than following generic advice.
Step 2. Choose the right oil blend
Your choice of oil determines how effective your hot oil treatment for scalp will be. Different oils address different scalp concerns, and some work better for certain textures than others. Single oils give you targeted results for specific problems, while custom blends let you tackle multiple issues at once. You want to match the oil's properties to your scalp condition and hair texture rather than grabbing whatever bottle you see first.
Single oils for targeted treatment
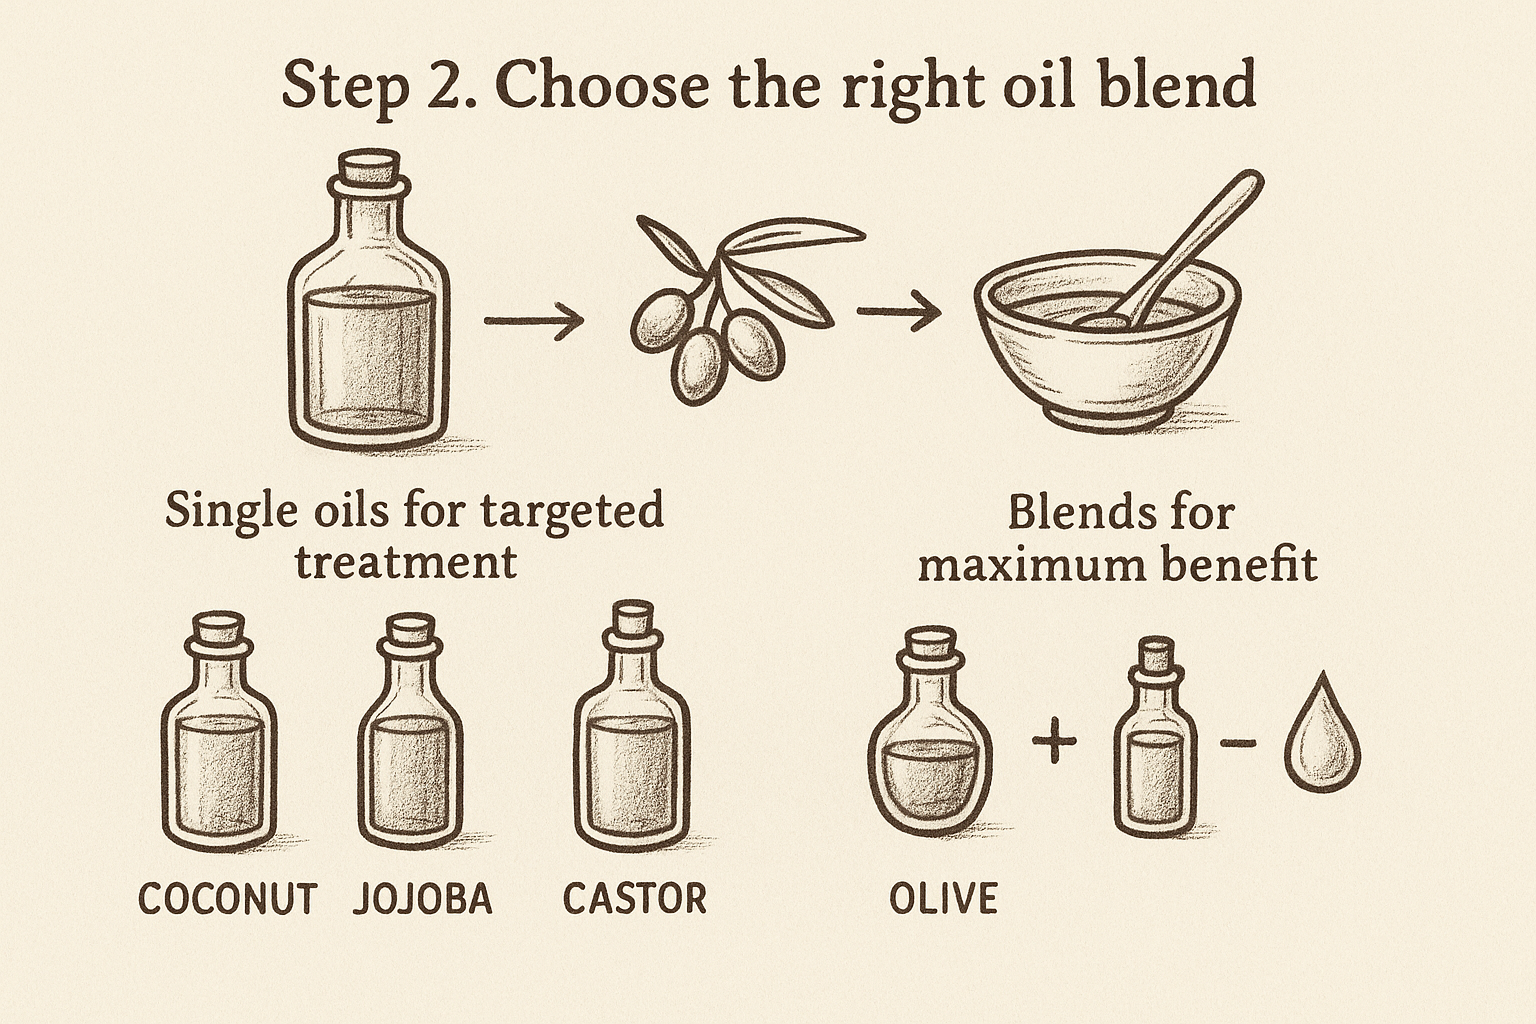
Each oil brings specific benefits to your scalp. Coconut oil works best for dry, flaky scalps because it penetrates deeply and has antibacterial properties. Jojoba oil mimics your scalp's natural sebum, making it perfect for balancing oil production if you have sensitivity or combination concerns. Castor oil stimulates blood flow and promotes growth, but it's thick, so you'll want to dilute it with a lighter carrier oil. Olive oil provides intense moisture and works well for extremely dry or irritated scalps.
Choose based on your primary concern:
| Oil Type | Best For | Application Weight |
|---|---|---|
| Coconut | Dry scalp, dandruff | Medium |
| Jojoba | Sensitive, balanced | Light |
| Castor | Growth, thinning areas | Heavy |
| Olive | Extreme dryness | Medium-heavy |
| Argan | General health, shine | Light-medium |
Blends for maximum benefit
Creating a blend lets you address multiple scalp issues simultaneously. Mix 2-3 oils in equal parts to create a treatment that targets your specific needs. A blend of 60% jojoba oil, 30% castor oil, and 10% peppermint oil works well for promoting growth while keeping your scalp balanced. For dry, itchy scalps, combine 50% coconut oil and 50% olive oil for maximum hydration.
Blending oils creates a customized treatment that addresses your unique combination of scalp concerns.
Test your blend on a small patch of skin behind your ear before applying it to your entire scalp. Wait 24 hours to check for any redness or irritation. Store your blend in a dark glass bottle away from heat and light to preserve its effectiveness. You can make enough for 3-4 treatments at once, which saves time while ensuring consistency in your routine.
Step 3. Prep, warm, and apply the oil
Getting the preparation and application right makes the difference between a hot oil treatment for scalp that transforms your condition and one that disappoints. Temperature control prevents burns while ensuring maximum absorption. Application technique determines whether the oil reaches your scalp or just sits on your hair. You need to follow specific steps in the correct order to get results that justify the time you're investing in this treatment.
Prepare your scalp and materials
Start with damp, clean hair rather than bone-dry or soaking wet strands. Wash your hair with a clarifying shampoo to remove product buildup, then towel dry until your hair feels slightly moist. This moisture helps your scalp absorb the oil more effectively. Gather your materials before you start: your chosen oil or blend, a heat-safe glass bowl, a larger bowl for the water bath, an applicator bottle or your fingers, a shower cap, and a towel for your shoulders.
Section your hair into four or more parts depending on thickness. Use clips to secure each section. This preparation ensures you can reach every part of your scalp without missing spots or applying too much oil in concentrated areas.
Heat the oil safely
Pour 2-4 tablespoons of oil into your heat-safe glass bowl. Fill the larger bowl with hot tap water (not boiling) and place the smaller bowl inside to create a gentle water bath. Let the oil warm for 3-5 minutes, stirring occasionally. Test the temperature by applying a drop to your inner wrist. The oil should feel warm and comfortable, never hot enough to cause discomfort.
Temperature guidelines:
| Oil Temperature | Result | Safety |
|---|---|---|
| 95-105°F (35-40°C) | Ideal absorption | Safe for all scalps |
| 105-115°F (40-46°C) | Maximum penetration | Test first, sensitive scalps avoid |
| Above 115°F (46°C) | Risk of burns | Too hot, do not use |
Never microwave oil directly, as this creates hot spots that can burn your scalp. A water bath provides even, controlled heating that keeps you safe.
Apply with proper technique
Release one section of hair and use your applicator bottle or fingertips to apply oil directly to your scalp in that section. Work in small areas, applying oil to the roots and massaging with circular motions using your fingertips (not nails). Spend 30-60 seconds massaging each section to stimulate blood flow. Move methodically through each section until you've covered your entire scalp.
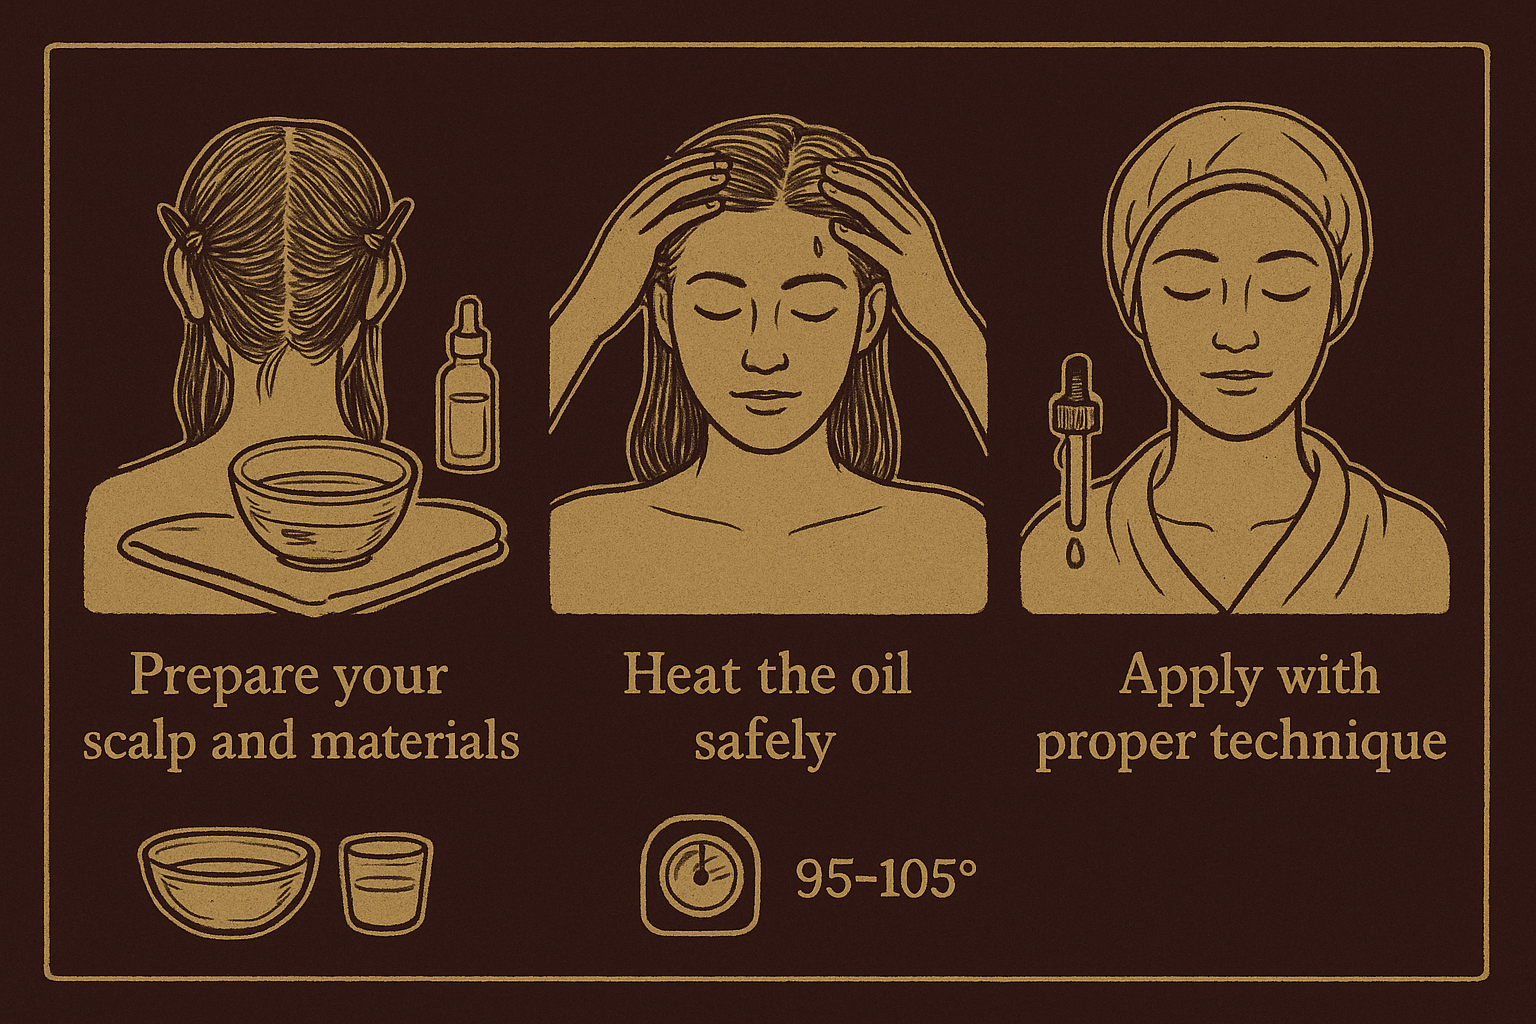
Massage pressure and duration matter as much as the oil itself for stimulating healthy scalp function.
Once you've covered your scalp, use remaining oil on your fingertips to lightly coat your hair length if you have dry ends. Cover your hair with a shower cap and wrap a warm towel around it. Leave the treatment on for 20-30 minutes for normal scalps, or up to 45 minutes for extremely dry conditions.
Step 4. Rinse, repeat, and build a routine
Your hot oil treatment for scalp doesn't end when you remove the shower cap. How you wash the oil out and how often you repeat the process determines whether you see lasting improvements or temporary relief. Most people make the mistake of either washing too aggressively or building unrealistic routines they can't maintain. You need a system that removes excess oil without stripping your scalp while fitting naturally into your existing schedule.
Wash out the treatment properly
Rinse your hair with warm water for 2-3 minutes before applying shampoo. This pre-rinse loosens the oil and prevents it from coating your hair when you add product. Apply a sulfate-free shampoo directly to your scalp and massage gently to emulsify the oil. You'll likely need to shampoo twice to remove all residue. The first wash breaks down the oil, the second actually cleanses. Follow with your regular conditioner only on your ends, avoiding the scalp since it's already moisturized.
Proper removal prevents buildup while keeping the benefits of the treatment locked into your scalp.
Set a realistic schedule
Start with treatments once every two weeks for normal to dry scalps. Track your results after each session. If your scalp feels tight or dry before your next scheduled treatment, increase frequency to once per week. If you notice heaviness or excess oil, reduce to once every three weeks. Build your routine around your wash days to make the process automatic rather than something you have to plan separately.
Key takeaways
Hot oil treatment for scalp health works because heat increases absorption while massage stimulates blood flow. You need to match your oil choice to your specific scalp condition and hair texture rather than following generic recommendations. Temperature control prevents burns while ensuring maximum penetration into your pores. Apply the treatment every two weeks initially, then adjust based on your results.
Success comes from consistency and proper technique, not expensive products. Your scalp responds best when you create a routine you can maintain long-term. Ready to transform your hair care? Visit Scatter Hair for styling products designed specifically for textured hair that help you embrace your natural texture.