

How to Diffuse Short Curly Hair without Frizz
Short curly hair dries fast, which sounds convenient until you realize that speed usually means frizz, flat roots, or curls that never quite clump the way you want. If you've ever pointed a diffuser at your head and ended up with a static cloud instead of definition, you already know the problem isn't your curl pattern. It's your technique. Learning how to diffuse short curly hair the right way changes everything, and it starts before the dryer even turns on.
The short version: you need the right product foundation, a low-heat, low-speed airflow setting, and a scrunching motion that cups the hair instead of disturbing it while it dries. Skip any of those three and frizz creeps back in, no matter how good your diffuser attachment is. Short hair also dries unevenly at the roots and ends, so timing and hand placement matter more than they do on longer lengths.
Below, you'll get a step-by-step routine built specifically for shorter curls, including prep and application order, diffuser angle and distance, how to handle roots without collapsing your shape, and the small adjustments that keep curls bouncy instead of crunchy once they're fully dry.
Why short curly hair needs a special diffusing approach
Short curls behave differently than long ones, and most diffusing advice online ignores that completely. Curl length affects weight, and weight is what pulls a curl pattern down into a clump instead of letting it spring outward into frizz. With longer hair, gravity does half the work for you. With a short cut, there's nothing holding the curl down while it dries, so the same airflow that smooths a long curl can blow a short one into a frizzy halo in seconds. That's why generic diffusing tutorials rarely translate to a pixie, a curly bob, or a short shag.
Roots dry faster than they should
Short styles also expose more scalp and root area to direct heat, which means roots finish drying before your ends even have a chance to set. When roots dry first, they lock into whatever shape they're in at that moment, flat, lifted, or twisted the wrong way, and there's no fixing that once the moisture is gone. Diffusing short hair means paying closer attention to root placement early in the process, not treating the whole head as one uniform section the way you might with longer lengths.
Short curls dry from the roots out, so the first thirty seconds of diffusing decide your root volume for the rest of the day.
Less hair means less room for error
With fewer strands per section, frizz-prone strands show up individually instead of blending into a bigger mass of curls. On long hair, a stray frizzy piece can hide under the weight of the layers above it. On short hair, that same piece stands out immediately. This is why technique, not product alone, makes the biggest visible difference on shorter cuts.
| Factor | Short curly hair | Long curly hair |
|---|---|---|
| Drying speed | Fast, often under 10 minutes | Slower, 15-25 minutes |
| Root exposure | High, close to scalp | Lower, hair covers roots longer |
| Frizz visibility | Very noticeable, less hair to hide it | Blends into overall volume |
| Weight to hold curl shape | Minimal | Higher, helps curl clump down |
| Diffuser distance needed | Closer, more careful angling | More flexibility with distance |
Understanding these differences matters because it changes how you approach every step that follows. Product choice, diffuser speed, and even how you cup your hands around each section need to account for the fact that short hair has less mass working in your favor. Get that mindset right first, and the actual steps become a lot easier to follow without second-guessing every move.
Step 1. Prep wet hair with the right products
Good diffusing starts in the shower, not at the outlet. Soaking wet hair accepts product evenly and lets you distribute it before any strand starts drying unevenly, which happens fast on short lengths. Flip your head upside down, apply a leave-in conditioner first, then follow with a curl cream or gel while hair is still dripping. Waiting until hair is even slightly damp means you're fighting the clock, and on short curls that clock moves quickly.
The wetter your hair when you apply product, the more control you have over the final curl shape.
Layer products in the right order
Skipping the layering order is one of the most common reasons people end up diffusing frizz-prone strands instead of clumps. Each product has a job, and applying them out of sequence undoes the work of the one before it.
- Leave-in conditioner, distributed root to tip, to soften and detangle
- Curl cream, scrunched upward in small sections to encourage clumping
- A light gel or styling foam, like the formulas Scatter is developing for textured hair styling, to lock the clump in place before diffusing
Skip the towel, or use the right one
Regular towels rough up the cuticle and create the exact frizz you're trying to avoid, so reach for a microfiber towel or an old cotton t-shirt instead. Gentle plopping, not rubbing, removes excess water without disturbing the curl clumps you just built. Squeeze upward toward the scalp, hold for a few seconds, and release. This one small swap, done before you even pick up the diffuser, makes the rest of the process noticeably easier.
Step 2. Choose your diffusing technique
Before you turn the dryer on, decide whether you're going with the hovering method or the cupping method, because mixing the two mid-session is what scrambles curl clumps on short hair. Diffusing technique matters more here than product choice, since a short cut gives you so little room to correct a bad pass. Pick one approach, commit to it for the whole head, and only switch if your curl pattern genuinely needs a mix of both.
Hovering vs. cupping
Hovering means holding the diffuser bowl an inch or two above the section without touching the scalp, which works well for looser waves that need airflow without disturbance. Cupping means nestling sections directly into the diffuser bowl and lifting toward the roots, and it's usually the better call for tighter curl patterns that need more structure while drying. Curl pattern type should decide which one you default to, not personal preference alone.
Match your diffusing technique to your curl pattern, not the other way around.
Setting speed and heat correctly
Low heat and low speed is the setting you want almost every time on short hair, since high heat dries roots before ends and high speed scatters loose strands into frizz. Reserve medium heat only for the final few minutes once curls have mostly set, and never start there. Consider these settings as your baseline:
- Speed: low, throughout most of the session
- Heat: low for the first 80% of drying time
- Heat: medium only in the last stretch, if hair still feels damp
- Distance: closer for tighter curls, slightly farther for looser waves
Getting this combination right before you start sectioning saves you from restarting the whole process halfway through.
Step 3. Diffuse section by section without frizz
Sectioning keeps you from chasing your own hair around with the dryer, which is exactly how frizz sneaks in on short cuts. Diffusing section by section means each part of your head gets equal drying time and equal attention, instead of a few random passes that leave some curls set and others still soaking wet. Grab clips and split your hair into four to six sections depending on thickness, working from the back of the head forward so you're not blowing air across sections you've already finished.
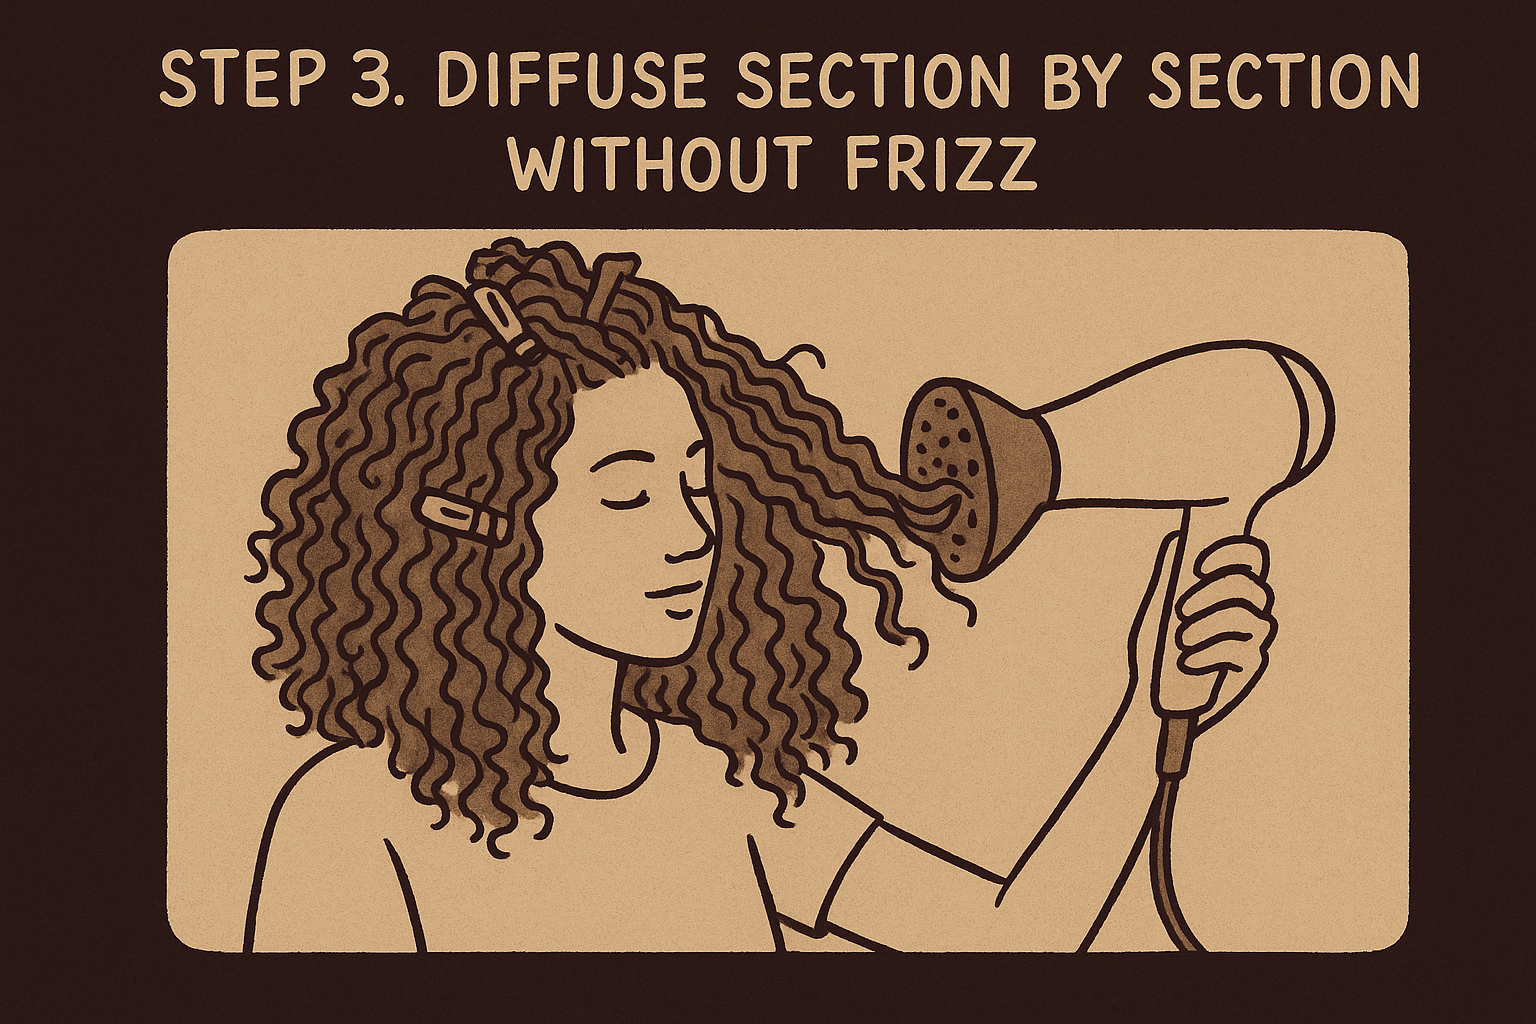
Work one section at a time, start to finish
Once you commit to a section, stay there until it's mostly dry before moving on. Jumping between sections mid-dry disturbs the clumps you've already formed and reintroduces frizz you just spent minutes eliminating. Cup or hover the diffuser bowl under the section, following the technique you picked in the last step, and hold it steady for several seconds instead of waving the dryer around. Frizz-free curls come from stillness, not constant movement.
Frizz comes from moving the dryer too much, not from moving it too little.
Handle roots and ends differently
Give roots a shorter, more direct burst since they dry fastest and set the shape for the rest of the day. Ends need a gentler, longer pass because they're drier and more fragile to begin with, especially on shorter lengths where ends and mid-lengths are basically the same section. Here's a quick order to follow per section:
- Cup the section at the root for 5-10 seconds
- Move down to the mid-length and hold for 10-15 seconds
- Finish at the ends with a light scrunch, no direct heat blast
Keep hands cupped rather than open-palmed throughout, since flat hands flatten curl clumps and open the cuticle right back up.
Step 4. Finish and set your curls
Finishing the diffusing process correctly determines whether your curls stay bouncy for hours or start frizzing the moment you step outside. Cool shot setting on your dryer closes the hair cuticle and locks in the shape you just spent ten minutes building, so switch to it for the final 30 seconds instead of turning the dryer off abruptly. Skipping this step leaves curls slightly warm and pliable, which means they're still vulnerable to humidity and touch. Short curly hair finishing work is quick, but it's not optional if you want the style to last past lunch.
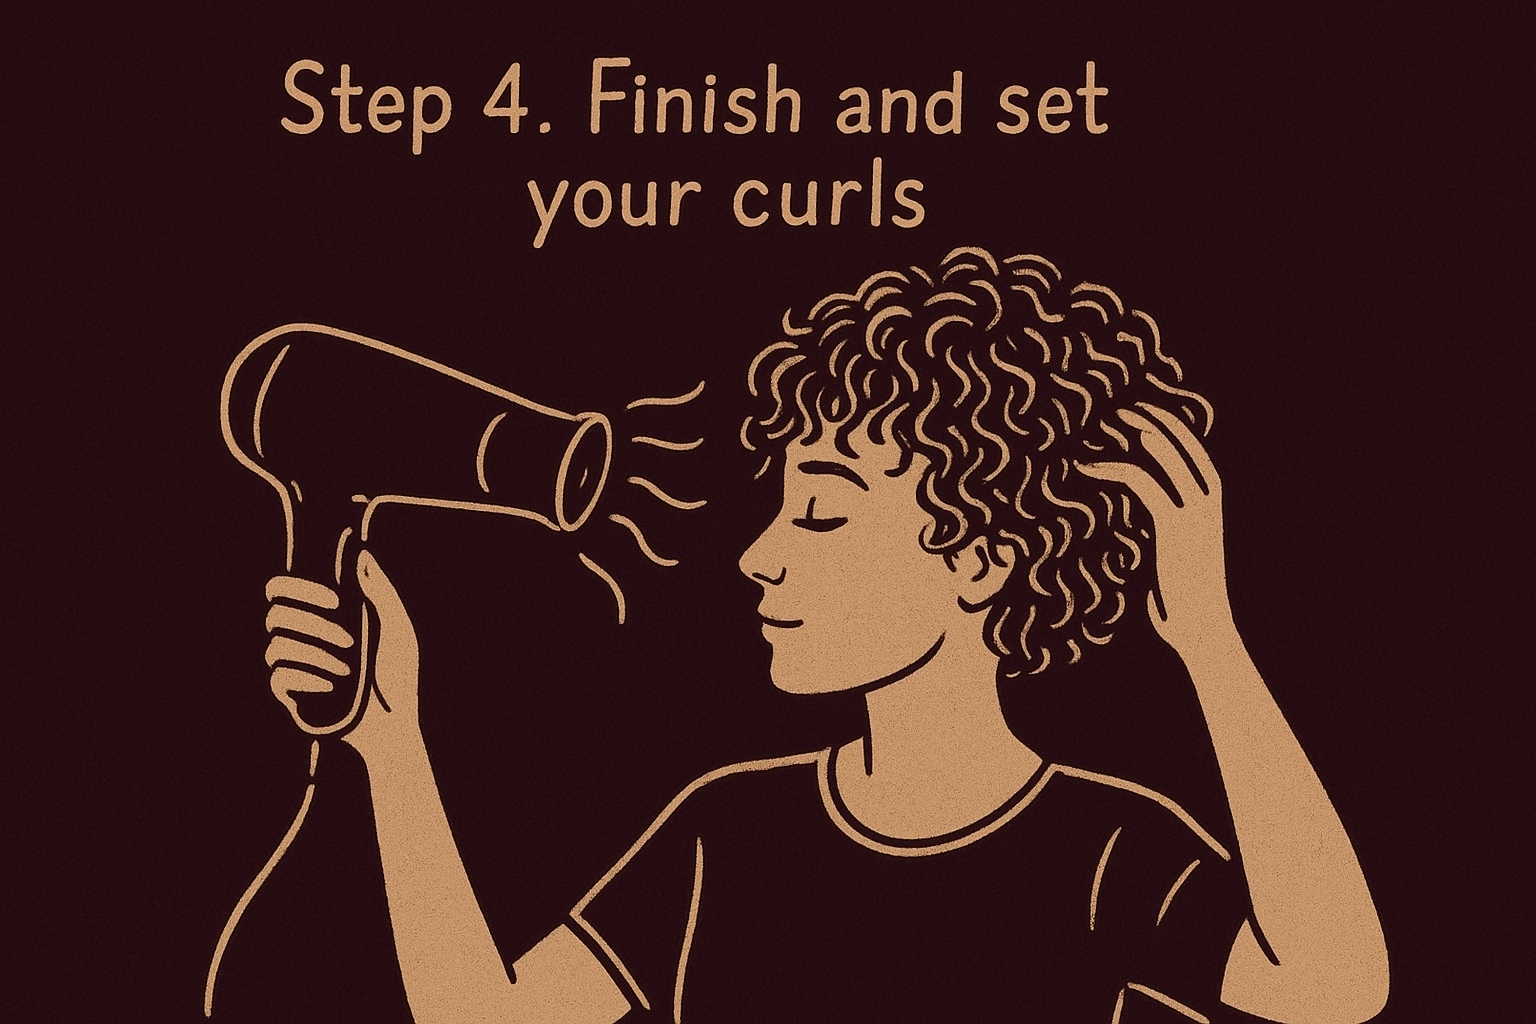
Use the cool shot before you touch anything
Switching to cool air right at the end seals moisture inside the strand instead of letting it evaporate unevenly, which is what causes the frizzy halo look hours later. Hold the diffuser in place for the last pass just like you did during drying, using the same cupping technique, so the cool air reaches every clump evenly instead of just the top layer.
Cool air locks the shape you built with warm air, so never skip it just to save thirty seconds.
Check for the crunch before you scrunch it out
Curls that feel crunchy to the touch are actually a good sign, since it means the gel has fully cast and hardened around each strand to hold the clump together. Resist the urge to touch or scrunch immediately, and wait a few extra minutes if any section still feels slightly damp near the roots, since that's the last part to finish setting on short hair.
- Wait until hair feels completely dry, not just cool to the touch
- Cup both palms around a section and scrunch upward once, gently
- Work section by section, not the whole head at once
- Finish with a drop of anti-frizz oil on your palms, run lightly over the surface only
Once the crunch breaks, you're left with soft, defined curls instead of stiff, hardened ones, and that frizz-free finish stays locked out for the rest of the day.
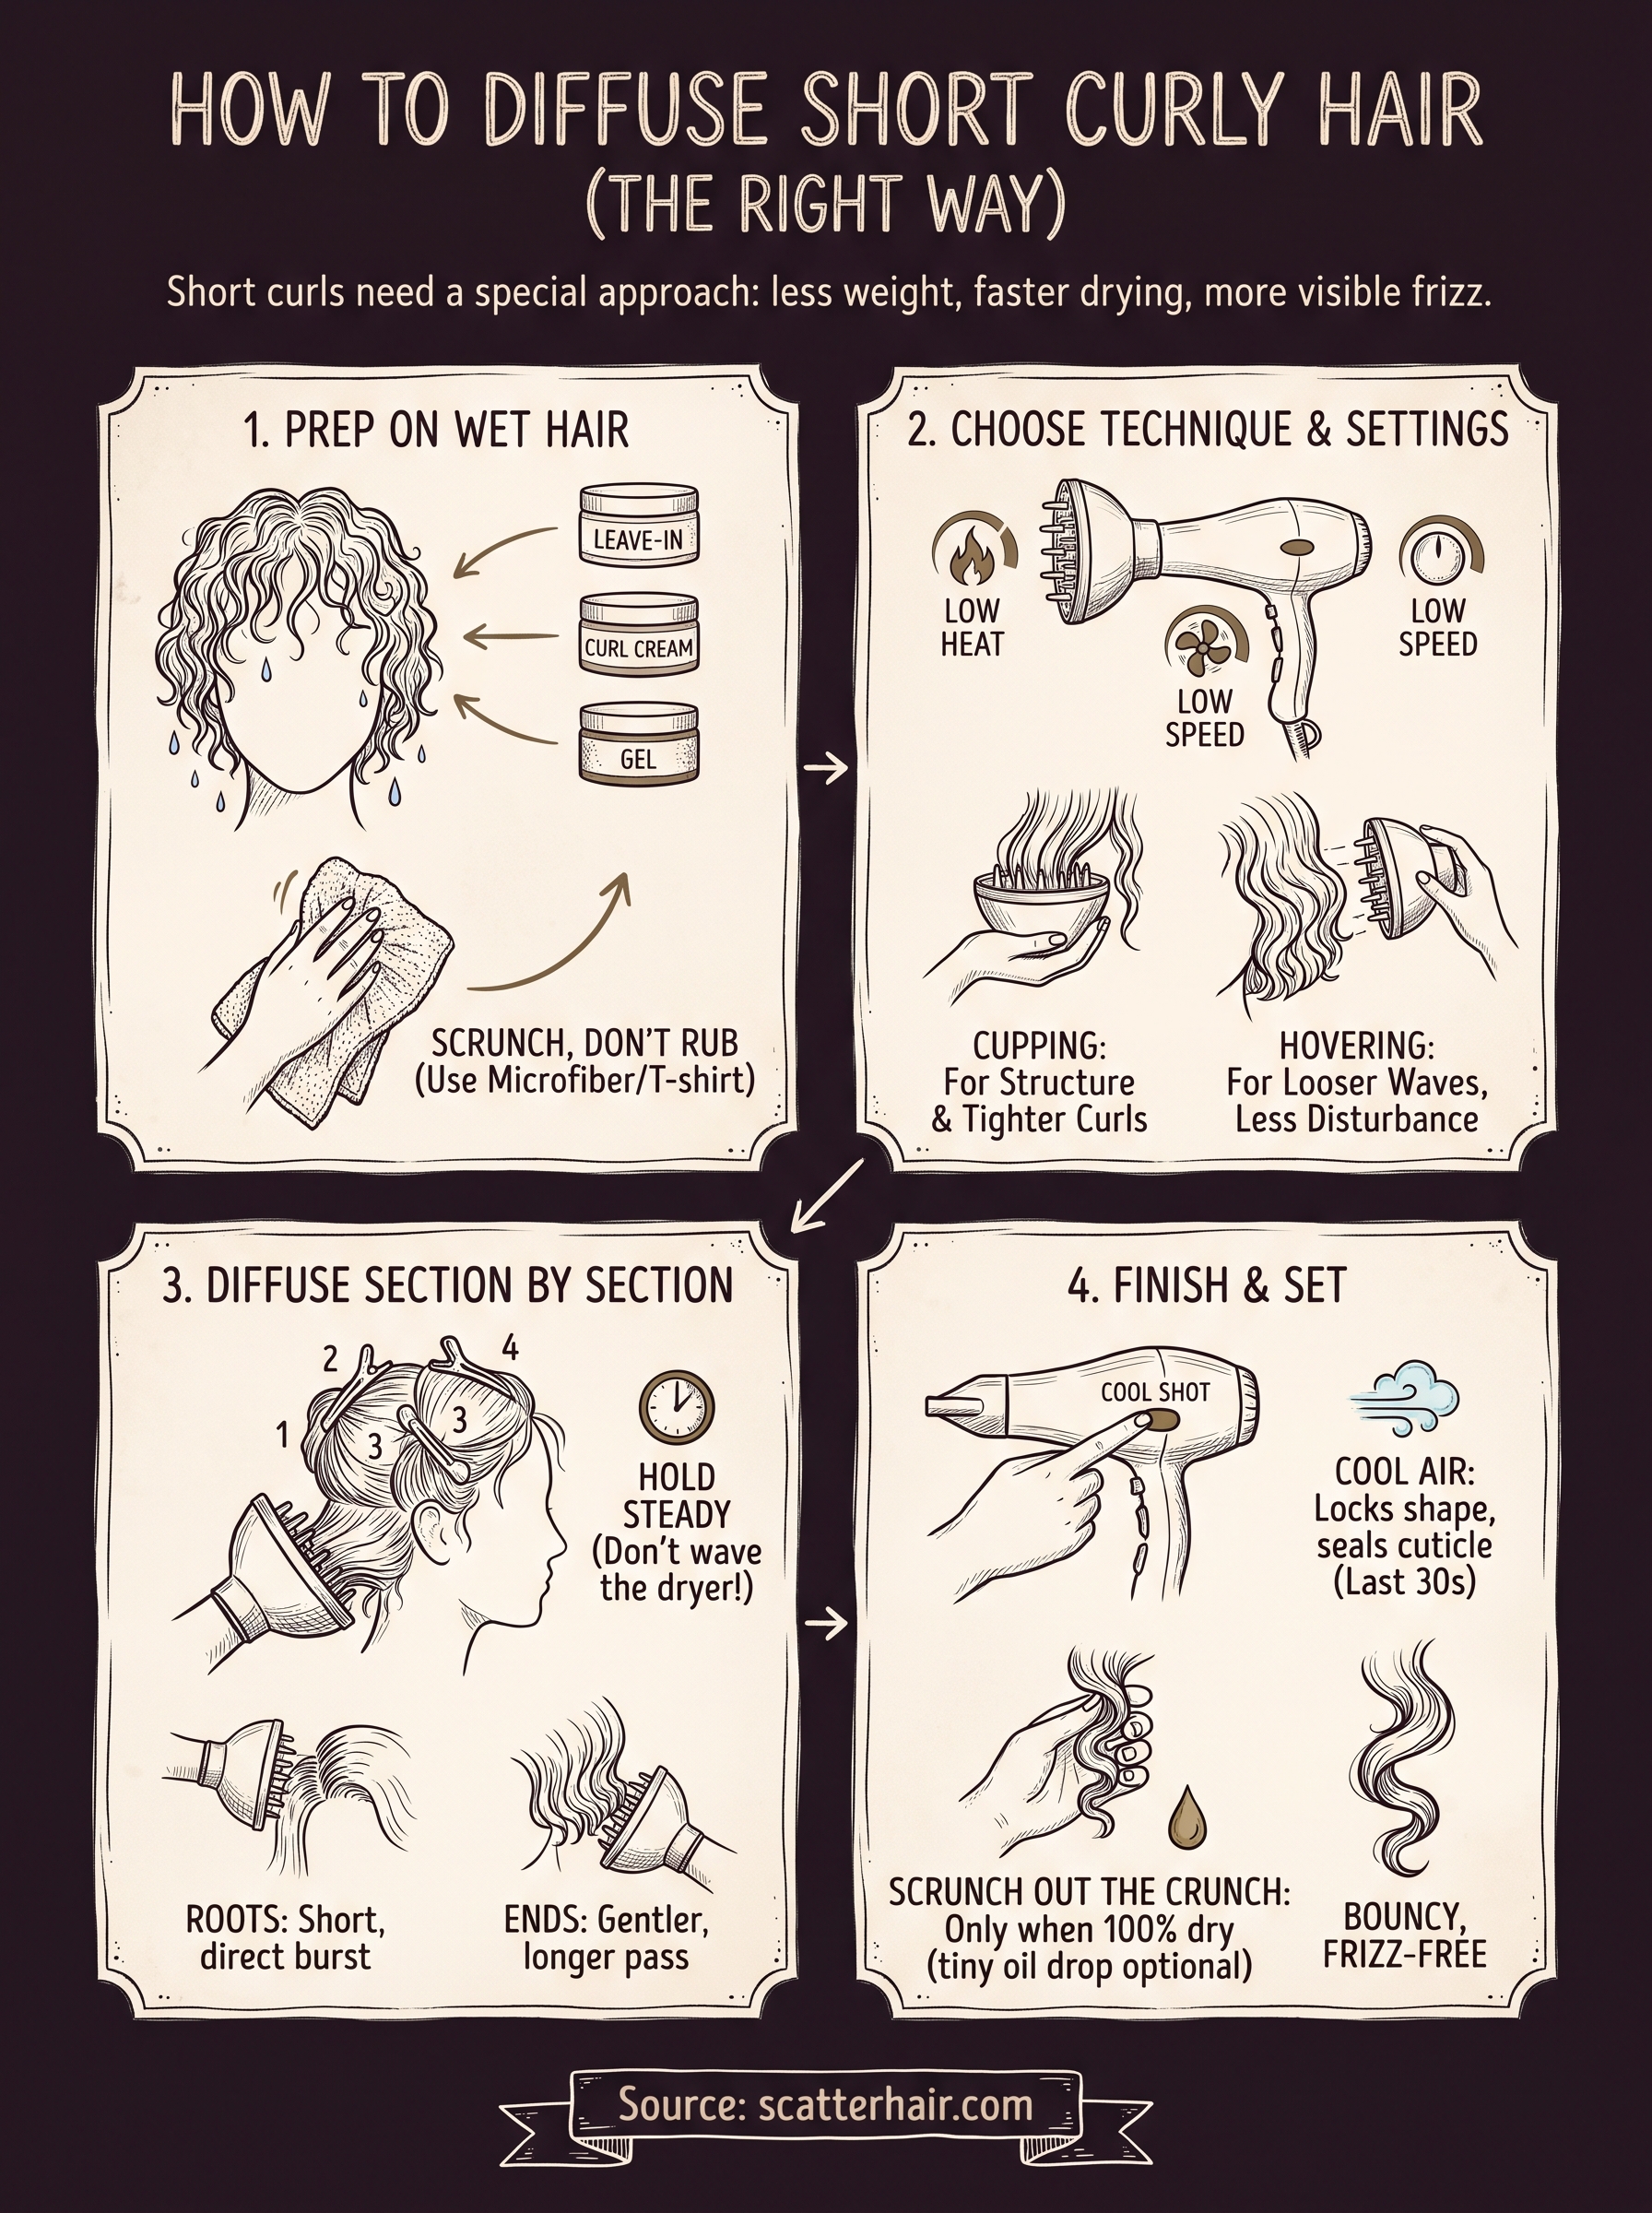
Getting frizz-free curls to stick
Getting curls to hold on short hair comes down to sequence, not luck. Prep with soaking wet product application, pick one diffusing technique and stick with it, work section by section, and finish with a cool shot before you touch anything. Skip a step and frizz finds its way back in within the hour.
Honestly, none of this works long term without products actually built for how fast textured hair dries and how little room short curls give you for error. Formulated styling products that clump and hold without weighing curls down make every step above easier, which is the whole reason Scatter is developing gels and creams specifically for textured hair instead of borrowing formulas made for longer, heavier curl patterns.
If you want early access, tutorials, and the actual product lineup before it launches in 2026, sign up for Scatter's updates and get the routine dialed in before your next wash day.