

How to Style Curly Bob Hair: A Step-by-Step Guide
A curly bob looks amazing in the salon mirror and then falls apart the second you try to recreate it at home. Sound familiar? If you're searching for how to style curly bob hair without ending up with frizz on one side and flat spots on the other, you're not alone, and it's not your curl pattern's fault. Most of the frustration comes down to technique and timing, not your hair type.
This guide walks you through the exact process, from the moment you step out of the shower to your final touch-up before you walk out the door. You'll get a step-by-step routine that works with shorter layers instead of fighting them, plus the product order that actually matters for definition and hold on a bob-length cut.
We built this because textured hair deserves products and methods that respect how it actually behaves, not generic advice made for longer lengths. Whether you're two weeks into a fresh cut or still figuring out your curls after a big chop, you'll find practical techniques and honest product guidance here that you can put to use today.
Why curly bobs need a different styling approach
Short layers change everything about how curls behave. On long curly hair, weight pulls the pattern down and disguises unevenness. On a bob, every curl is on display, and length-related shrinkage can turn a shoulder-grazing cut into something that hits your chin the moment your hair dries. That's why techniques borrowed from long-hair tutorials often backfire on a bob.
Shorter layers mean less weight to control the curl
Without the weight of extra length, curls spring up and out instead of hanging down, which is exactly why bobs can look uneven or triangular if you skip the right prep. Curl shrinkage hits bobs harder than any other length, sometimes pulling hair up by two inches or more once it fully dries. You need products with real hold, not just moisture, to keep the shape you styled instead of watching it climb toward your ears.
A curly bob doesn't need more product, it needs the right product applied in the right order.
Every section is visible, so technique matters more
Exposed ends and shorter sections mean flyaways and frizz show up immediately, especially near the nape and around the face where hair is often shortest. This is also where a wash and go curly bob routine can go wrong fast if you rush the drying step or skip sectioning.
| Long curly hair | Curly bob |
|---|---|
| Weight keeps curls elongated | Curls shrink upward without weight |
| Frizz hides in length | Frizz shows immediately |
| Fewer visible sections | Every section is on display |
| Forgiving of skipped steps | Requires consistent technique |
Understanding these differences is the first real step toward a routine that works with your cut instead of against it.
Step 1. Prep damp hair with the right products
Grab your products the moment you step out of the shower, while your hair is still soaking wet. Damp hair application matters more on a bob than any other length because you have less time before shrinkage sets in and curls start climbing. Skip the towel-dry entirely and instead use a microfiber cloth or an old cotton t-shirt to blot out excess water, since regular towels rough up the cuticle and invite frizz you'll be fighting all day.
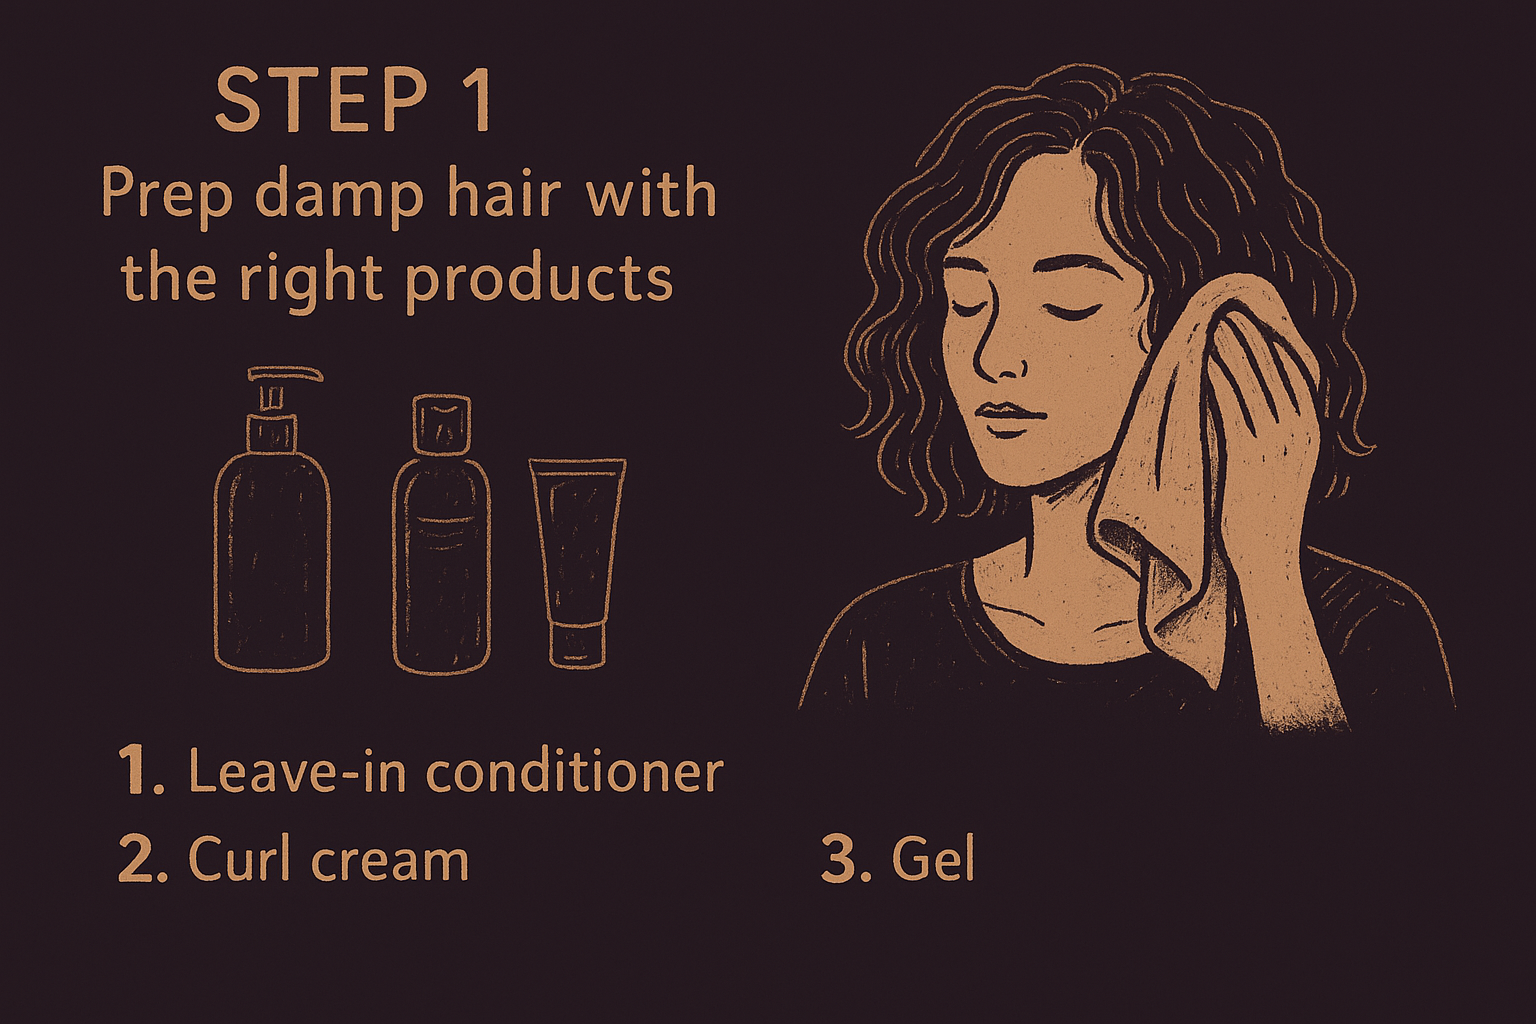
Layering products in the right order gives you definition without weighing down short layers:
- Leave-in conditioner on soaking wet hair, focused on mid-lengths and ends
- Curl cream for definition, scrunched upward toward the roots
- Gel for hold, applied last to lock everything in place
Skip the gel on a curly bob and you're basically asking your curls to shrink on you.
Overloading roots is the most common mistake here. Concentrate the heavier products from your mid-lengths down, since roots on a bob dry faster and don't need as much weight to hold shape.
Step 2. Detangle and section for even curls
Detangle before you apply a single product, not after. Finger detangling curly hair works best on a bob because a comb can rip through shorter strands and create frizz you won't be able to smooth out later. Start at the ends and work upward in small pieces, and if you hit a knot, add a spritz of water rather than forcing the comb through dry, tangled sections.
Sectioning keeps product distribution even across a bob, where uneven layers mean some curls dry faster than others:
- Split hair into four sections, front-to-back and ear-to-ear
- Clip three sections up, working one at a time
- Apply your leave-in, cream, and gel to each section before moving to the next
- Release clips only once every section is fully coated
Sectioning isn't extra work, it's what stops half your bob from drying before the other half gets any product.
Going section by section also stops you from over-touching curls once product is on, which is one of the fastest ways to trigger frizz on shorter layers.
Step 3. Dry curls without frizz
Heat matters more than most people think when you're drying a curly bob. High heat blasts moisture out fast and roughs up the cuticle, which is exactly what causes frizz on shorter layers. Set your diffuser to low or medium heat and hold it underneath sections, cupping curls upward into the bowl instead of moving it around your head.
Frizz on a curly bob almost always starts with a diffuser set too hot, too fast.
Plop before you diffuse
Before you touch a blow dryer, plopping technique can cut your diffusing time in half and lock curls into shape while they're still soft. Scrunch a microfiber towel or t-shirt under your hair and let it sit for 10 to 15 minutes.
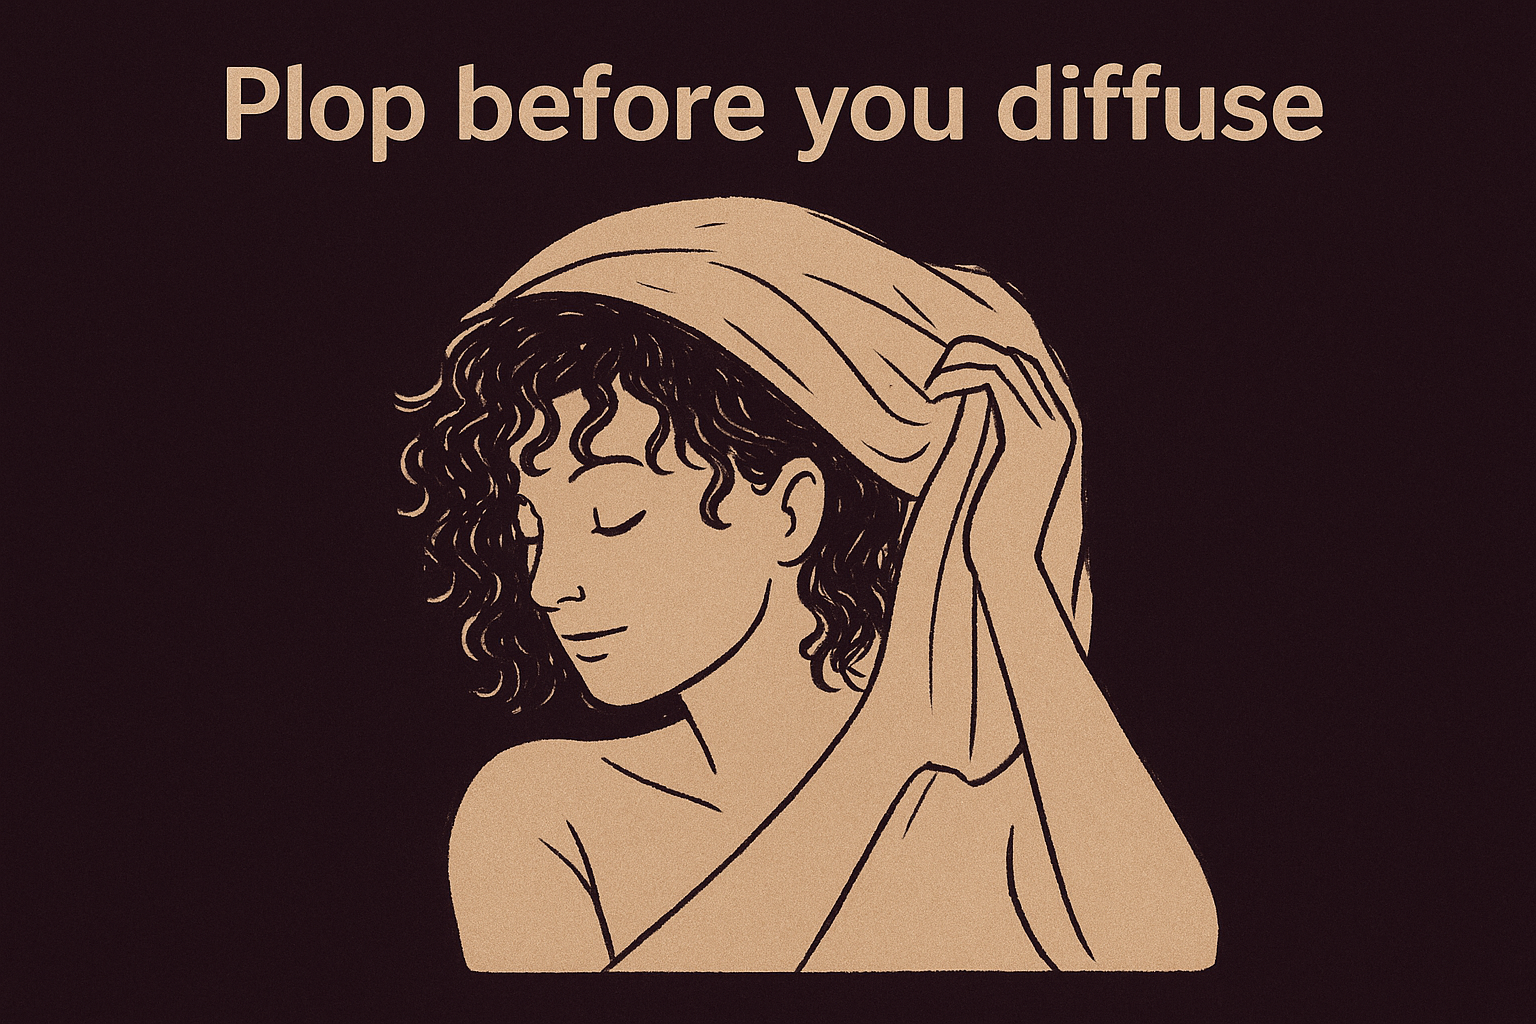
- Flip hair forward over the towel
- Gather curls gently into the fabric
- Wrap and secure at the nape
- Leave in place for 10 to 15 minutes before diffusing
Hands off once curls start setting. Touching wet curls repeatedly breaks the curl pattern and invites frizz, so let the diffuser do the work instead of your fingers.
Step 4. Refresh and finish your curly bob
Once your curls dry completely, resist the urge to touch them right away. Scrunching out the crunch too early breaks the cast that's holding your definition together, so wait until hair feels fully dry before you break it up with your hands.
Break the cast the right way
Cup your palms around sections and scrunch upward, working from ends to roots to release the gel cast without flattening curls. A tiny drop of oil rubbed between your palms afterward smooths flyaways without adding weight, which matters on a bob where extra product shows up fast near the crown.
The cast isn't a mistake, it's what's protecting your curl pattern until you're ready to reveal it.
Refresh curls on day two and beyond
A curly bob refresh on non-wash days doesn't require starting over. Mist hair with water mixed with a bit of leave-in in a spray bottle, then scrunch product back into curls that have gone limp overnight.
- Spritz roots and mid-lengths lightly
- Scrunch upward in small sections
- Diffuse on low heat for two minutes if curls need more lift
Our Scatter styling products are built to hold up through this exact refresh cycle without buildup.
Making your curly bob routine stick
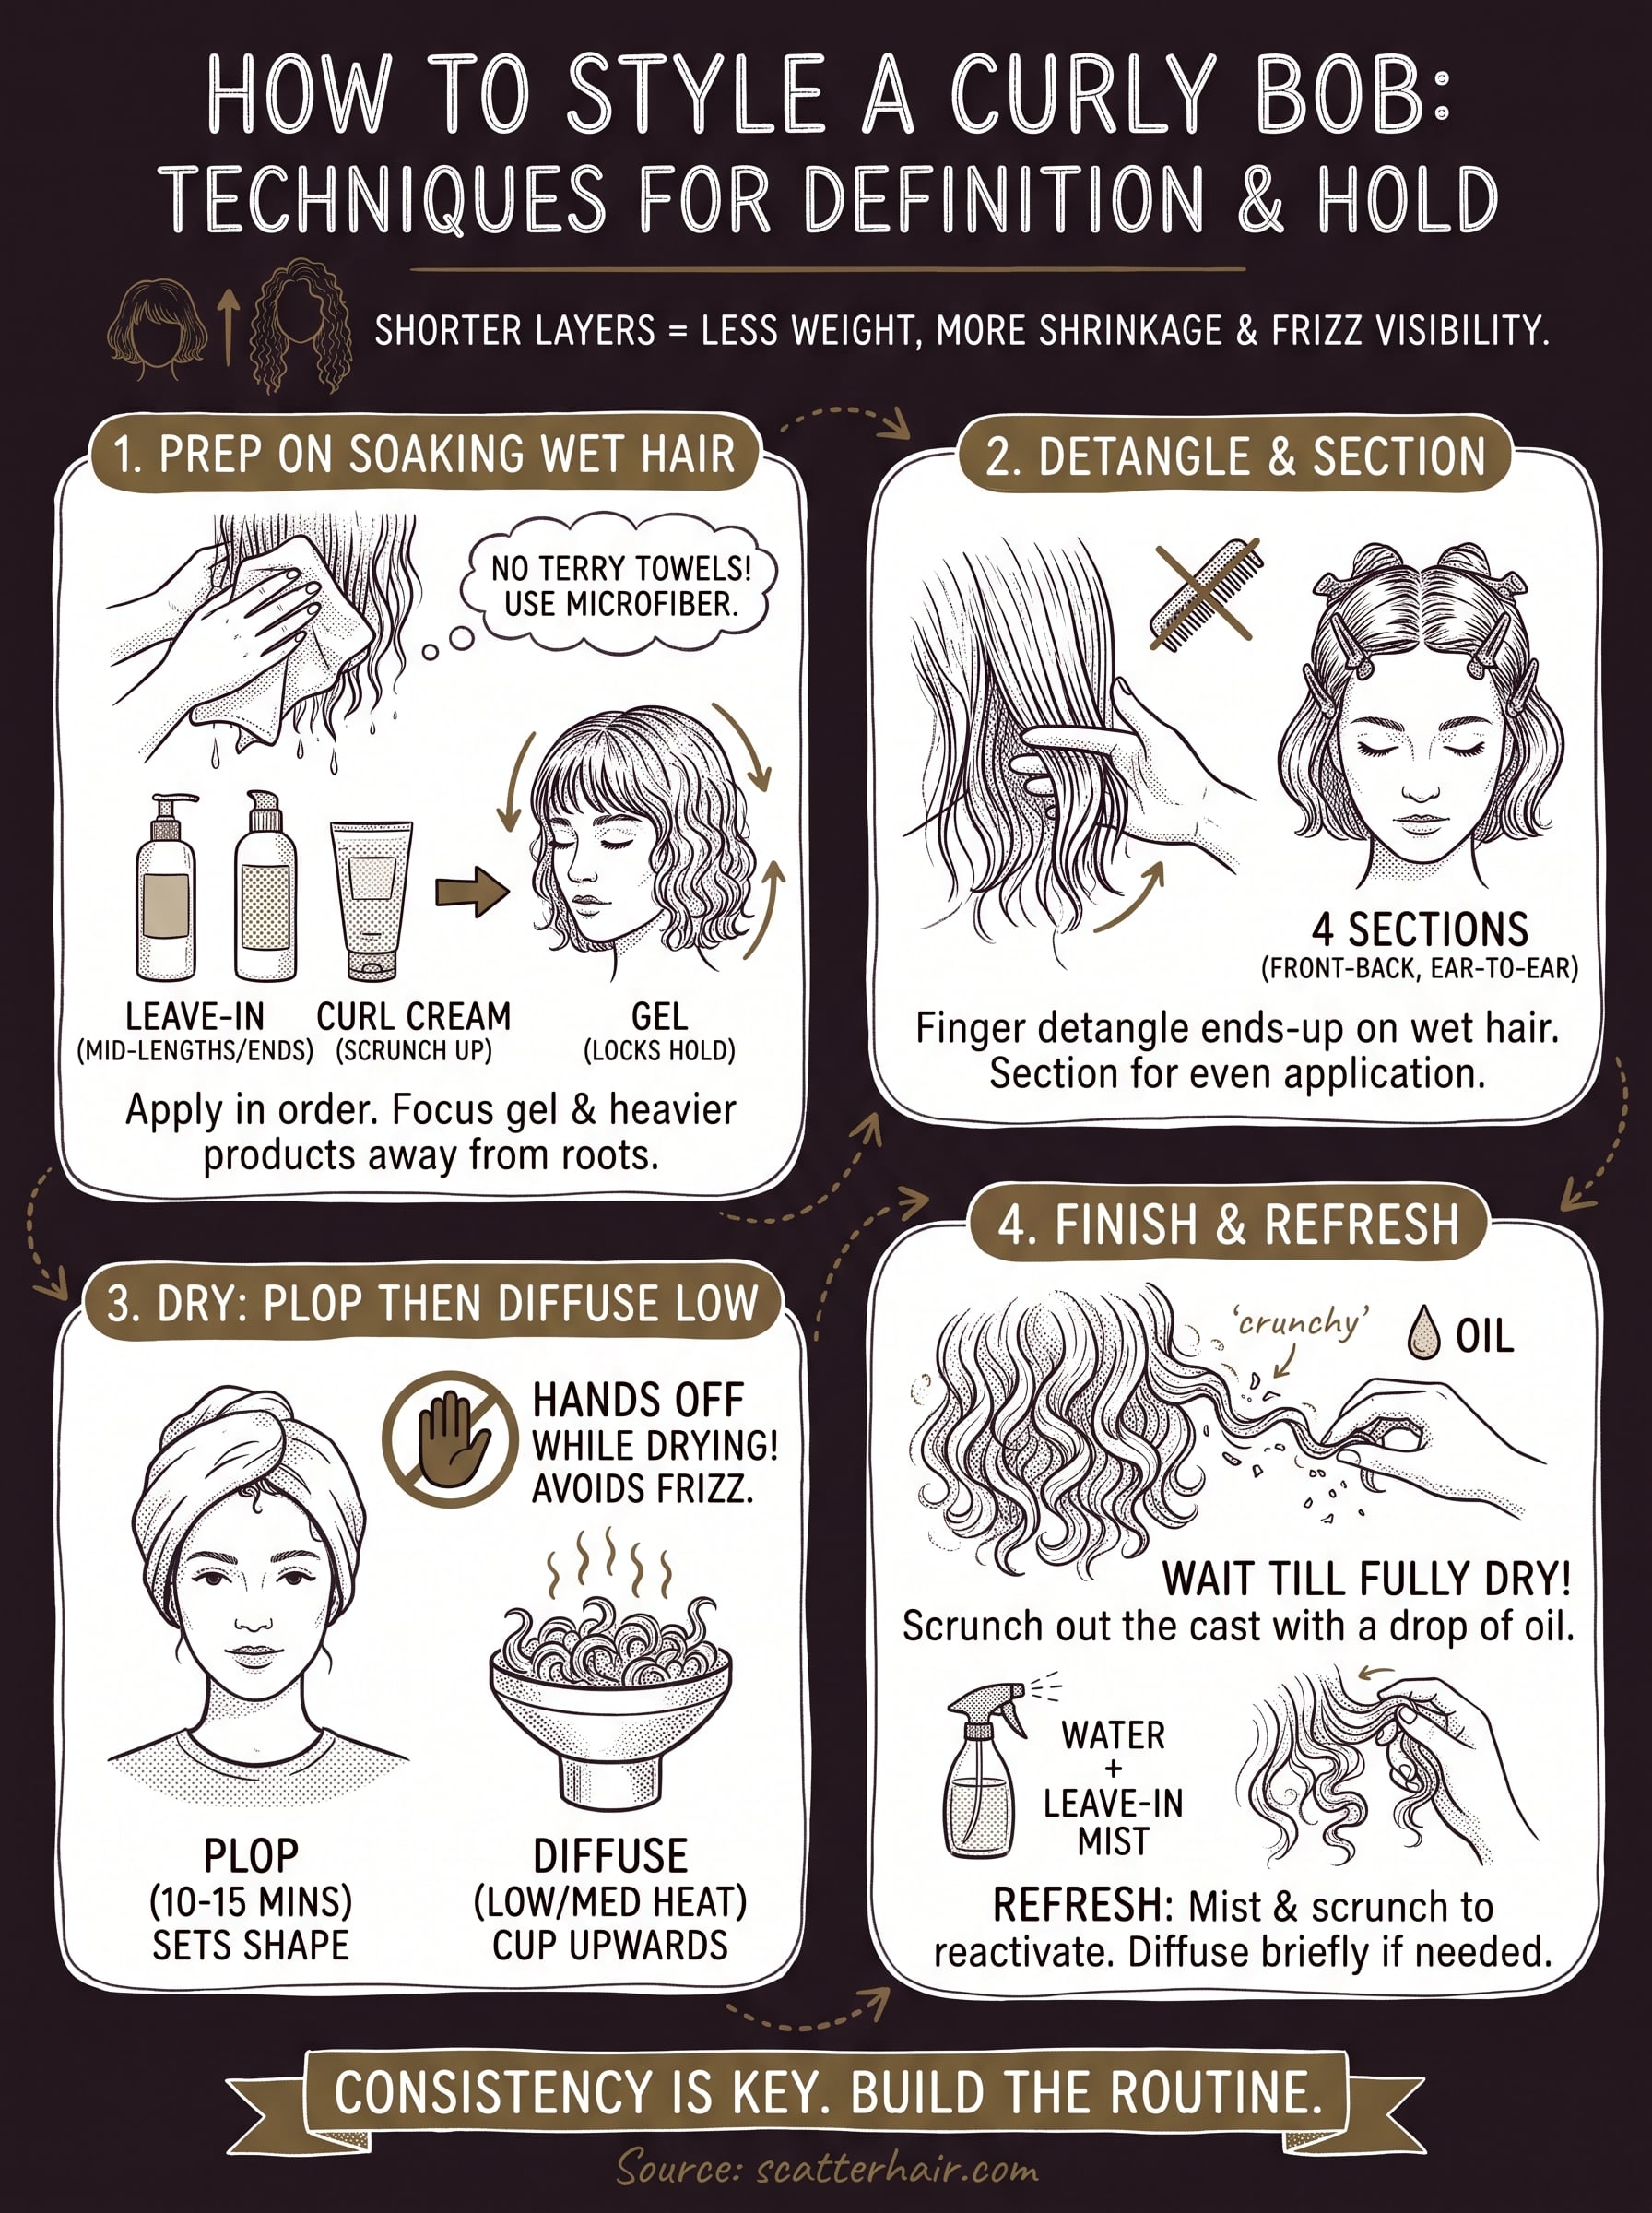
Getting how to style curly bob hair right isn't about finding one magic product, it's about repeating the same four steps until your hands know them without thinking. Prep on damp hair, detangle and section before anything else, dry with patience, then refresh instead of restarting from scratch. Once that order becomes automatic, your bob stops looking like a different haircut every day.
Give yourself two weeks of consistent technique before you judge the results. Curls need time to learn a new routine just as much as you do, and most of the unevenness you're fighting now will smooth out once the steps become habit.
Ready to build that routine with products actually designed for textured, shorter lengths? Join the Scatter waitlist for early access when we launch and start your curly bob routine off right from day one.