

Curly Hair Styling: How to Style Curly Hair Without Frizz
Curly Hair Styling: How to Style Curly Hair Without Frizz
You spend 30 minutes styling your curls only to step outside and watch them turn into a frizzy mess. Or maybe your curls look great on day one but by day two they're flat and shapeless. You've tried different products and techniques but nothing gives you consistent results. Your curls have potential but you can't figure out how to bring it out.
The good news is that styling curly hair without frizz comes down to a simple system. When you understand what your curls need and apply the right techniques in the right order, you can get definition that lasts. No magic products required. Just a solid routine that works with your natural texture instead of against it.
This guide walks you through exactly how to style curly hair from start to finish. You'll learn what causes frizz and how to prevent it, the proper way to cleanse and condition for definition, how to apply products so they actually work, and techniques to dry and protect your curls between washes. By the end you'll have a repeatable routine that gives you the curls you want.
What curly hair needs to fight frizz
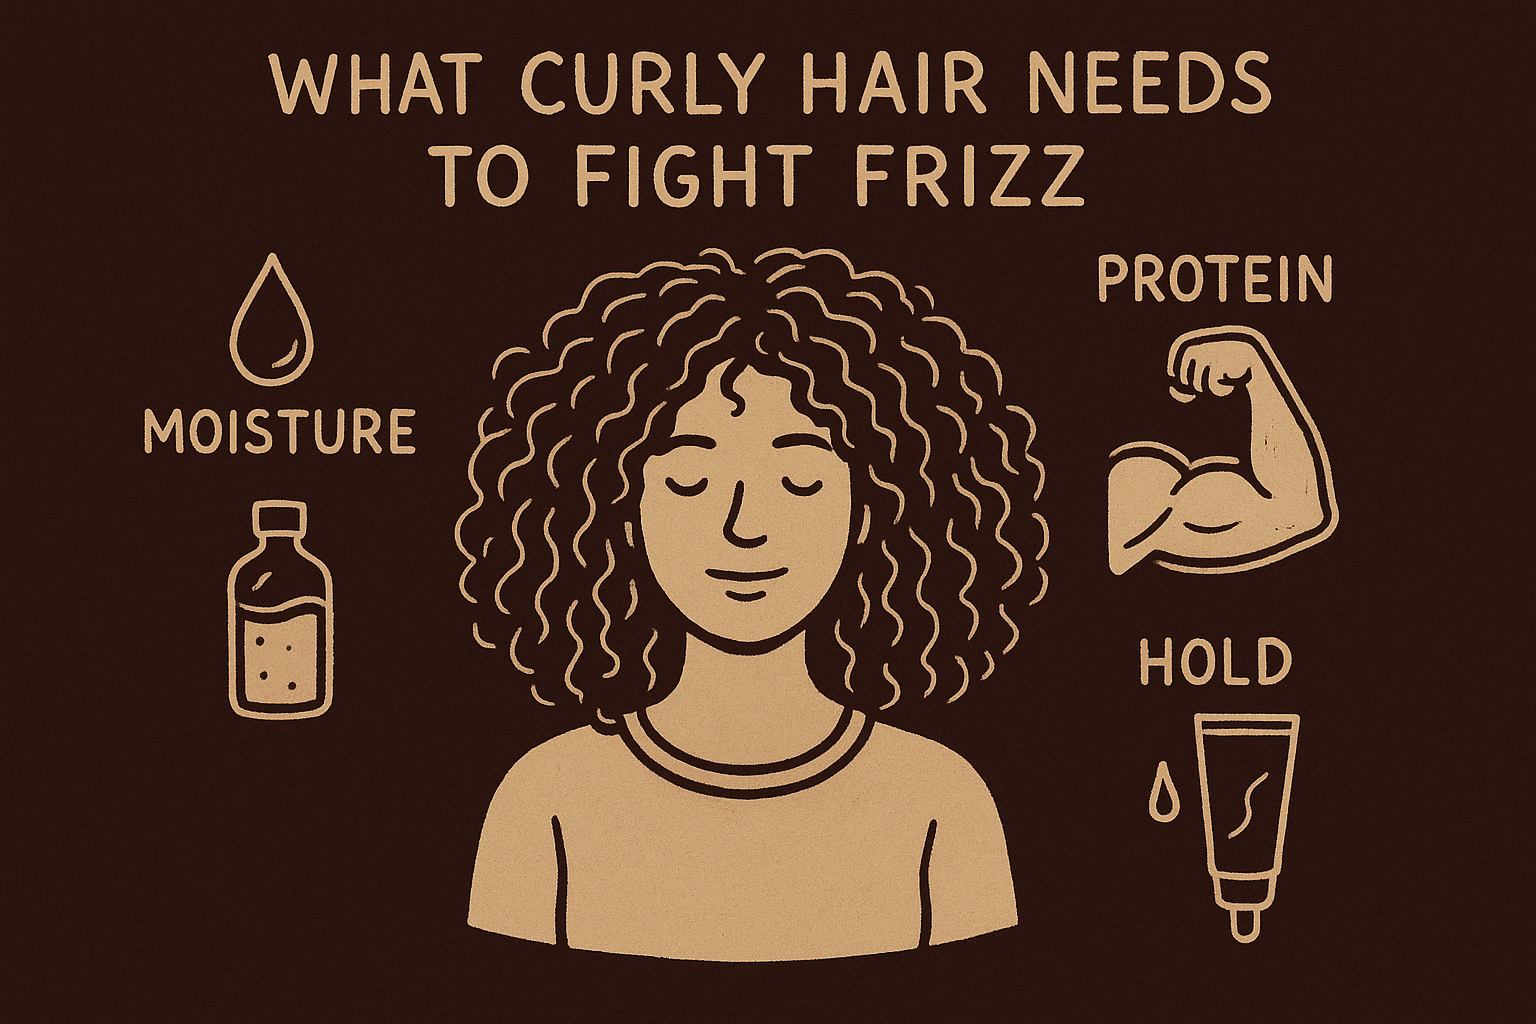
Frizz happens when your hair shaft is dry and seeks moisture from the air. The cuticle lifts up to let humidity in and your smooth curl turns into a fuzzy halo. Curly hair is naturally drier than straight hair because oils from your scalp can't travel down the twists and bends of each strand. When you understand this basic structure you can give your curls what they actually need instead of fighting them.
Moisture is your foundation
Your curls need water and ingredients that hold water in the hair shaft. This means products with humectants like glycerin, aloe vera, or honey that attract and bind moisture. Hydrated hair stays smooth because the cuticle lies flat instead of lifting to grab humidity from the air. You want to seal this moisture in with oils or butters after you apply water-based products. Think of it like layering: water first, then something to lock it in.
The key to frizz-free curls is keeping moisture inside your hair, not letting it escape and forcing your curls to pull it from the environment.
Protein for structure and strength
Curly hair needs protein to maintain its curl pattern and prevent breakage. Proteins fill in gaps along the hair shaft where damage has occurred and help your curls hold their shape instead of stretching out and losing definition. Look for ingredients like hydrolyzed wheat protein, silk amino acids, or keratin in your products. Too much protein makes hair stiff and brittle, so you need to balance it with moisture. If your curls feel dry and crunchy, you've overdone the protein. If they feel limp and stretched out, you need more.
Hold without crunch
You need styling products that create a cast around each curl to protect it while it dries. This cast prevents the curl from being disturbed by movement, friction, or humidity. Gels and mousses with film-forming ingredients work best for this. The cast will feel crunchy at first but you'll break it after your hair dries completely. Strong hold products give you better definition and longer-lasting curls. Don't be afraid of that initial crunch. It's doing the work of keeping frizz at bay while your curls set into place.
When you combine moisture, protein, and hold in the right amounts for your specific curl type, you create the conditions for defined, frizz-free curls that last.
Step 1. Cleanse and condition for definition
The way you wash your curls sets up everything that comes after. Your cleansing and conditioning routine determines how much moisture your hair retains and how easily you can work with it during styling. Most people overwash their curls with harsh shampoos that strip natural oils, then wonder why their hair feels like straw. When you learn how to style curly hair, you need to start with a wash routine that supports your curl pattern instead of destroying it.
Choose the right cleansing method
You have three main options for cleansing: regular shampoo, low-poo, or co-wash. Regular shampoo with sulfates cleans thoroughly but strips too much moisture from curly hair, so save it for when you have heavy product buildup or oil buildup from going too long between washes. Low-poo shampoos are sulfate-free and clean your scalp without being harsh. Co-washing means using conditioner to cleanse instead of shampoo, which works well for very dry or coarse curl types. Focus your cleansing on your scalp and roots where oil and product accumulate. Let the suds rinse through your lengths instead of scrubbing your ends.
Condition for slip and moisture
Apply conditioner from mid-length to ends while your hair is soaking wet. Use more than you think you need. Your hair should feel slippery and coated. This slip is what allows you to detangle without breaking your curls and ripping out hair. Work the conditioner through with your fingers or a wide-tooth comb, making sure every section gets covered. Leave it on for at least three minutes so it can penetrate the hair shaft. Your scalp doesn't need conditioner because it produces its own oils, so keep the product focused on your lengths and ends where dryness happens.
The squish to condish technique
This technique pushes water and conditioner into your hair shaft instead of just coating the surface. Cup sections of your hair in your palms and squeeze upward toward your scalp. You should hear a squishing sound as water moves in and out of your hair. This method encourages your curls to clump together from the very beginning of your routine.
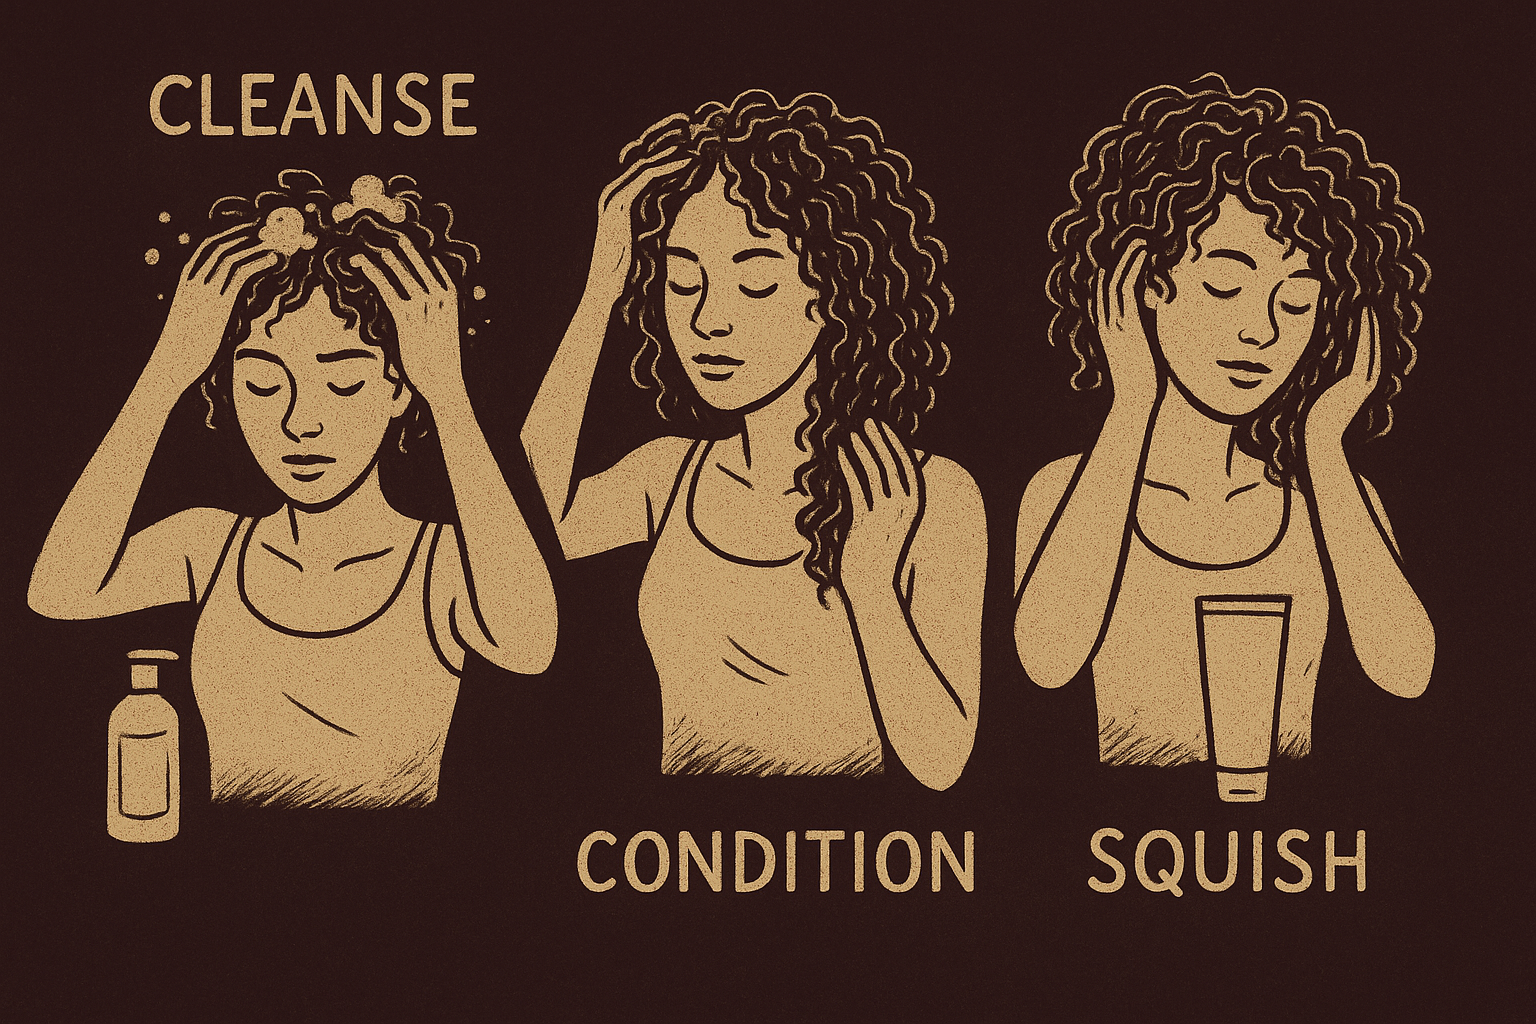
Squishing conditioner into your curls while they're soaking wet creates the foundation for defined, frizz-free results before you even apply styling products.
Rinse out about half the conditioner by letting water run over your hair without touching it. Keep your head tilted back or to the side so the water flow follows your curl pattern downward. Some conditioner should stay in your hair to maintain that slip for the next steps.
Step 2. Detangle and shape your curl pattern
Detangling while your hair is soaking wet and coated with conditioner is the only time you should comb through your curls. This step removes shed hairs that tangle around healthy strands and creates the curl clumps that give you definition. When you skip proper detangling, you end up with single strands that frizz out instead of curls that hold together. The goal here is to work with your natural curl pattern, not force it into something it's not.
Detangle with your fingers first
Start by dividing your hair into four sections while you're still in the shower. Use your fingers to gently separate any major tangles working from the ends up toward your roots. This prevents breakage because you're not pulling from the root down through a knot. Feel for areas where hair has matted together and carefully pull them apart. Your conditioner should provide enough slip that your fingers glide through easily. If you hit resistance, add more water or conditioner to that section. Finger detangling lets you feel exactly where tangles are and how much tension you're applying, which reduces damage compared to blindly raking through with a comb.
Use a styling tool if needed
A wide-tooth comb or a wet brush works for more stubborn tangles that your fingers can't handle. Hold each section at the roots so you're not pulling on your scalp, then comb from the ends upward in small sections. The teeth should move through your hair without catching or pulling. If the comb snags, stop and use your fingers to work out that tangle before continuing. Some people prefer a Denman brush because the rows of bristles help create curl clumps as you brush, but this tool can disrupt your natural pattern if you're not careful. Brush in the direction your curls want to form, not against them.
Shape your curls into clumps
Once you've detangled, it's time to encourage your curls to group together into defined sections. Rake your fingers through your hair from roots to ends, then squeeze upward with your palms cupped. This motion coaxes individual strands to join with their neighbors and form the spiral pattern you want. You can also use the praying hands method by smoothing sections of hair between your palms as if you're praying, which aligns the strands and reduces frizz. When you learn how to style curly hair, understanding that curls want to clump together naturally makes this step easier.
Shaping your curl clumps while your hair is still dripping wet locks in the pattern before you add styling products, giving you a head start on definition.
Don't touch your hair too much during this step. Two or three passes through each section is enough. Over-manipulating breaks up the curl clumps you just created and introduces frizz. Your curls should look chunky and defined, not stringy or separated into individual strands.
Step 3. Apply styling products the right way
The products you choose matter less than how you apply them. You can use expensive curl creams and gels but still end up with frizz if you don't layer them correctly or distribute them evenly. Most people apply too little product or put it on in a way that disrupts their curl clumps. Product application is where you lock in all the work you did during conditioning and detangling, so this step determines whether your curls hold their shape or fall apart within hours. When you learn how to style curly hair, mastering application technique gives you more control than switching between different brands.
Layer products from lightest to heaviest
Start with a leave-in conditioner while your hair is still soaking wet. This adds another layer of moisture and helps your styling products spread more easily. Apply it by raking through your hair with your fingers or smoothing it over each section with praying hands. Leave-in conditioner creates slip that prevents your next products from causing friction and frizz. Next comes curl cream if you're using one. Curl creams add definition and moisture but don't provide much hold on their own. Apply the same way as your leave-in, making sure to coat every section from roots to ends.
Gel or mousse goes on last because these products create the cast that protects your curls while they dry. Use more gel than feels natural. Your hair should feel saturated and almost sticky. The gel won't weigh your curls down once you scrunch out the crunch later. Strong-hold gel works better than light-hold for frizz control because it creates a firmer cast that humidity can't penetrate.
Apply with techniques that preserve clumps
Raking is the fastest way to distribute product but it can separate your curl clumps if you're too aggressive. Place your fingers at your roots and pull through to your ends, letting your curls fall back into place naturally. Praying hands smooths product over the surface of your hair without disrupting the clumps you formed earlier. Take a section of hair between your palms and glide your hands down from roots to ends. This technique works especially well for gel because it coats each clump evenly.
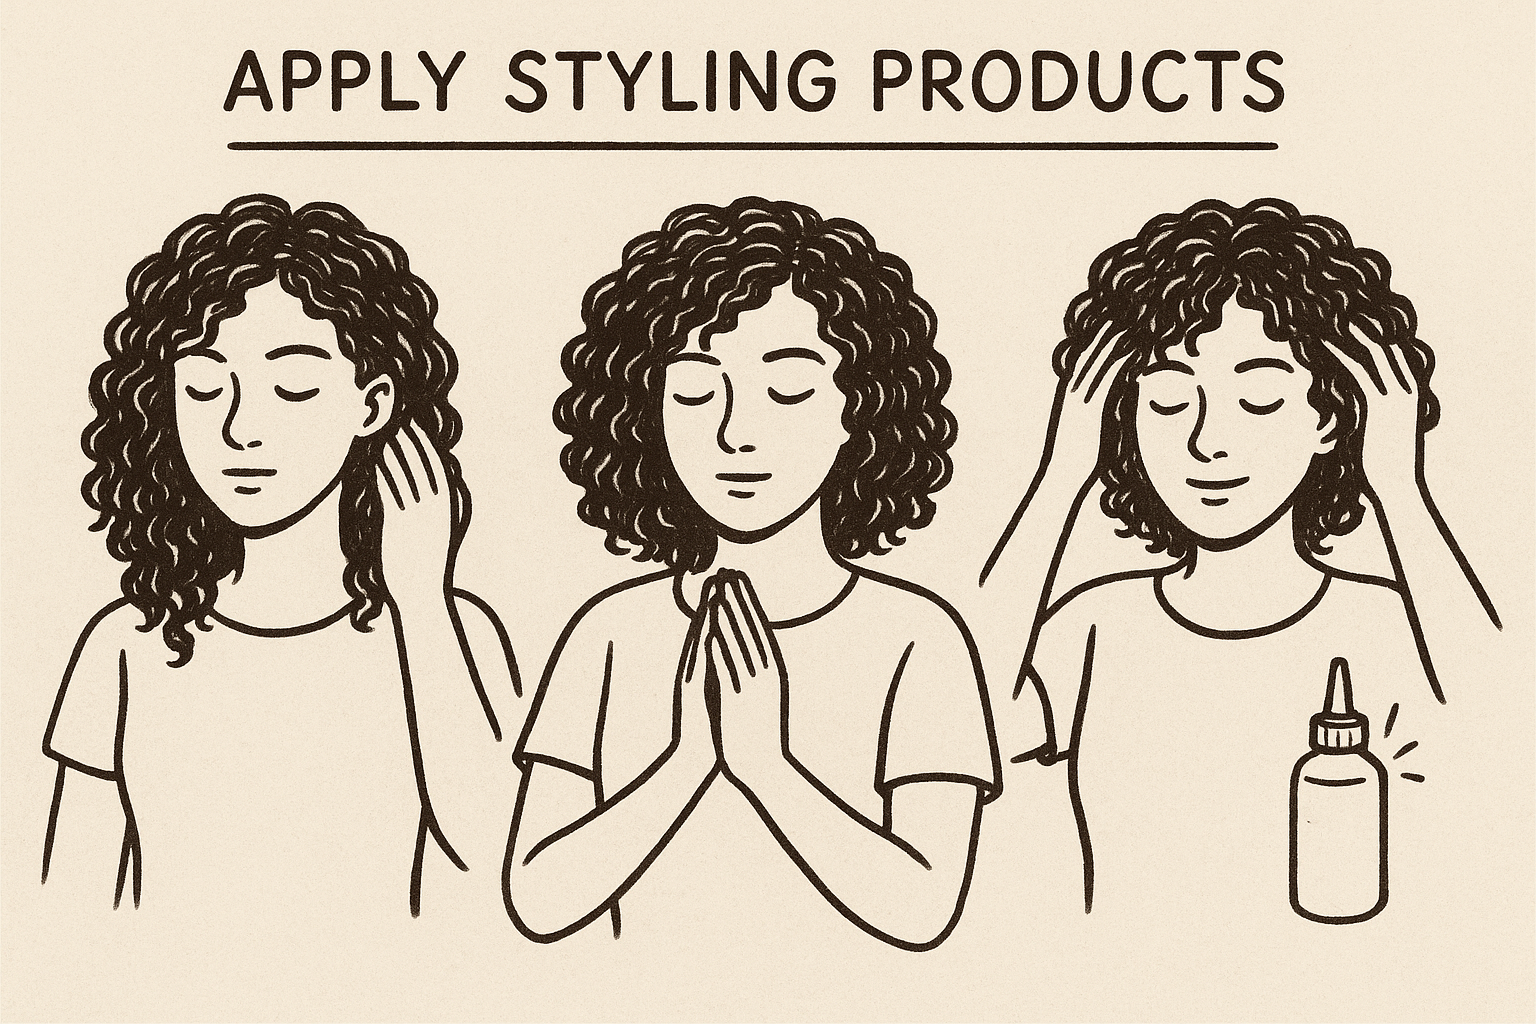
After you've distributed your product, scrunch upward with cupped palms to reinforce your curl pattern. This pushes product into your curls and encourages them to spring up instead of hanging limp. You should hear a squishing sound again as product mixes with the water in your hair. Don't scrunch more than three or four times per section or you'll create frizz.
The key to even product distribution is working in sections and making sure every curl clump gets coated, not just the hair on the outside layers.
Calculate the right amount for your density
Hair density determines how much product you need, not hair length. Dense hair has more strands per square inch of scalp and needs more product to coat everything. Fine or low-density hair needs less or it will look greasy and weighed down. Start with a quarter-sized amount of each product for shoulder-length hair and adjust from there. If you can still see sections of hair that look dry or undefined after applying product, you didn't use enough. Add more to those specific areas rather than redoing your whole head.
Here's a starting guide based on density and length:
| Hair Length | Low Density | Medium Density | High Density |
|---|---|---|---|
| Short (chin or above) | Nickel-sized | Quarter-sized | Half dollar-sized |
| Medium (shoulder) | Quarter-sized | Half dollar-sized | Palm-sized |
| Long (past shoulders) | Half dollar-sized | Palm-sized | Two palm-sized amounts |
Dense, coarse hair can handle heavier products like thick creams and strong-hold gels. Fine hair does better with lightweight mousses and water-based gels that won't create buildup. Test different amounts over a few wash days to find what works for your specific curl type and density.
Step 4. Dry your curls without frizz
How you dry your curls makes or breaks your entire routine. Touch your hair too much while it's drying and you'll break up the gel cast that's protecting your curl pattern. Move around too aggressively and friction from your clothes or hands will create frizz. The drying phase is when your curls are most vulnerable because they're still forming their final shape. This is the step where patience pays off. When you learn how to style curly hair, mastering the drying process is what separates good curl days from frustrating ones.
Air drying for maximum definition
Air drying gives you the most defined curls because there's no heat or manipulation disrupting the curl clumps you created. After you apply your products, leave your hair completely alone. Don't touch it, don't scrunch it, don't check if it's drying evenly. Every time you touch wet hair you introduce frizz. Your gel cast needs to form undisturbed to do its job. This takes anywhere from two to six hours depending on your hair's thickness and density.
The challenge with air drying is that it can leave your roots flat if you don't position your hair correctly. Flip your head from side to side every 30 minutes during the first hour of drying to encourage volume at the roots. You can also clip your roots up away from your scalp using small clips, which lifts the hair and creates volume as it dries. Remove the clips once your hair is about 80% dry.
Diffusing for faster results
A diffuser attachment spreads airflow evenly instead of blasting your curls with direct heat that causes frizz. Set your dryer to low heat and low speed. High heat opens your hair cuticle and invites frizz, while high speed blows your curl clumps apart. Hover the diffuser around your head without touching your hair or cup sections of hair into the diffuser bowl and hold it there for 30 seconds before moving to the next section.
Start at your roots and work your way down. Drying your roots first prevents the weight of wet hair from pulling your curls flat. Tilt your head to the side and place the diffuser near your scalp, then hold it still while the heat does the work. Move to the mid-lengths and ends last. Your hair should be about 80% dry before you stop diffusing. Let the remaining moisture air dry to avoid overdrying, which makes hair brittle and frizzy.
The key to diffusing without frizz is keeping your hands and the diffuser attachment from touching your hair while it's still forming its cast.
Keep your hands off while drying
Don't check your curls while they're drying. Resist the urge to scrunch, separate, or rearrange them. Each touch breaks the gel cast and creates flyaways. Your curls will look crunchy and possibly clumped together in weird ways, but this is exactly what you want. The crunch means your gel is working. You'll fix the appearance in the next step after everything is completely dry.
Avoid wearing clothes that rub against your hair while it dries. Turtlenecks, scarves, and rough fabrics create friction that disrupts your curl pattern. Keep your hair away from your shoulders by clipping it up or letting it hang forward if possible. If you need to lie down before your hair is dry, use a silk or satin pillowcase that won't absorb moisture or create friction.
Step 5. Protect and refresh your curls
Your curls need protection while you sleep or they'll flatten against your pillow and wake up frizzy and misshapen. Most people think they need to restyle their curls completely after day one, but proper nighttime care and morning refresh techniques extend your style for three to five days. This step saves you time and reduces heat damage or over-manipulation from washing too frequently. When you learn how to style curly hair, mastering the refresh is what makes the process sustainable long-term.
Protect your curls overnight
Switch to a silk or satin pillowcase that lets your hair glide instead of creating friction. Cotton pillowcases absorb moisture from your curls and rough up the cuticle while you sleep. If you can't replace your pillowcase, wrap your hair in a silk or satin bonnet that covers your entire head. Make sure the bonnet is large enough that it doesn't compress your curls too tightly.
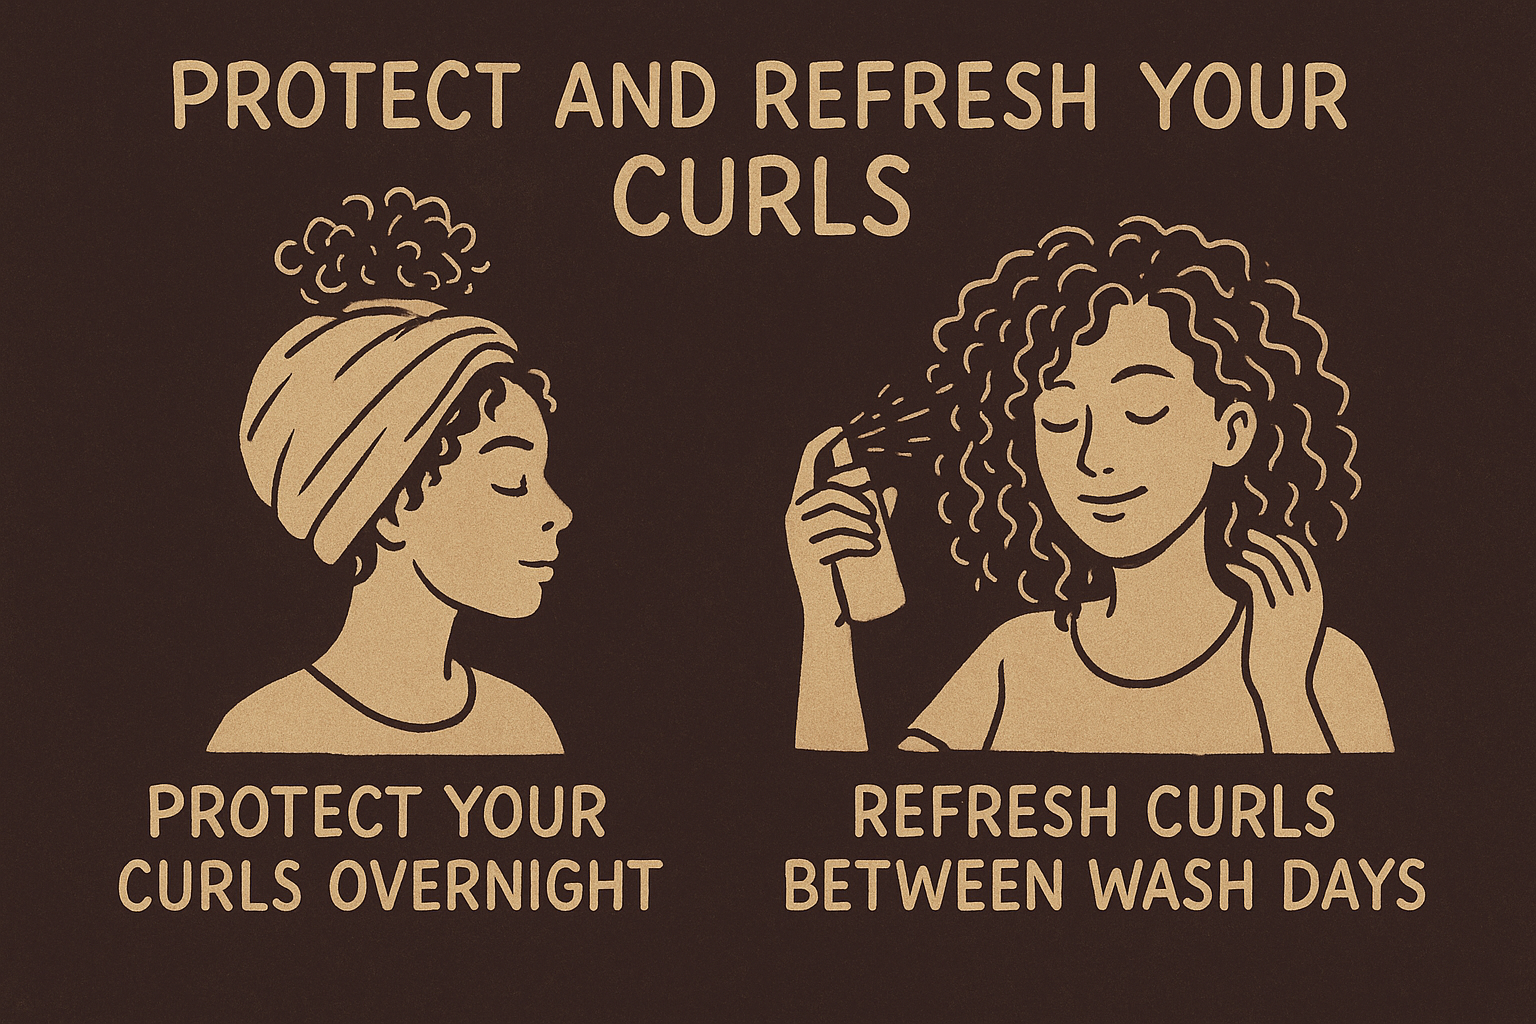
For hair longer than chin length, use the pineapple method by gathering your curls loosely on top of your head with a scrunchie or silk hair tie. Don't use regular elastic bands that create dents and breakage. Position the ponytail high enough that your curls cascade down without being squashed. This technique preserves your curl clumps and maintains volume at the roots.
Short hair needs medusa clipping, which means pinning small sections of hair away from your scalp using metal clips. Place clips randomly across your head to lift the roots and prevent flattening. Remove the clips in the morning and shake your curls out gently.
Refresh curls between wash days
Start with a spray bottle filled with water or a mixture of water and a small amount of leave-in conditioner. Mist sections of your hair until they're damp but not soaking wet. Focus on areas that lost definition or look frizzy. Scrunch the dampened sections upward with your palms to reactivate the products already in your hair and reform curl clumps.
If water alone doesn't bring back definition, apply a small amount of gel or curl cream to your palms, rub your hands together, then smooth over the frizzy areas using praying hands. Scrunch again to work the product in. Let your hair air dry or diffuse on low heat for a few minutes.
Refreshing your curls takes less than five minutes and extends your style without the full wash-and-style routine, making curly hair maintenance realistic for busy schedules.
Don't add too much product during refresh or you'll get buildup that weighs your curls down. A quarter-sized amount or less is usually enough for your entire head.
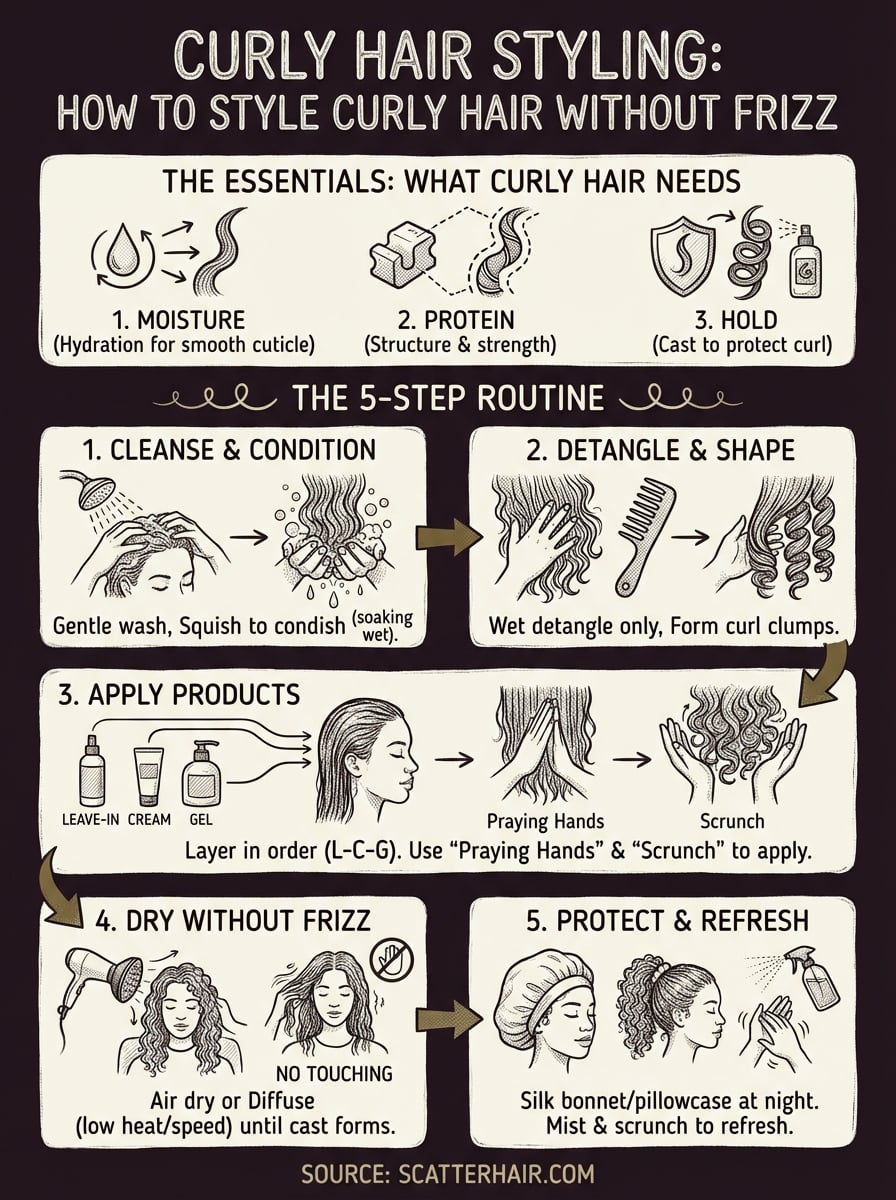
Your curl routine, simplified
Learning how to style curly hair comes down to five repeatable steps that work with your natural texture instead of fighting it. Cleanse gently and condition thoroughly to build moisture. Detangle and shape your curl clumps while hair is soaking wet. Apply products in the right order with enough coverage to create a protective cast. Dry without touching your curls until they're completely set. Protect your style overnight and refresh between washes to extend your results.
Your curls don't need complicated routines or expensive products to look their best. What matters is consistency and technique. Follow these steps in order, resist the urge to touch your hair while it dries, and protect your curls between washes. You'll see better definition and less frizz within a few wash cycles as you learn what your specific curl pattern needs.
Ready to take control of your texture? Discover Scatter Hair's approach to effortless styling for curls that work with your life, not against it.