

How to Style Curly Hair Wavy: A Step-by-Step Guide
Your curls are gorgeous, but tight, springy ringlets aren't always the vibe you want. Some days you want that relaxed, beachy movement instead of definition. That's exactly what how to style curly hair wavy is about, and it's more achievable than most tutorials make it sound.
The truth is you don't need heat tools or a different curl pattern to get there. Loosening your curls into waves comes down to product choice and a few technique tweaks, like how you scrunch, how much you brush out your curls, and when you apply product during your routine. Get those right and you can shift your everyday look without damaging your texture or fighting your natural pattern.
This guide walks you through the exact steps, from prepping wet hair to the final styling touches that keep waves looking soft instead of frizzy. We'll cover the products that actually loosen curl clumps versus ones that just weigh hair down, plus drying methods that make or break the result. By the end, you'll have a repeatable routine for turning your curls into waves whenever the mood strikes.
What you need before you start
Getting a loose, wavy finish starts before you ever touch your hair, it starts with your bathroom shelf. Wrong products are the number one reason people think they can't loosen their curl pattern, when really they're just using a heavy gel or butter meant for tight coils. If you want to know how to style wavy curly hair without fighting your texture, swap in lighter formulas and a couple of specific tools first.
The right tools
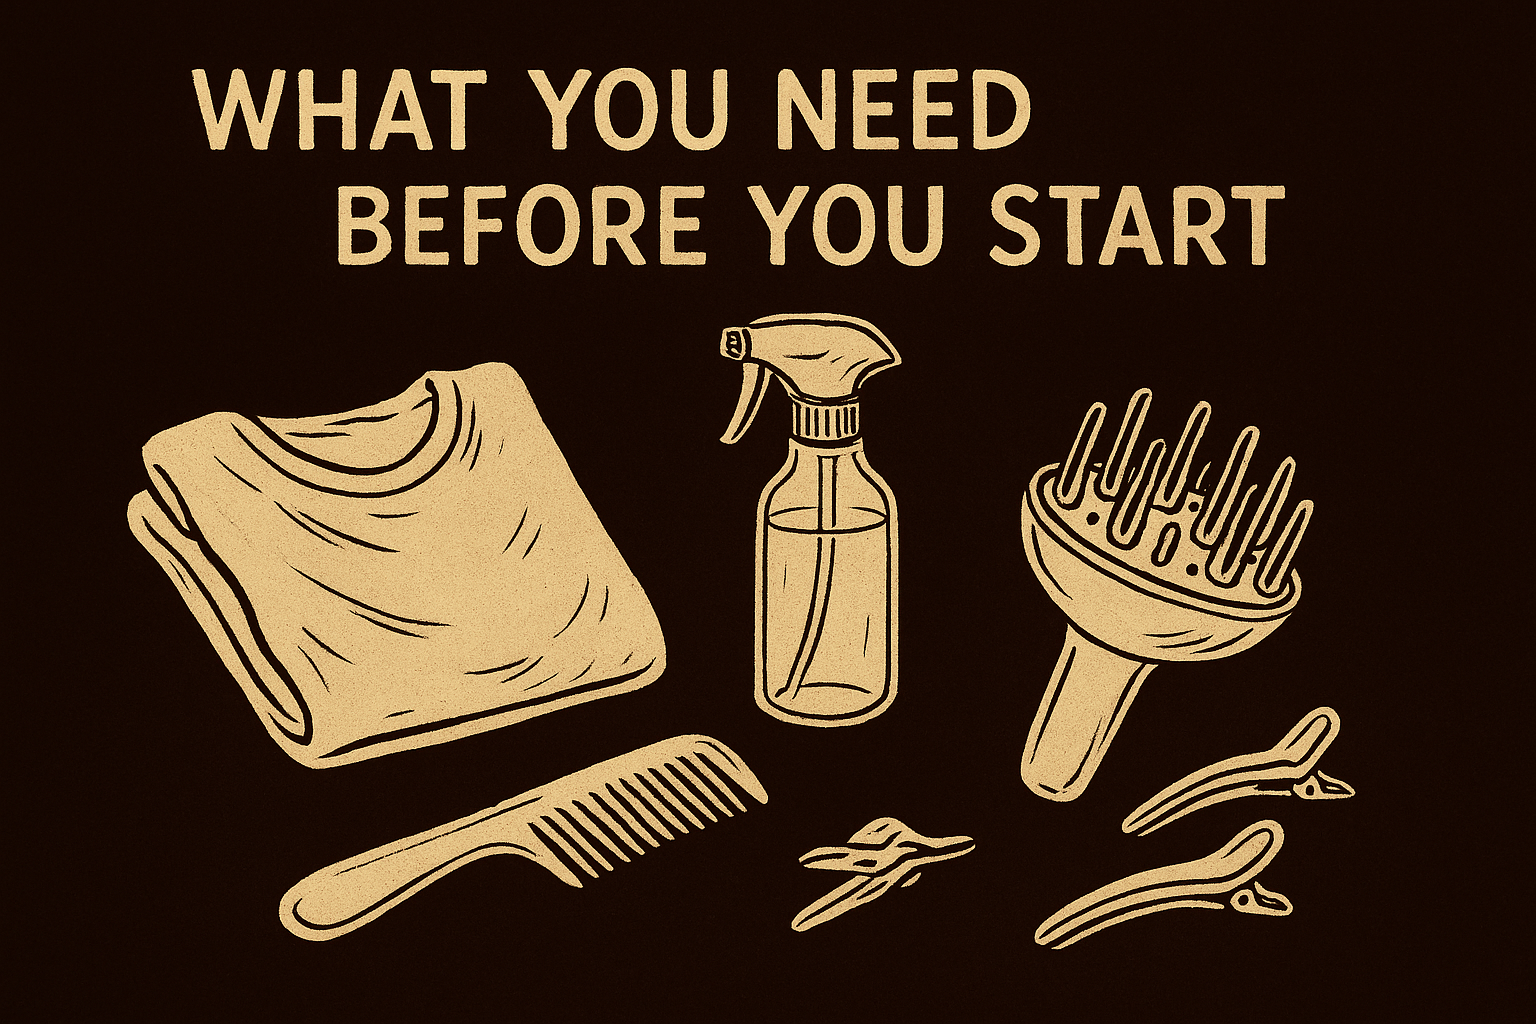
You don't need a huge haul, just a few pieces that actually do their job:
- A microfiber towel or old t-shirt to scrunch out water without roughing up the cuticle
- A wide-tooth comb for gentle detangling in the shower
- A diffuser attachment for your blow dryer, or patience for air drying
- A spray bottle filled with water for reactivating product on day two or three
- Clips or pins to section hair while it dries, which helps root lift
Product types that loosen curls
Every product you put in curly hair either clumps it tighter or relaxes the bend. Knowing which is which matters more than any technique.
| Product Type | Effect on Curl Pattern | Best For |
|---|---|---|
| Sulfate-free shampoo | Cleans without stripping moisture that holds curls in shape | First step in every wash routine |
| Rich rinse-out conditioner | Weighs down clumps into looser waves | Detangling and pre-styling |
| Lightweight styling cream | Adds slip and hold without stiffness | Everyday wavy looks |
| Heavy gel or curl custard | Locks in tight, defined curls | Skip this if you want waves |
Once you understand this table, the rest of the routine falls into place fast.
Loosening curls into waves is less about technique and more about choosing lighter products that let gravity do the work.
Quick tip: pick lightweight, water-based formulas over anything labeled "maximum hold." Scatter's upcoming lineup is built around exactly this kind of performance-first approach for textured hair, and you can get early access details on our email list before it launches in 2026.
Step 1. Wash with a hydrating, sulfate-free shampoo
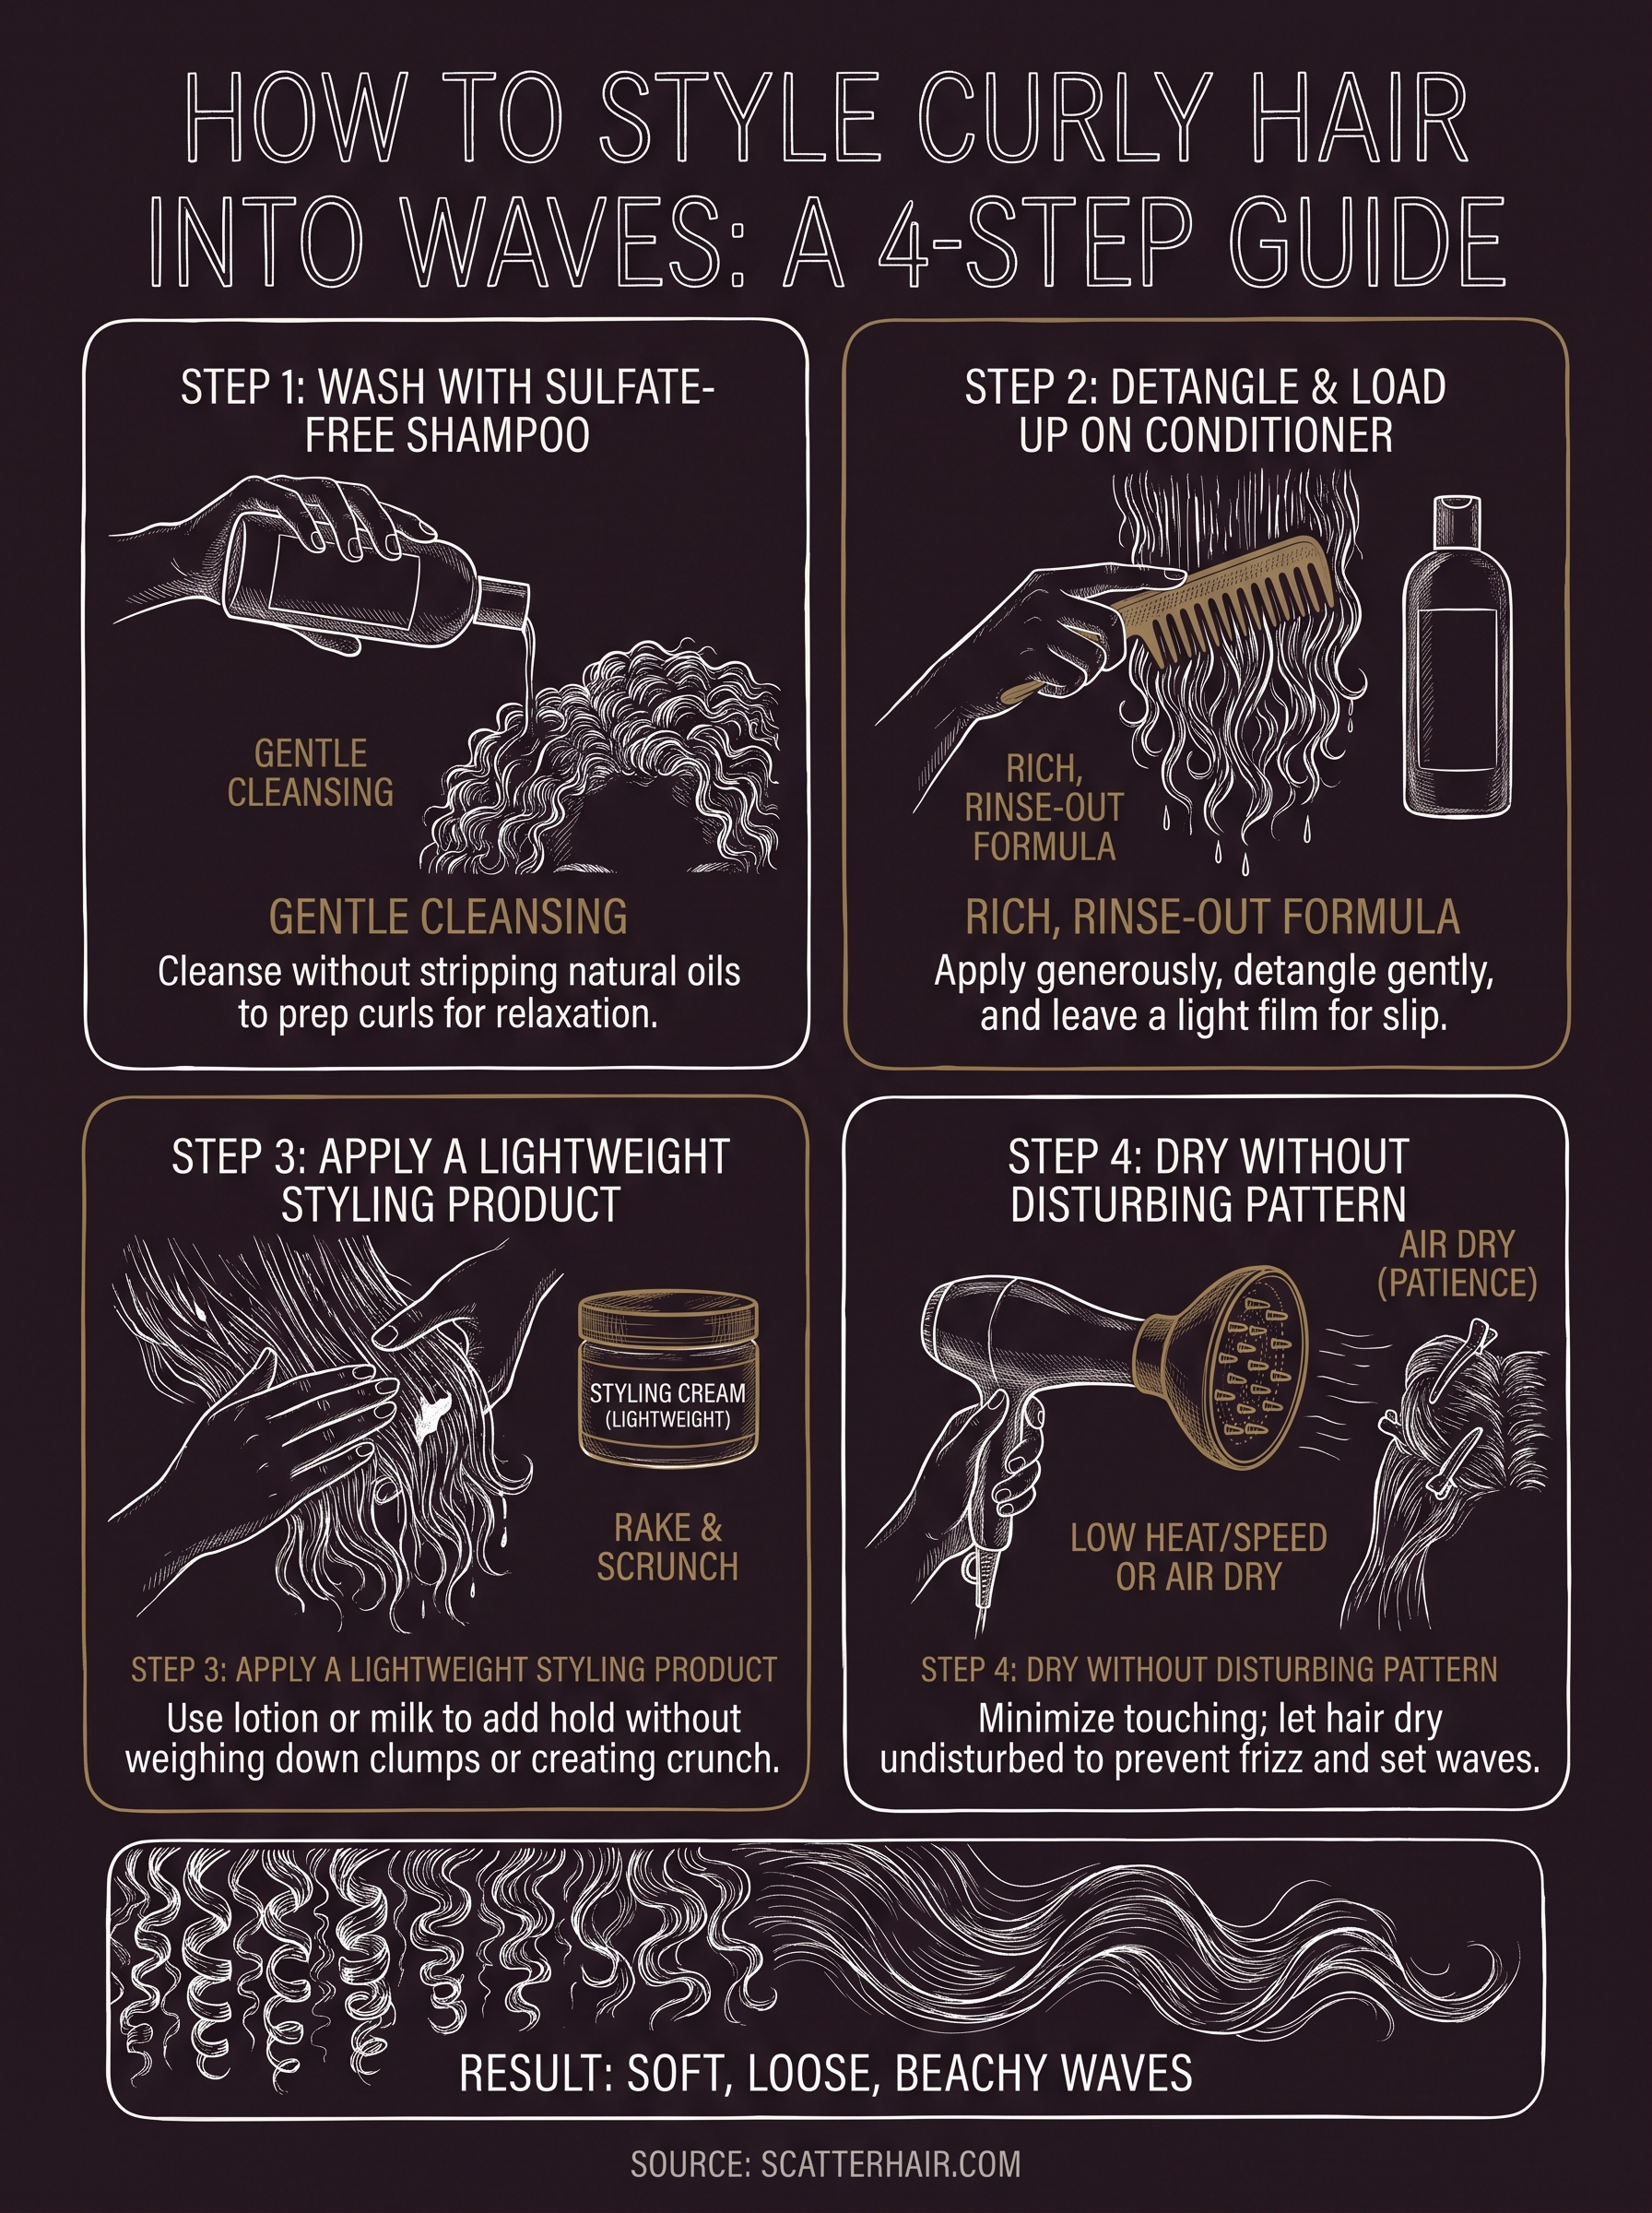
Every wave routine starts in the shower, and this first wash sets the tone for everything after. Standard shampoos loaded with sulfates strip away the natural oils that help curls relax into soft bends, leaving hair frizzy and prone to snapping back into tight coils. A hydrating, sulfate-free shampoo cleans your scalp without stealing that moisture, which is exactly what you need if you're figuring out how to style curly wavy hair without constant frizz battles.
Skip the sulfates and your curls do half the wave-loosening work on their own.
Why the formula matters more than the brand
Look at the ingredient label before you look at the marketing. Sulfates like sodium lauryl sulfate create that squeaky-clean feeling, but they also flatten the cuticle layer and dry out the bend in your strands. A gentler surfactant keeps the hair shaft smooth, so water and product can slide through evenly during styling.
How to wash for the best wave setup
- Wet hair thoroughly with warm, not hot, water
- Apply shampoo to your scalp only, not the lengths
- Massage gently with fingertips for 30 to 60 seconds
- Rinse with cooler water to help seal the cuticle
This simple shift, from stripping to hydrating, gives your curls the flexible starting point they need to loosen into waves later in the routine.
Step 2. Detangle and load up on conditioner
Conditioner is where the real wave transformation begins, so don't rush this step. While your hair is still soaked and full of slip, work through knots with a wide-tooth comb, starting at the ends and working up to the roots. Detangling now, before any product goes in, prevents breakage and keeps your curl clumps intact instead of shredded into frizz.
Next comes the part most people skip: piling on more conditioner than feels normal. A generous, rich rinse-out conditioner left in for a few minutes weighs down tight coils just enough to relax them into looser bends. This is the single biggest trick for how to style curly hair wavy without any heat or extra tools.
More conditioner, not more product later, is what actually loosens a tight curl pattern into waves.
Rinse with lukewarm water, but leave a light film of conditioner behind rather than washing it all out. That residual slip helps your styling cream distribute evenly in the next step. Squeeze, don't rub, excess water out with your microfiber towel or t-shirt before moving on.
Here's a quick checklist for this stage:
- Comb through soaking wet hair with conditioner still in
- Leave conditioner on for 3 to 5 minutes
- Rinse partially, leaving a light coating
- Squeeze out water gently, never twist or rub
Step 3. Apply a lightweight styling product
Once your hair is damp and combed through with conditioner still clinging to the strands, it's time to add a lightweight styling cream or lotion, never a heavy gel or curl custard meant for tight coils. This is the step that turns wet, stretched-out curls into soft, defined waves instead of snapping back into ringlets as they dry. If you've been wondering how to style wavy curly hair without stiffness or crunch, the product you reach for here matters more than the amount of time you spend applying it.
A lightweight cream lets your curl clumps relax into waves; a heavy gel locks them back into tight coils.
Choosing the right formula
Look for words like "lightweight," "lotion," or "milk" on the label, and skip anything marketed as maximum hold or anti-frizz butter. Those heavier formulas coat the hair shaft and pull curls back into their natural, tighter shape, undoing the loosening work from your conditioner step.
How to apply it evenly
- Rake a small amount through hair with your fingers, section by section
- Focus on mid-lengths and ends, not the roots
- Scrunch gently upward instead of twisting or coiling strands
- Add a spritz from your spray bottle if hair feels dry before you finish
Applying product this way keeps the wave pattern loose and natural instead of crispy or overly defined.
Step 4. Dry your hair without disturbing the wave pattern
Drying is where most people accidentally undo all the work from the first three steps. Touching, scrunching repeatedly, or running a brush through damp curls breaks up the clumps you just spent time forming, leaving you with frizz instead of soft waves. Whether you reach for a diffuser or let hair air dry, the goal is the same: minimal movement, maximum patience.
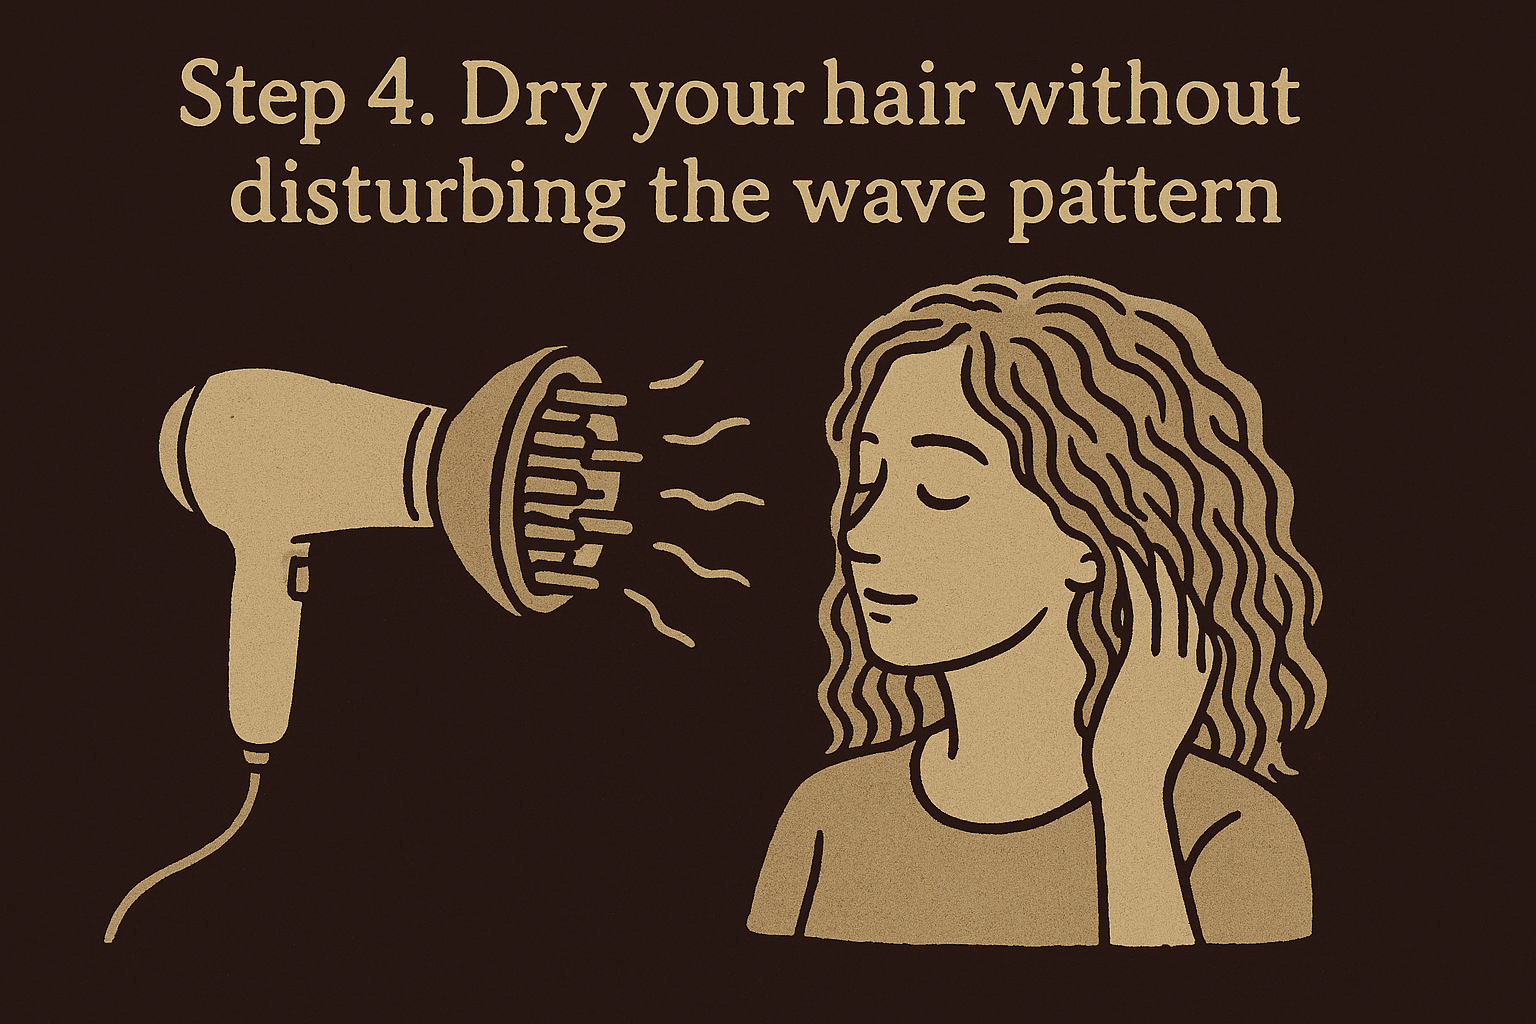
The less you touch your hair while it dries, the looser and smoother your waves will look.
Diffusing for a quicker finish
A diffuser attachment cradles curls instead of blasting them with direct airflow, which keeps the wave pattern intact. Set your blow dryer to low heat and low speed, then cup sections of hair in the diffuser bowl and hold for 10 to 15 seconds at a time. Work from the ends up toward the roots, and stop once hair is about 80 percent dry. Finishing the last stretch air-drying prevents overheating and keeps waves from getting crispy.
Air drying for the softest wave
If you have the time, skip heat altogether. Clip sections at the roots for lift, then let hair dry undisturbed in a warm room or near an open window. This method takes longer, usually one to two hours, but it produces the loosest, most natural-looking waves with zero risk of heat damage. Either way, resist the urge to scrunch again once hair feels dry to the touch.
Getting comfortable with your new wave
Give yourself a few wash days before judging the results. Your curls need time to adjust to lighter products and gentler drying, and your hands need practice knowing exactly how much cream and conditioner your specific texture wants. Loosening curl clumps into waves isn't a one-and-done trick, it's a routine you refine each time you wash.
Once you've got the steps down, styling this way stops feeling like a project and starts feeling like your normal routine. You'll know instantly when hair needs more slip, less product, or just a longer stretch of undisturbed drying time. That's the real payoff of learning how to style curly hair wavy: control over your look without ever picking up a flat iron.
If you want products actually built for this kind of low-effort styling, join Scatter's email list for early access when the brand launches in 2026.