

How to Style Frizzy Curly Hair without the Frizz
You've done everything right. Deep conditioner, curl cream, maybe even a diffuser session, and by noon your curls have puffed into a halo you didn't ask for. If you're searching for how to style frizzy curly hair, you already know the frustration isn't the curl pattern itself, it's the frizz that fights you at every step, from humidity to hair ties to just plain touching your hair too much.
The good news: frizz is manageable once you understand why it happens and what your curl routine is missing. It usually comes down to a handful of fixable habits, the wrong technique in the shower, skipping key products, or using tools that rough up your cuticle instead of smoothing it. Fix those, and the frizz calms down fast.
This guide walks through exactly how to get there, step by step. You'll get practical techniques for washing, applying product, and drying your curls, plus the specific ingredients and tools that actually reduce frizz instead of masking it for an hour. Whether you're new to your texture or just tired of fighting it, these are the fundamentals that make styling feel effortless instead of like a daily battle.
Why curly hair turns frizzy
Frizz isn't random. It happens when the outer layer of your hair, the cuticle, lifts up instead of lying flat. Straight hair has a smoother cuticle structure, so moisture slides off easily. Curly hair twists and bends along its length, which means the cuticle naturally has more raised edges to begin with. Add humidity, friction, or dryness, and those raised edges grab water vapor from the air, swell, and puff outward. That's the halo effect you're seeing by noon.
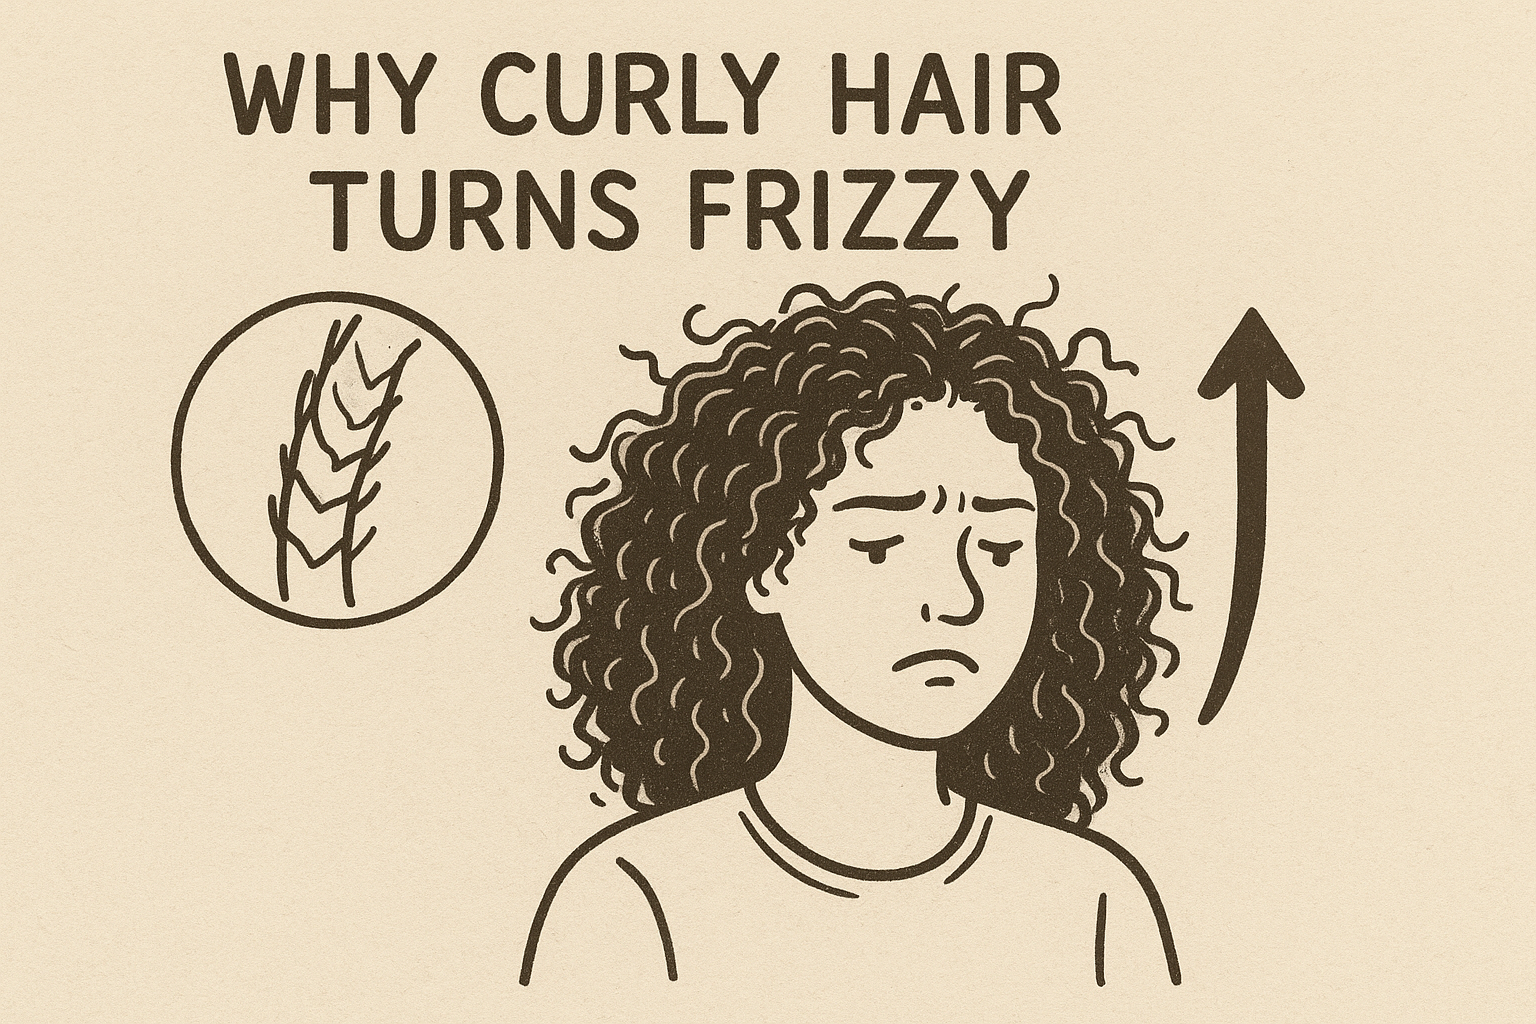
The moisture-seeking cuticle
Your hair is hygroscopic, meaning it absorbs moisture from its surroundings whenever it's thirsty. Curly and coily hair is almost always thirstier than straight hair because the natural oils from your scalp have a harder time traveling down the twists and coils of the strand. When your hair lacks enough moisture from the inside, it pulls water from the air instead, and it pulls unevenly. Some strands stay smooth while others swell and frizz, which is why frizz often looks patchy rather than uniform across your whole head.
Frizz is your hair pulling moisture from the air because it didn't get enough from your routine.
Porosity changes the equation
How fast your hair absorbs and loses moisture depends on porosity, which is basically how open or tight your cuticle layer is. High porosity hair has gaps and lifted cuticle scales, so it soaks up humidity fast and dries out just as fast, leading to frequent frizz. Low porosity hair has a tighter cuticle that resists moisture getting in at all, which sounds good until product just sits on top instead of absorbing, leaving hair coated and eventually frizzy from lack of actual hydration. Knowing your porosity changes which products and techniques actually work for you.
| Porosity type | What happens | Frizz risk |
|---|---|---|
| Low porosity | Cuticle lies flat, resists moisture | Frizz from product buildup, not enough hydration |
| Medium porosity | Cuticle balanced, absorbs and holds moisture well | Lowest frizz risk with proper care |
| High porosity | Cuticle lifted, absorbs and loses moisture fast | Frizz from humidity and rapid moisture loss |
A quick way to check: drop a clean strand of hair in a glass of water. If it sinks fast, you're likely high porosity. If it floats for a while, you're probably low porosity.
Everyday habits that make it worse
Beyond your hair's natural structure, daily habits pile on extra frizz. Rough towel drying roughs up the cuticle with friction. Brushing dry curls breaks up your curl clumps and pulls apart the pattern that keeps frizz contained. Sulfates in shampoo strip natural oils faster than your scalp can replace them, leaving strands dry and prone to swelling. Even sleeping on cotton pillowcases pulls moisture out of your hair overnight through absorption and friction. None of these habits are dramatic on their own, but stacked together they explain why frizz creeps back no matter how good your wash day looked.
Weather and hormones play a role too
Outside factors matter just as much as your routine. Humidity is the most obvious culprit, since more moisture in the air means more moisture your cuticle tries to grab. But dry winter air causes frizz too, just from the opposite direction: your hair loses moisture fast in low humidity and compensates by frizzing as strands seek balance. Hormonal shifts, certain medications, and even hard water with high mineral content can also change how your cuticle behaves, which is why frizz sometimes appears seemingly out of nowhere even when your routine hasn't changed.
Understanding these causes matters because it changes how you approach fixing frizz. You're not fighting a flaw in your curl pattern, you're working with a strand structure that needs specific care to stay smooth. The next seven steps are built around exactly that: giving your curl routine the moisture, technique, and protection it needs so the cuticle stays sealed instead of constantly reaching for whatever's in the air around you.
Step 1. Wash with a sulfate-free curl routine
Your wash day sets the tone for every curl you'll style afterward, and it starts with what's in your shampoo bottle. Sulfates are the harsh detergents responsible for that squeaky-clean feeling, but they strip natural oils so aggressively that your cuticle overcompensates by pulling moisture from the air the moment it gets the chance. Swapping to a sulfate-free cleanser is the single biggest change most people can make to calm frizz before they even touch a styling product. This is the foundation of learning how to style curly frizzy hair without fighting your own routine.
A sulfate-free wash isn't optional for curls, it's the first line of defense against frizz.
Choose a cleanser that actually cleans without stripping
Not every sulfate-free label means the same thing, so check the ingredient list rather than trusting the front of the bottle. Look for gentle surfactants like cocamidopropyl betaine or decyl glucoside, which clean the scalp without tearing through the cuticle. If your curls lean dry or high porosity, consider co-washing once or twice between shampoo days using a cleansing conditioner instead, since it removes buildup while adding a layer of slip. Coily and tightly coiled textures especially benefit from stretching shampoo days out, since scalp oil takes longer to travel down the strand and doesn't need stripping as often.
Wash technique matters as much as the product
How you apply and rinse your shampoo changes the outcome just as much as the formula itself. Massage the shampoo into your scalp with your fingertips, not your nails, and let the suds run down the lengths naturally rather than scrubbing the ends directly. Rinse with cool or lukewarm water instead of hot, since heat opens the cuticle further and sets you up for frizz before you've even started styling curly and frizzy hair.
A quick checklist for wash day:
- Skip sulfates, look for cocamidopropyl betaine or decyl glucoside on the label
- Focus shampoo on the scalp, not the strand
- Rinse with cool water to help the cuticle lie flatter
- Co-wash between full shampoos if your curls run dry
- Always follow with a moisturizing conditioner, never skip this step
Finish every wash with a rich conditioner and leave it on for a few extra minutes while you shave or brush your teeth. That extra time gives the moisture a chance to actually penetrate the cuticle instead of sitting on the surface, which matters more for high porosity strands that lose hydration fast. Getting this step right means every layer of product you add afterward has a smooth, hydrated base to work with instead of fighting dryness from the start.
Step 2. Detangle with a wide-tooth comb
Once your conditioner is in and your curls are coated, it's time to detangle, and the tool you grab makes a bigger difference than most people realize. A wide-tooth comb glides through wet, slippery hair without snagging the cuticle the way a fine-tooth comb or brush would. Brushing curly hair, especially dry, breaks apart your natural clumps and turns one section into three or four frizzy, disconnected strands. Detangling correctly protects the curl clumps you're trying to build later in the routine, which is exactly why this step matters for anyone working out how to style curly and frizzy hair without undoing their wash day progress.
Detangle in the shower with conditioner in, never on dry curls.
Work in sections, not all at once
Split your hair into four to six sections before you start combing, since trying to detangle your whole head in one pass just tangles it worse. Clip the sections you're not working on out of the way with claw clips so they stay wet and slick. Start combing from the ends and work your way up toward the roots gradually, never the reverse, because combing from the root down pushes knots into a tighter tangle at the tips. Take your time here. Rushing this step is one of the fastest ways to end up with breakage that shows up as frizz weeks later.
Add slip before you comb
Dry or under-conditioned hair fights a comb no matter how gentle the tool is, so make sure each section is fully saturated with conditioner before you start. If a section feels sticky or resistant, add a bit more conditioner rather than forcing the comb through. Some curlies keep a separate, cheap
Step 3. Apply product to soaking-wet hair
Most frizz problems trace back to one mistake: applying product to hair that's already started drying. Once water evaporates, your cuticle begins closing back up, and any cream or gel you layer on top just sits on the surface instead of sealing moisture in. Squeeze your hair with a plopped microfiber towel or an old t-shirt for a few seconds first, just enough to knock off dripping water, then apply every product while your curls are still soaking wet. This single timing shift is one of the fastest answers to how to style curly and frizzy hair, because it works with your cuticle instead of against it.
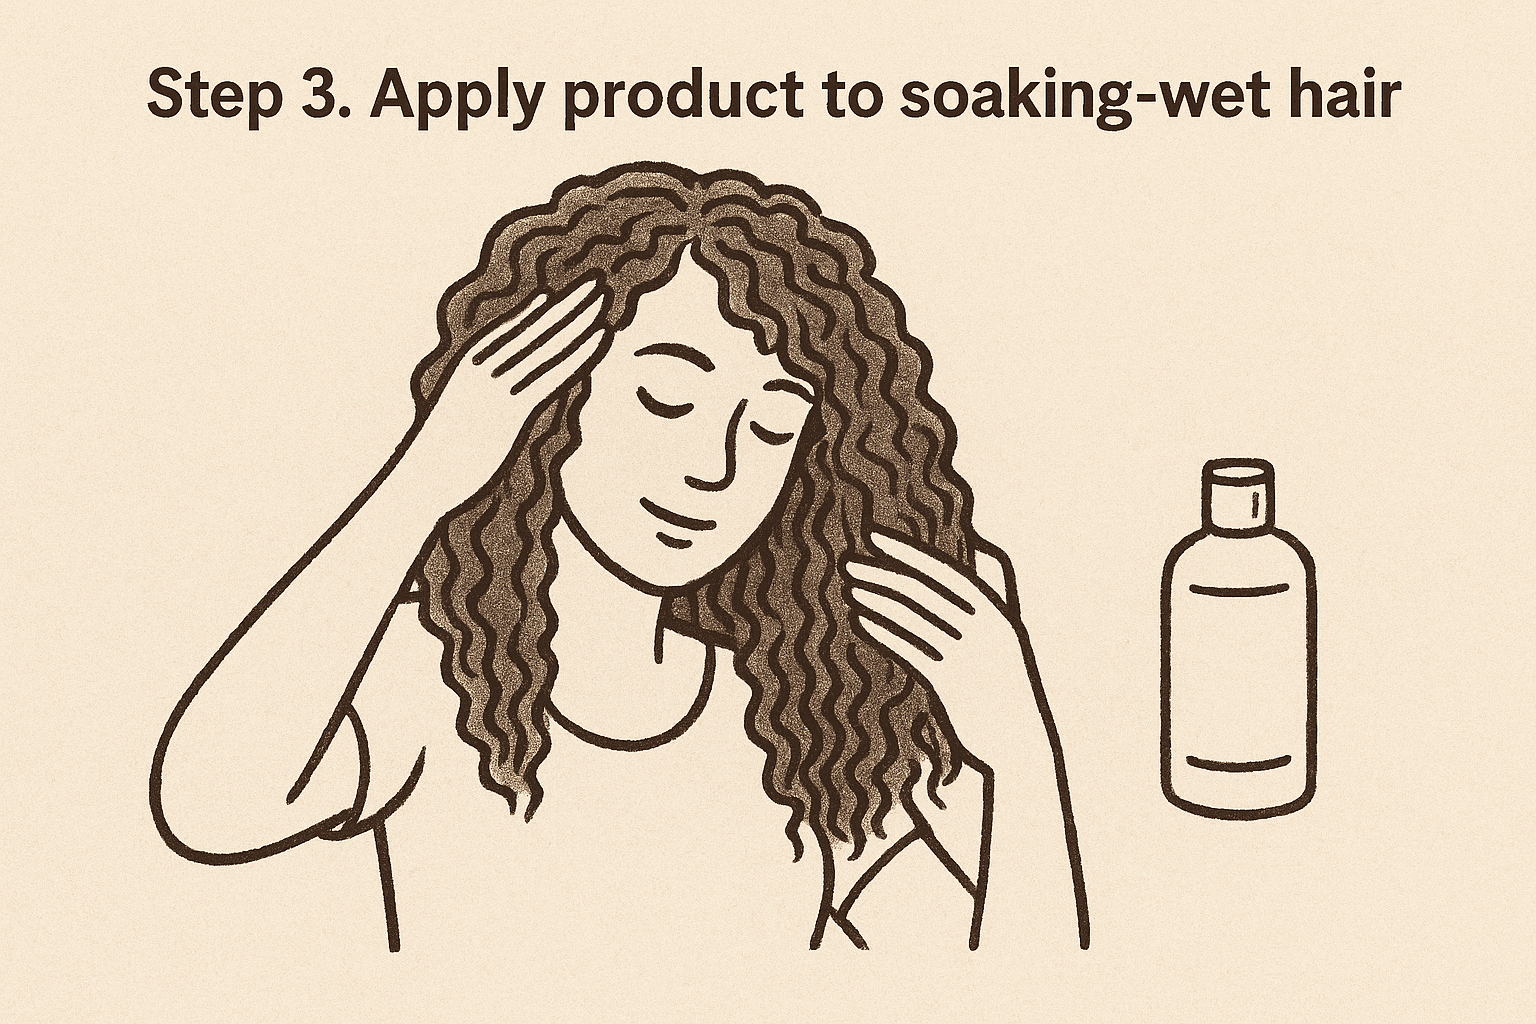
Product on dripping hair seals moisture in, product on dry hair just coats the frizz.
Why wet hair holds product better
Soaking wet strands are swollen and the cuticle sits slightly open, which means whatever you apply actually absorbs into the shaft rather than clinging to the outside. Hair that's already air-dried for even a few minutes has a tighter, closed cuticle, so product slides around on top and creates that heavy, greasy look without any real frizz control. Keep a spray bottle of water nearby during styling so you can re-wet sections that dry out before you finish applying everything.
Layer in the right order
Building your product stack in the correct sequence matters as much as the wet-hair rule itself. Each layer has a job, and skipping the order usually means one product cancels out the benefits of another.
- Leave-in conditioner, applied first for slip and lasting hydration
- Curl cream, applied on top to define clumps and add moisture retention
- Gel, applied last to lock the cast in place and block out humidity
Apply each layer section by section rather than all over your head at once, since hair starts drying the moment it's exposed to air. Scrunch upward gently as you go, cupping sections in your palm and squeezing toward the scalp, which encourages your natural curl clumps to form instead of hanging loose and separating into frizz later. Avoid running your fingers down the length repeatedly once product is in, since that motion breaks up clumps the same way brushing dry curls does.
Don't skip the gel step even if your hair feels coated already. Gel forms a light cast that hardens as it dries, holding your curl pattern in place while humidity tries to swell the cuticle from outside. Once your hair is fully dry, you'll scrunch that cast out for soft, defined curls instead of a stiff, crunchy finish.
Step 4. Dry gently with a microfiber towel
Once every layer of product is in, resist the urge to grab the nearest bath towel. Regular cotton towels have a rough, looped texture that catches on your cuticle and scrubs your curl clumps apart, which is exactly the kind of friction that leads to frizz before your hair even finishes drying. Switching to a microfiber towel or an old cotton t-shirt cuts that friction dramatically, since the smooth surface absorbs water without grabbing at the strand. This one swap solves a big chunk of the puzzle for anyone still working out how to style frizzy curly hair after doing everything else right.
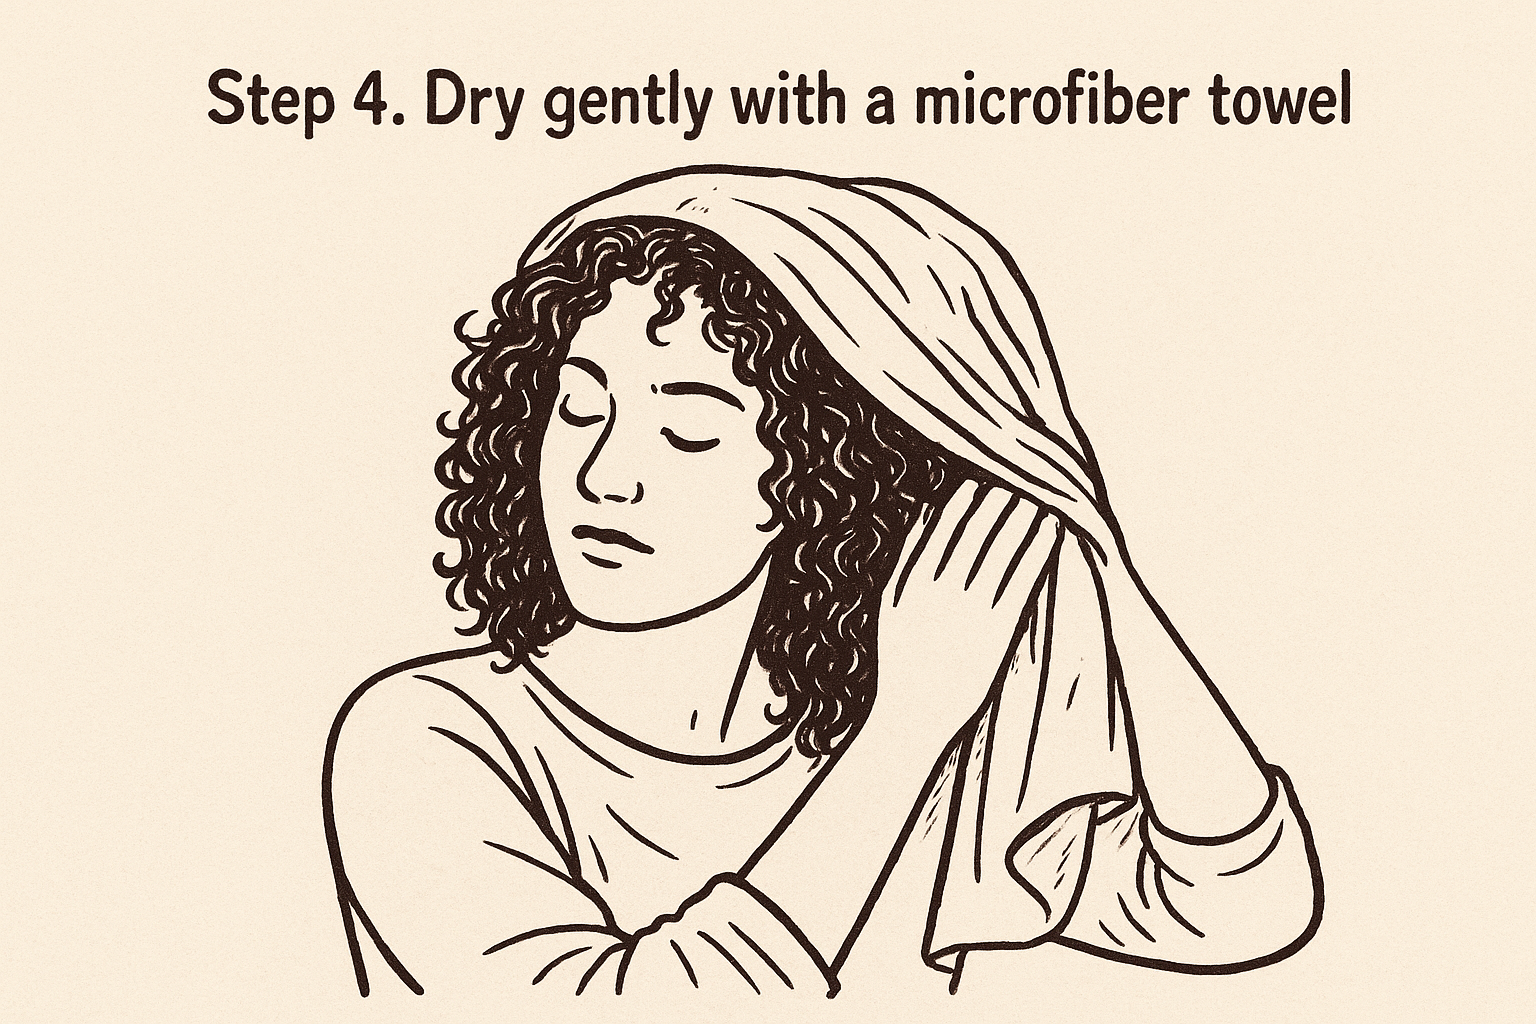
Rough drying undoes styling, gentle drying locks it in.
Why microfiber beats cotton
Microfiber fabric is woven from finer fibers than cotton, so it wicks water away fast without the raised loops that snag your curl pattern. Plopping, where you flip your head forward and wrap the towel around your curls like a turban, lets the fabric absorb excess water while your curls rest undisturbed instead of being rubbed or squeezed repeatedly. Squeezing motions, even gentle ones done with the wrong fabric, still create enough movement to break apart the clumps you just built during product application. Terry cloth towels also hold more water against the hair for longer, which keeps the cuticle swollen and open to humidity for an extra twenty or thirty minutes you don't need to lose.
How to plop without disturbing your curls
Getting the technique right matters more than the fabric alone, so follow the same order every wash day until it becomes automatic.
- Flip your head forward from the waist, letting curls hang naturally
- Lay the microfiber towel or t-shirt flat on a surface, then lower your head onto the center
- Wrap the ends up and around, securing at the nape or with a clip
- Leave it plopped for 10 to 20 minutes while you get ready or make coffee
- Unwrap gently, tilting your head back up rather than shaking it out
Timing the plop matters too. Leaving it on too long can flatten your roots or cause reverse frizz at the crown, so ten to twenty minutes is usually the sweet spot for most curl types, with looser waves needing less time and tighter coils tolerating a bit more. Unwrapping the towel is where a lot of people undo their progress, since yanking it off fast creates the same friction you just avoided. Lift it away slowly and let your curls fall back into place rather than tousling them with your hands, saving that touch for the diffusing or air-drying stage next.
Step 5. Diffuse or air-dry without touching
Once you've plopped and unwrapped, your curls are mostly formed but still wet, and this is where a lot of people undo their progress by reaching in to "fix" a piece that looks off. Whether you diffuse or let your curls dry naturally, the rule stays the same: hands off until the hair is fully dry. This step is often the difference between people who master how to style curly frizzy hair and people who keep reworking the same routine without results.
Diffusing for faster, defined curls
A diffuser attachment spreads airflow across a wider surface instead of blasting one section with direct heat, which dries curls faster without blowing them straight or scattering them into frizz. Flip your head forward, cup sections of curls in the diffuser bowl, and hold them there rather than moving the dryer around, since movement is what causes frizz even with the right attachment. Keep the heat on low or medium and use the cool shot button toward the end to help set the cuticle flat before you turn the dryer off completely.
A quick diffusing routine:
- Attach the diffuser and set heat to low or medium, never high
- Flip hair forward and cup one section at a time in the bowl
- Hold each section still for 15 to 20 seconds instead of moving the dryer
- Dry until curls feel 80 percent dry, not bone dry, to avoid overheating the cuticle
- Finish with a blast of cool air to lock the shape in place
Air-drying when you skip the heat
Skipping the dryer entirely works fine too, and it's the gentlest option for anyone dealing with heat damage or high porosity strands that already lose moisture fast. Leave your curls plopped a little longer, then let them finish drying in the open air, ideally somewhere without a fan or open window blowing directly on them, since moving air can frizz curls the same way a dryer can if it's aimed wrong. Air-drying just takes longer, often an hour or two depending on your texture and the climate, so plan your morning accordingly if you're relying on it before work.
Why touching curls while wet creates frizz
Running your fingers through wet curls, flipping your hair around, or checking your progress in the mirror every few minutes all introduce friction at the exact moment your cuticle is most vulnerable. Wet hair is soft, swollen, and easy to reshape, which sounds convenient but actually means every touch reshapes the clump you already built, pulling strands out of alignment and setting up frizz once the hair dries in that disrupted state.
The less you touch your curls while they dry, the more defined they'll be once they're done.
Step away from the mirror once your product and drying method are set, and resist the urge to scrunch, twist, or check individual pieces until the gel cast has fully hardened.
Step 6. Refresh curls between wash days
Curls flatten and frizz between washes because the gel cast breaks down and moisture evaporates from the top layers of hair overnight. Instead of rewashing every day, which strips your scalp and drags you back to square one, a quick refresh routine revives the curl clumps without undoing the work your wash day already put in. This step is where a lot of people fall off track when figuring out how to style curly frizzy hair long-term, since they either overdo it with daily washing or ignore day-two hair until it's a frizzy mess with no shape left.
Refreshing isn't rewashing, it's reviving the curls you already styled.
Mix a proper refresh spray
Plain water alone often isn't enough to bring curls back to life, since it rehydrates the strand but doesn't replace the slip or hold that's worn off. A mixed refresh spray gives your curls both moisture and a light styling boost in one step, and you can make one at home in under a minute.
DIY Curl Refresh Spray
- 3 parts water
- 1 part leave-in conditioner
- Few drops of curl cream or gel (optional, for extra hold)
Mix in a spray bottle, shake before each use
Spritz this over dry sections, focusing on the crown and any spots that flattened while you slept, then scrunch upward gently the same way you did on wash day. Avoid soaking the hair completely, since you're reviving existing curls, not restarting the drying process from scratch.
Target problem areas instead of your whole head
Frizz on day two or three usually shows up in specific spots rather than evenly across your whole head, so treat those areas instead of drenching everything. The crown often flattens from sleeping or wearing a hat, while the ends tend to dry out and frizz first since they're the oldest, most porous part of the strand. Spray those sections, scrunch with a bit of extra curl cream if the ends feel especially dry, and let the rest of your curls stay untouched if they still look defined.
Know when to stretch it and when to wash
Most curl types can stretch two to four days between washes with proper refreshing, though tighter coils often go longer and looser waves may need a refresh daily. Watch for these signs that it's time to wash instead of refresh:
- Scalp feels itchy or visibly oily at the roots
- Product buildup leaves hair feeling waxy no matter how much you scrunch
- Curls look dull or lack any bounce even after spraying
- It's been more than four or five days regardless of how good it still looks
Pushing past these signs usually backfires, since buildup weighs curls down and makes frizz worse than starting the wash cycle over.
Step 7. Protect your curls while you sleep
Every ounce of frizz control you built during the day can unravel overnight if your pillow works against you. Cotton pillowcases pull moisture straight out of your strands through absorption, and the rough weave creates friction every time you shift positions, which is exactly the combination that turns smooth, defined curls into a frizzy mess by morning. Protecting your hair while you sleep is a small step that makes the whole routine actually last, which matters if you're trying to figure out how to style frizzy curly hair for more than just the first few hours after you leave the house.
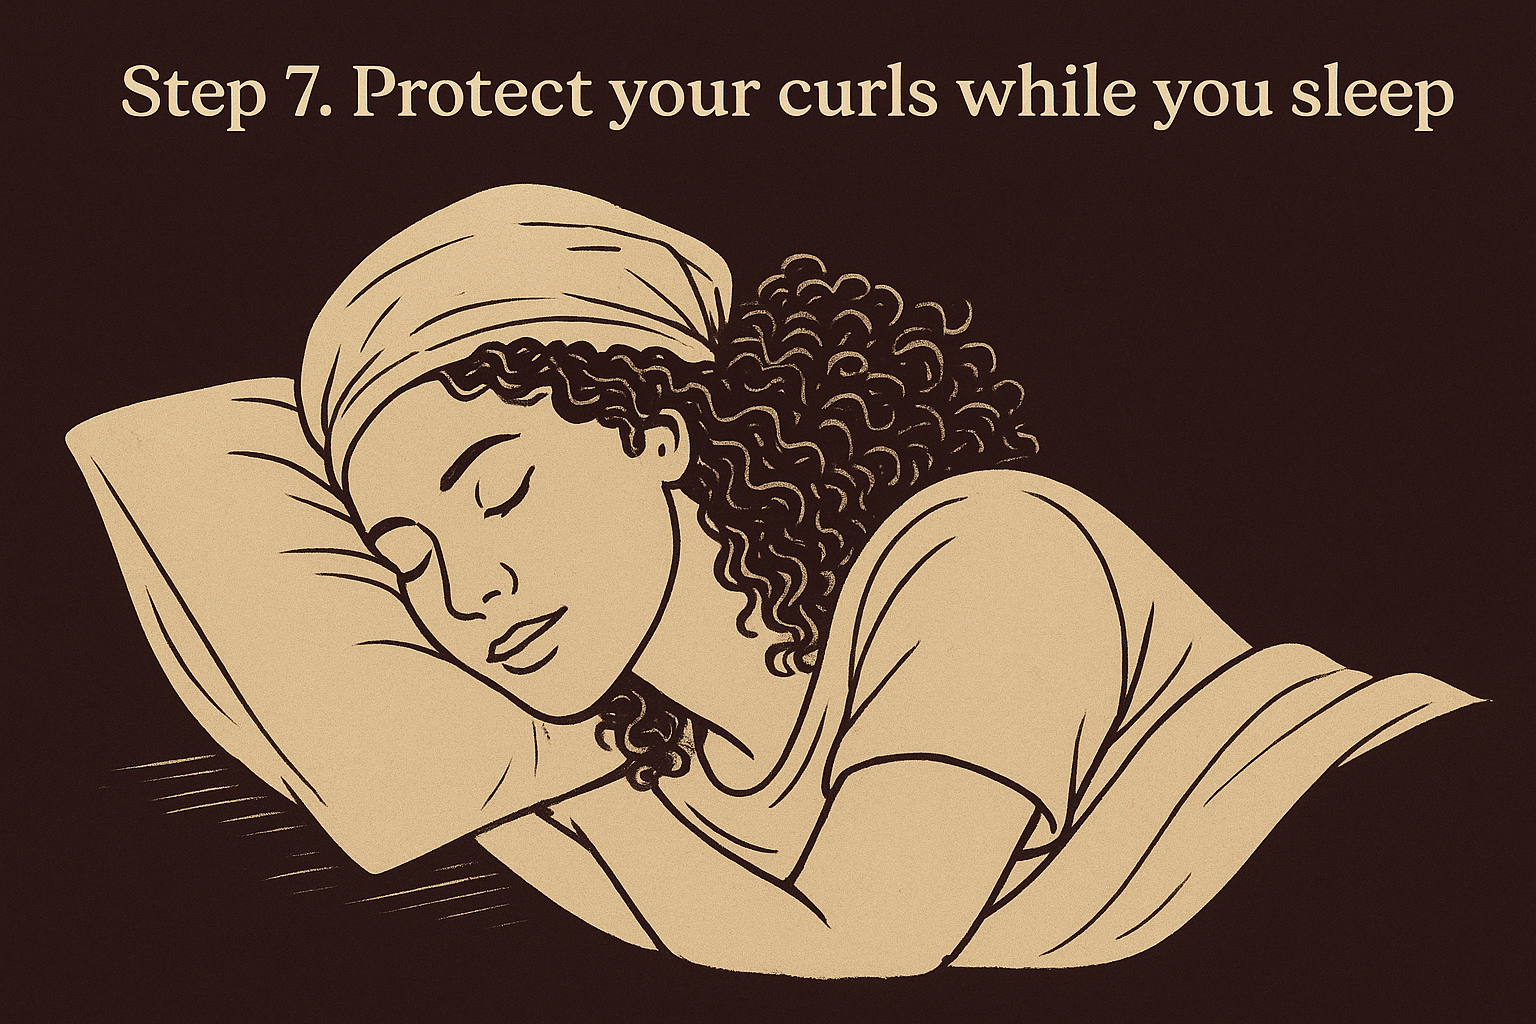
Your pillowcase either protects your curls overnight or undoes everything you just styled.
Swap your pillowcase for silk or satin
Silk and satin have a smooth, low-friction surface that lets your hair glide instead of catching, so your curl clumps stay intact instead of getting rubbed apart while you toss and turn. These fabrics also don't absorb nearly as much moisture as cotton, meaning your hair holds onto the hydration you worked into it during styling instead of losing it to the pillow by 3 a.m. A silk pillowcase costs less than most curl products and lasts for years, making it one of the cheapest upgrades in this entire routine.
Try a bonnet or scarf for extra hold
If you move around a lot in your sleep or share a bed with someone who does, a pillowcase alone might not be enough coverage. A satin bonnet or scarf wraps your curls up completely, protecting them from friction no matter how much you toss, and it keeps your style compressed in a way that helps curls hold their shape until morning. This matters most for anyone with longer hair or looser waves, since those textures tend to lose their pattern faster overnight than tighter coils do.
A quick nighttime checklist:
- Swap cotton pillowcases for silk or satin
- Add a bonnet or scarf if you move a lot while sleeping
- Pineapple long curls by gathering them loosely on top of your head with a soft scrunchie
- Avoid tight ties or elastics that crease the hair or pull at the roots
Pineapple instead of tying curls down flat
For anyone with longer curls, gathering hair loosely on top of your head, a technique called pineappling, keeps curls off your neck and away from friction while letting them stay lifted instead of getting smashed flat against a pillow. Use a soft scrunchie rather than a tight elastic, since anything that presses too hard leaves a crease or dent that shows up as a frizzy dent in your part the next morning. Combine pineappling with a silk bonnet or pillowcase, and most curl types wake up needing nothing more than a light refresh spray instead of a full restyle.
Fast fixes for frizz on the go
Some frizz happens no matter how careful your routine was that morning. Wind, unexpected rain, or a sweaty gym session can undo hours of styling in minutes, and you need on-the-go fixes that work without a shower or a full reset. Keeping a small kit in your bag or car means you can catch humidity spikes before they turn your curls into a puffball, without starting your whole routine over.
Rehydrate before you restyle
Grabbing more product first is the wrong move if your curls feel dry and frizzy midday, since dry hair needs water back before it needs anything else. Keep a travel-size spray bottle filled with water and a splash of leave-in conditioner in your bag, and mist dry or frizzy sections lightly before you touch them. This step matters because product applied to dehydrated strands just sits on top and adds shine without fixing the actual frizz.
Rehydrate first, restyle second, or you're just coating the problem instead of solving it.
Reach for an anti-humidity spray
A lightweight, silicone-free anti-humidity spray works as a barrier against moisture in the air, buying you a few extra hours before frizz creeps back in. Spray it over dry curls from about six inches away, focusing on the crown and any flyaways along your part, then scrunch gently to work it in. Skip heavy silicone sprays for this, since they coat the strand and make your next wash day harder without actually solving humidity-driven frizz.
Scrunch instead of smooth
When curls start looking frizzy in public, the instinct is to smooth them down with your palms, but that motion breaks up your clumps further and spreads frizz across more of your head. Use a scrunching motion upward toward your scalp instead, cupping sections in your hand the same way you did during styling. Avoid smoothing flat with your fingers entirely, since that technique works against your curl pattern rather than restoring it.
A quick emergency kit worth keeping on hand:
- Travel-size spray bottle with water and leave-in conditioner
- Silicone-free anti-humidity spray
- Small tube of curl cream for spot touch-ups
- Diffuser-safe clip to pin back flat sections while you fix others
- A silk scrunchie for a quick pineapple if frizz gets out of control
With a few of these on hand, you can handle frizz wherever it shows up instead of waiting until you're back home to fix it.
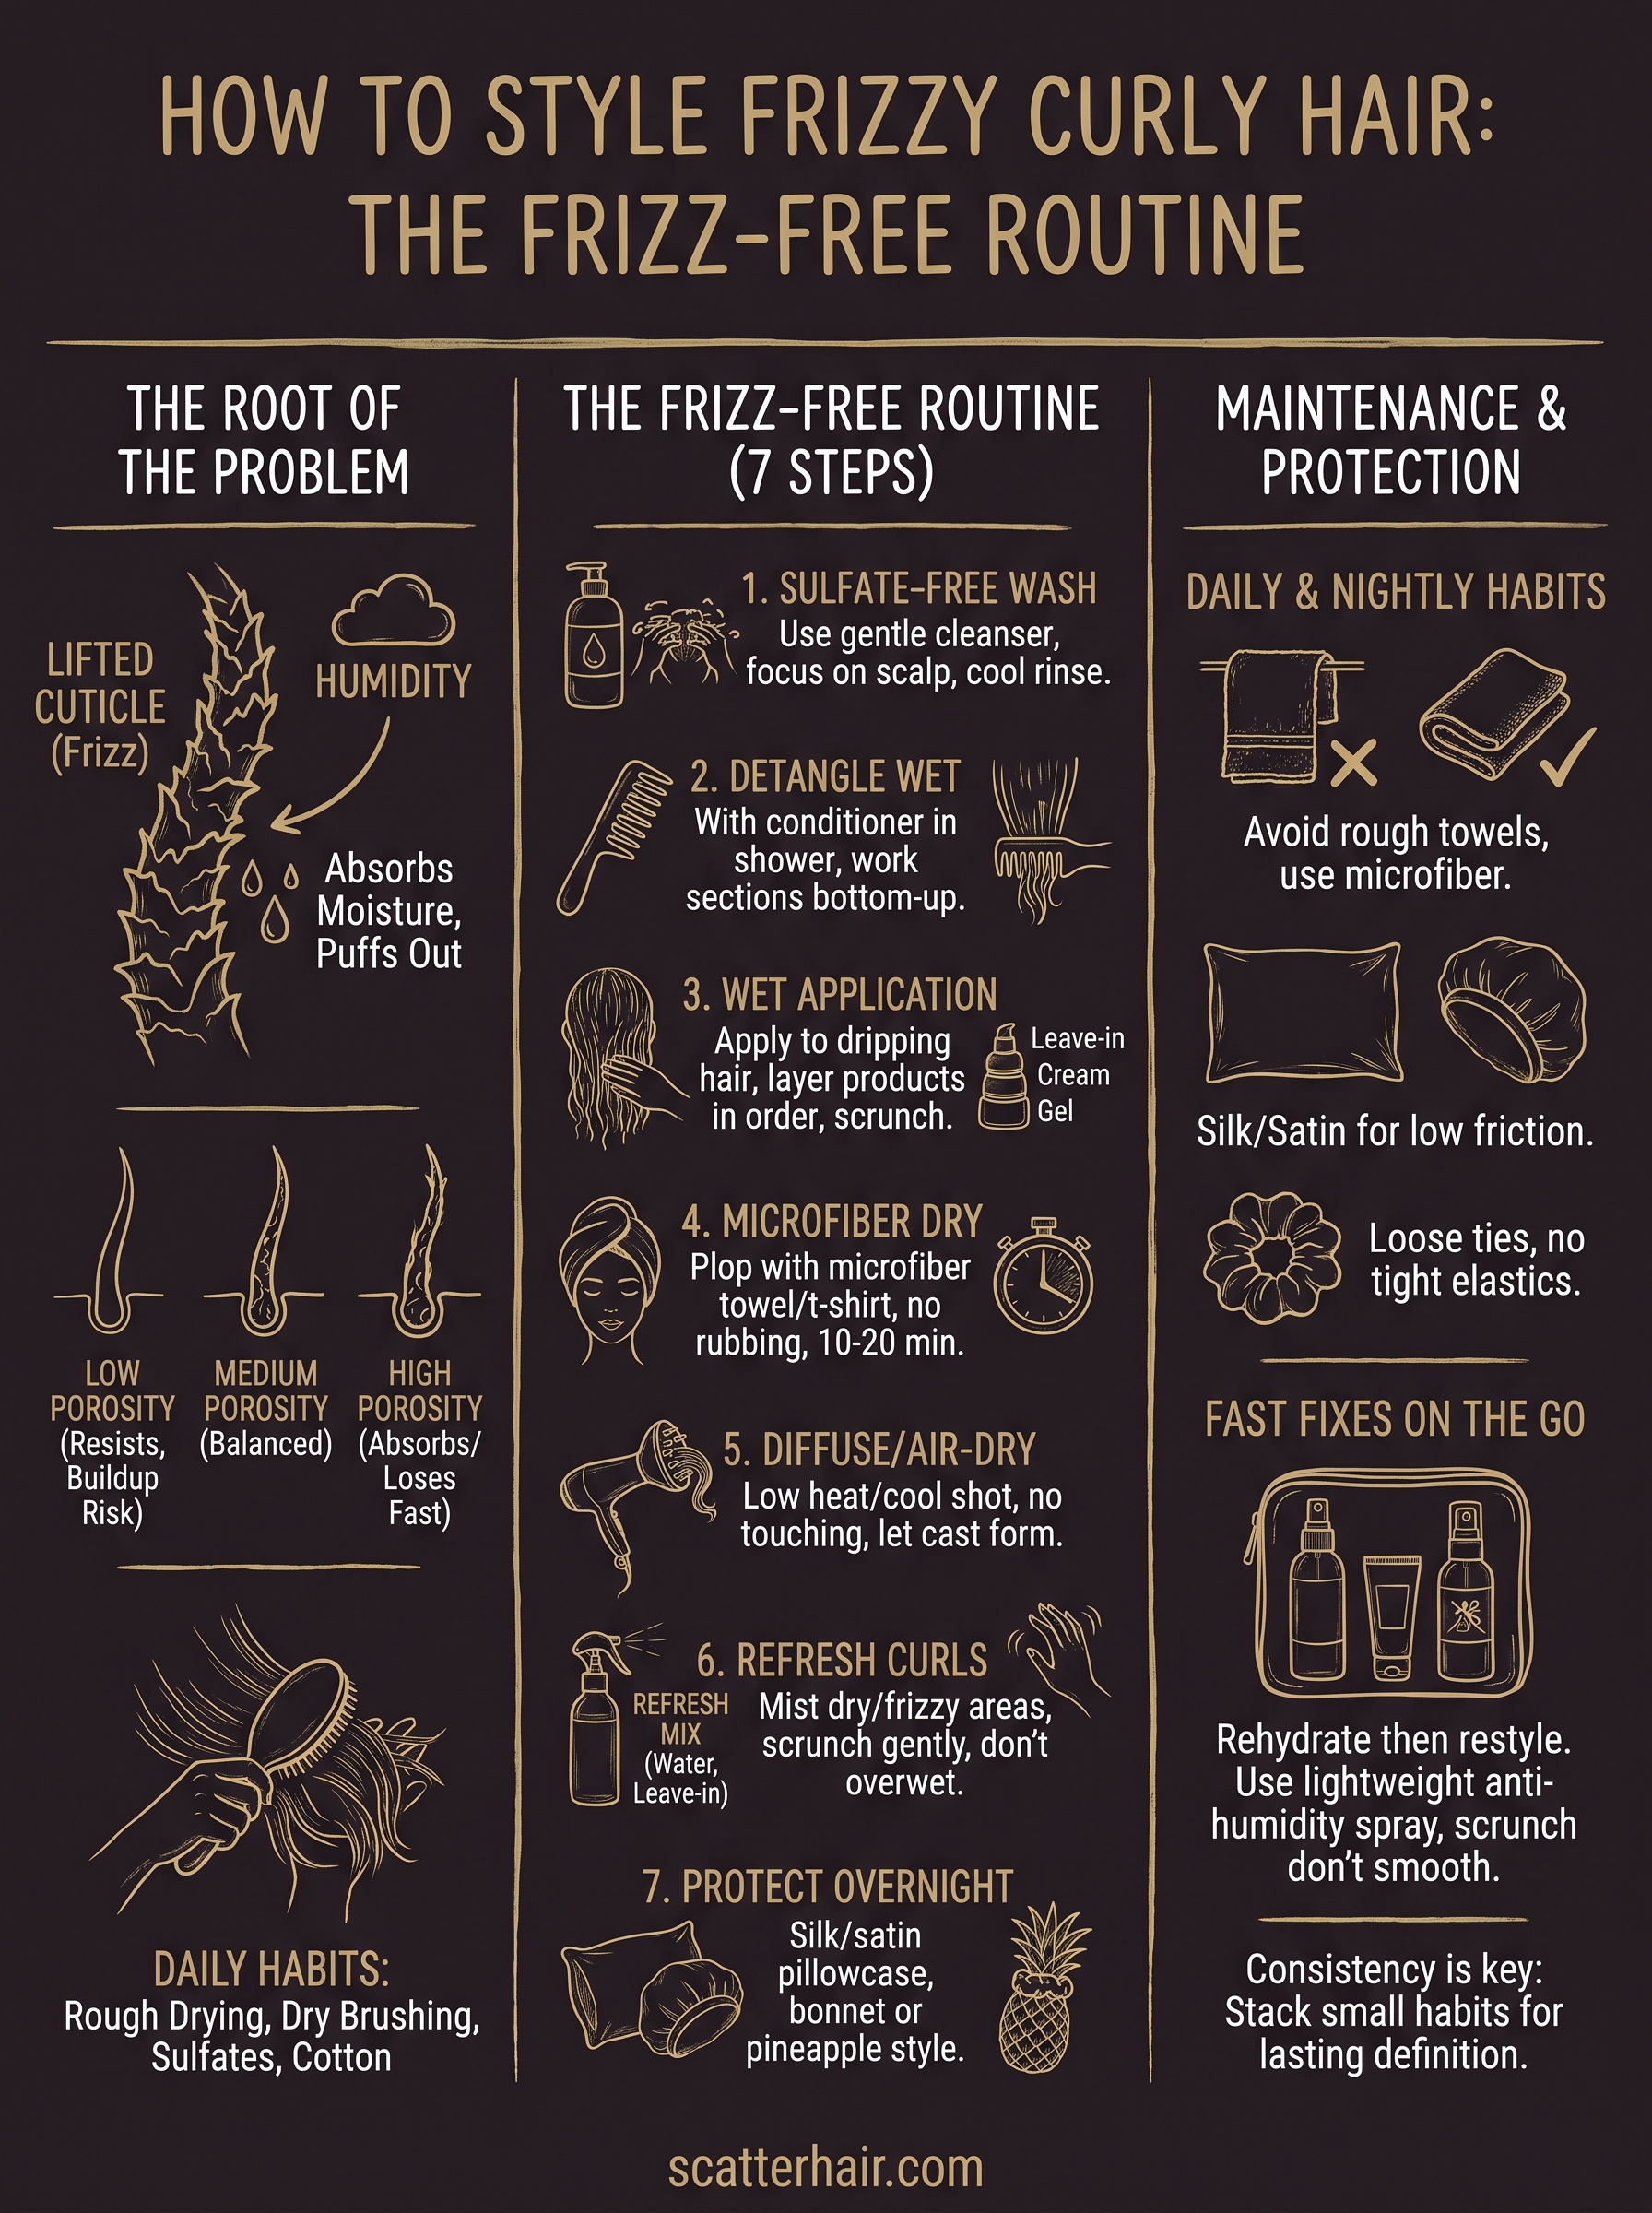
Making frizz-free curls a habit
Frizz control isn't about finding one miracle product, it's about stacking small habits that protect your cuticle at every stage, from the shower to your pillow. Sulfate-free washing, wet product application, gentle drying, and nighttime protection all work together, and skipping even one step lets frizz sneak back in. Once these steps become second nature, styling curly hair stops feeling like damage control and starts feeling like actual curl care.
Give yourself a few wash cycles to adjust the routine to your specific porosity and texture, since no two heads of curls behave exactly alike. The goal isn't perfection every single day, it's consistency that keeps your curls defined more often than not.
If you're ready to build a routine around products made specifically for textured hair, join the Scatter community for early access, styling guides, and updates as we get closer to launch.