

How to Style Naturally Curly Long Hair for Defined Curls
Long curls take more work than short ones. Gravity pulls your pattern loose, frizz creeps in by midday, and one wrong product turns definition into a puffy halo. If you've been searching for how to style naturally curly long hair without it collapsing or frizzing out by noon, you're not doing anything wrong. Long, heavy strands just need a different approach than a shorter cut.
Getting defined curls on long hair comes down to sequencing: the way you cleanse, condition, apply product, and dry matters just as much as which products you use. Skip a step, or do them out of order, and even expensive products won't save your curl pattern. The good news is that once you lock in the right routine, it becomes repeatable wash after wash, and your curls start holding shape for days instead of hours.
This guide walks through the exact steps for styling long curly hair, from prepping wet hair the right way to layering products so they actually work together instead of fighting each other. We'll also cover drying methods, refresh techniques, and a few styling tricks made for length specifically, so your curls stay bouncy, defined, and frizz-free from root to end.
What your curls need before you start styling
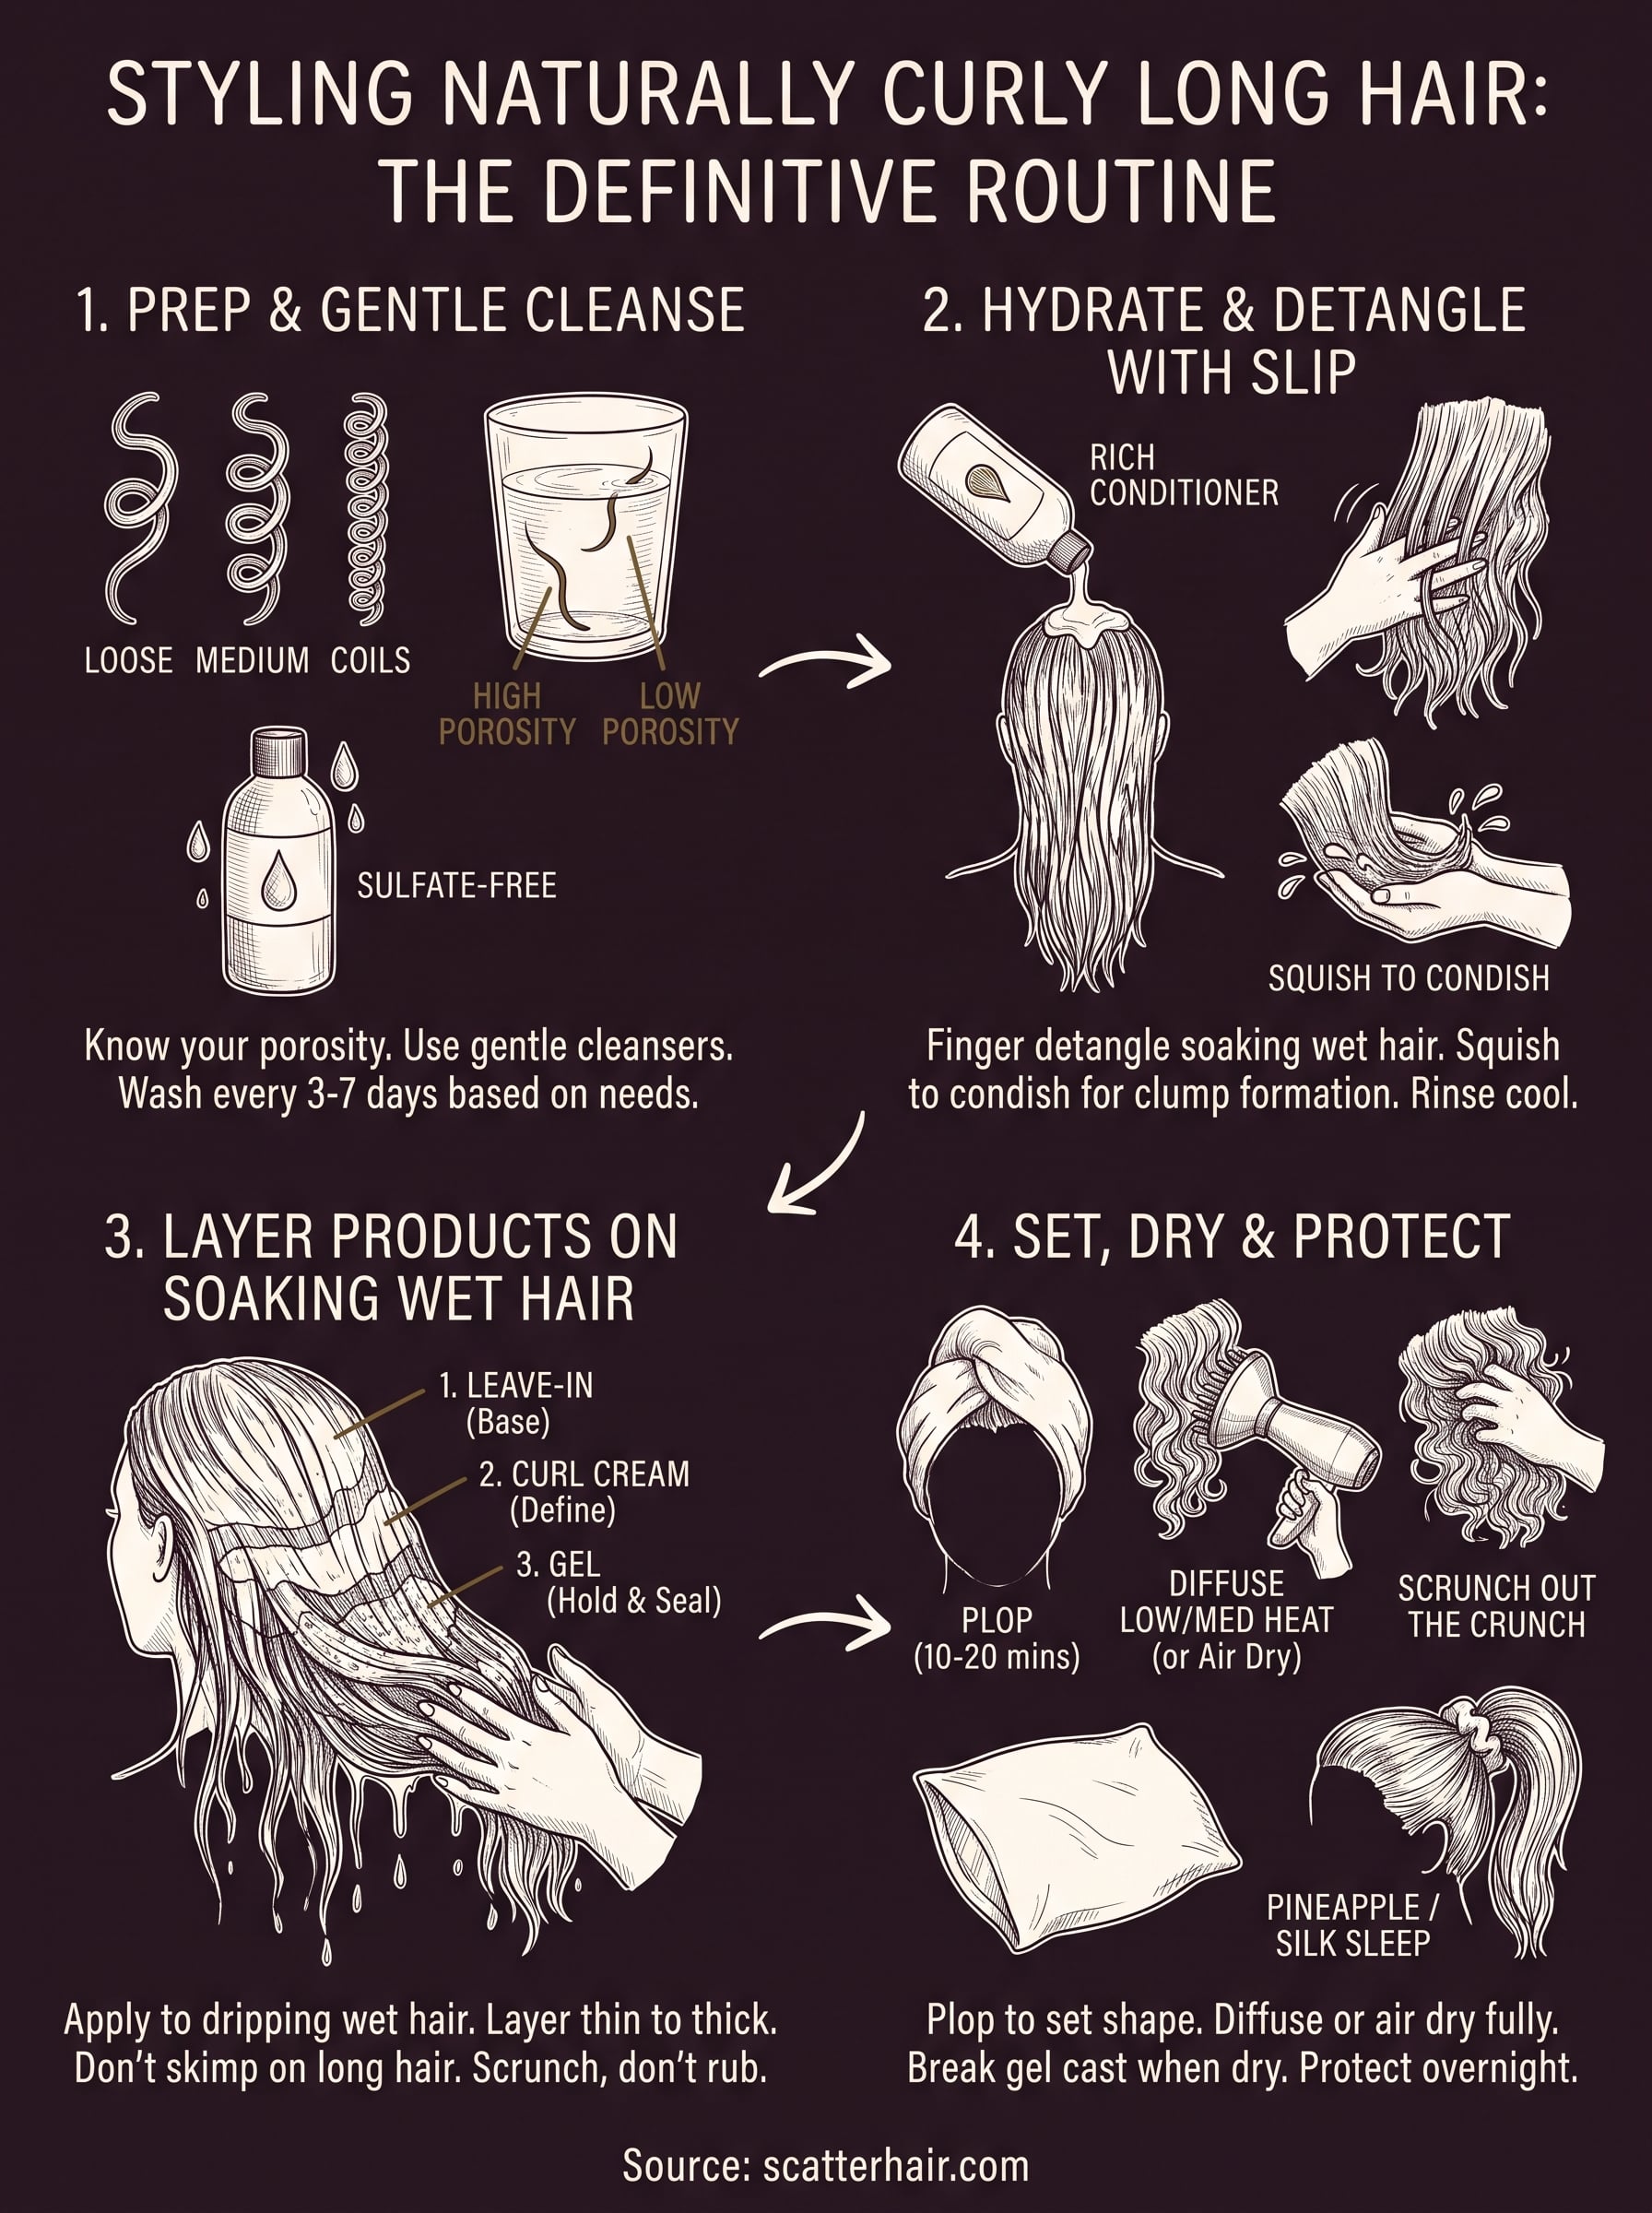
Curls don't all behave the same way, so before you touch a bottle of product, figure out what you're actually working with. Curl pattern ranges from loose S-shapes to tight coils, and each type holds moisture and product differently. Porosity matters just as much: low porosity hair resists moisture and needs lighter products applied to damp hair, while high porosity hair soaks up moisture fast but loses it just as quickly, so it needs heavier creams and sealing oils. If you've never tested your porosity, drop a clean strand of hair in a glass of water. Hair that sinks fast is high porosity. Hair that floats for a while is low porosity. This one test changes how you should be shopping and layering products.
Length adds its own complications. Longer hair means more weight pulling down on the root, which loosens curl definition over the length of the strand even when your roots stay springy. It also means more surface area exposed to friction from pillowcases, clothing, and your own hands, which is where frizz sneaks in. Long curly hair needs richer, more targeted hydration than a lob or a pixie cut, because there's simply more hair fighting gravity and more ends that are older, drier, and more prone to breakage.
Long curls don't need more product, they need the right product applied in the right order.
Match your products to your hair's actual needs
Guessing at products wastes money and time, so start by matching ingredients to what your hair actually needs instead of what's trending. A basic curl routine for long hair usually includes a gentle cleanser, a rich conditioner, a leave-in, and a stronger hold product like a gel or curl cream. Skipping any one of these usually shows up as frizz, limp curls by afternoon, or buildup that weighs your pattern down by day three.
| Product Type | Job It Does | Look For |
|---|---|---|
| Low-poo or co-wash | Cleanses scalp without stripping curls | Sulfate-free, gentle surfactants |
| Rich conditioner | Restores moisture and softens strands | Fatty alcohols, shea or cocoa butter |
| Leave-in conditioner | Adds a moisture base before styling | Lightweight, water-based |
| Gel or curl cream | Defines and holds the curl pattern | Flexible hold, low alcohol content |
| Oil or serum | Seals moisture and smooths frizz | Argan, jojoba, or a silicone-free oil blend |
Set up your styling station before you get wet
Nothing kills a good routine faster than dripping through your bathroom looking for a diffuser attachment. Set everything out before you shower: your cleanser, conditioner, leave-in, gel, a microfiber towel or old cotton t-shirt, and your diffuser if you're using one. Time matters here too, because wet curly hair starts drying the moment it leaves the water, and every minute you spend hunting for product is a minute your curl clumps have to reform once you finally apply it.
Organizing your bathroom this way also makes it easier to notice when you're running low on something before wash day arrives. If you're still building out your textured hair routine and want a head start on product recommendations made specifically for curl patterns like yours, Scatterhair is putting together exactly that kind of guidance ahead of its 2026 launch, along with early access for anyone who signs up now.
Step 1. Rinse and prep your hair in the shower
Rinsing sounds too basic to matter, but it sets the tone for every step that follows. Water temperature, rinse duration, and how you handle your strands in the shower all affect how much your cuticle opens up, which determines how well your conditioner and styling products absorb later. Skip this step or rush through it, and you're stacking product on top of tangled, half-saturated hair that can't hold moisture the way it needs to.
Curl definition starts before you ever touch a product, it starts with how you rinse.
Get your water temperature right
Hot water might feel good, but it strips natural oils and roughs up the cuticle, which leads to frizz later in the process. Warm water opens the cuticle just enough to let conditioner in without causing damage. Finish with a cool rinse to help close the cuticle back down and lock in shine. This isn't a minor detail for long curly hair specifically, since older, drier ends need every bit of cuticle protection they can get.
Detangle before you add any product
Working through knots while your hair is dry causes breakage, and waiting until after you've added conditioner or gel makes the job messier without actually helping. The smartest move is detangling under running water, before shampoo touches your scalp, using a wide-tooth comb or your fingers starting at the ends and working up.
- Section your hair into two to four parts before you start
- Wet each section fully under warm water
- Comb from the ends first, then move up toward the roots
- Never force through a knot, work it loose in small pieces instead
- Keep hair pointed downward to avoid extra tangling from movement
Sectioning also matters here, especially with long hair, because trying to detangle a full head at once means you're working against gravity and your own arm length. Splitting hair into two or four sections keeps each portion manageable and makes sure water and product reach every strand evenly instead of just the surface layer.
Applying this prep step consistently, wash after wash, is what keeps knots from building up over time. Neglecting it for even a few washes tends to compound, since tangled ends lead to more breakage, and broken ends tangle even faster the next time around. A minute or two here saves you from fighting matted hair every single wash day.
Step 2. Shampoo without stripping your curls
Most curl damage doesn't come from shampoo itself, it comes from using the wrong shampoo the wrong way. Sulfates strip natural oils fast, leaving long curly hair dry, frizzy, and prone to breakage by the end of the week. Swapping to a sulfate-free or low-poo formula keeps your scalp clean without stripping the moisture your curls depend on to hold their shape. This single swap is one of the fastest ways to see less frizz within a wash or two.
A gentle shampoo keeps your curl pattern intact instead of washing it away.
Scalp health matters just as much as the shampoo you pick, especially with long hair where oil from the roots rarely makes it down the length naturally. Focus your cleansing motion on the scalp itself, using your fingertips instead of your nails, and let the suds rinse down through the lengths as you wash. Scrubbing the ends the way you might with short hair just adds friction and tangles you don't need.
How often you wash actually matters
Overwashing dries curls out, but underwashing lets product buildup weigh your pattern down. Most curl types land somewhere between once and three times a week, depending on scalp oil production and how much product you use between washes:
- Fine or low porosity curls: wash every 4 to 5 days to avoid stripping moisture
- Medium curls: wash every 3 to 4 days as a starting point
- Coarse or high porosity curls: wash every 5 to 7 days, since these curls hold moisture longer
Adjust based on how your scalp actually feels rather than sticking to a rigid schedule. If your roots look greasy by day two, you're either using too much product or your schedule needs tightening.
Co-washing, or cleansing with conditioner instead of shampoo, works for some curl types between full shampoo washes, but it isn't a full replacement for shampoo long term. Skipping shampoo entirely eventually leads to buildup that no amount of conditioner or leave-in can fix, which shows up as limp curls and a dull, flat pattern no matter how good your styling technique is. Rotate a clarifying shampoo in every few weeks if you use a lot of styling product, since gel and cream residue builds up on the scalp and hair shaft even with regular washing.
Step 3. Condition and detangle with your fingers
Conditioner does double duty on long curly hair: it replaces the moisture your shampoo just stripped away, and it acts as slip so you can finish detangling without ripping through knots. Skip a heavy conditioner here and every step after it works against you, because dry, tangled strands can't clump properly no matter how much gel you pile on later. Reach for a rich conditioner with real slip, something that coats the hair shaft instead of just sitting on top of it, and apply it generously from mid-length to ends where hair is oldest and driest.
Conditioner isn't a rinse-and-go step, it's where your curl pattern gets its moisture foundation.
Skip the comb, use your fingers instead
Combs and brushes work fine on straight hair, but they cut through curl clumps that took your whole routine to form. Finger detangling lets you feel each knot individually and work it loose without disturbing the curls around it. Start at the very ends, since that's where tangles are worst and breakage happens fastest, then slowly work upward in small sections toward the scalp.
- Apply conditioner to one section at a time, not the whole head at once
- Rake your fingers through from ends to roots in slow, deliberate passes
- Pause on stubborn knots and gently pull the strands apart instead of yanking
- Move to the next section only once the current one runs smooth
Doing this section by section keeps you from losing track of which parts still have knots, especially past shoulder length where hair overlaps and hides tangles from view.
Let the conditioner actually work
Once your hair is detangled, leave the conditioner in for a few extra minutes before rinsing. This isn't wasted time, it's when the ingredients actually penetrate the strand instead of just coating the surface. Long hair especially benefits from this pause, since the length gives moisture more distance to travel before it reaches the ends.
Finger detangling also gives you a second read on your hair's condition beyond the water test you ran earlier. If you're working through heavy knots every single wash, that's usually a sign you need more slip, either from a richer conditioner or a dedicated detangling spray layered in before you rinse. Fighting the same tangles wash after wash means your prep routine needs adjusting, not more effort from your fingers.
Step 4. Rinse to help your curls clump together
Rinsing your conditioner out the wrong way can undo all the detangling work you just did. Instead of running your hands through your hair or flipping it upside down under the shower stream, use a technique called squish to condish to encourage your strands to clump into curls instead of separating into a frizzy mess. This step is where curl clumping actually happens, and skipping it means your curls have to fight their way into shape later during styling instead of starting off already grouped together.
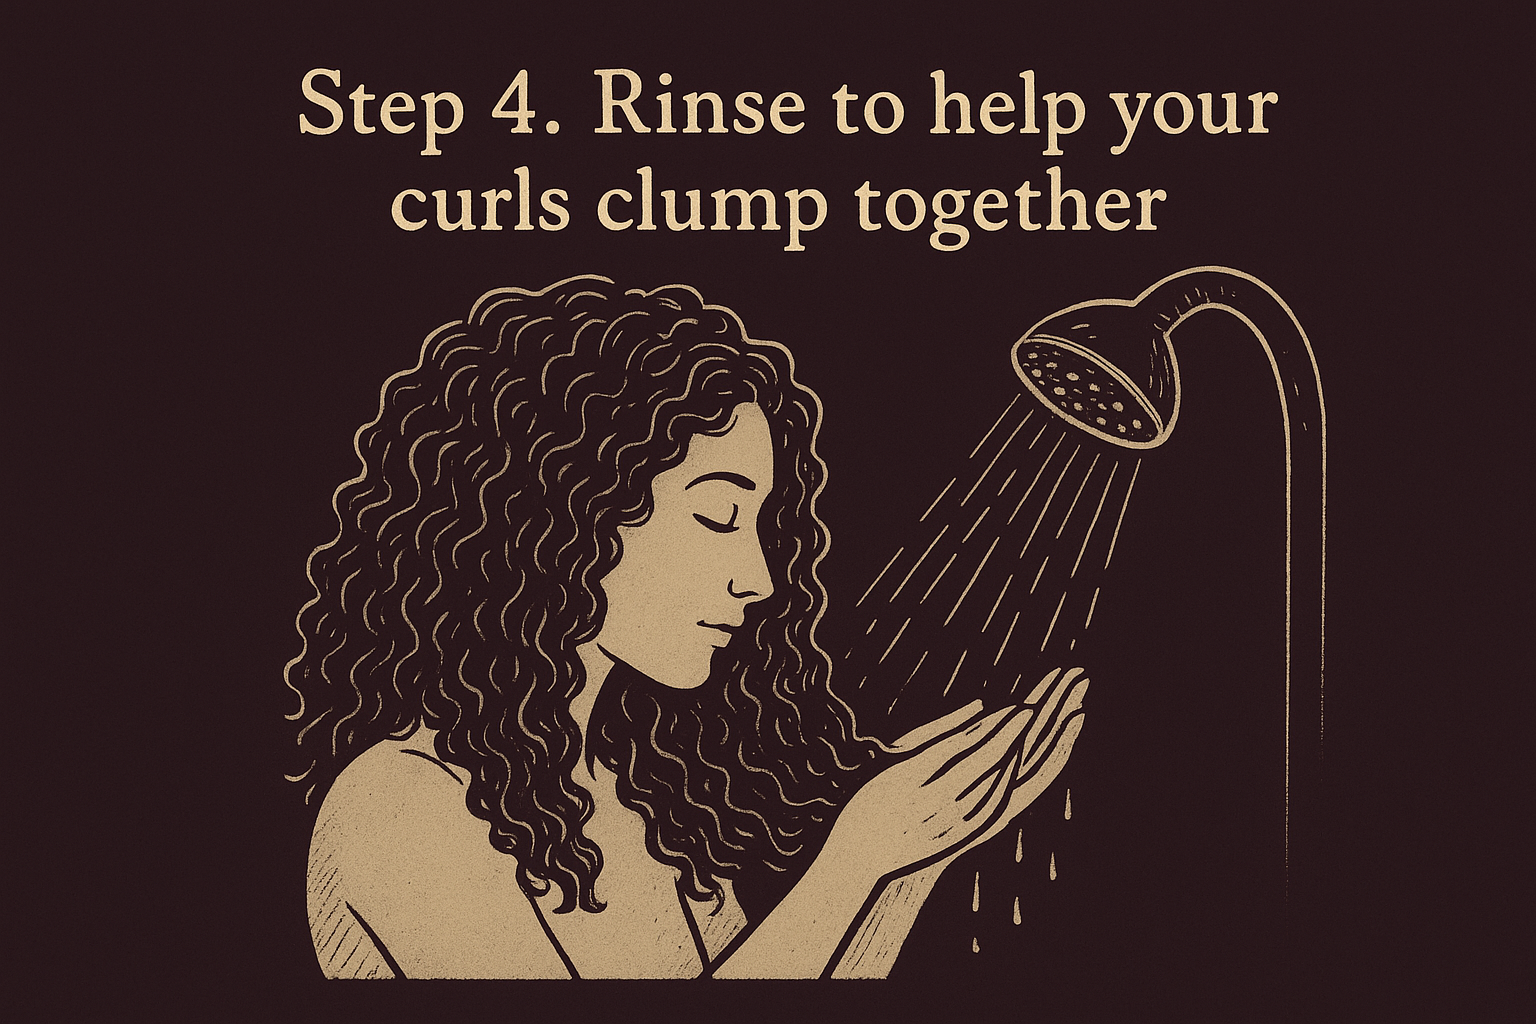
Curls clump together in the shower, not in the mirror afterward.
Use the squish to condish method
Cup your hands underneath a section of hair and gently push upward toward your scalp, squeezing water and leftover conditioner into the strands as you go. Repeat this all over your head, section by section, working with gravity instead of against it.
- Tip your head forward or to the side so gravity helps the curls fall into clumps
- Cup both hands under a section and push upward in a squeezing motion
- Move through every section, focusing extra time on the crown and part line
- Avoid rubbing or scrunching side to side, which roughs up the cuticle and causes frizz
- Repeat until water runs mostly clear and hair feels defined rather than slippery
Doing this consistently trains your hair to clump the same way every wash, which is a big part of getting defined curls that look the same from one day to the next instead of a different shape every time you shower.
Finish with a cold rinse
Once you've squished through every section, switch the water to as cold as you can stand for a final rinse. A cold water rinse closes the cuticle back down after the warm water opened it for conditioning, which locks moisture inside the strand instead of letting it evaporate as your hair dries. It also adds a noticeable boost of shine, since a flat, closed cuticle reflects light better than a rough, raised one.
This step takes less than thirty seconds, but skipping it is one of the most common reasons curls look dull or frizz out faster than they should. Cold water isn't about comfort here, it's doing real structural work on your hair before you ever pick up a bottle of product.
Step 5. Apply styling product to soaking wet hair
Soaking wet hair is not a mistake to fix with a towel, it's the exact state your curls need to absorb product properly. Most people towel-dry first out of habit, but that removes the water your curls need to spread cream evenly through every strand. Applying styling product to wet hair means the product distributes with the water still in the hair shaft, instead of sitting on the surface where it just adds weight without adding definition.
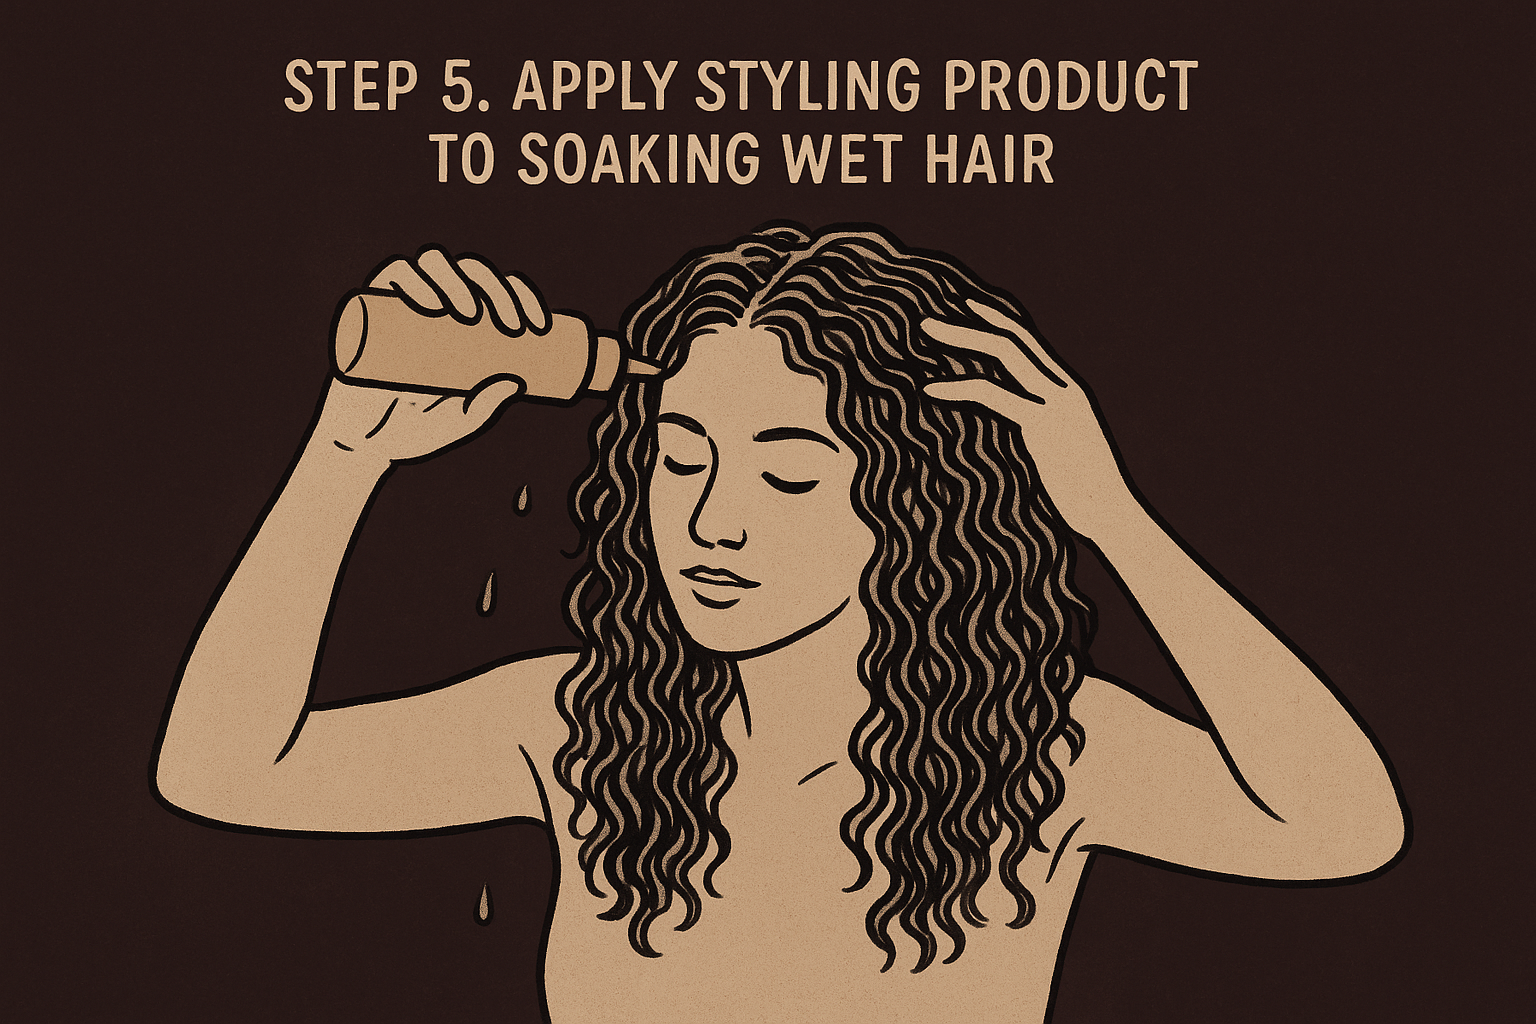
Product applied to dry-ish hair sits on top of the curl. Product applied to soaking wet hair becomes part of it.
Layer products from thinnest to thickest
Getting the order right matters as much as the products themselves. A thick gel applied before a leave-in traps water underneath it instead of letting it soak in, which leaves you with a slick coating and flat curls once it dries. Work in this order instead:
- Leave-in conditioner first, raked through with fingers section by section
- Curl cream next, applied with a scrunching motion from ends to roots
- Gel last, for hold and to seal everything underneath it
Each layer should go on while the previous one is still wet, not after it's had a chance to dry. Rushing this sequence, or skipping the leave-in entirely, is one of the most common reasons long curly hair ends up crunchy on the outside and dry underneath.
Don't skimp, but don't overload either
Long hair needs more product than most bottles suggest, simply because there's more surface area to cover. A quarter-sized amount that works fine on shoulder-length hair usually isn't enough once you're past the middle of your back. Section your hair the same way you did for detangling, and apply product to each section individually rather than trying to distribute one handful across your whole head.
Scrunching, not smoothing, is the motion you want here. Cup the ends of a section in your palm and push upward toward the scalp, the same squish to condish motion from the rinse step, so the product encourages clumping instead of separating strands. Overloading the roots while under-applying the ends is a common mistake, and it shows up later as flat roots with dry, frizzy tips, so distribute evenly along the whole length instead of concentrating product in one spot.
Step 6. Plop your hair to lock in the shape
Plopping sounds like a made-up internet word, and it kind of is, but the technique behind it does real work for long curly hair. Instead of letting gravity pull your soaking wet curls straight down while they dry, you gather them up into a t-shirt or microfiber towel and let the fabric hold the shape close to your head. This keeps the clumps you formed during the squish to condish step from stretching out and losing their curl pattern before they've even had a chance to set.
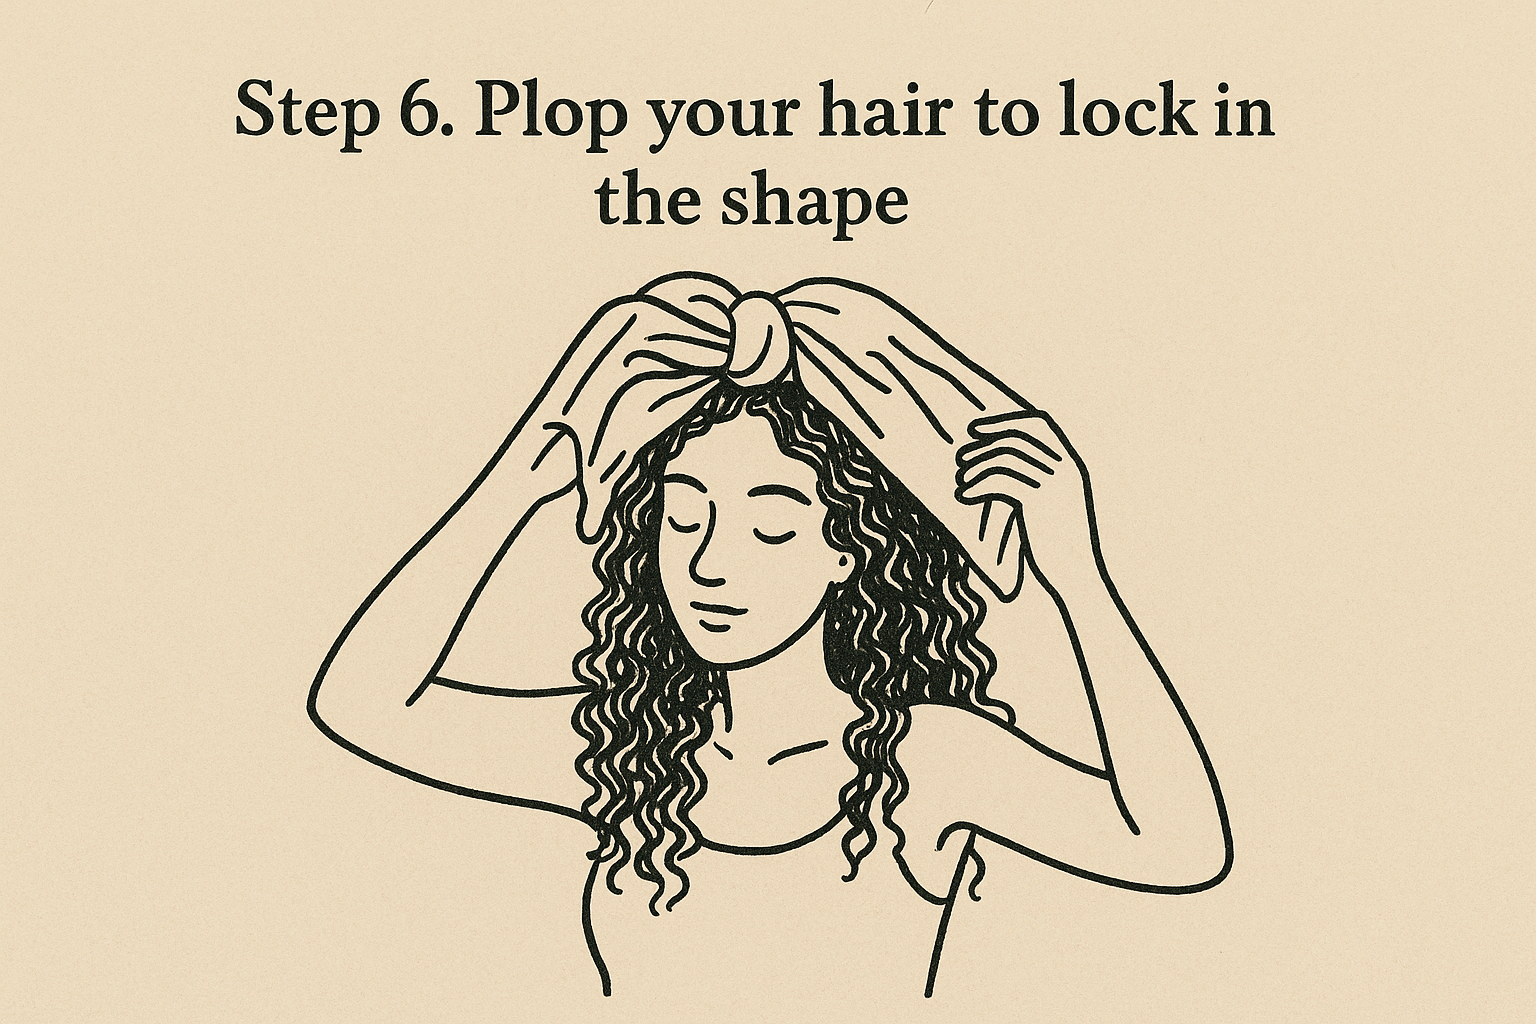
Plopping holds the shape your curls already made, it doesn't create a new one.
What plopping actually does for your curl pattern
Underneath the towel, your curls stay compressed against your scalp instead of hanging under their own weight. That matters most for anyone styling naturally curly long hair, since the extra length means more weight pulling curls loose during the drying process. A regular bath towel works against you here because the rough fibers create friction and frizz. Reach for a microfiber towel or an old cotton t-shirt instead, since the smoother surface lets curls set without roughing up the cuticle you just closed with a cold rinse.
How to plop step by step
- Lay the t-shirt or microfiber towel flat on a table or bed
- Flip your head forward so your hair falls into the center of the fabric
- Gather the sides and bottom up and over the back of your head
- Twist or tie the ends at your nape, or use the shirt's sleeves to knot it in place
- Leave it plopped for 10 to 20 minutes, longer if your hair is especially thick or long
Section your hair loosely before plopping if you have a lot of volume, since cramming everything into one tight bundle can flatten curls on one side of your head more than the other.
Don't leave it plopped too long
Twenty minutes is usually the ceiling. Beyond that point, hair starts drying unevenly against the fabric, and the sections touching the towel directly can end up flatter than the rest. Removing the towel too early defeats the purpose just as much, since curls need that compressed time to actually set their shape before moving to the next drying step. Once you unwrap it, resist the urge to shake your hair out. Let it fall naturally into place instead.
Step 7. Air dry or diffuse without touching
Once you unwrap the plop, your curls are set but still wet, and this is the point where most people ruin their progress by touching, scrunching, or fluffing too soon. Air drying works fine if you have the time, but it takes hours for long hair to dry all the way through, and humidity in the room can undo definition before your curls ever fully set. Diffusing speeds that timeline up significantly, using low heat and airflow to lock curls in place instead of letting them hang wet for half the day.
Touching your curls while they're drying is the fastest way to turn definition into frizz.
Choose your drying method based on your schedule
Neither method is objectively better, they just fit different situations. Compare them before deciding which one works for your routine:
| Method | Time Needed | Best For | Risk |
|---|---|---|---|
| Air drying | 2 to 6 hours | No heat tools, slower mornings | Frizz from humidity, longer wait |
| Diffusing | 20 to 40 minutes | Fast mornings, tighter curl hold | Heat damage if used too hot or too close |
Picking a diffuser attachment matters here too, since a wide bowl-shaped diffuser cradles curls instead of blowing them straight, which keeps clumps intact while the airflow does its job.
Diffuse in sections, hands cupped underneath
If you're diffusing, keep the heat on low or medium and hold the diffuser underneath sections of hair rather than pointing it straight down from above. Cup your palm around a section, rest the diffuser bowl into it, and hold still for 20 to 30 seconds before moving to the next section.
- Start at the roots on low heat to lift volume without disturbing curl shape
- Work down the length in the same section-by-section order you used for product
- Keep the diffuser moving slowly instead of hovering in one spot too long
- Stop once hair is about 80% dry, leaving it slightly damp for the next step
Going past that 80% mark with direct heat dries out the ends faster than the rest of the strand, which is exactly the kind of damage long curly hair can't afford given how much older growth sits at the bottom. Whichever method you pick, resist checking your progress by squeezing or scrunching mid-dry. Let the diffuser or the air finish most of the work before your hands get involved again.
Step 8. Scrunch out the crunch for soft, defined curls
Gel dries hard for a reason: that stiff cast is what protects your curl clumps while everything underneath finishes setting. But nobody wants crunchy hair for the rest of the day, so the final move is breaking that cast without breaking the curls it was protecting. Scrunching out the crunch is the step that turns a helmet of gel into soft, bouncy curls, and it only works once your hair is completely dry, not just mostly dry.
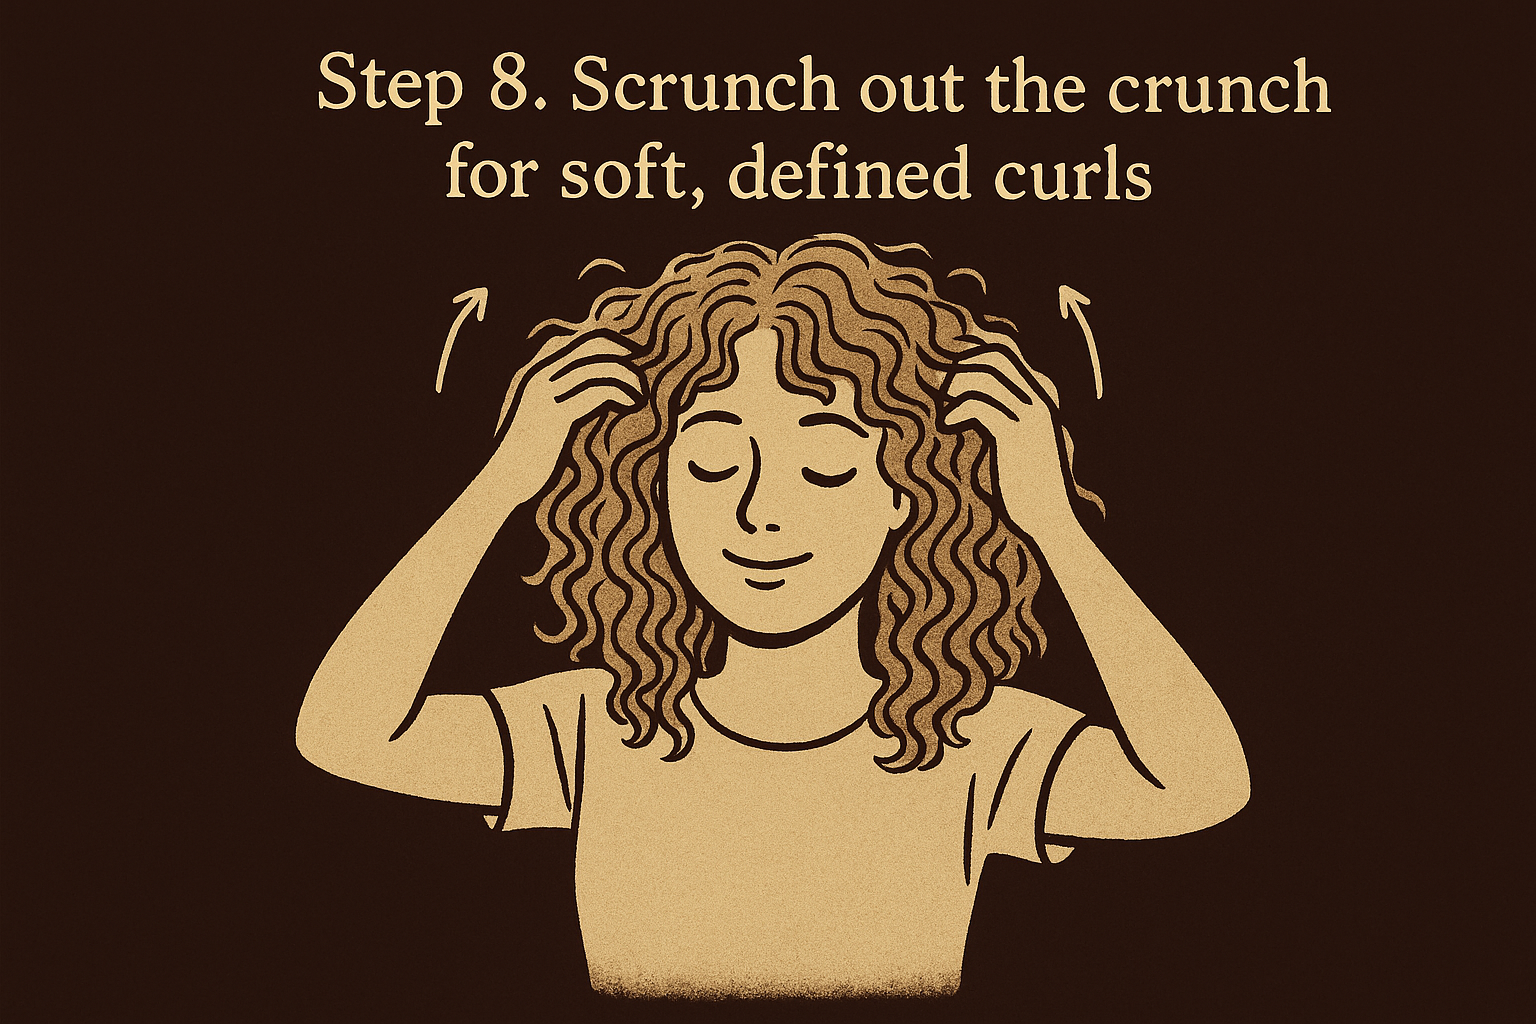
The crunch isn't a mistake, it's a cast protecting your curls until you're ready to break it.
Wait until hair is bone dry
Check your ends and the underlayers near your neck, since those areas often stay damp longest even when the top layer feels finished. Scrunching too early collapses curls that haven't fully set, which undoes a lot of the work from plopping and diffusing. Run your fingers lightly over a section near your scalp; if it still feels cool or tacky, give it another 15 to 20 minutes before moving on.
How to scrunch without losing shape
- Cup a small section of hair in both palms, working from ends toward roots
- Squeeze gently and release, repeating three or four times per section
- Move through your whole head in the same section order you used earlier
- Avoid rubbing or twisting, which creates frizz instead of breaking the cast
- Flip your head upside down for the crown and roots if you want extra lift
This motion cracks the gel cast into flexible pieces instead of grinding it into powder, so your curls end up soft on the outside while keeping the definition the gel locked in underneath.
Add oil only if you need it
Some curl types finish soft right after scrunching, while others still feel slightly stiff or dry, especially at the ends. If that's you, rub a small amount of lightweight oil between your palms and scrunch it through the bottom few inches only. Long curly hair tends to need this more than shorter cuts since the ends are older and drier by the time product reaches them. Skip oil at the roots, though, since it weighs down volume and can make day-old curls look flat faster than they should.
Once you've scrunched through every section, resist touching your hair again for a while. Curls need time to settle into their final shape, and repeated handling after this point is exactly what turns soft definition back into frizz.
Protecting your curls between wash days
Overnight friction undoes more curl definition than any single styling mistake you'll make during the day. Cotton pillowcases pull moisture out of your strands and rough up the cuticle while you sleep, which is exactly why curls that looked perfect on wash day show up flat and frizzy by morning three. Swapping to a silk or satin pillowcase solves most of this problem without adding a single extra step to your routine, since the smooth surface lets hair glide instead of catching and tangling as you move through the night.
Curls don't lose their shape overnight by accident, friction takes it from them while you sleep.
Try pineappling for long hair specifically
Gathering your hair into a loose, high ponytail before bed, often called pineappling, keeps curls from getting crushed under the weight of your own head. Length makes this technique more useful than it sounds, since long curls have more surface area sitting against the pillow and more distance for a curl clump to stretch out of shape overnight. Use a scrunchie or a silk scrunchie specifically, since regular elastics leave dents and snap strands that took a full wash day to define.
- Gather hair loosely at the very top of your head, not tight against the scalp
- Secure with a silk or satin scrunchie to avoid creasing
- Wrap a silk bonnet over the top if you sleep on cotton sheets
- Loosen the pineapple gently in the morning instead of shaking hair out
Refresh without a full rewash
Not every day needs a full reset. A simple refresh spray, mostly water with a small amount of leave-in conditioner mixed in, can revive curls that have gone limp without stripping the product still doing its job underneath. Spritz lightly, scrunch upward the same way you did on wash day, and let hair air dry rather than reaching for heat again. Overdoing refresh sprays day after day eventually leads to the same buildup problem overwashing causes, so treat it as a touch-up tool, not a replacement for your actual wash routine.
Getting this part right matters just as much as the shower steps that came before it, since defined curls that fall apart the moment you go to bed defeat the purpose of everything you just did to create them.
Consistency is what defines your curls
None of these steps work as one-time fixes. Defined curls show up when you rinse, condition, and dry the same way often enough that your hair learns the pattern instead of fighting it every wash day. Try a different product every week or skip plopping when you're rushed, and you're back to guessing why your curls look different every morning.
Once you nail down your own version of this routine, adjusting water temperature, product amounts, or drying time for your specific porosity and curl type, styling naturally curly long hair stops being a struggle and turns into a five-minute habit. That's the whole goal here: repeatable results, not a lucky wash day every once in a while.
If you want product recommendations built specifically for textured hair like yours, sign up for early access at Scatterhair before the 2026 launch.