

Protective Styles For 4C Hair: 6 Looks, Tutorials & Tips
Your 4C hair deserves better than constant manipulation and styles that fall flat by day two. The shrinkage is real. The dryness is exhausting. And finding protective styles that actually protect your ends while keeping you feeling confident? That feels impossible some days. You want your hair to thrive but every time you try a new style it either looks scalpy or requires so much pulling and tugging that you end up with more breakage than protection.
This guide breaks down 6 protective styles that work specifically for 4C hair texture. You'll get step by step tutorials for each look plus the exact products you need to prep your hair properly. We cover everything from quick everyday styles like low buns and headwraps to longer term options like knotless braids and faux locs. Each style includes maintenance tips so you can keep your hair moisturized and protected for weeks. Plus you'll find style variations and inspiration to make each look your own. Whether you want a simple weekend style or something that lasts a month these options have you covered.
1. Mini twists on 4C hair
Mini twists rank among the most versatile protective styles for 4c hair because you can wear them as is or style them into updos and ponytails. These pencil-sized twists take longer to install than chunky versions but they last up to four weeks with proper care. Your hair stays protected while you experiment with different looks throughout the month.
Why this style works for 4C hair
Your 4C texture thrives with mini twists because the style requires minimal daily manipulation once installed. The smaller sections mean less weight on each strand compared to larger twists that can pull and cause breakage. You get consistent definition throughout your head and the twists blend naturally without extensions if you prefer to use only your natural hair.
What you need to prep your hair
Wash your hair with a moisturizing shampoo and follow up with a deep conditioner for at least 30 minutes. Apply a leave-in conditioner and light cream to damp hair before you start twisting. Keep a rattail comb nearby for clean parts and a spray bottle filled with water to keep sections damp as you work through your hair.
Step-by-step tutorial
Part your hair into four large sections and clip three away while you work on one. Create small square or triangle parts about the width of a pencil within your working section. Apply cream to each small section then divide it in half and twist the two pieces around each other from root to tip. Repeat this process across your entire head working section by section.
Mini twists protect your ends completely while giving you the freedom to create countless styles without adding heat or tension to your hair.
How to maintain and refresh
Spray your twists with a water and leave-in mixture every three days to maintain moisture. Apply oil to your scalp once a week and massage gently. Cover your twists with a satin bonnet each night to prevent frizz and preserve the style. You can refresh flattened sections by retwisting individual pieces without taking down your entire head.
Style variations and inspo
Pull your mini twists into a high puff using a satin scrunchie for a quick elevated look. Create a side part and pin half of your twists back for an asymmetrical style. You can also combine multiple twists into larger chunky twists for a textured updo or let them hang loose with decorative cuffs and beads for added flair.
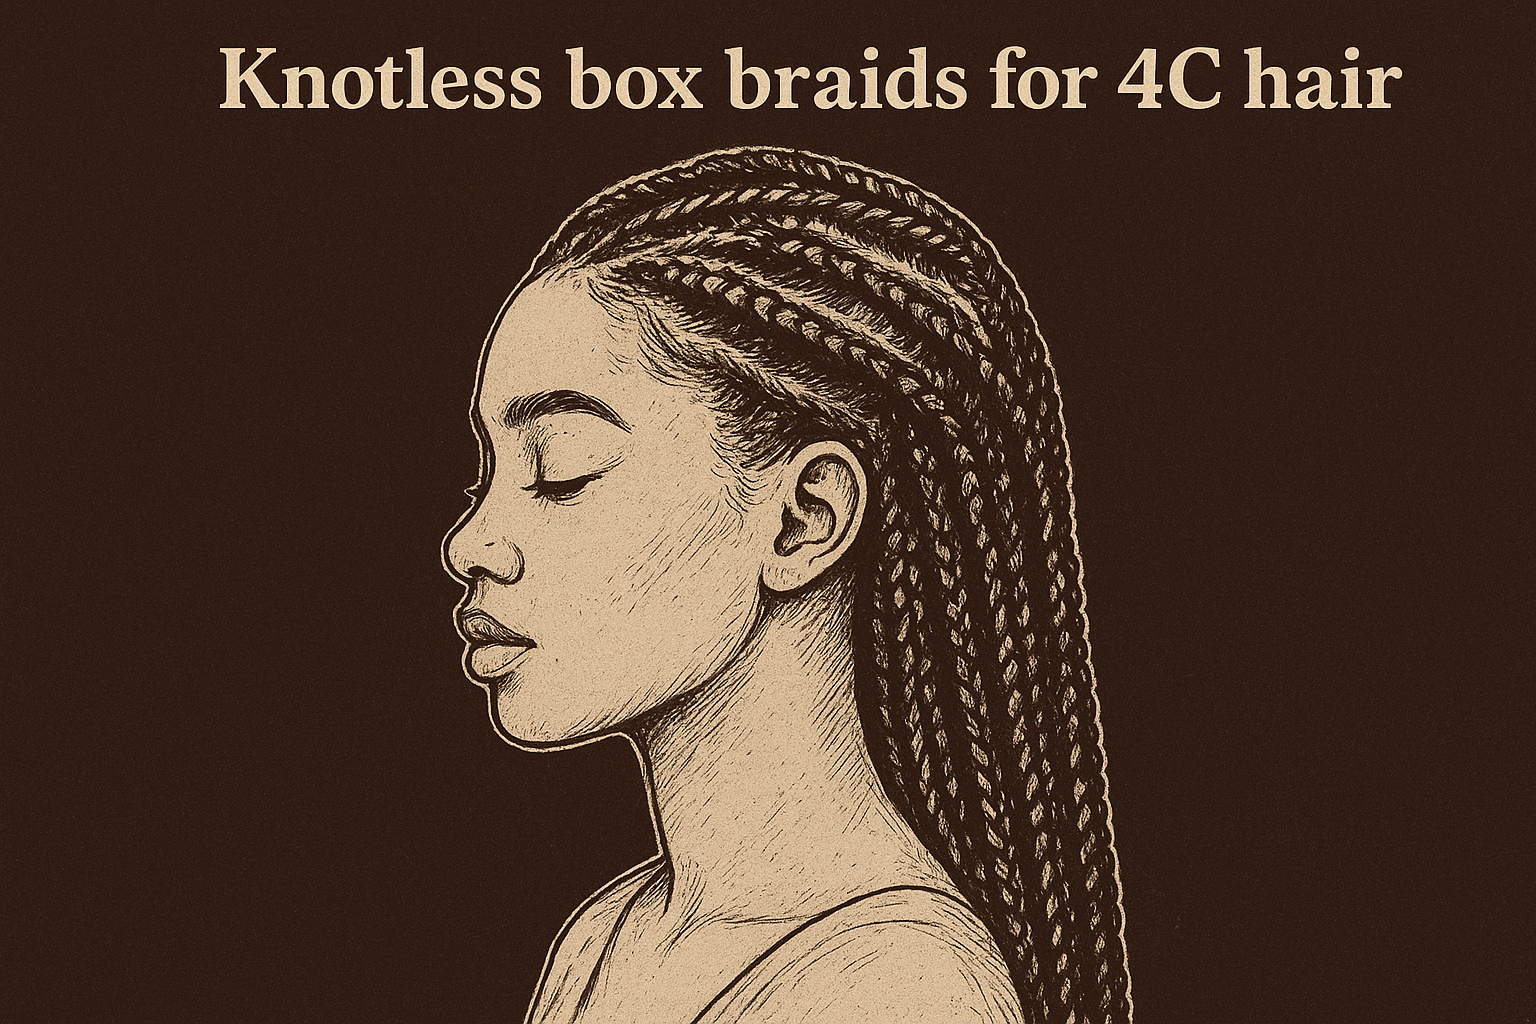
2. Knotless box braids for 4C hair
Knotless box braids give you the classic braided look without the painful tension that traditional box braids create at your roots. This installation method feeds synthetic hair gradually into each braid instead of knotting it at the base which means less stress on your edges and scalp. You can wear these braids for six to eight weeks and style them in countless ways from ponytails to buns without worrying about damaging your natural hair underneath.
Why this style works for 4C hair
Your 4C strands benefit from knotless braids because the technique distributes weight evenly down the length of each braid instead of concentrating it at the root. The gradual feed-in method creates a more natural appearance at your hairline and puts less strain on your edges than tight traditional braids. These braids protect your ends completely while giving your hair a break from daily styling and manipulation.
What you need to prep your hair
Wash and condition your hair thoroughly then apply a leave-in conditioner while your hair is still damp. You need pre-stretched braiding hair in your preferred texture whether that's Kanekalon or a gentler synthetic option. Have a rattail comb ready for precise parting and edge control gel to smooth your hairline. Keep a spray bottle filled with water nearby to maintain moisture as you braid.
Step-by-step tutorial
Part a small section at your hairline and divide it into three strands to begin your braid. Braid two or three stitches using only your natural hair then start feeding in small pieces of braiding hair with each subsequent stitch. Continue adding hair gradually as you braid down to your desired length. Seal the ends by dipping them in hot water or using the rubbing method depending on your hair type.
Knotless box braids rank among the healthiest protective styles for 4c hair because they eliminate root tension while keeping your ends tucked away safely.
How to maintain and refresh
Spray your scalp with a diluted leave-in conditioner every few days to prevent dryness and itching. Apply lightweight oil along your parts once a week and massage gently. Wear a satin bonnet or use a satin pillowcase every night to preserve the braids and reduce frizz. You can refresh your edges weekly with edge control gel to maintain a polished appearance.
Style variations and inspo
Try jumbo knotless braids for a quicker installation that takes four to six hours instead of eight to ten. Experiment with ombre colors by using two different shades of braiding hair or add curly ends for a softer bohemian look. Pull your braids into a high ponytail with a few face-framing pieces left out or create a half-up half-down style for versatility.
3. Flat twists and cornrows updo
Flat twists and cornrows create sculptural updos that keep your hair protected for weeks while showing off your natural texture. This combination style lets you mix different braiding techniques in one look for added visual interest and dimension. You can create intricate patterns at your hairline with cornrows then finish with flat twists in the back or combine both techniques throughout your head for a unique design.
Why this style works for 4C hair
Your 4C hair holds flat twists and cornrows exceptionally well because the tight coil pattern grips each section as you braid. These styles lay flat against your scalp which reduces friction and breakage while protecting your ends completely. The updo variation keeps your hair tucked away from clothing and environmental damage making it one of the most protective styles for 4c hair you can choose.
What you need to prep your hair
Cleanse your scalp thoroughly then apply a moisturizing leave-in conditioner to damp hair. You need a strong hold gel or edge control to create clean parts and smooth sections. Keep a rattail comb ready for precise parting and a spray bottle to maintain moisture while you work through each section.
Step-by-step tutorial
Part your hair into the desired pattern starting at your hairline. Take a small section and divide it into two strands for flat twists or three strands for cornrows. Twist or braid close to your scalp while adding hair from the sides as you move back. Once you reach the crown gather all the ends and twist them into a low bun or tuck them under for a seamless finish.
Combining flat twists with cornrows gives you the best of both techniques while creating dimension that hides your scalp naturally.
How to maintain and refresh
Wrap your style with a silk scarf nightly focusing on the edges. Spray your scalp with diluted leave-in conditioner every three days and apply oil to your parts weekly. This style typically lasts two to three weeks before you need to take it down and remoisturize your hair.
Style variations and inspo
Create a side-swept design by angling all your braids to one side then pinning them into a low bun. Add metallic cuffs or beads along your cornrows for special occasions or leave a few flat twists loose in the front for face-framing pieces.
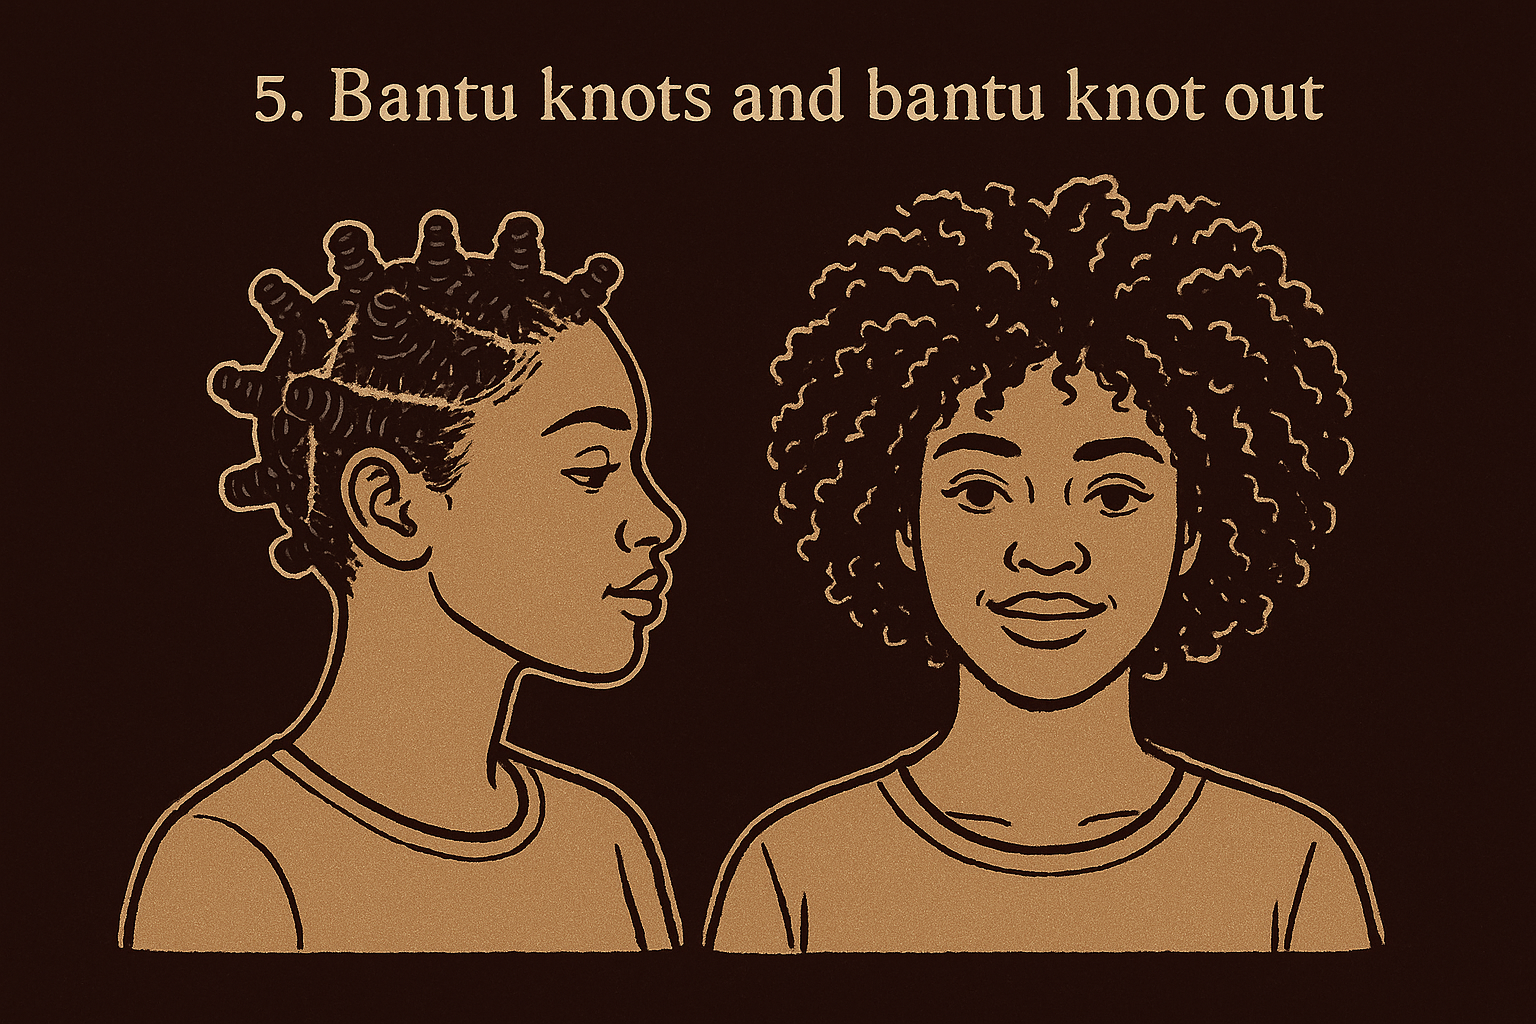
4. Bantu knots and bantu knot out
Bantu knots serve as both a stunning protective style and a styling tool that creates defined curls when you unravel them. You can wear the knots for up to a week then release them into a uniform curly afro that lasts several more days. This two-in-one style makes it one of the most versatile protective styles for 4c hair you can learn.
Why this style works for 4C hair
Your 4C texture holds Bantu knots securely without slipping because the tight coil pattern grips each knot naturally. The style tucks your ends completely inside each knot which prevents breakage from friction and environmental damage. You get definition and volume without heat styling or harsh manipulation.
What you need to prep your hair
Start with freshly washed and deep conditioned hair that's about 80% dry. Apply a curl defining cream or moisturizing gel to damp sections as you work. Keep a rattail comb nearby for clean parts and a spray bottle to maintain moisture throughout the installation process.
Step-by-step tutorial
Part your hair into square or triangle sections based on your desired knot size. Take one section and twist it from root to end then wrap the twisted hair around itself at the base. Tuck the end underneath the knot and secure it by twisting the entire knot tighter or using a bobby pin if needed.
Bantu knots protect your ends while setting your hair for beautiful defined curls that last for days after you release them.
How to maintain and refresh
Cover your knots with a satin bonnet every night to preserve them and prevent frizz. Spray your scalp with diluted leave-in conditioner every few days if your scalp feels dry. When you're ready for the knot out carefully unravel each knot without pulling and fluff the roots gently for volume.
Style variations and inspo
Create larger knots for bigger looser curls or tiny knots for tighter definition. Mix knot sizes throughout your head for a textured dimensional look or add decorative beads to the base of each knot before securing them for added style.
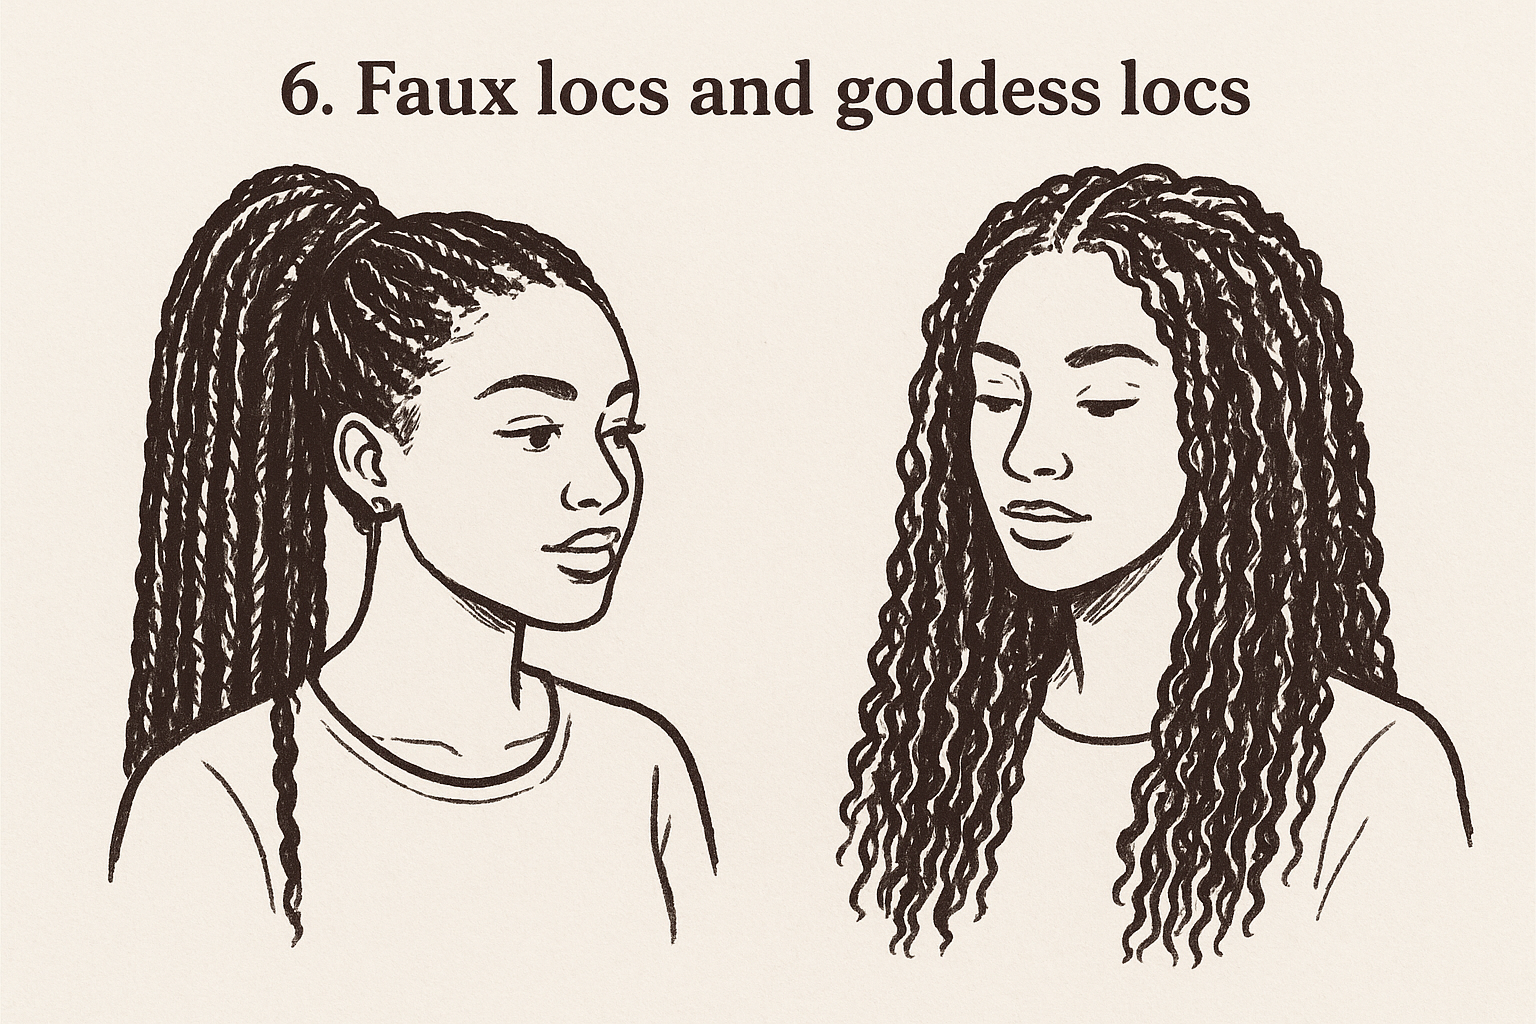
5. Faux locs and goddess locs
Faux locs give you the authentic loc aesthetic without the years of commitment that traditional locs require. You can install them using crochet methods or wrapping techniques and wear them for six to eight weeks while your natural hair rests underneath. Goddess locs add curly extensions woven throughout for a softer bohemian vibe that combines the structure of locs with flowing texture.
Why this style works for 4C hair
Your 4C hair stays completely tucked away inside each loc which eliminates daily manipulation and protects your ends from breakage. The installation process distributes weight evenly across your scalp instead of concentrating tension in one area. These locs work particularly well if you struggle with retaining length because they give your hair a long break from styling while maintaining moisture.
What you need to prep your hair
Wash your hair with a clarifying shampoo to remove buildup then follow with a deep conditioning treatment. You need pre-made faux loc extensions or Marley hair to wrap your own plus a crochet needle if you choose that installation method. Keep edge control gel nearby for smooth parts and a leave-in conditioner spray to maintain moisture during installation.
Step-by-step tutorial
Part your hair into small square sections about the size you want each finished loc. Braid each section with a simple three-strand technique then use your crochet tool to hook the pre-made loc onto the root. Weave the braid into the extension by wrapping it around or threading it through depending on your chosen method. Roll each completed loc between gel-coated palms to seal the ends and create a uniform appearance.
Faux locs rank among the longest lasting protective styles for 4c hair because they keep your ends sealed while requiring minimal daily maintenance.
How to maintain and refresh
Spray your scalp with diluted leave-in conditioner twice weekly to prevent dryness and itching. Apply lightweight oil to your parts and massage gently. Wrap your locs in a satin scarf before bed to reduce frizz and preserve the style. This protective style typically lasts six to eight weeks before you need to remove it and remoisturize your natural hair.
Style variations and inspo
Try butterfly locs for a more distressed imperfect texture or bohemian locs with curly pieces woven throughout. Pull your locs into a high bun for formal events or create a half-up style with accessories like gold cuffs. Mix different loc sizes throughout your head for dimensional texture or add colored extensions for a bold statement look.
6. Low buns puffs and headwrap days
These casual protective styles for 4c hair take less than five minutes to create and work perfectly for those in-between days when you need to give your hair a rest. You can throw on a low bun or high puff when your twist out loses definition or wrap a headscarf over old braids that need moisture. These styles protect your ends while giving you a polished look without requiring heat or tension.
Why this style works for 4C hair
Your 4C texture holds buns and puffs without elastic bands that cause breakage because the natural coil pattern grips itself. Headwraps add an extra layer of protection against environmental damage while hiding days-old styles that need refreshing. You can switch between these options throughout the week to reduce manipulation and give different sections of your hair a break.
What you need to prep your hair
Gather a satin scrunchie or fabric hair tie that won't snag your strands. Keep a moisturizing cream and lightweight oil ready to smooth flyaways. For headwraps choose silk or satin scarves in colors that match your wardrobe and practice a few wrapping techniques beforehand.
Step-by-step tutorial
Pull your hair into a low or high position depending on your preference then twist it loosely before wrapping it into a bun. Secure with your fabric tie and tuck the ends under. For headwraps fold your scarf into a triangle or long strip then wrap it around your head securing the ends with a knot or tuck.
Low maintenance styles like buns and headwraps protect your hair between wash days while keeping you looking polished with minimal effort.
How to maintain and refresh
Remoisturize your hair every two days before putting it back into a bun or puff. Change your headwrap daily and apply oil to your scalp underneath to maintain moisture. These styles work best for three to five days before you need to wash and start fresh.
Style variations and inspo
Create a double puff by parting your hair down the center or position a low bun to one side for asymmetry. Layer multiple headwraps in complementary colors or add decorative pins to your bun for special occasions.
Keep your 4C hair protected
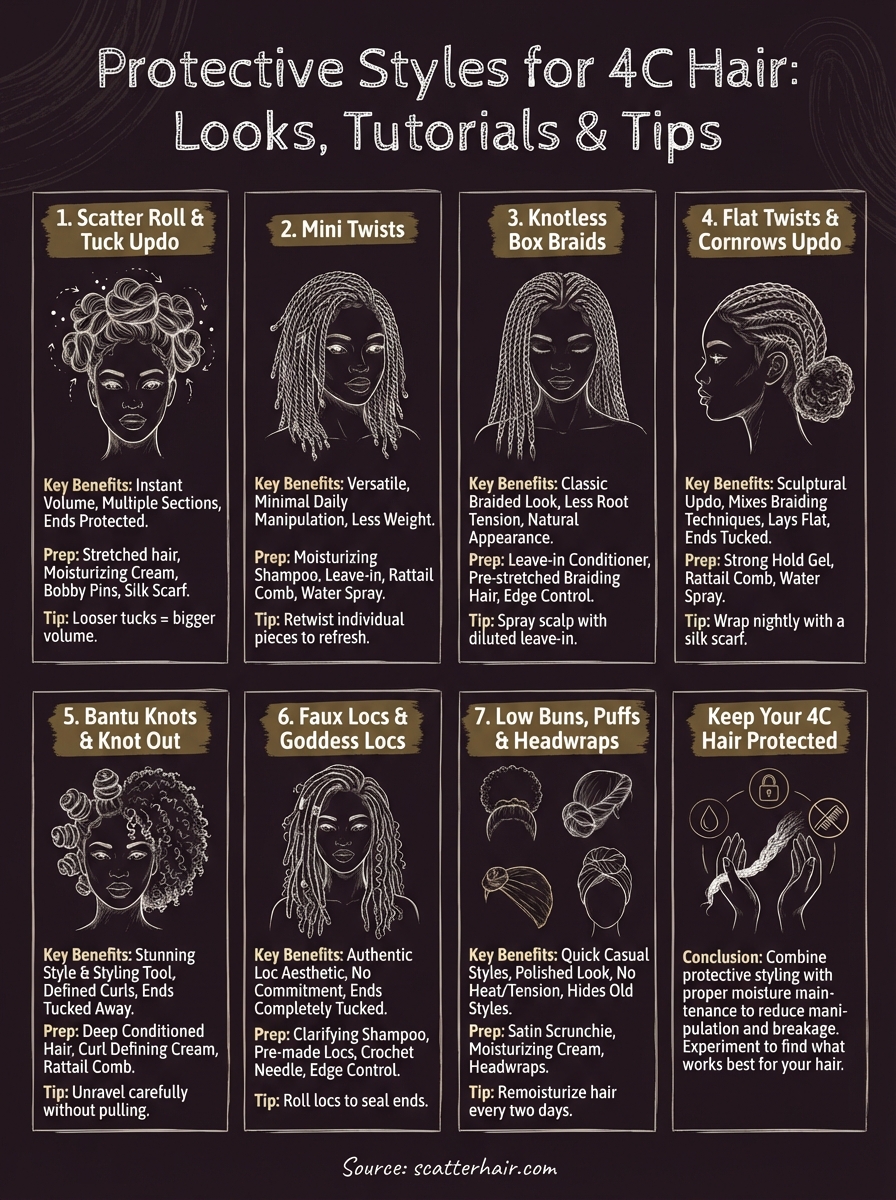
These protective styles for 4c hair give you options for every lifestyle and commitment level. You can choose quick five-minute styles like low buns and headwraps when you need something fast or invest time in longer-lasting options like knotless braids and faux locs that protect your hair for weeks. Each style keeps your ends tucked away while reducing the daily manipulation that leads to breakage and length retention issues.
Your hair thrives when you combine protective styling with proper moisture maintenance between installations. The tutorials and tips in this guide help you install each style correctly so you avoid tension on your edges and scalp while maximizing protection. Experiment with different options throughout the year to find which styles work best for your hair texture and daily routine.
Scatter's first product is Slip, a 2% hyaluronic acid hair serum. Work it through wet-to-damp hair, then air dry for texture or blow dry for body. It's on pre-order now.