

How to Build a Straight Natural Hair Routine
Straightening your natural hair without frying it takes more than a flat iron and hope. If you have curly or coily texture and you're chasing a sleek look for a wedding, a job interview, or just a Tuesday, you already know the risk: one pass with too much heat and you're looking at weeks of recovery, not days. A real straight natural hair routine isn't about buying a stronger flat iron. It's about the steps before and after the heat that actually protect your strands.
This guide answers exactly that: how to go straight without sacrificing your curl pattern long term. You'll get the order of operations that matters, from clarifying and deep conditioning to the specific blow-drying technique that sets you up for a smooth result with less heat overall. We also cover heat protection products worth your money versus the ones that just add weight.
By the end, you'll have a repeatable natural straight hair routine you can turn to whenever you want the look, plus a clear sense of how often is too often. If your curls have felt rougher after every straightening session, this is the fix.
What is a straight natural hair routine
A straight natural hair routine is the full sequence of steps, from prep to aftercare, that turns curly or coily hair sleek and straight without stripping the elasticity your curls need to bounce back once you wash it out. It's not a single technique you pull out for a special occasion and forget about. It's a repeatable system built around protecting the hair shaft every time heat touches it, so the fifth straightening session does the same amount of damage as the first one, not ten times worse.
It's a system, not a one-time style
Most people treat straightening as one event: wash, dry, flat iron, done. That approach works exactly once, and then your curls start telling on you with frizz, dryness, and split ends by the second or third round. A real natural straight hair routine treats the wash day before straightening, the products you layer on damp hair, and the way you sleep on your finished style as one continuous chain. Skip a link, like clarifying product buildup before you apply heat, and you'll scorch residue into your strands instead of just styling your hair. Get the order right and each pass takes less heat than the last, because you're not fighting damage from the previous session.
The order of your steps protects your curls more than any single product you buy.
The four building blocks
Every solid routine breaks down into four phases, and skipping one is usually the reason hair feels crunchy or frizzy by day three instead of smooth for a full week. Think of these as non-negotiable checkpoints rather than optional extras you can shuffle around depending on how much time you have.
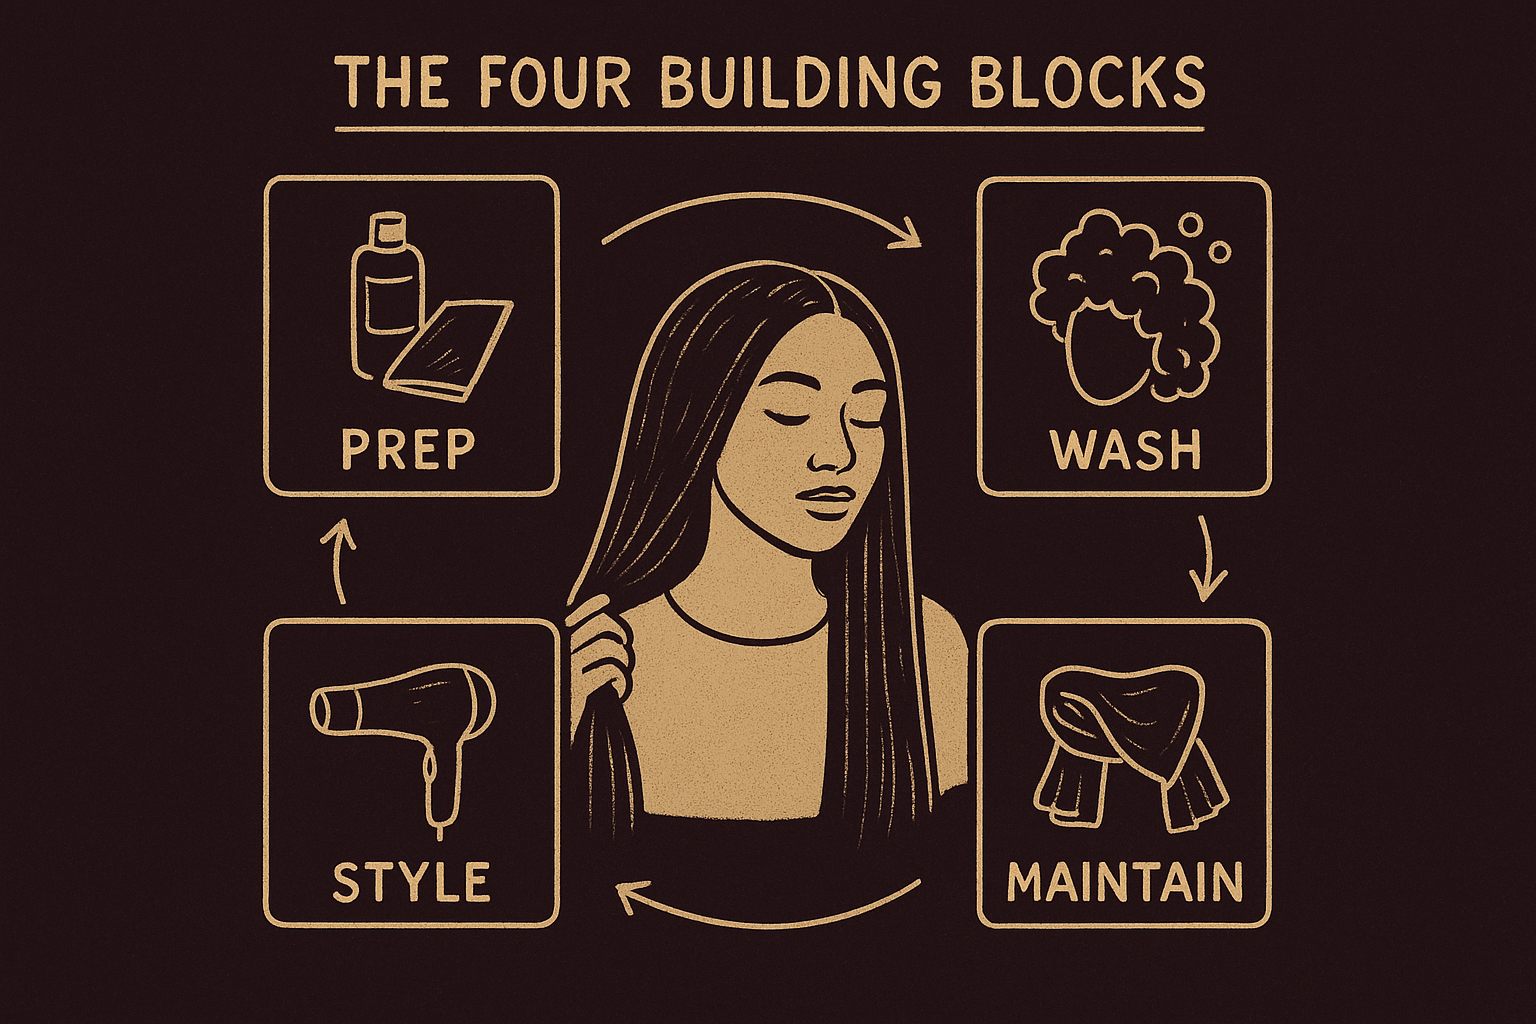
| Phase | Goal | What it involves |
|---|---|---|
| Prep | Strengthen strands before heat | Protein treatment, trim, detangle |
| Wash | Load hair with moisture | Clarifying shampoo, deep conditioner, leave-in |
| Style | Straighten with minimal heat | Blow-dry on low, ceramic flat iron, heat protectant |
| Maintain | Preserve style, protect edges | Silk wrap, dry shampoo, scalp refresh |
How this compares to chemical straightening
Unlike keratin treatments or relaxers, a straight hair natural routine doesn't change your hair's chemical structure at all. Your curl pattern is still sitting under the smoothness, which is exactly why the routine has to be repeated after every wash instead of lasting for months at a stretch. That's the tradeoff worth understanding upfront: you avoid the permanent damage risk that comes with harsh chemical processes, but you take on the ongoing upkeep yourself. If you want the look occasionally rather than as your default texture, this method fits far better than a treatment you can't undo.
Signs your routine is actually working
You'll know your routine is protecting your curls instead of just hiding them temporarily when you notice a few specific things after each session:
- Your hair reverts to full curl definition within one or two washes, not a frizzy in-between texture
- Ends stay smooth with no visible splitting or fairy knots
- You need less heat each time because the hair holds a straighter memory longer
- Your scalp doesn't feel tight or irritated from repeated tension styling
Watch for the opposite of these signs, and you've got a clear signal that something earlier in the chain needs fixing, usually starting with what you do before the heat ever comes out.
Step 1. Strengthen and prep before you apply heat
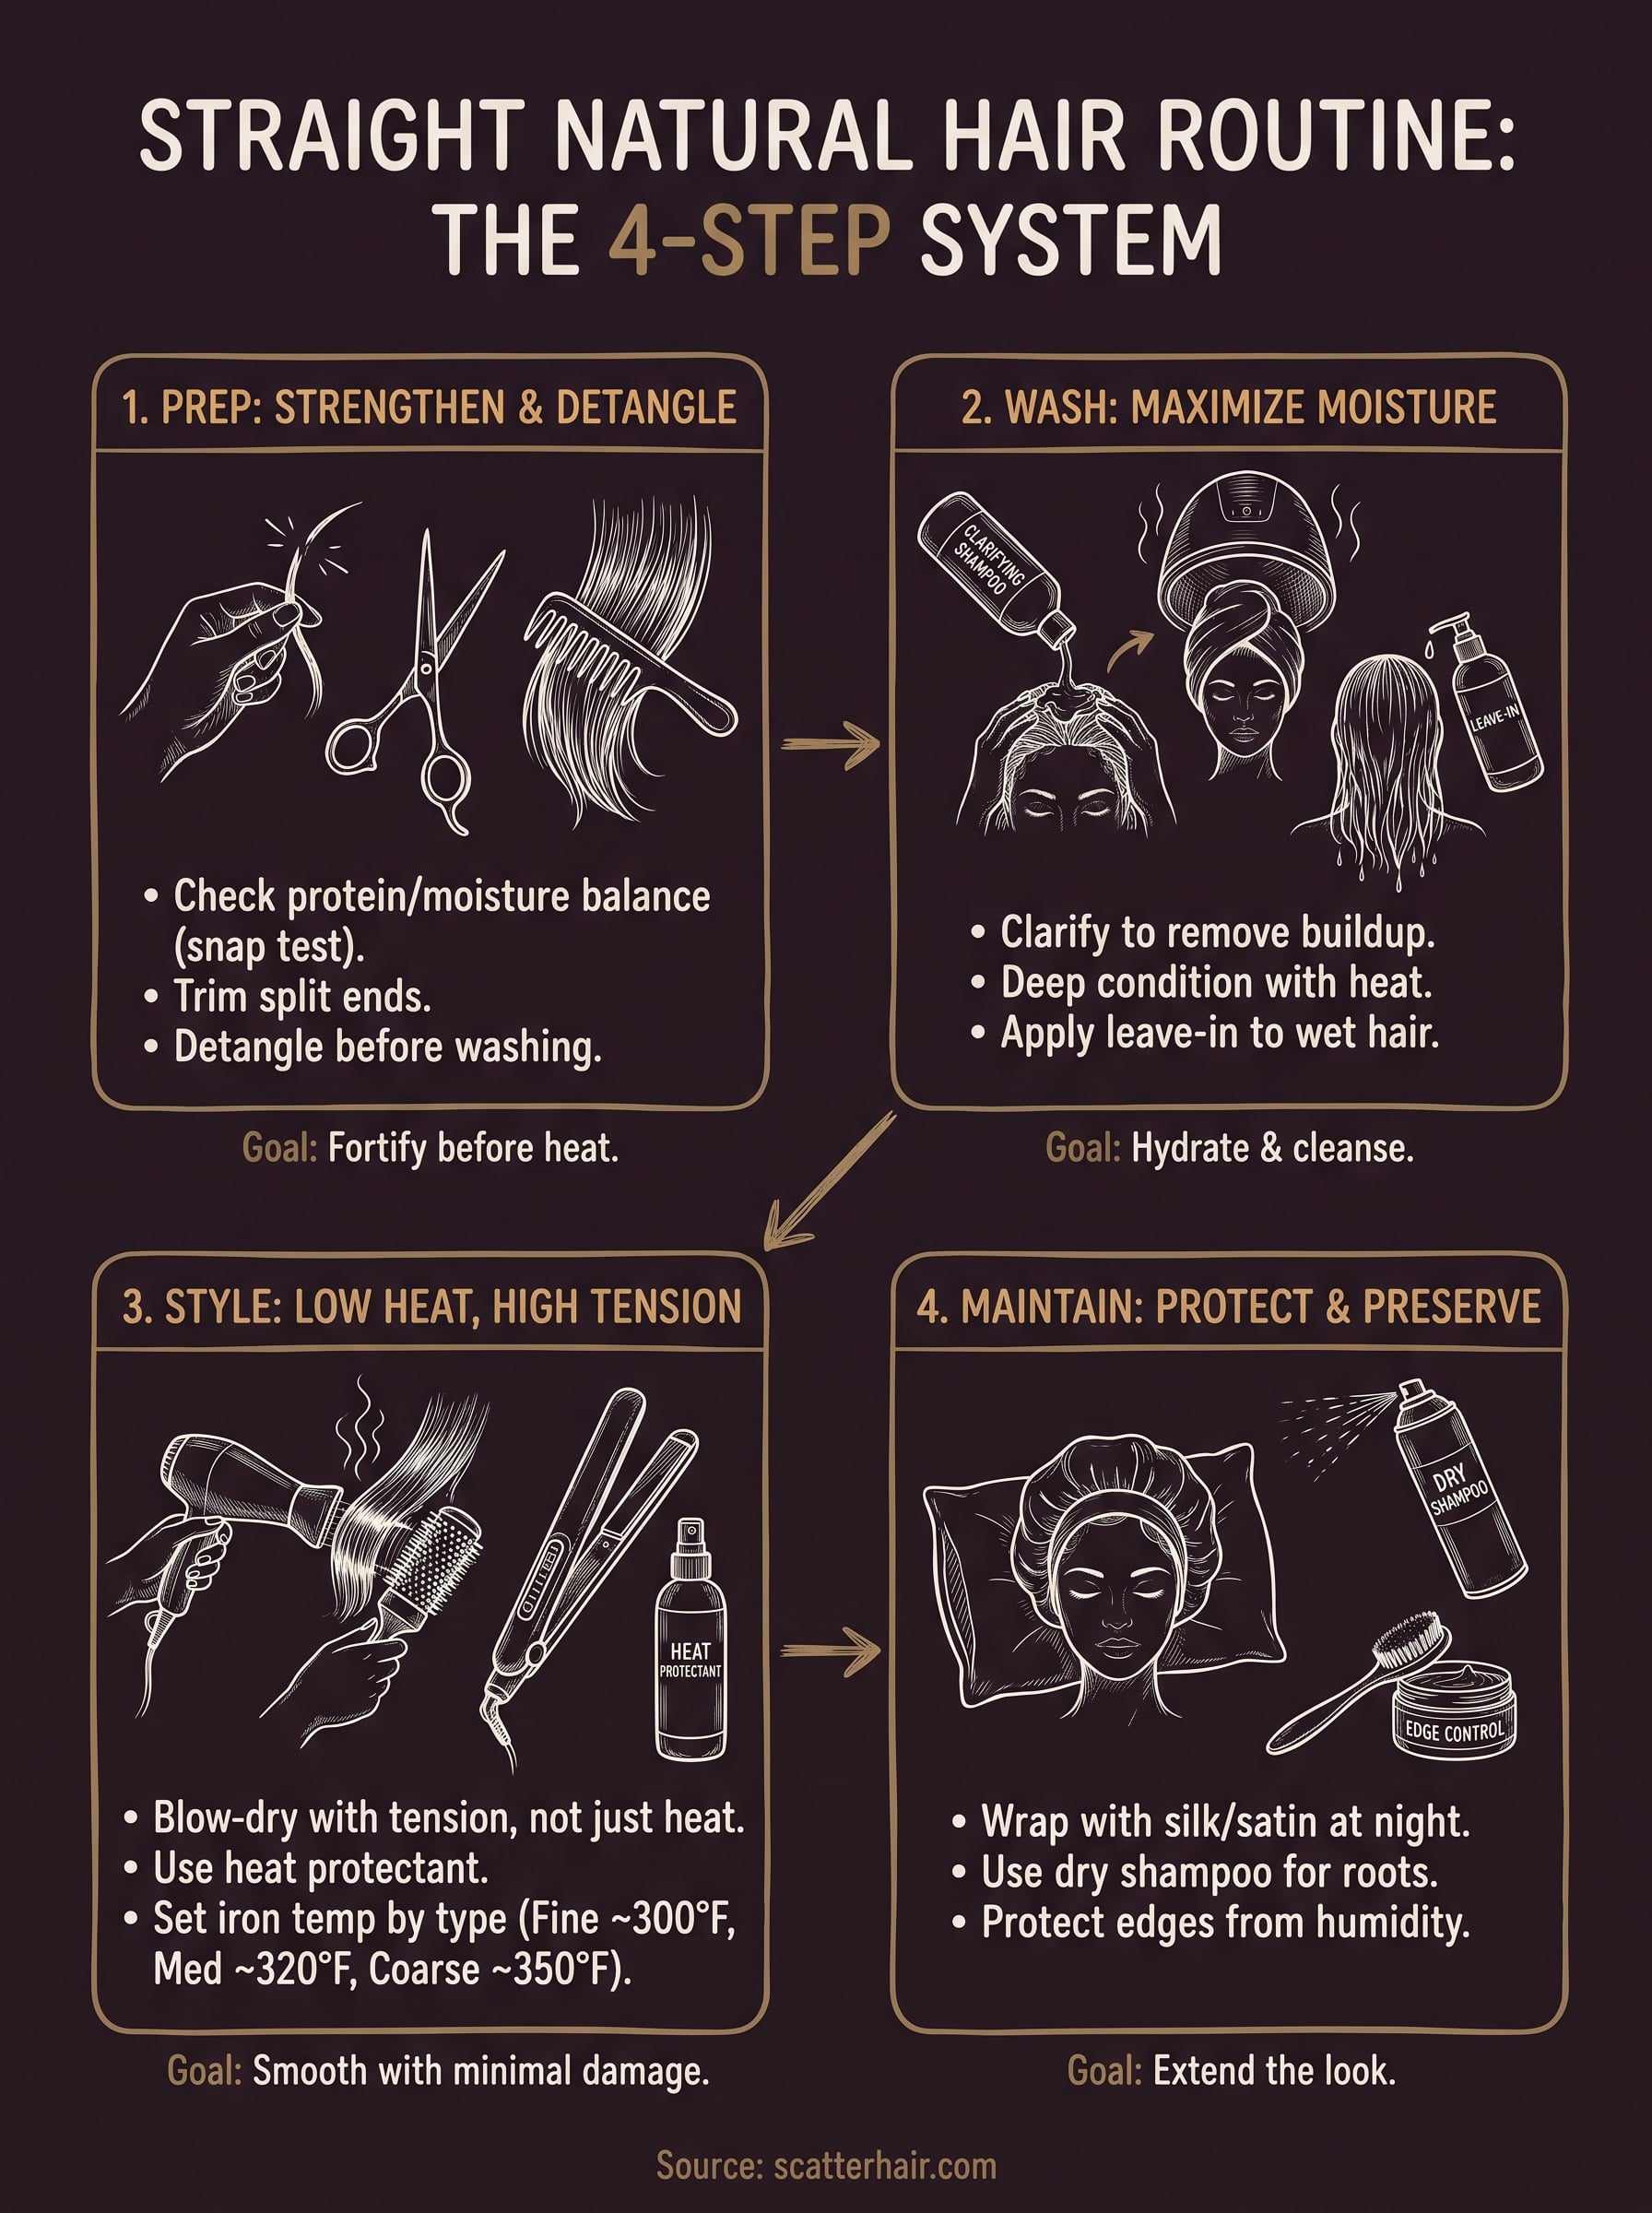
Before you touch a flat iron, you need to know whether your hair can handle the heat at all. Weak, overly porous strands snap under a flat iron even at low temperatures, so this prep step decides how much damage every future session causes. Protein prep and a fresh trim matter more here than any product you'll buy later, because heat locks in whatever condition your hair is already in.
Check your protein-moisture balance
Grab a strand of shed hair and stretch it gently. If it snaps with no give, your hair needs protein before it sees heat. If it stretches and doesn't spring back, you need moisture instead, and heat will only make that worse. Apply a lightweight protein treatment (not a heavy keratin mask) one to two weeks before straightening if your hair fails the snap test. Skipping this step is the single biggest reason a straight natural hair routine starts strong and falls apart by session three.
A weak strand doesn't get stronger under heat, it just breaks quieter.
Trim first, always
Split ends don't stay split. Heat travels up the shaft and turns one small split into a longer one, so trim any visible damage before you straighten. A trim every 8 to 12 weeks keeps your ends dense enough to reflect light smoothly once you flat iron, which is half of what makes straightened natural hair look sleek instead of dull.
Detangle before wash day, not after
Detangle dry hair with a wide-tooth comb before you shampoo, working in sections from ends to roots. Detangling wet, product-free hair after washing causes more breakage than doing it beforehand, because wet hair stretches further before snapping. Save the finger-detangling for after conditioner goes in during Step 2.
Once your strands pass the protein-moisture check, you've earned a trim, and you've detangled the tangles out ahead of time, you're actually ready for the wash step, not just skipping straight to it because you're impatient to see the sleek result.
Step 2. Wash and deep condition for maximum moisture
Water is your best straightening tool, and most people skip past it too fast. Before heat ever touches your hair, you need every strand loaded with as much moisture retention as it can hold, because a flat iron seals in whatever condition exists at that moment. Wash day isn't just cleaning, it's the last chance to fix dryness before it gets locked in for a week.
Clarify before you condition
Grease, gel, and old conditioner buildup block moisture from reaching the hair shaft, so start with a clarifying shampoo, not your usual gentle cleanser. Focus it on your scalp and roots, then let the sudsy runoff clean the lengths as you rinse. Skip this step and you're straightening a layer of product residue, which scorches under heat and leaves hair looking dull instead of glossy. This single swap is often the difference between a straight hair natural routine that shines and one that just looks flat.
Deep condition with heat
Apply a deep conditioner rich in fatty alcohols and humectants, then sit under a hooded dryer or wrap your head in a warm towel for 20 to 30 minutes. Gentle heat opens the cuticle enough for the conditioner to actually penetrate instead of sitting on top. Rinse with cool water at the end to flatten the cuticle back down, which sets you up for a smoother finish once you get to the flat iron.
Moisture you skip on wash day is moisture your flat iron can't replace later.
Seal in a leave-in and detangle wet
While hair is still soaking wet, apply a leave-in conditioner section by section, then finger-detangle gently before switching to a wide-tooth comb. Follow with a lightweight, water-based leave-in treatment rather than a heavy cream, since anything too thick will weigh hair down and make it harder to dry fully before flat ironing. Getting this layering order right, clarify, deep condition, leave-in, means you walk into blow-drying with hair that's genuinely hydrated instead of just coated.
Step 3. Blow-dry and flat iron with the lowest heat
Heat only works when it's controlled, and this step is where most damage actually happens, not because people use flat irons wrong, but because they skip the blow-dry setup that makes low heat effective in the first place. Thermal protection starts before the flat iron ever gets plugged in, and the goal here is straightening in as few passes as possible.
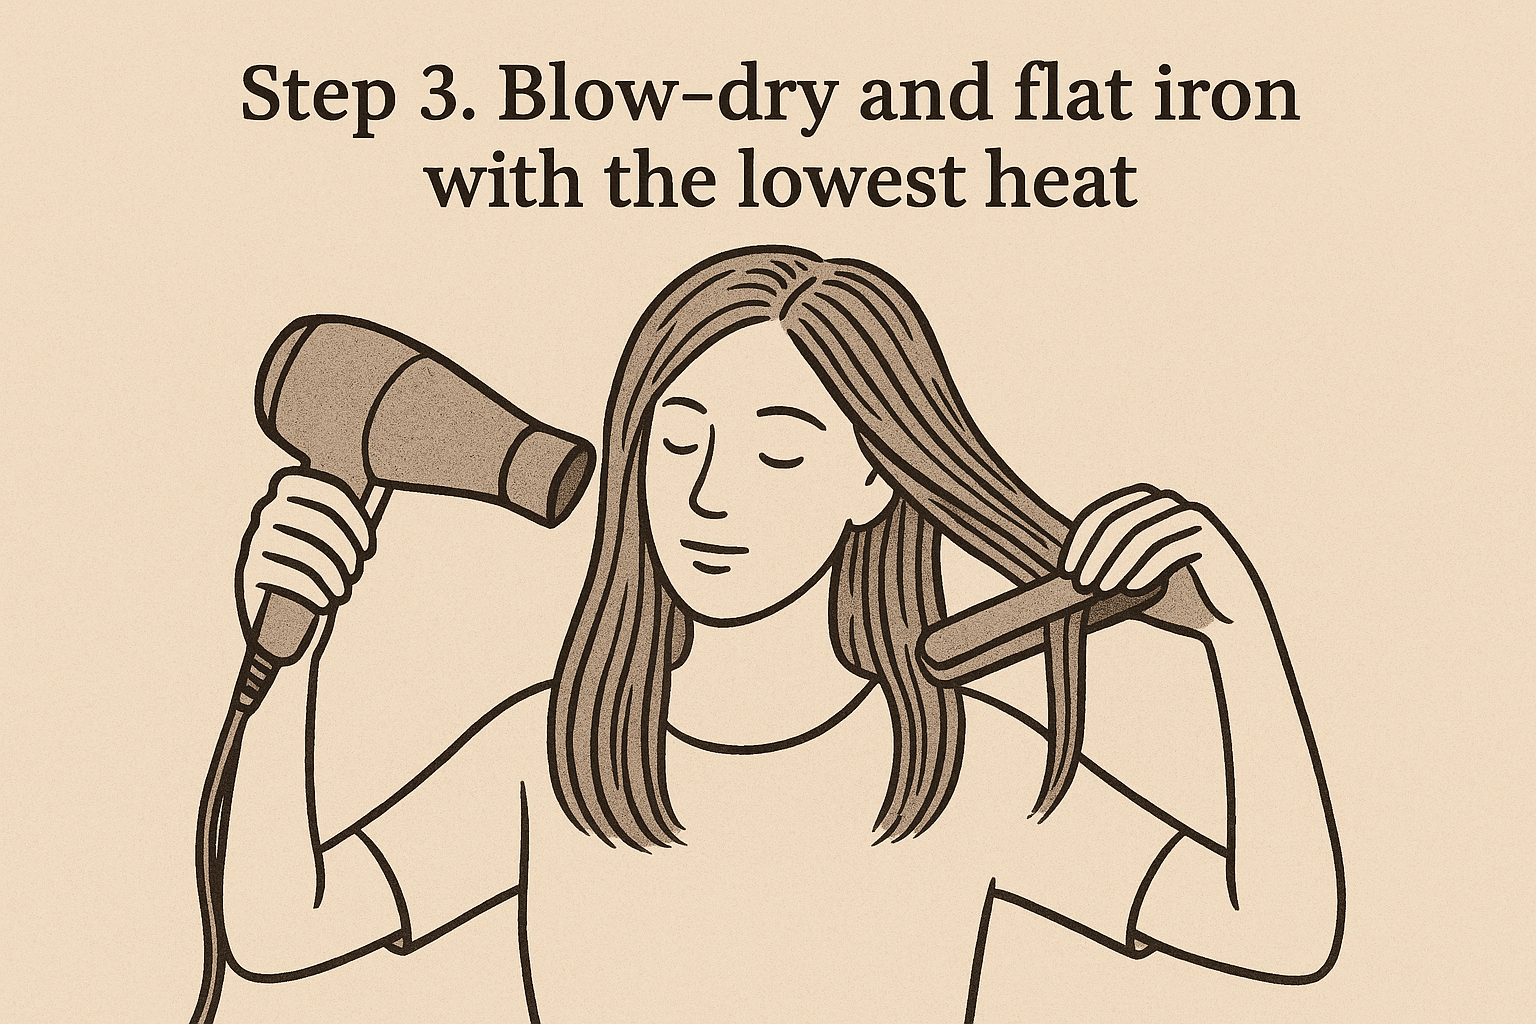
Blow-dry with tension, not heat
Section hair into four to six parts and blow-dry each one using a nylon bristle brush pulled taut from root to end, keeping the dryer on medium heat and moving constantly. Tension does the smoothing work, not heat, so a slower brush pull beats a hotter dryer setting every time. Dry until hair is fully straight and completely dry before you pick up the flat iron; any dampness left in the shaft turns to steam under the plate and causes the sizzling sound that means active damage.
If you hear sizzling under the flat iron, your hair wasn't dry enough to begin with.
Set the flat iron by hair type
Apply a heat protectant rated for your iron's temperature, section hair into pieces no wider than an inch, and glide the iron once per section in a single smooth pass. Our how-to guides walk through matching heat protectant to porosity if you're unsure which formula fits your strands.
| Hair type | Recommended max temperature |
|---|---|
| Fine, low density | 300°F |
| Medium texture | 320°F |
| Coarse, high density | 350°F |
Start at the low end of your range and only raise it if a section genuinely resists after two passes. A natural straight hair routine built on repeated low-heat passes protects the cuticle far better than one high-heat pass that gets it done in a hurry but leaves strands brittle by the next wash.
Step 4. Maintain your straight style between washes
Getting your hair straight is only half the job. What you do for the next five to seven days decides whether that sleek finish holds or frizzes out by Wednesday. Overnight protection and a few small habits during the day are what stretch a single flat iron session into a full week of style longevity instead of a look you have to redo every other night.
Protect your style at night
Wrap your hair in a satin or silk scarf before bed, or sleep on a satin bonnet if you find scarves slip off during the night. Cotton pillowcases pull moisture from your strands and create friction damage that shows up as frizz along your part line by morning. Lay your hair flat against your scalp in large sections rather than piling it on top of your head, since bunching creates creases you'll have to re-iron later.
A silk wrap does more overnight work than any product you'll apply the next morning.
Stretch the time between washes
Sweat, humidity, and rain are the real enemies of a straightened style, so treat your edges like the weak point they are. Apply a lightweight edge control at your hairline each morning to build a humidity barrier, and carry a small umbrella or hood on damp days rather than hoping for the best. At the roots, a dry shampoo absorbs oil and buys you extra days without a full rewash, which means fewer heat sessions overall.
Refresh without starting over
When roots start looking flat instead of frizzy, that's usually a sign you need a quick root touch-up, not a full reapplication of heat from scalp to ends. Section just the roots, apply a small amount of light hold product, and run a warm (not hot) flat iron over that section only. Our styling essentials are built for exactly this kind of light, low-heat maintenance between full wash days, so you're not undoing all the work from Steps 1 through 3 just to fix an inch of new growth.
Finding the routine that fits your hair
No two curl patterns respond to heat the same way, so treat everything above as your starting framework, not a rigid script. Your hair porosity, density, and how often you actually wear it straight will push you toward more protein here or less heat there, and that's fine. Prep, wash, style, and maintain stays the same order every time, even as the products inside each step shift to match what your strands need this month versus last month.
Getting a straight natural hair routine right isn't about one perfect session, it's about repeating a process that respects your curls enough to let them bounce back every single time. Give your hair the prep it deserves, keep the heat low, and protect the style once it's done. That's the whole formula.
If you want the product guidance and step-by-step visuals to match this routine to your exact texture, check out Scatter's how-to guides built specifically for textured hair.