

Styling Curly Bangs: Techniques, Products and Daily Refresh
You cut curly bangs thinking they would frame your face perfectly. Instead, you wake up to an unpredictable mess that either shrinks into your eyebrows or frizzes into a chaotic cloud. One day they look amazing. The next day they refuse to cooperate. You start clipping them back or letting them blend into your hair because styling them feels impossible.
The truth is curly bangs are not harder to style. They just need a different approach. When you work with your natural texture instead of fighting it, styling becomes simpler. The right cut matters. The products you choose matter. And knowing how to refresh them between washes changes everything.
This guide walks you through exactly how to style curly bangs from start to finish. You will learn what to ask your stylist, which products actually work, how to style them on wash day, and how to keep them looking good between washes. No more guessing. No more frustration. Just practical techniques that make curly bangs manageable.
Prerequisites for styling curly bangs
You need curly bangs already cut into your hair before you can style them. This guide assumes you either have a fresh cut or you are planning to get one soon. Understanding your natural curl pattern also matters because tight coils behave differently than loose waves. Your pattern determines how much shrinkage happens and which techniques work best.
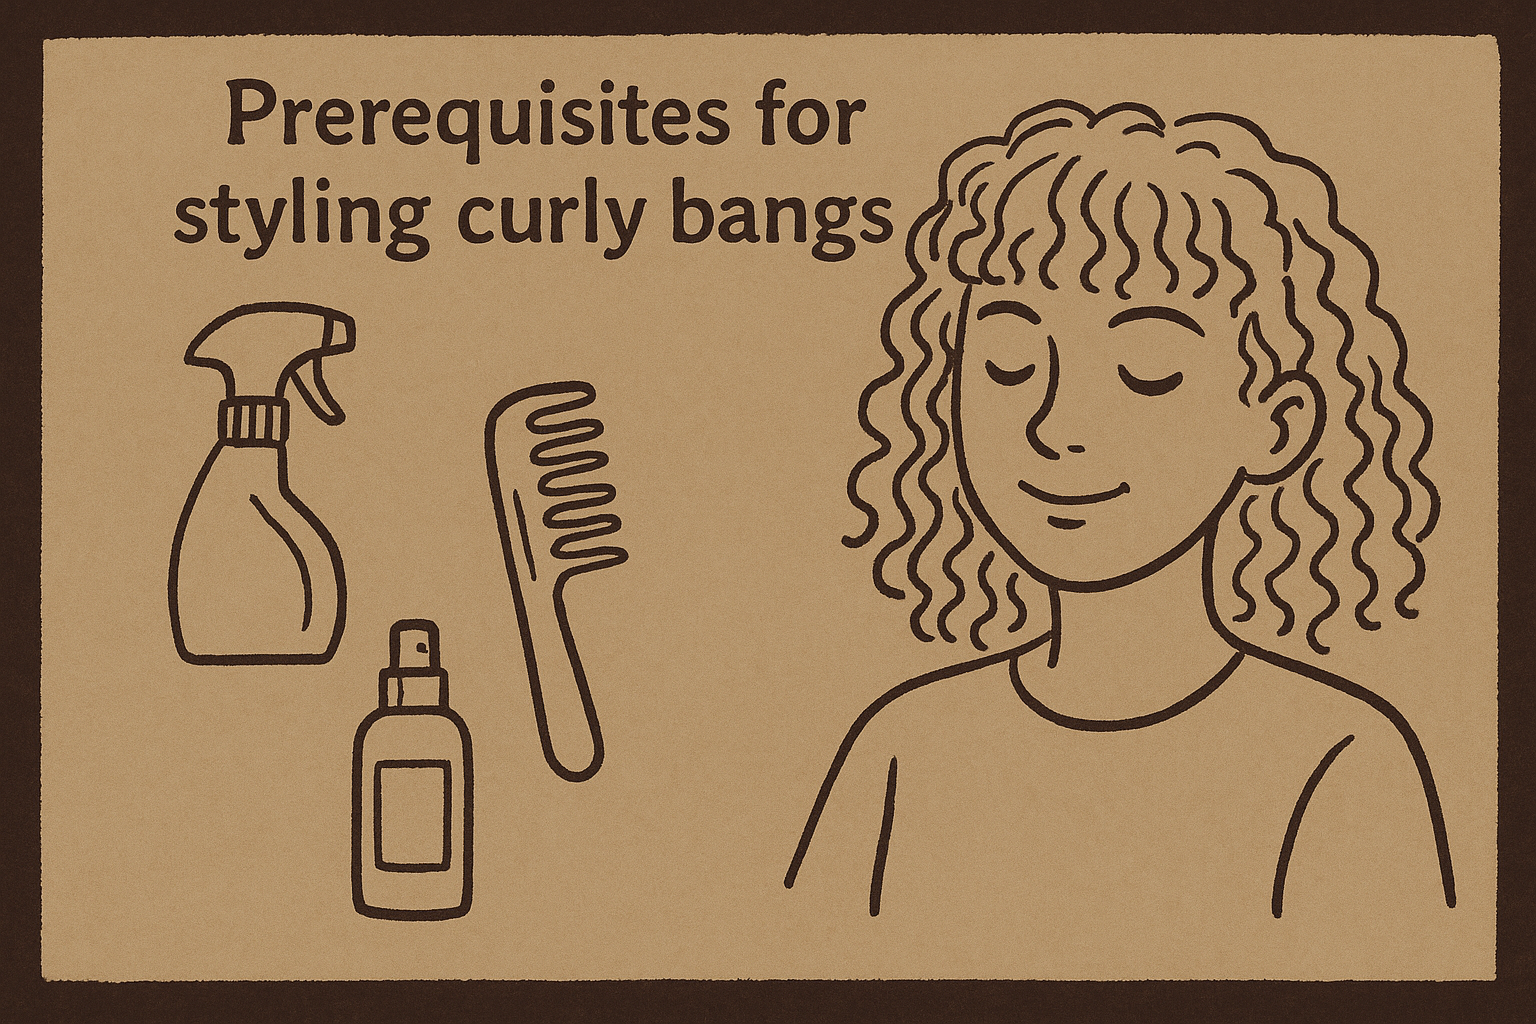
Styling curly bangs takes 15 to 20 minutes on wash days and 5 to 10 minutes for daily refreshes. You cannot rush the process and expect good results. Block out enough time so you are not tempted to skip steps. Gather your basic supplies before you start: a water spray bottle, a wide-tooth comb or Denman brush, and styling products. Having everything within reach keeps the process smooth.
The most common mistake is trying to style curly bangs in under five minutes and wondering why they look messy.
Your bangs might not cooperate perfectly the first few times you style them. Accept that learning takes practice and each wash day teaches you more about how your specific curls respond to different techniques and products.
Step 1. Get the right curly fringe cut
Your cut determines how easy or difficult styling curly bangs becomes. A bad cut means you fight your hair every single day no matter which products or techniques you use. The right cut makes styling almost effortless because your bangs naturally fall into place with minimal manipulation.
Ask for a dry cut
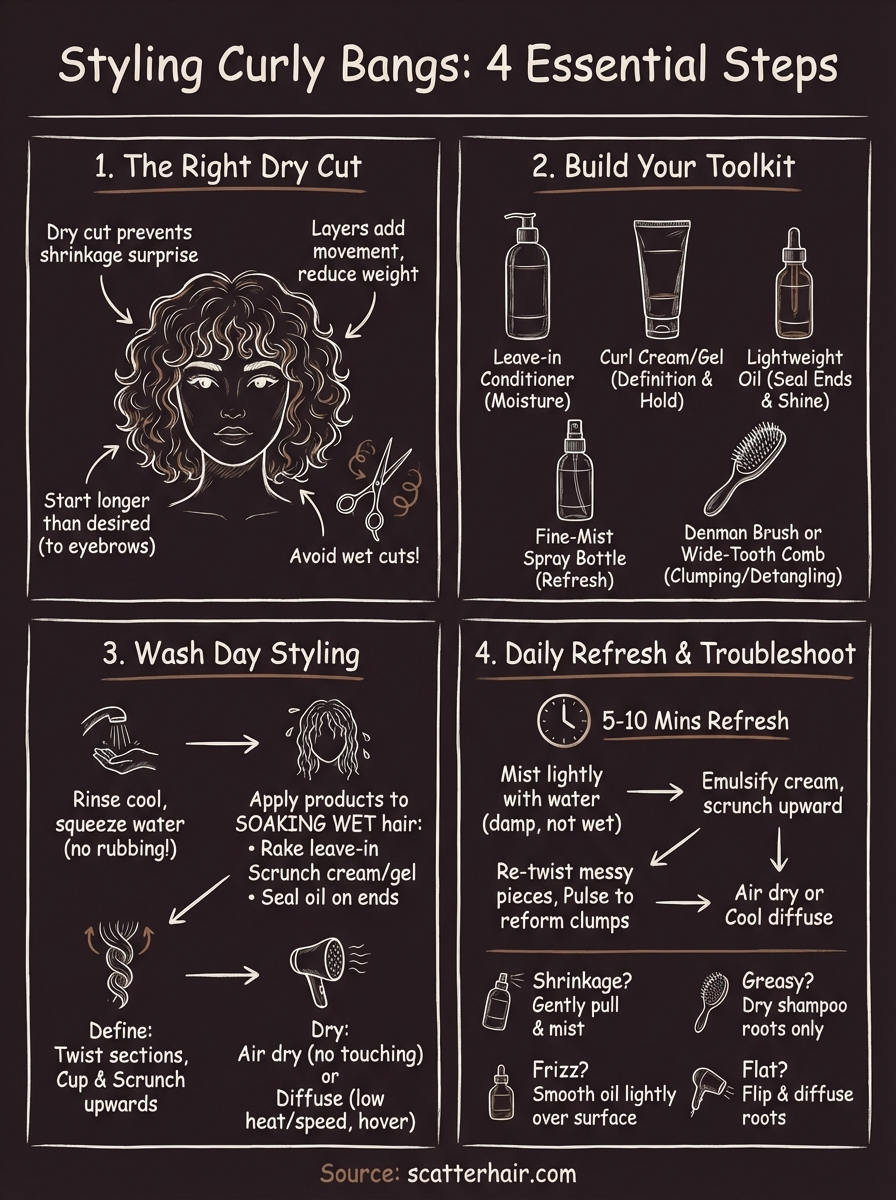
Schedule your appointment with a stylist experienced in curly hair who cuts while your hair is dry. Wet cuts lead to unpredictable results because curls shrink as they dry. Your stylist cannot see the true length or how each curl behaves when working with wet hair. A dry cut allows precision because the stylist sees exactly where each curl lands and how it moves naturally.
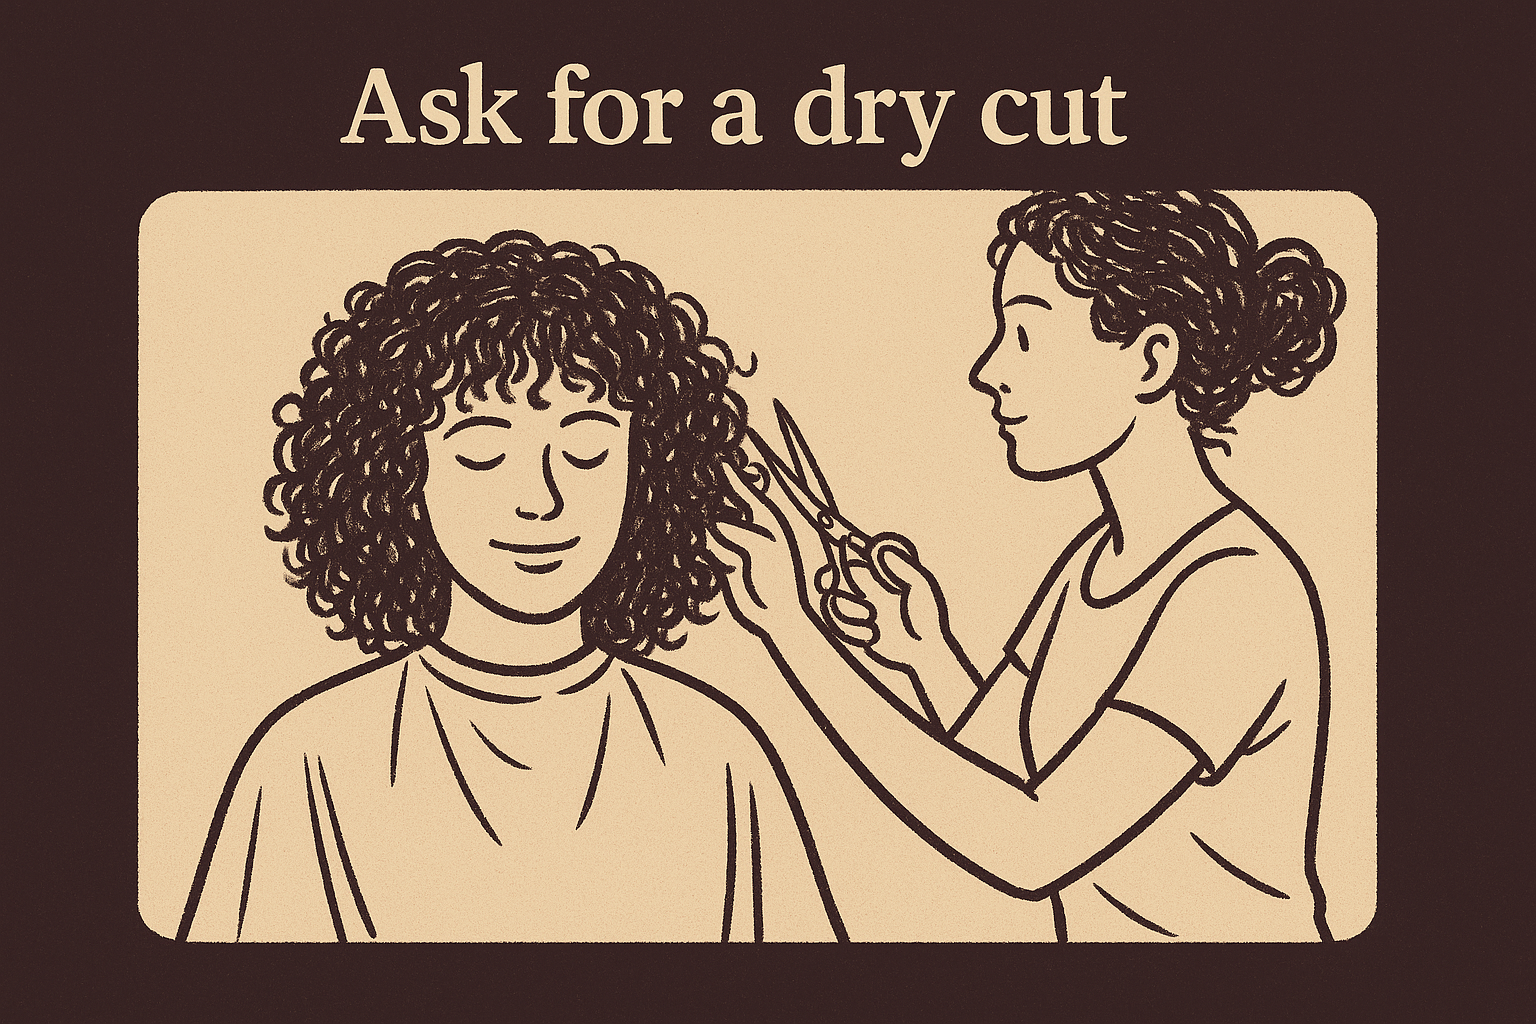
Most curly bang disasters happen because the stylist cut them wet and the bangs shrank three inches shorter than expected.
Specify length and layering
Tell your stylist to start longer than you think you want because you can always trim more later. Request bangs that fall just below your eyebrows when stretched. Once they spring back into their natural curl pattern, they will sit at the perfect length above your eyes. Ask for internal layers that remove weight without making your bangs look choppy. Heavy bangs clump together and lose definition. Layers create movement and help individual curls form properly when you are styling curly bangs at home.
Step 2. Build your styling toolkit
Your styling results depend heavily on the products and tools you use. Cheap or wrong products create frizz and limp curls no matter how good your technique is. You need specific items designed for curly hair that provide moisture, hold, and definition without weighing down your bangs.
Essential styling products
You need three core products for styling curly bangs: a leave-in conditioner, a curl cream or gel, and a lightweight oil. The leave-in conditioner provides moisture and makes your curls easier to detangle and shape. Choose one that absorbs quickly without leaving residue. Apply curl cream or gel while your bangs are soaking wet to lock in definition and prevent frizz as they dry. Gels offer stronger hold for tighter curls while creams work better for looser waves. Finish with a lightweight oil like argan or jojoba on the ends to seal moisture and add shine without making your bangs greasy.
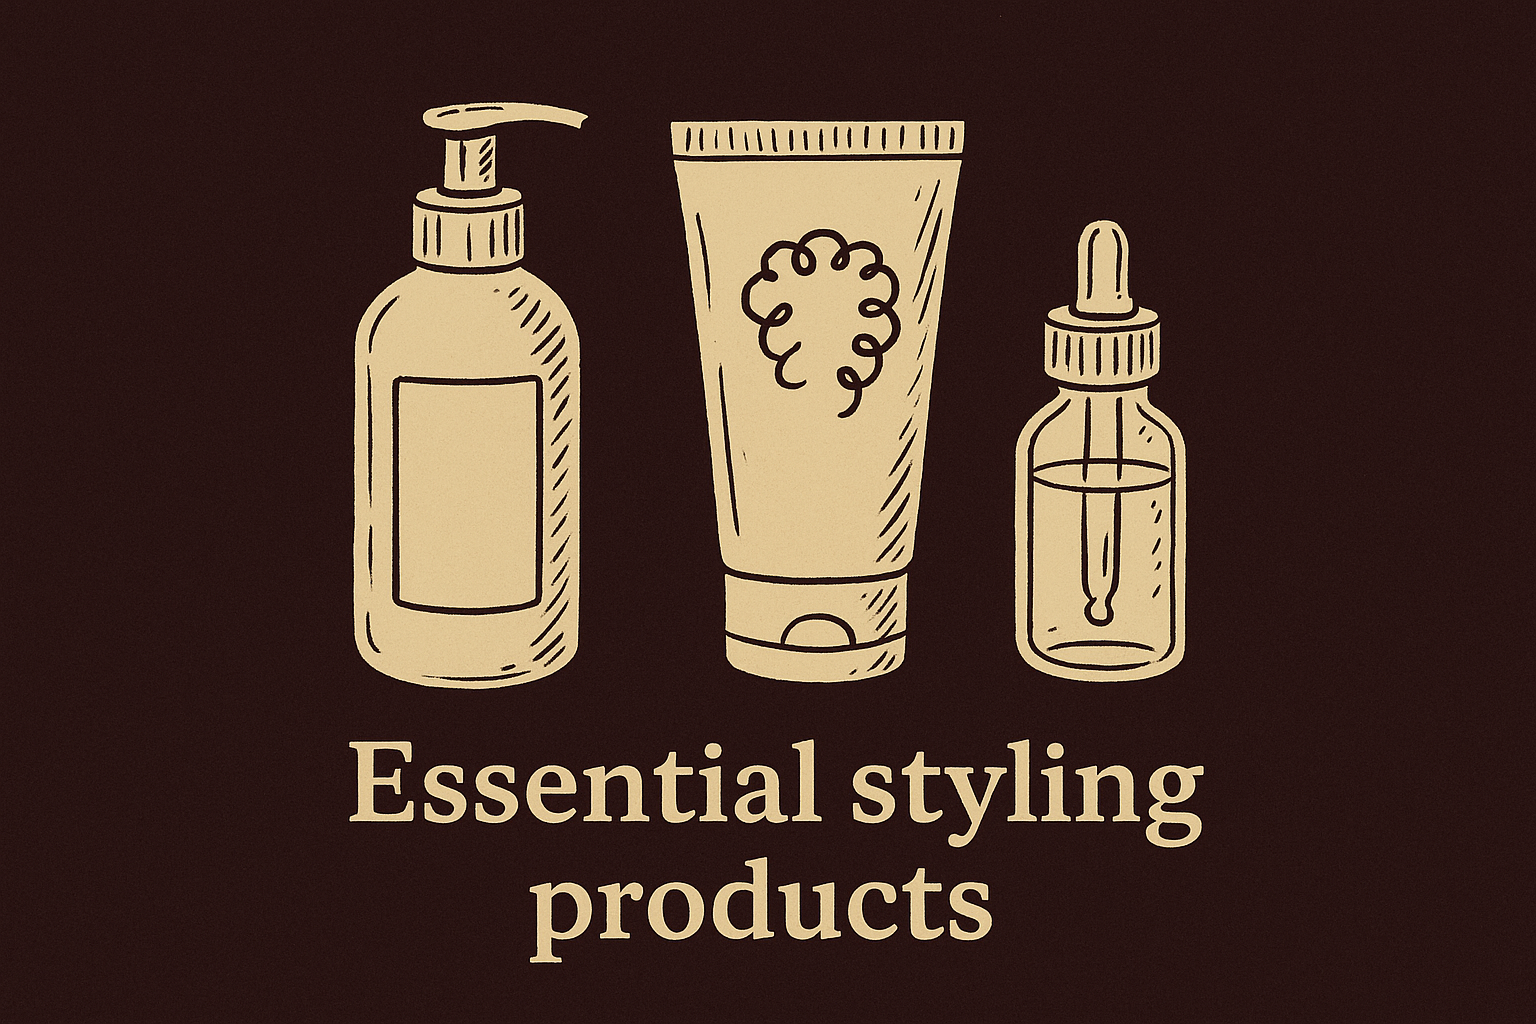
Products designed for straight hair will fight against your natural texture instead of enhancing it.
Tools that make styling easier
Invest in a fine-mist spray bottle for refreshing your bangs between washes. Regular spray bottles create heavy droplets that disrupt curl clumps. You also need either a Denman brush or a wide-tooth comb depending on your curl type. Denman brushes work well for creating defined curl clumps on looser patterns while wide-tooth combs prevent breakage on tighter coils. A microfiber towel or cotton t-shirt replaces regular towels that rough up your cuticle and cause frizz when drying.
Step 3. Style bangs on wash day
Wash day is when you set the foundation for how your bangs will look for the next several days. The techniques you use during this process determine whether you wake up to defined curls or a frizzy mess. Your goal is to lock in moisture and shape while your hair is soaking wet because once it dries, you lose the opportunity to create lasting definition.
Prep your bangs after washing
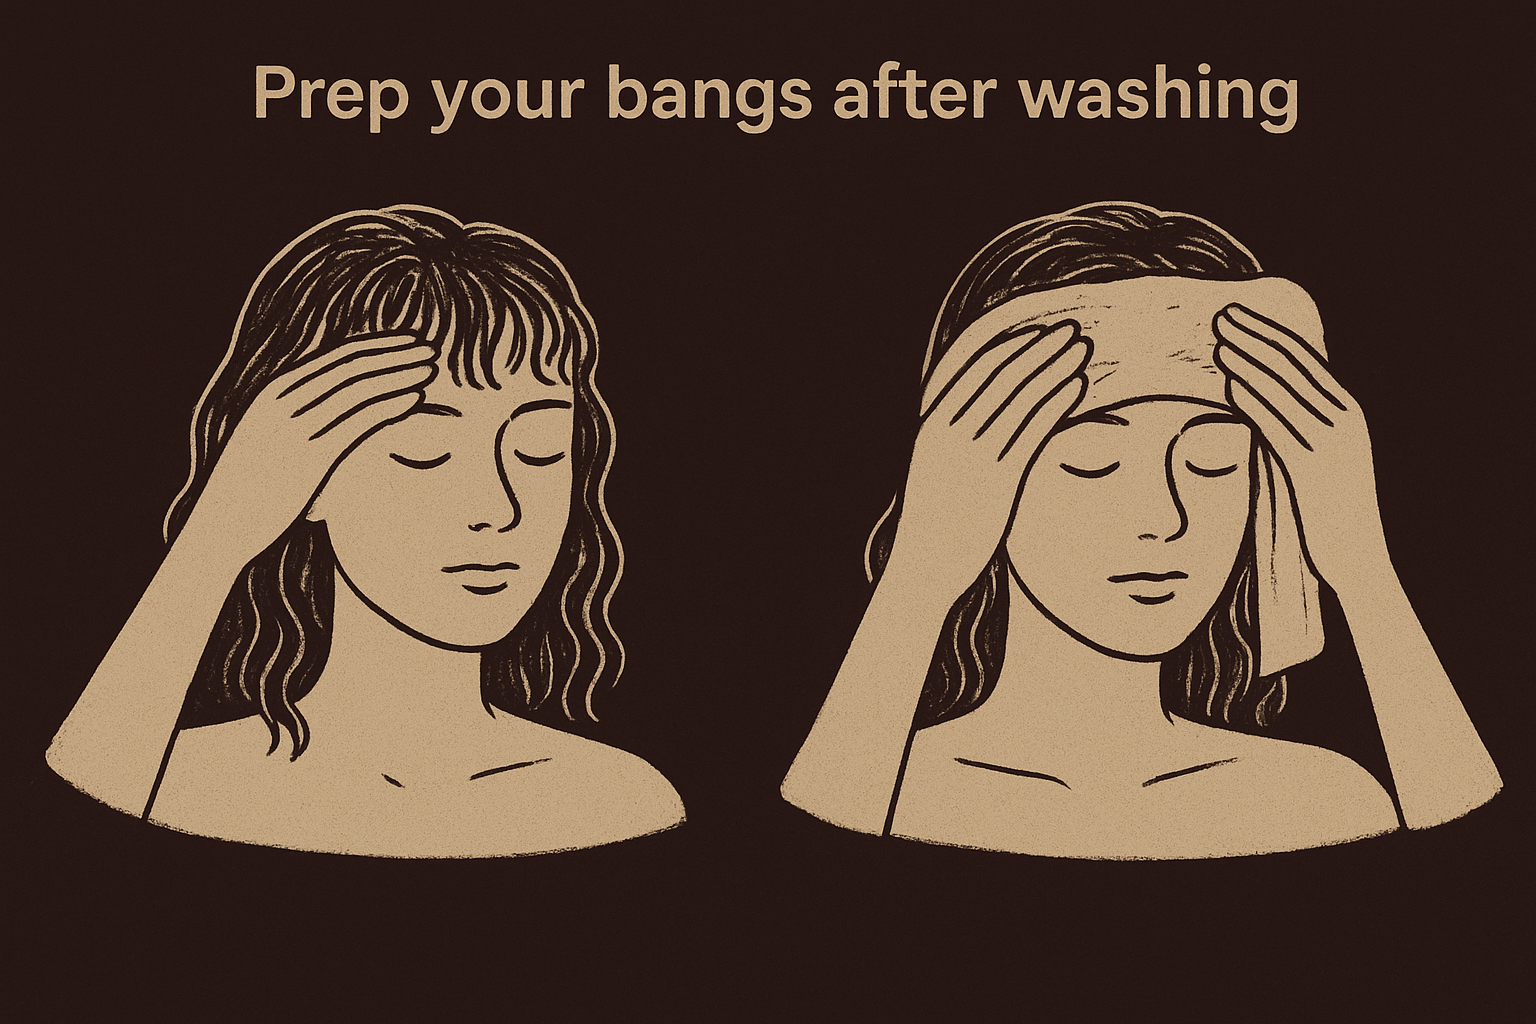
Finish your shower by rinsing your bangs with cool water to close the hair cuticle and reduce frizz. Step out and gently squeeze excess water from your bangs using your hands. Do not rub or twist them. Pat your bangs lightly with a microfiber towel or t-shirt to remove dripping water while keeping them thoroughly damp. Your bangs should feel wet to the touch but not dripping down your face.
Apply products in the right order
Work through your products while your bangs are still soaking wet for maximum absorption and definition. Follow this exact sequence:
- Rake leave-in conditioner through your bangs with your fingers from roots to ends
- Apply curl cream or gel by scrunching it upward into your curls
- Use a Denman brush or wide-tooth comb to distribute product evenly and create curl clumps
- Seal with 2-3 drops of lightweight oil on the ends only
Applying products to damp or dry bangs instead of soaking wet hair is the main reason curls lose definition and turn frizzy.
Define and dry properly
After applying products, gently twist individual curl sections around your finger to encourage your natural curl pattern. Cup your bangs in your palm and scrunch upward toward your scalp to compress the curls. If you air dry, resist touching your bangs as they dry. For faster results, use a diffuser on low heat and low speed by hovering it near your bangs without directly touching them. The drying process takes 30 to 45 minutes depending on your method and hair density.
Step 4. Refresh and troubleshoot daily
Your curly bangs need daily attention to maintain their shape and definition between wash days. Morning refreshes take only 5 to 10 minutes and prevent you from rewashing your entire head unnecessarily. The key is reactivating products already in your hair rather than adding heavy layers of new product that weigh down your bangs and make them greasy.
Morning refresh routine
Start by misting your bangs lightly with water using your fine-mist spray bottle until they feel damp but not soaking wet. Target the frizzy or flattened areas specifically instead of spraying your entire fringe. Apply a small amount of curl cream or leave-in conditioner by emulsifying it between your palms first. Use this exact refresh technique:
- Scrunch the product upward into your damp bangs
- Twist any pieces that lost definition around your finger
- Cup your bangs and pulse gently to reform curl clumps
- Let air dry for 10 minutes or use a diffuser on cool setting
Refreshing dry bangs without water first spreads frizz instead of fixing it.
Fix common problems
When your bangs shrink too much overnight, gently pull each curl downward while misting with water to stretch them to your desired length. If they look greasy or weighed down, use dry shampoo at your roots only and avoid adding more styling products. Combat frizz and flyaways by smoothing a tiny amount of oil between your palms and lightly pressing it over the surface without disturbing curl clumps. Bangs that lose volume and fall flat need you to flip your head upside down while refreshing and diffusing to lift the roots. Pieces that stick out at odd angles respond to targeted misting and re-twisting around your finger while styling curly bangs for the day ahead.
When nothing works, accept that some days require a reset. Rinse your bangs in the sink, apply fresh products, and restyle them completely instead of fighting with second or third day hair that refuses to cooperate.
Bring it all together
Styling curly bangs becomes manageable when you follow the right process from start to finish. Your success depends on getting a proper dry cut from an experienced stylist, using products specifically designed for curly hair, and maintaining consistent wash day and refresh routines that respect your natural texture. The techniques in this guide work because they enhance your curl pattern instead of fighting against it.
Expect the first few weeks to involve trial and error as you learn which products and methods deliver the best results for your specific curl type. Some days your bangs will cooperate perfectly with minimal effort. Other days you will need to completely reset them with a fresh wash and restyle. Both outcomes teach you valuable lessons about what works for your hair.
Your texture deserves products that actually work instead of ones that create more frustration. Scatter Hair creates custom formulated styling products for textured hair that help you embrace your natural curls without the daily struggle.