

How to Style Hair That's Curly and Straight Mixed
If you've ever finished a wash day and found tight curls at your nape while the crown falls almost straight, you know the frustration. Learning curly and straight hair mixed how to style starts with accepting that your head isn't one texture, it's several, and most product instructions assume uniformity that you simply don't have.
The fix isn't picking one texture to favor and forcing the rest to match. It means layering your routine by zone, using stronger hold and more moisture where curls need definition, and lighter, smoothing products where the hair falls straighter. Get the sectioning and product placement right, and the mismatch stops looking like a problem and starts reading as natural movement.
In this guide, you'll get a zone-by-zone styling method you can use on wash day or a refresh day, plus cuts that work with mixed texture instead of against it. We'll cover product layering order, diffusing techniques for combination patterns, and quick troubleshooting for the flat spots and frizz zones that show up when one texture does its own thing. No guesswork, just a routine built for hair that actually behaves like yours.
Why your hair has mixed curl patterns
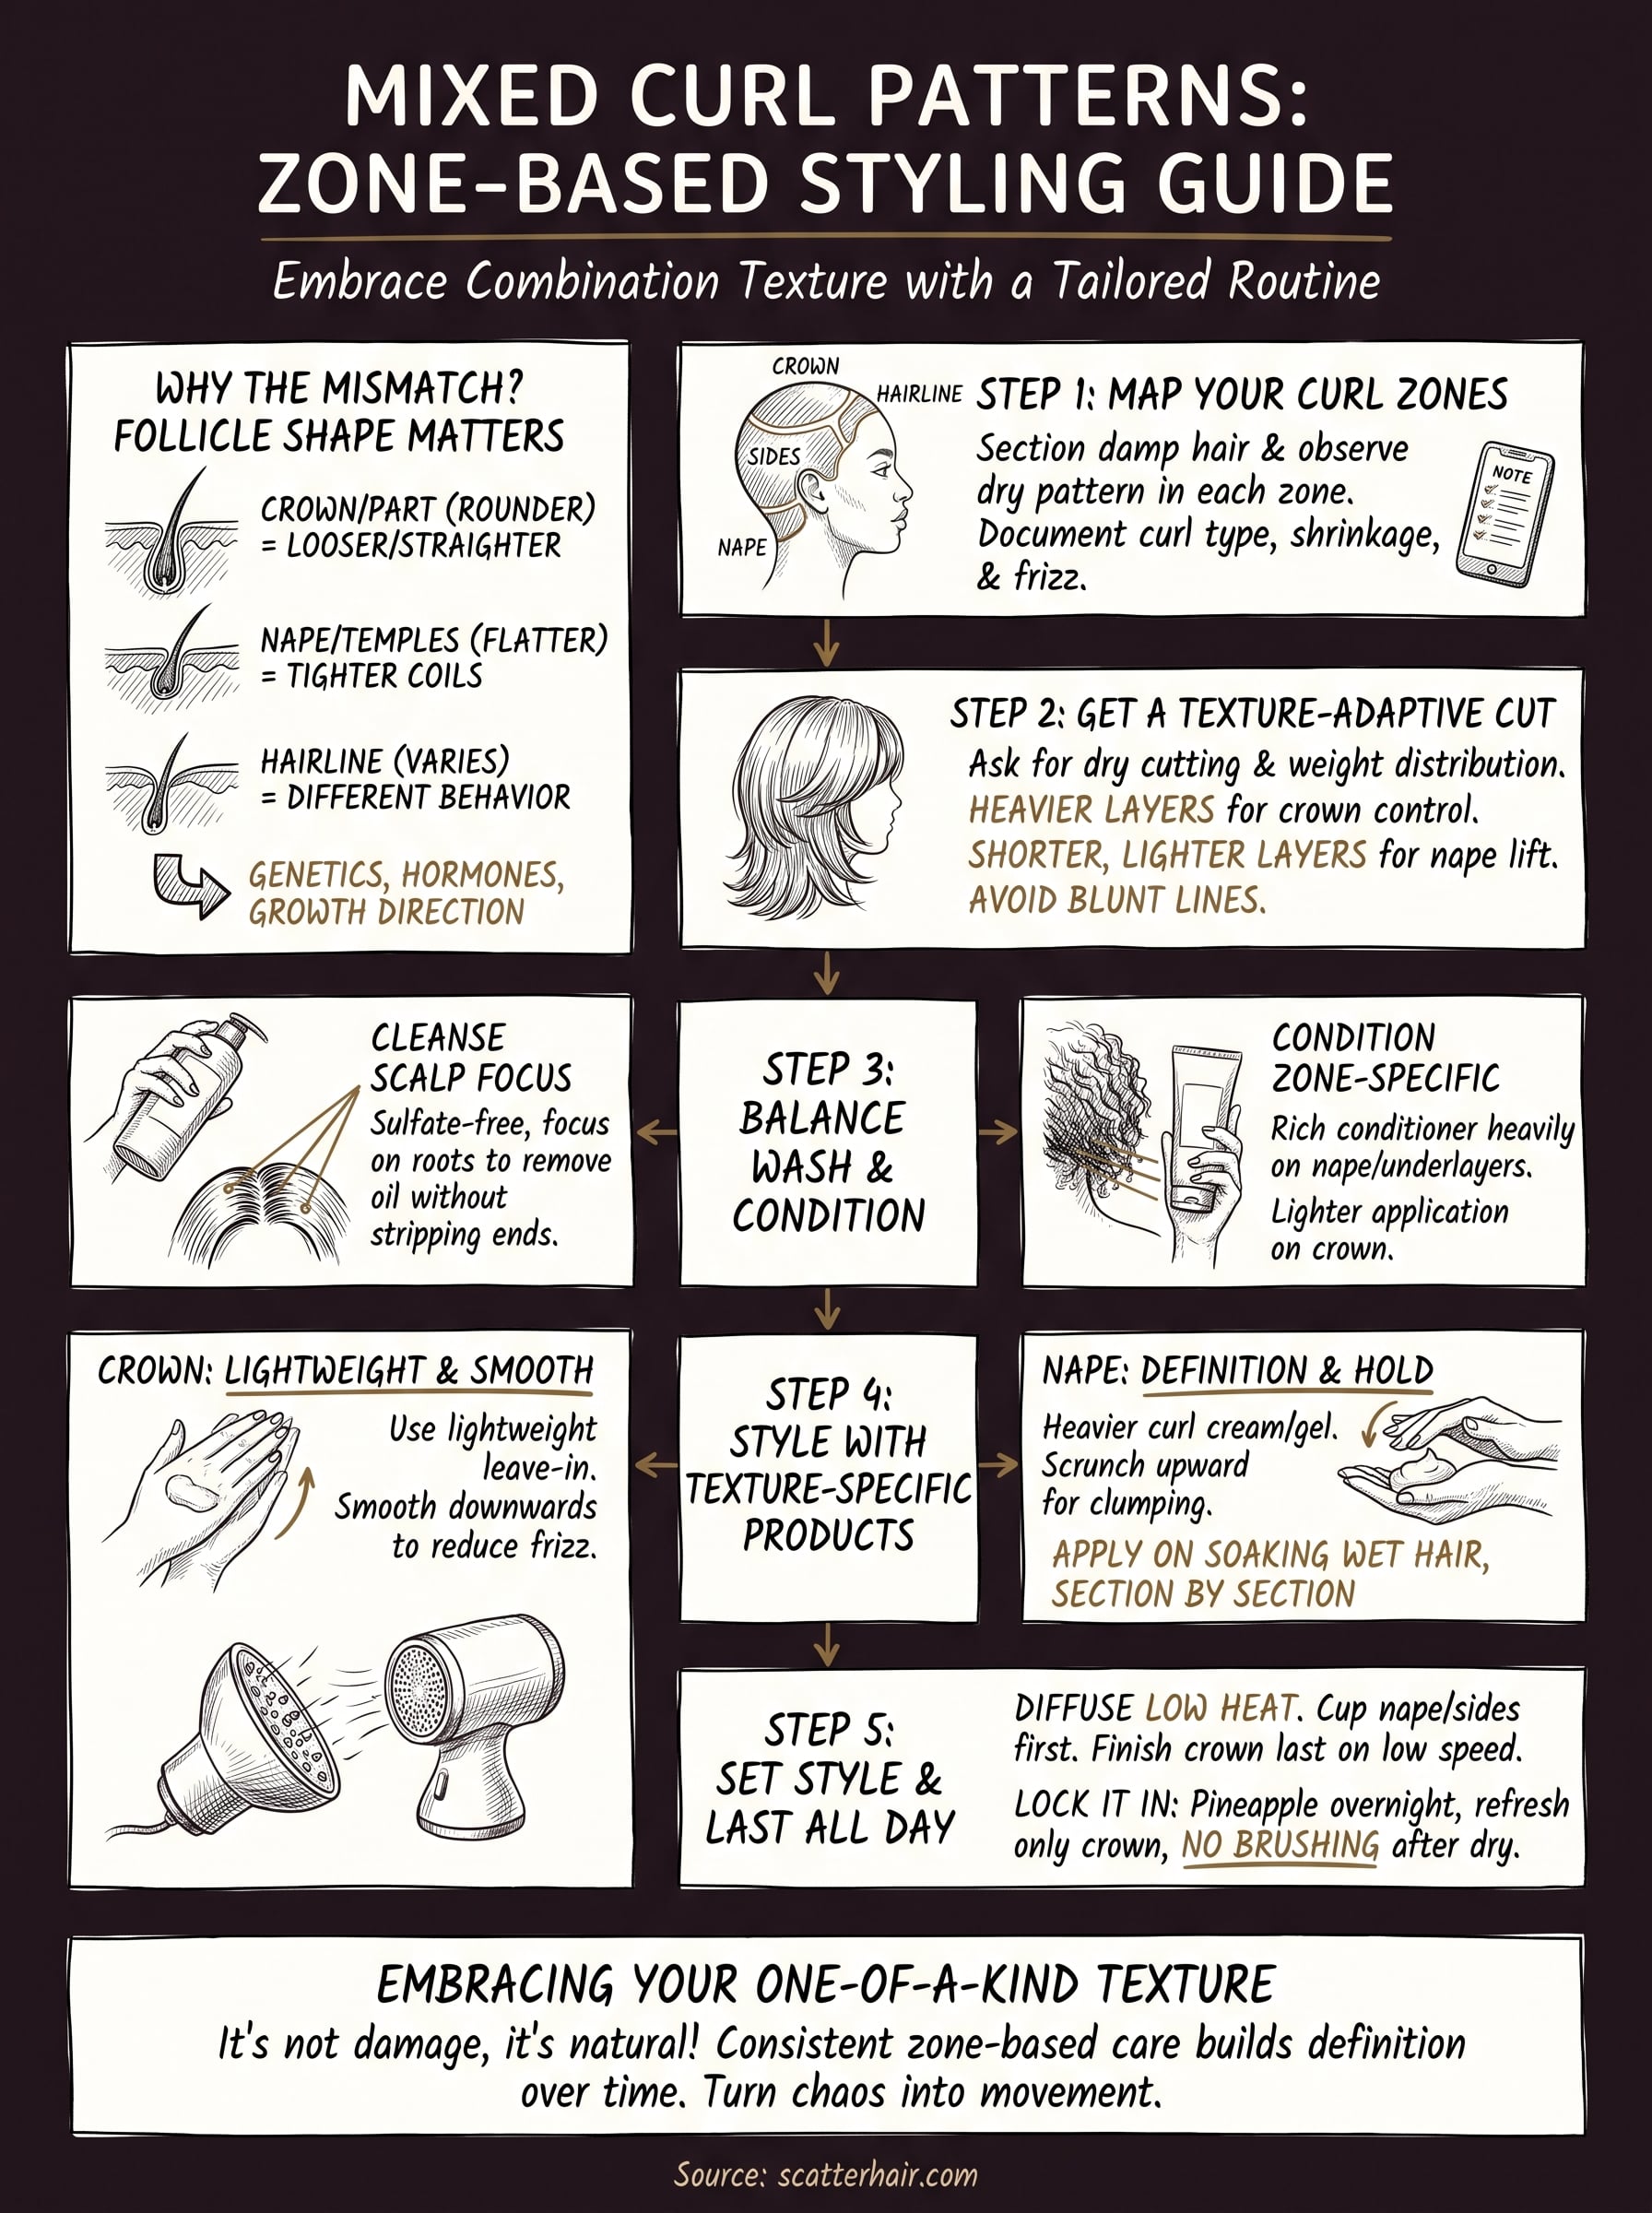
Mixed texture isn't damage and it isn't random. Your hair follicles sit at different angles across your scalp, and follicle shape is what determines whether a strand grows out round, oval, or flat. Rounder follicles push out straighter hair, while flatter, more asymmetrical follicles create the curve that becomes a curl or coil. Since follicle shape can vary by scalp region, genetics, hormones, and even the direction hair grows in around your crown and nape, you end up with what's often called combination curl pattern hair, one head carrying two or three distinct textures at once.
Where the differences usually show up
Most people with mixed texture see a predictable pattern, even if the exact curl types differ from person to person.
- Crown and part lines: often looser or straighter, because these follicles tend to be rounder
- Nape and temples: usually tighter and more coiled, where follicle shape is flatter
- Underlayers: frequently curlier than the top layer, which gets weighed down and stretched by the hair above it
- Hairline: can behave completely differently from the rest of the head due to finer strand diameter
Your curl pattern isn't inconsistent, your follicles are just built differently zone by zone.
Hormonal shifts, heat damage, and even how you sleep can nudge these ratios further apart over time, which is why a routine that treats your whole head as one texture keeps falling short.
Step 1. Identify your curl map
Before you buy a single product, spend one wash day doing nothing but observation. Map your curl zones by sectioning damp, product-free hair into four areas: crown, nape, sides, and hairline. Let each section air-dry separately and take a photo of every zone so you have a reference to check against later.
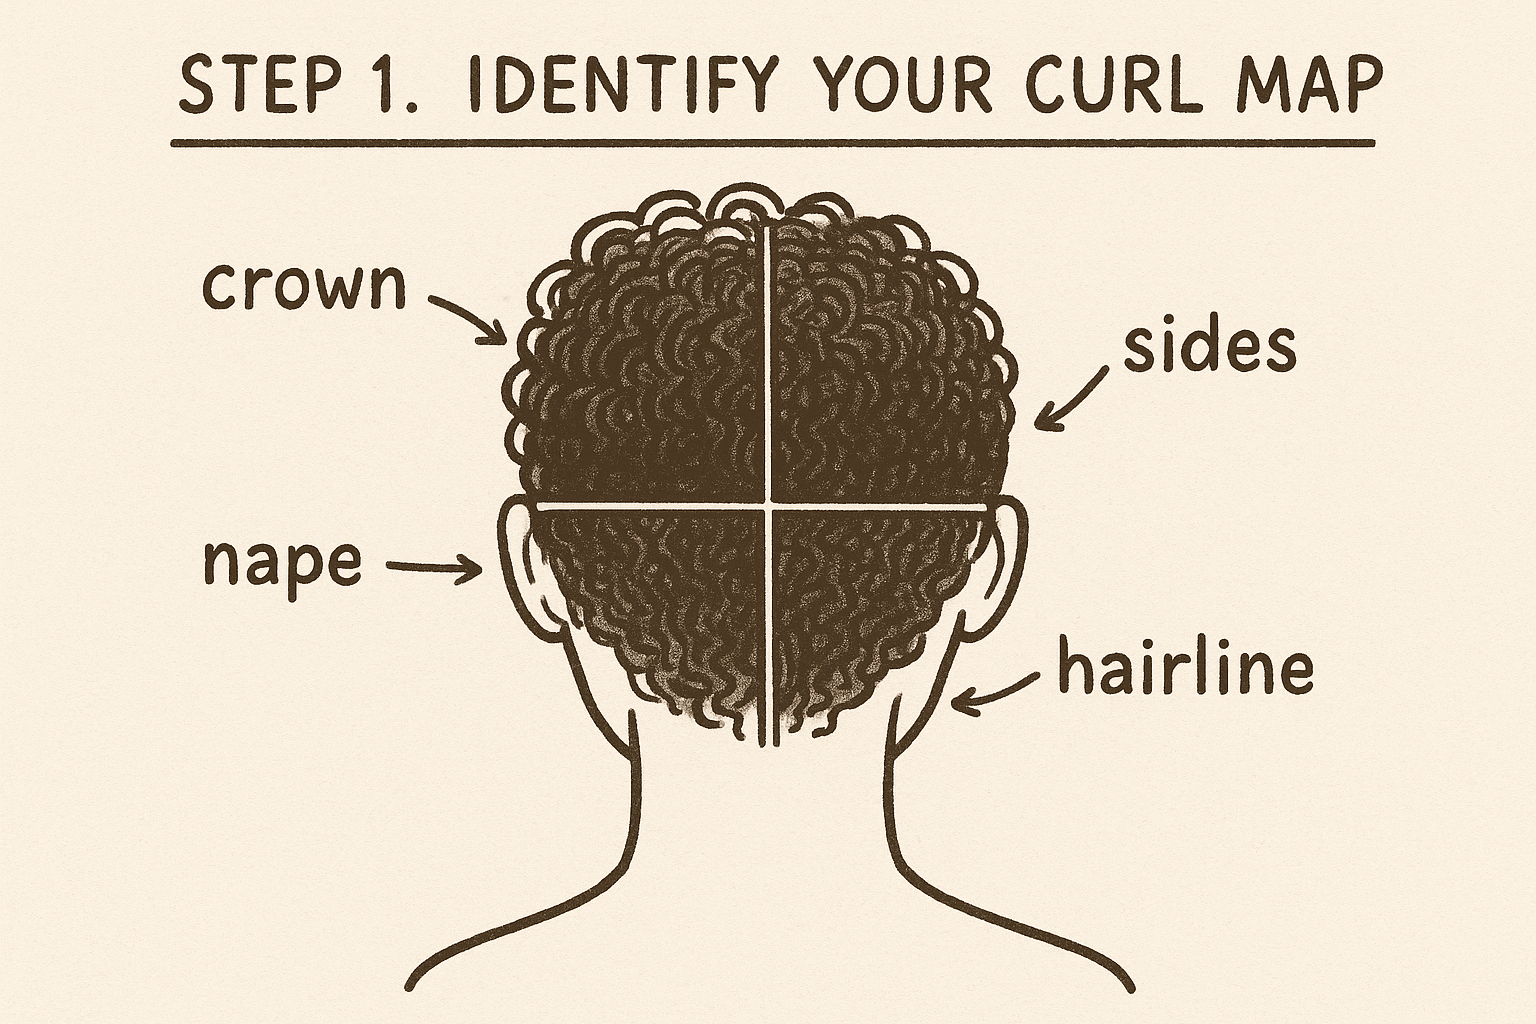
Grab a phone and jot down what you see using this quick checklist:
- Crown: curl type (straight, wavy, curly, coily) and how much shrinkage happens as it dries
- Nape: tightness of the coil and how fast it frizzes
- Sides and temples: whether the pattern matches the crown or the nape
- Hairline: strand thickness compared to the rest of your head
Keep this zone map somewhere you'll actually look at it, like a note on your phone. Every step after this one depends on knowing which product goes where, and guessing wastes both time and money on products that fight your natural pattern instead of working with it.
Step 2. Get a cut that blends both textures
A good cut does half the styling work before you ever touch product. Ask your stylist for a texture-adaptive haircut, one that layers according to your curl map instead of a single uniform length. The goal is weight distribution: heavier layers to control looser crown areas, and shorter, lighter layers around the nape so tighter curls aren't dragged down and stretched out of shape.
What to tell your stylist
Bring your zone map photos to the appointment. Specifically request:
- Dry cutting, not wet cutting, so curl shrinkage shows up in real time
- Face-framing layers cut shorter if your hairline runs finer or curlier
- No single blunt line across the whole head, since that flattens mixed texture into one shape
A cut that respects your zones does more styling work than any product you'll buy.
Skip one-length cuts entirely. They look clean on uniform hair but create bulk and mismatch on combination texture, forcing your routine to fight the shape instead of enhancing it.
Step 3. Wash and condition for balance
Washing mixed texture hair means treating your scalp and your ends as two different jobs. Use a sulfate-free cleanser focused mainly on the scalp and roots, since that's where oil builds up fastest regardless of curl pattern. Let the shampoo run down through the lengths instead of scrubbing the whole head, which strips definition from your curlier zones before you've even started styling.
Conditioner needs the opposite approach. Apply a richer, curl-specific conditioner heavily at the nape and underlayers, then a lighter pass through the crown so it doesn't go flat and greasy by midday.
Balance comes from washing your scalp and conditioning your zones, not treating your whole head the same way twice.
Finish with a cool water rinse to seal the cuticle, and consider a weekly deep conditioner made for curly hair focused only on your curliest sections. That targeted zone-based conditioning keeps texture consistent without overloading the straighter areas that don't need the extra moisture.
Step 4. Style with texture-specific products
Product application is where zone-by-zone styling actually pays off. Start with a lightweight leave-in on the crown, working it through with fingers rather than a brush, so straighter strands stay loose instead of getting weighed down. Move to the nape and underlayers next, and switch to a heavier curl defining cream or gel that can grip tighter coils and hold definition through drying.
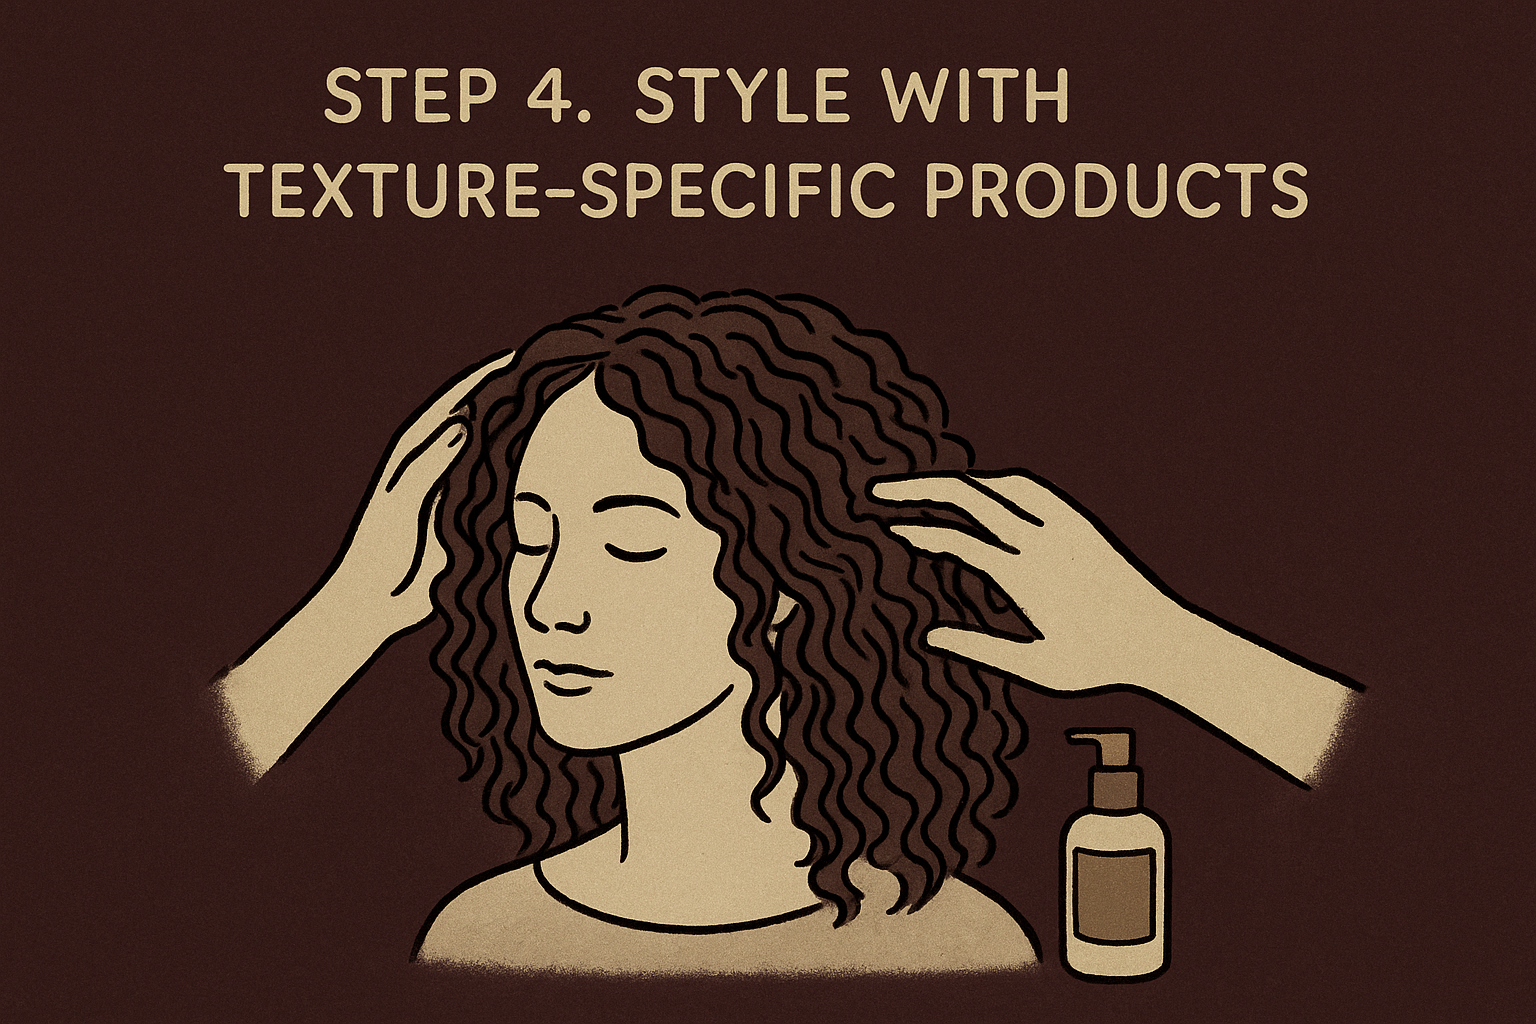
Apply everything on soaking wet hair, section by section, using the same map from Step 1. Scrunch curlier zones upward to encourage clumping, then smooth straighter sections downward with an open palm instead of scrunching them, since scrunching flat hair just creates frizz without adding curl.
Different textures need different tools in the same routine, not the same product applied everywhere.
If you're building your kit from scratch, Scatterhair's styling products are formulated specifically for textured hair that behaves differently zone by zone.
Step 5. Set your style so it lasts all day
Drying method matters as much as the product you used. Diffuse on low heat with a diffuser built for curly textures cupped close to your nape and sides first, since tighter curls need more time to set before they touch anything. Finish the crown last on a lower speed so straighter strands don't get blown out into frizz.
Locking in the finish
Once hair is 80% dry, resist the urge to keep touching it. Use these quick habits to protect the set:
- Pineapple your curls overnight using a silk or satin scarf, gathering hair high so nape curls aren't crushed flat
- Revive only the crown in the morning with a spray bottle and a drop of leave-in, since the underlayers usually still hold shape
- Avoid brushes entirely after drying, even on straighter sections, since brushing breaks curl clumps and smooths away the frizz-free curl definition you just built
The style that lasts is the one you stop touching once it's dry.
That discipline protects both textures equally through the day.
Embracing your one-of-a-kind texture
Mixed texture isn't a flaw you're managing, it's just how your hair grows. Once you accept that your combination curl pattern needs zone-specific care instead of a single fix, the whole routine gets easier. Mapping your zones, cutting for layers instead of length, and applying products by section turns what felt like chaos into something you can actually predict wash after wash.
Give the five steps a few tries before judging results. Curl patterns respond slowly, and consistent zone-based styling builds definition over weeks, not overnight. Your crown will loosen, your nape will hold, and the gap between them will start reading as texture instead of a mismatch.
Ready to build a routine around your actual texture instead of fighting it? See the best curl defining creams by hair type and pick formulas designed for hair that refuses to settle on just one pattern.