

Styling Short Curly Hair: Step-by-Step Guide + Pro Tips
Styling Short Curly Hair: Step-by-Step Guide + Pro Tips
Short curls can feel like a puzzle. You want definition without crunch, volume without frizz, and a style that actually lasts longer than your morning coffee. Most tutorials skip the details that matter or assume you already know the basics. You try what works for long hair and end up with flat, undefined curls that look nothing like what you imagined.
The secret is in your approach. Styling short curly hair requires different techniques than longer lengths. You need to work with your curl pattern, not against it. The right combination of prep, product application, and drying methods can transform your curls from frustrating to effortless.
This guide walks you through exactly how to style short curly hair from start to finish. You'll learn what to do before you even pick up a product, how to layer stylers for maximum definition, and techniques for drying that enhance your natural texture. Plus, you'll get tips for refreshing your style and switching things up when you want a different look.
What to know before styling short curls
Understanding your hair's unique characteristics determines which techniques and products will work best for you. Your curl type and porosity level directly affect how your hair responds to styling, how much product you need, and which drying methods give you the results you want. Short curls magnify these factors because you have less length to hide mistakes or uneven application.
Identify your curl type and porosity
Type 3 curls form defined spirals that range from loose corkscrews to tight coils. Type 4 curls create denser, zigzag patterns with significant shrinkage. Your curl type determines how much hold you need and which application methods work best. Loose curls might need lighter products applied with scrunching, while tighter coils often benefit from heavier creams and smoothing techniques.
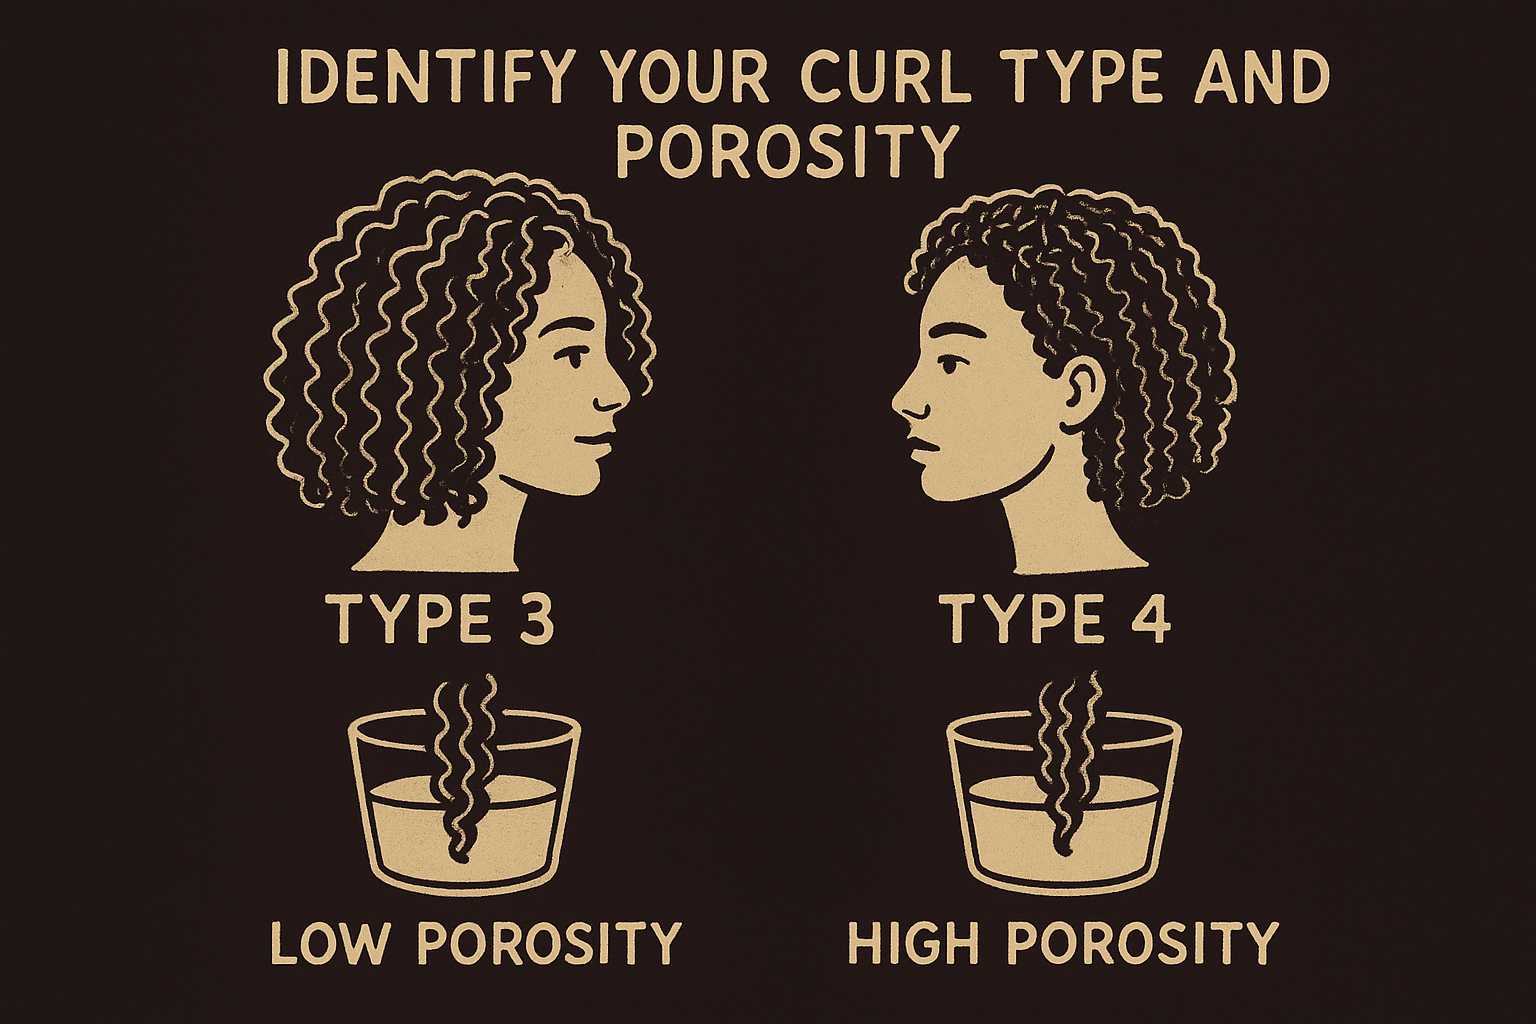
Porosity tells you how your hair absorbs and retains moisture. Low porosity hair resists product absorption and needs heat or steam to open the cuticle. High porosity hair soaks up everything quickly but loses moisture just as fast. Test your porosity by dropping a clean strand in water. If it floats, you have low porosity. If it sinks immediately, your porosity is high. This simple test guides your product choices and application timing.
The biggest mistake when styling short curly hair is using the same approach regardless of your hair's actual needs.
Consider your hair's current condition
Damaged hair requires protein treatments and moisture balance before you focus on styling. Healthy hair responds predictably to products and techniques. Check for breakage, dryness, or lack of elasticity. Stretch a wet strand between your fingers. It should stretch slightly then return to its original length. If it snaps immediately or stretches without bouncing back, you need to address the damage first.
Heat damage changes your curl pattern permanently until you cut it off. Color-treated hair needs extra moisture and gentler manipulation. Your hair's condition determines whether you can handle daily styling or need protective styles between wash days. Be honest about what your hair can handle right now, not what you wish it could do.
Step 1. Prep your hair on wash day
Wash day creates the foundation for every style you'll wear until your next wash. Clean, moisturized hair accepts products better and holds styles longer. You set yourself up for frustration when you skip steps or rush through this process. Take your time and focus on thorough preparation rather than just getting it done quickly.
Start with a thorough cleanse
Apply shampoo directly to your scalp in sections, not to your hair length. Work the product through each section with your fingertips, using circular motions to lift buildup and oils. Your scalp produces the oils, so that's where you need the most cleansing action. Rinse completely until the water runs clear and you feel no slippery residue.
For styling short curly hair to work, you need hair that's truly clean. Product buildup from previous styling sessions prevents new products from penetrating. If you use heavy oils or butters regularly, shampoo twice to remove all residue. The second wash should foam easily if your hair is actually clean.
Deep condition for moisture and slip
Coat each section of hair with conditioner from root to tip, using more product than feels necessary. Short hair needs concentrated moisture because you're working with less surface area. Let the conditioner sit for at least three minutes, or five if your hair is high porosity or damaged.
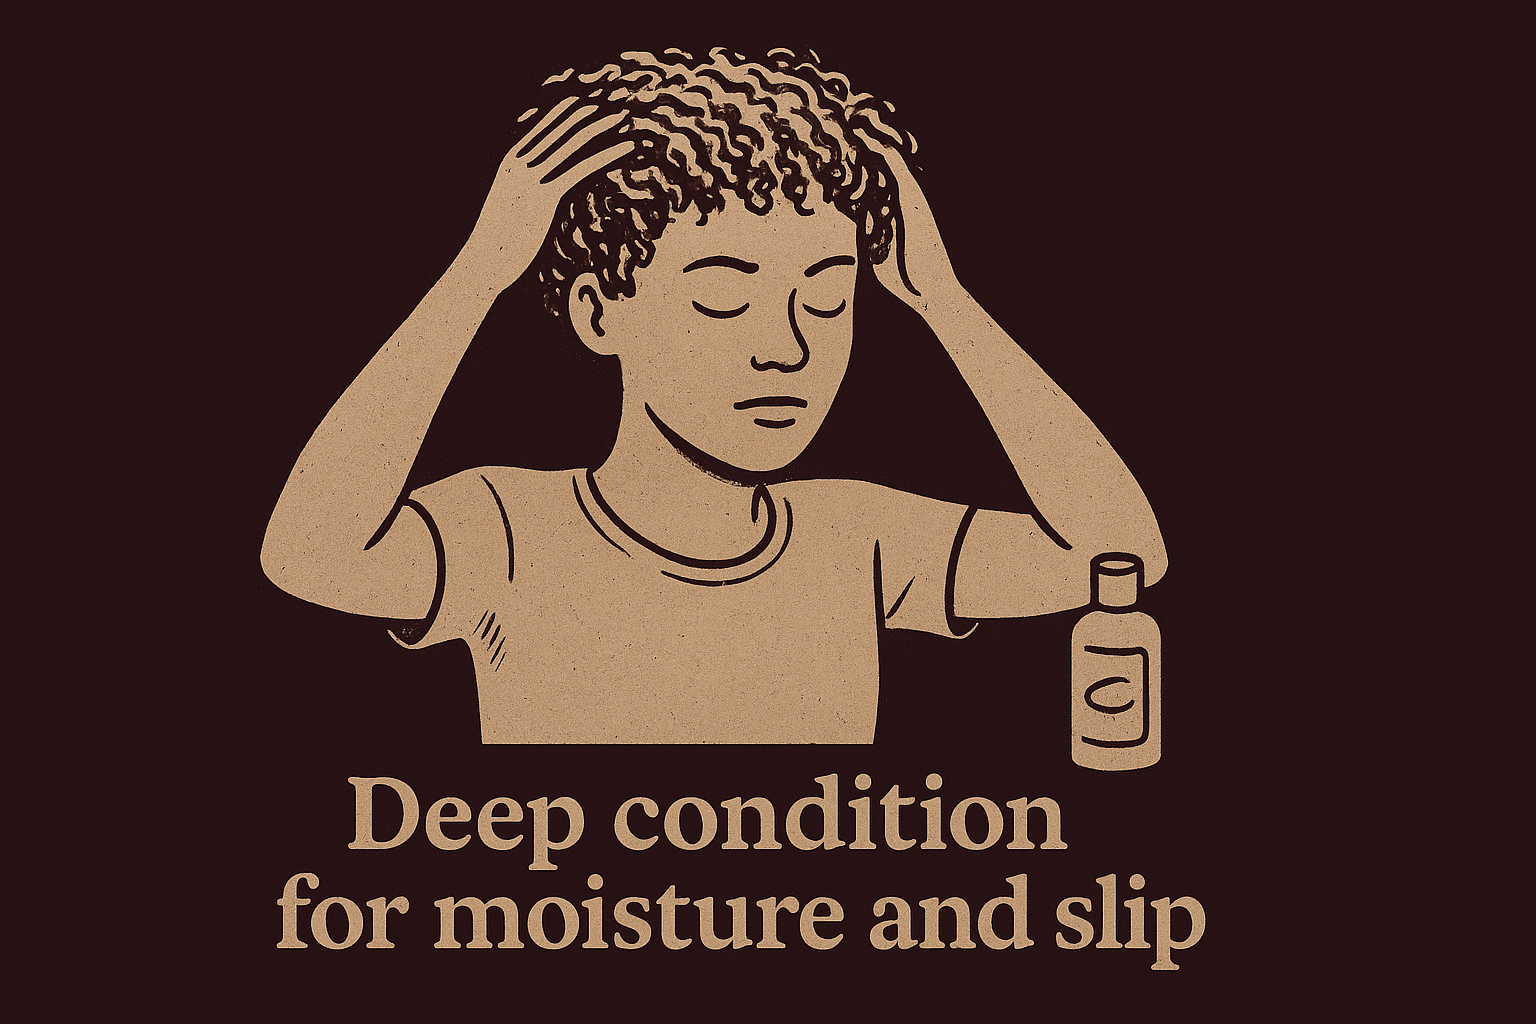
Detangle while the conditioner is still in your hair using your fingers or a wide-tooth comb. Start from the ends and work toward your roots. The conditioner provides slip that prevents breakage during this step. You should be able to comb through each section smoothly without resistance.
Your hair should feel soft and slippery while conditioner is in it, not sticky or rough.
Set the stage with proper rinsing
Rinse out most of the conditioner but leave about 10% in your hair. You'll feel the difference between completely clean hair and hair with a light coating of moisture. This remaining conditioner acts as a base layer for your styling products. Your hair should feel smooth when you squeeze it, not squeaky or stripped.
Squeeze excess water from your hair using a microfiber towel or cotton t-shirt. Never rub or twist your hair dry. Press sections of hair between the fabric to absorb water while keeping your curl pattern intact. Your hair should be wet but not dripping when you start applying styling products. This dampness level helps products distribute evenly and activate properly.
Step 2. Layer your styling products
Product layering transforms your styling routine from guesswork to predictable results. The order you apply products determines how well they work together and how your curls will look when dry. Each product serves a specific purpose in styling short curly hair, and applying them in the right sequence creates a system that enhances definition while controlling frizz.
Start with leave-in conditioner
Apply leave-in conditioner to soaking wet hair immediately after your final rinse. Use prayer hands to smooth it through each section, coating every strand from root to tip. Your hair should still be dripping when you do this. The water helps distribute the product evenly and prevents it from sitting on top of your curls instead of penetrating them.
Work in sections no larger than two inches wide. Flip your head upside down and apply the leave-in starting at the nape of your neck. Press the product into your hair rather than rubbing it back and forth. This base layer of moisture prevents the styling products you add next from drying out your curls.
Add your primary styler
Choose either a cream or gel based on your desired hold level and finish. Creams provide softer definition with movement, while gels create stronger hold and more separation. Rake the product through each section using your fingers spread wide like a comb, starting at your roots and pulling down to your ends.
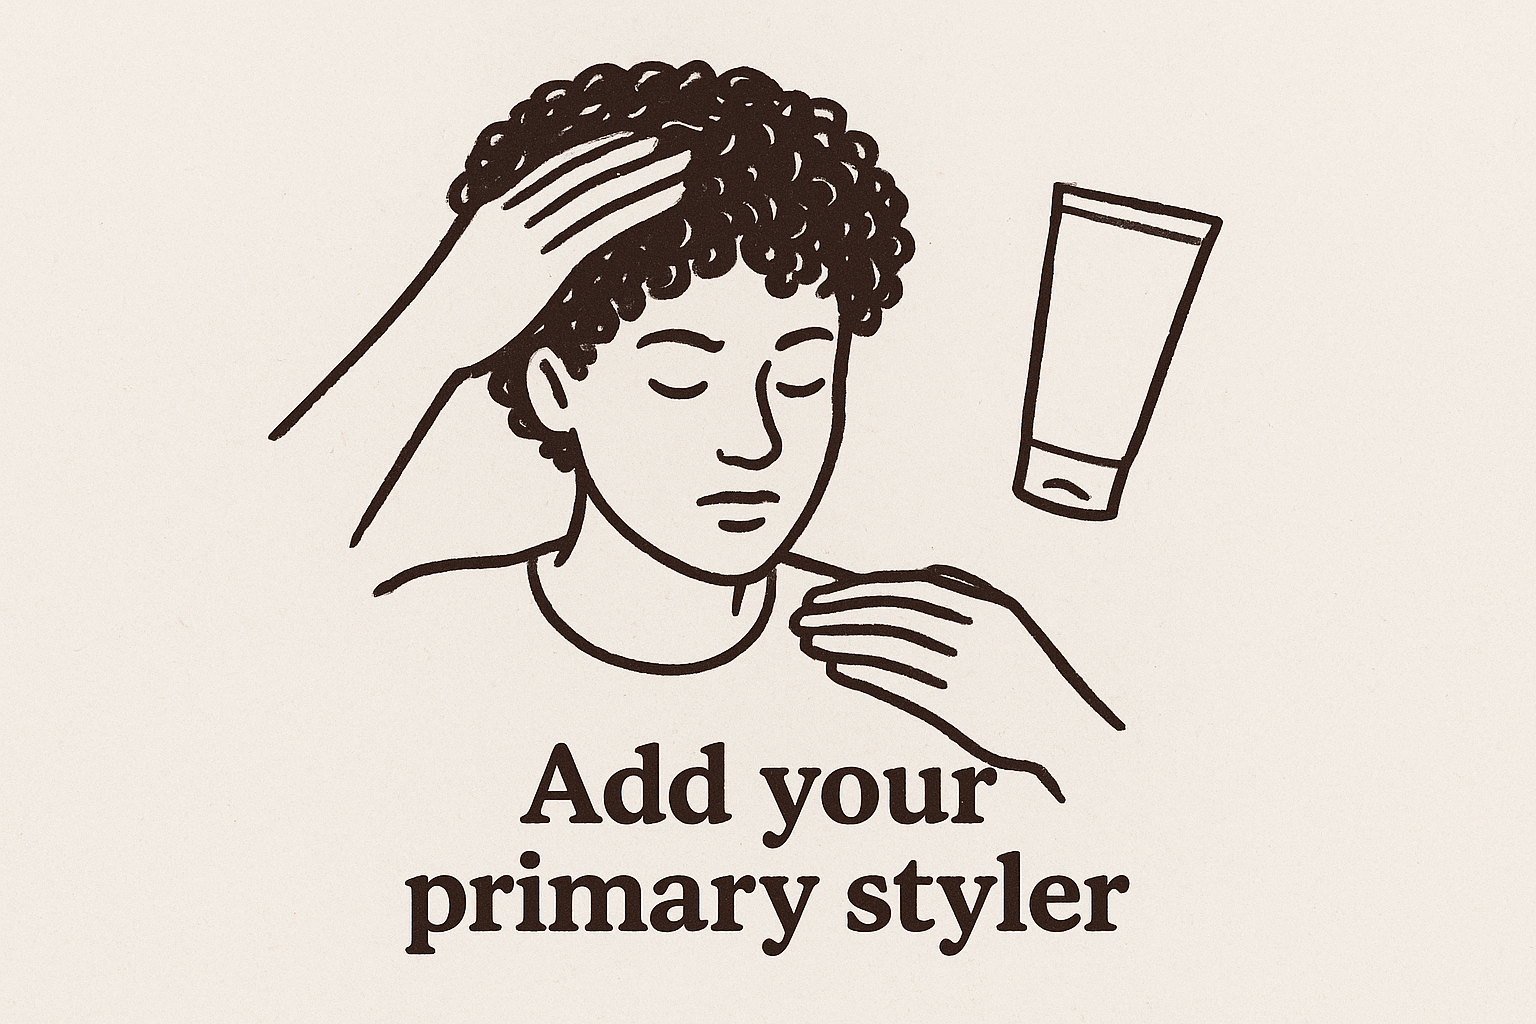
Follow this application sequence for even coverage:
- Divide hair into four sections using clips
- Take down one section and apply product with raking motion
- Scrunch upward from ends to roots 5-7 times
- Smooth any frizz with wet hands before moving to next section
- Repeat until all sections are coated
The scrunching motion after raking encourages your curls to clump together and form their natural pattern.
Layer additional hold products if needed
Apply gel over cream if you want maximum definition without losing moisture. Use half the amount of gel compared to your cream application. Smooth it over the surface of your already styled sections using light prayer hands. Don't rake through again or you'll disrupt the curl clumps you just created.
For extra volume at your roots, apply a lightweight mousse specifically to that area. Lift sections of hair and apply the mousse directly to your scalp, then massage it in with your fingertips. This targeted application adds lift without weighing down your ends. Your hair should feel coated but not crunchy or sticky when you finish layering. If it feels heavy or crunchy, you used too much product.
Step 3. Dry and shape for definition or volume
The drying phase locks in your curl pattern and determines your final results. Your drying method affects everything from volume to definition to how long your style lasts. You can achieve completely different looks from the same products just by changing how you dry your hair. Master these techniques and you'll have full control over styling short curly hair exactly how you want it.
Choose your drying method
Air drying gives you the softest, most natural curl pattern with minimal frizz. Let your hair dry completely without touching it after you apply your products. This method takes 3-6 hours depending on your hair density and the humidity level in your environment. Your curls will form tighter and show more shrinkage with air drying because gravity doesn't pull them down as much.
Diffuser drying speeds up the process and adds volume at your roots. Attach a diffuser to your blow dryer and set it to low heat and low speed. Cup sections of your hair in the diffuser bowl and lift toward your scalp. Hold for 30-60 seconds before moving to the next section. This technique reduces drying time to 20-30 minutes while maintaining your curl definition.
Shape for definition
Micro-plopping creates maximum definition for styling short curly hair. Take a microfiber towel and press it against sections of your hair, scrunching upward. Hold for 5 seconds, release, and move to the next section. This removes excess water while encouraging your curls to clump tighter together.
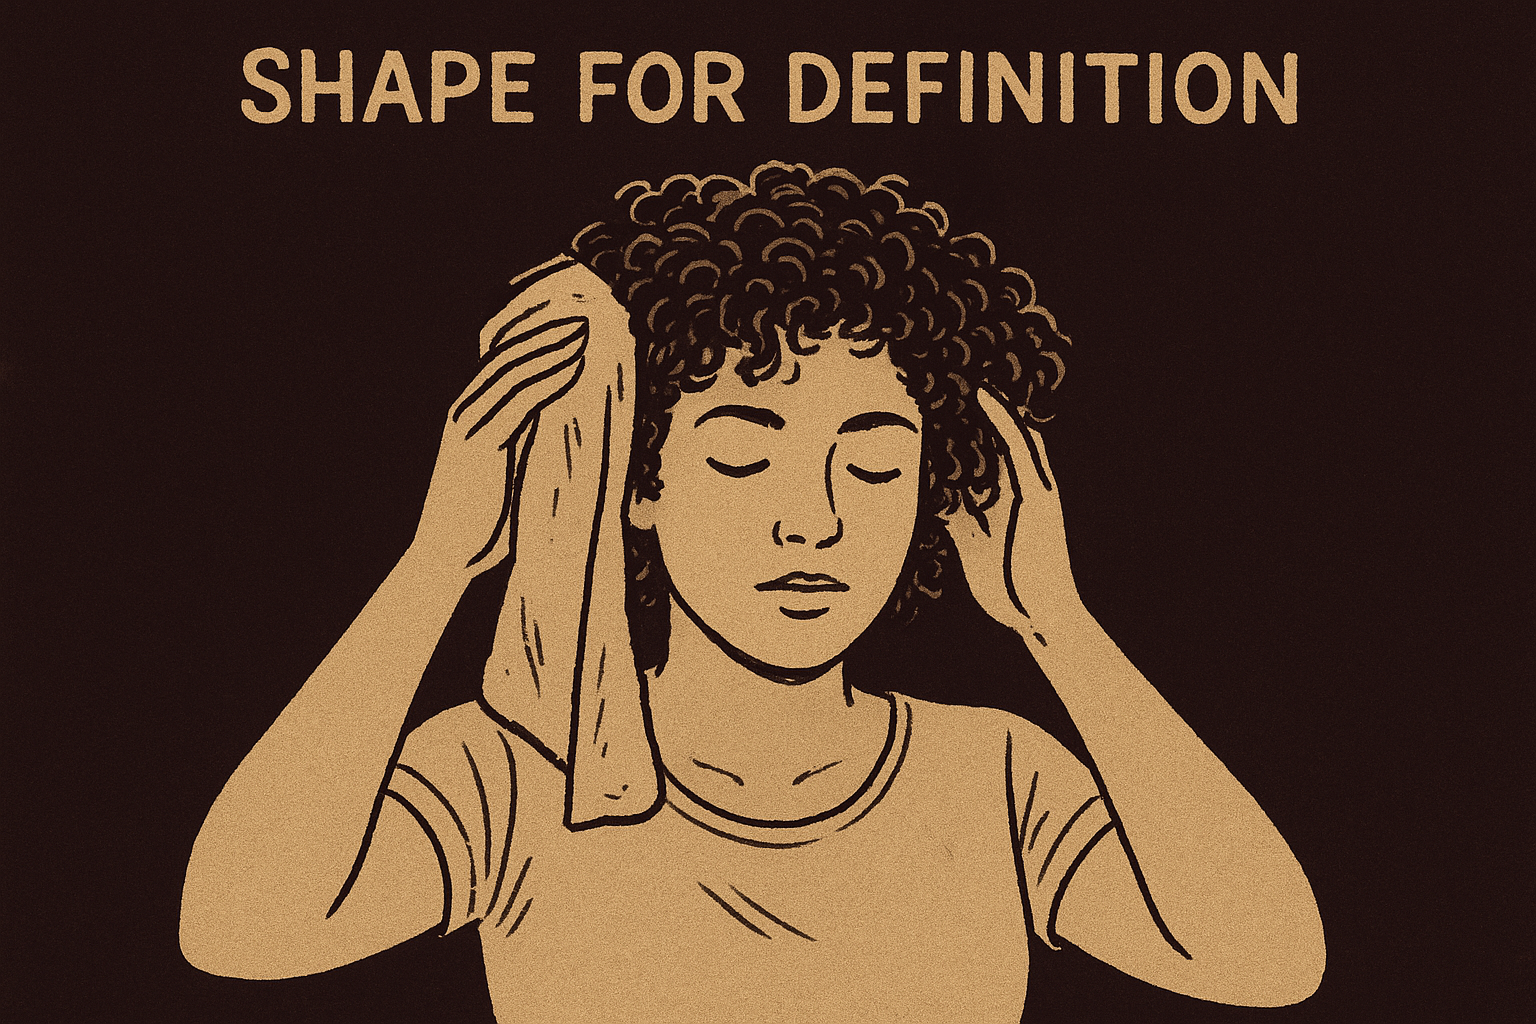
Follow this sequence for defined curls:
- Apply all your products while hair is soaking wet
- Micro-plop each section 2-3 times
- Do not touch your hair again until it's 100% dry
- Scrunch out any crunch from gel once completely dry
Keep your hands off your hair during the drying process. Every time you touch wet curls, you disrupt the curl clumps and create frizz. Your patience during this step makes the difference between defined spirals and a frizzy mess.
The cardinal rule of curl definition is this: once you've applied products and shaped your curls, don't touch them until they're bone dry.
Build volume at the roots
Root clipping lifts your hair while it dries for dramatic volume. Section your hair and use duckbill clips to hold sections upward at a 90-degree angle from your scalp. Place clips about one inch from your roots throughout your entire head. Leave them in until your hair is 80% dry, then remove them and finish drying.
Diffuse upside down for maximum lift at your crown. Flip your head forward and let your hair fall toward the ground. Cup the diffuser at your roots and pulse the air on and off rather than holding it steady. This prevents your curls from getting blown around while still adding lift. Switch to right-side-up diffusing once your roots are mostly dry to set your final shape.
Step 4. Refresh, switch it up and protect
Your style doesn't end when your hair dries. Day two, three, and beyond require different techniques than your initial styling. You need to know how to revive your curls, change your look, and protect your style overnight. These maintenance steps determine whether you get two days from your style or seven.
Refresh between wash days
Spray your hair with water or a curl refresher until it feels damp but not soaking. Focus on sections that lost definition or developed frizz overnight. Scrunch the dampened areas with your hands to reactivate the products already in your hair. Add a small amount of leave-in conditioner or styling cream if your curls feel dry or brittle.
Refresh your roots by lifting sections and misting underneath for volume. Let your hair air dry completely before touching it again. This process takes 10-15 minutes and extends your style for several more days without rewashing.
Switch up your style
Pin one side back with bobby pins for an asymmetrical look that shows off your face. Slick your edges with a small amount of gel and a soft brush for a polished finish. Create a faux hawk by brushing the sides flat and fluffing the center section upward with your fingers.
Accessorize with headbands, scarves, or clips to completely change your aesthetic. Twist small sections at your hairline and pin them back for texture variation. These modifications work with your existing curl pattern from styling short curly hair rather than requiring you to start over.
Your refreshed curls should look intentional and styled, not like you just rolled out of bed and hoped for the best.
Protect your curls overnight
Use a satin or silk pillowcase to reduce friction while you sleep. The smooth fabric prevents your curls from getting flattened or frizzy during the night. Pineapple your hair by gathering it loosely at the top of your head with a scrunchie. This technique keeps your curls intact without crushing them against your pillow.
Alternatively, cover your hair with a satin bonnet that fits snugly without squeezing your curls. Refresh your style in the morning using the techniques above to restore any lost volume or definition.
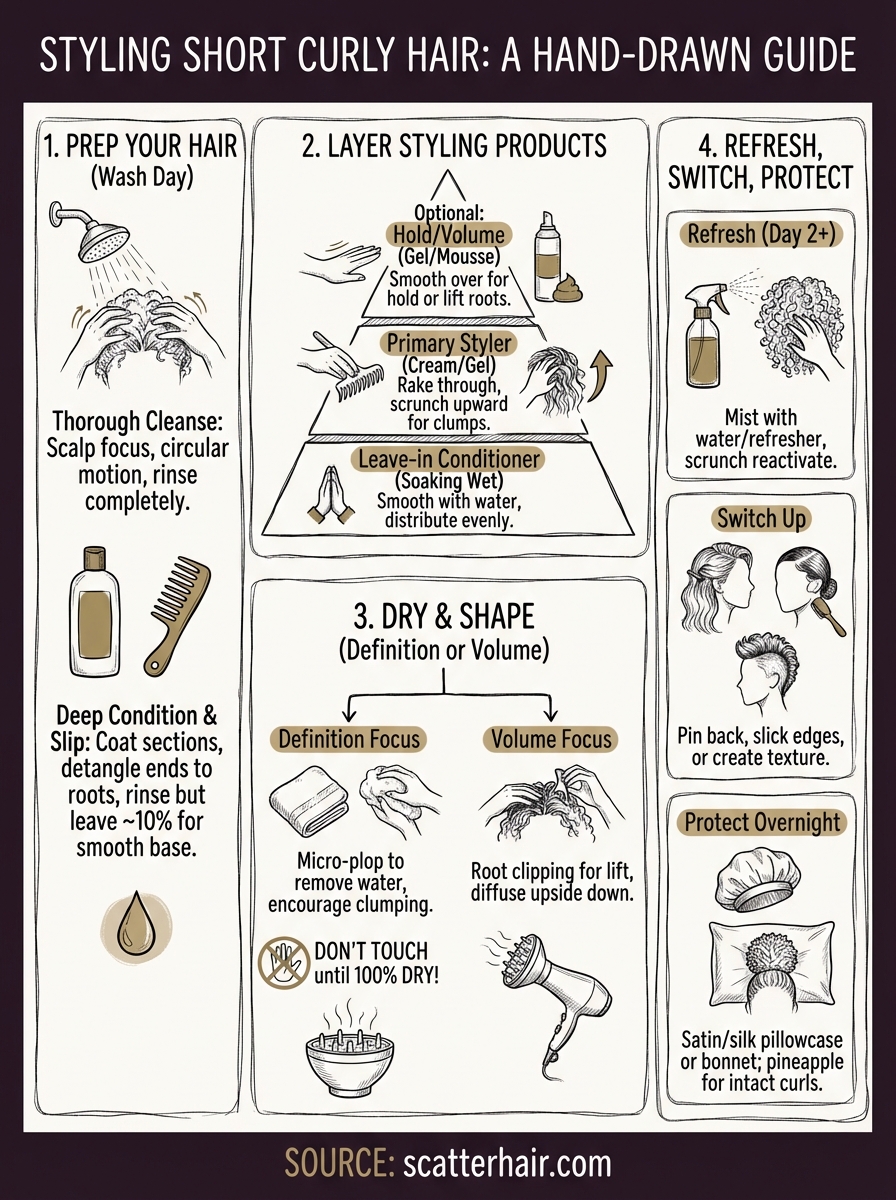
Short curls, styled your way
Styling short curly hair becomes effortless once you understand the process. Your wash day prep sets the foundation, product layering creates definition, and your drying method determines the final look. Each step builds on the previous one to give you consistent, predictable results that actually last.
Experiment with different techniques until you find what works for your specific curl pattern and lifestyle. Your hair responds differently than someone else's, even if you have similar curl types. What matters is developing a routine that fits your schedule and delivers the results you want without frustration.
Ready to embrace your texture and make styling easier? Scatter is creating custom-formulated products specifically for textured hair that actually performs. Join us as we build something that works with your curls, not against them.