

Braid Out On 4C Hair: Step-By-Step Definition That Lasts
You've tried the braid out on 4C hair before. Maybe it came out flat, maybe the definition disappeared by lunch, or maybe it just looked... nothing like the tutorials promised. The frustration is real, and it's not your fault. 4C hair has its own rules, and most generic advice doesn't account for them.
Here's the thing: a braid out that actually holds definition on 4C hair comes down to technique, timing, and the right product lineup. Get those three elements right, and you'll finally understand what all the hype is about. At scatterhair, we're obsessed with making textured hair styling less of a gamble, because your curl pattern deserves products and methods that actually work for you, not against you.
This guide breaks down exactly how to achieve a defined, lasting braid out on 4C natural hair. We're covering prep, sectioning, braiding technique, drying options, and the unraveling process that makes or breaks your results.
What you need for a defined 4C braid out
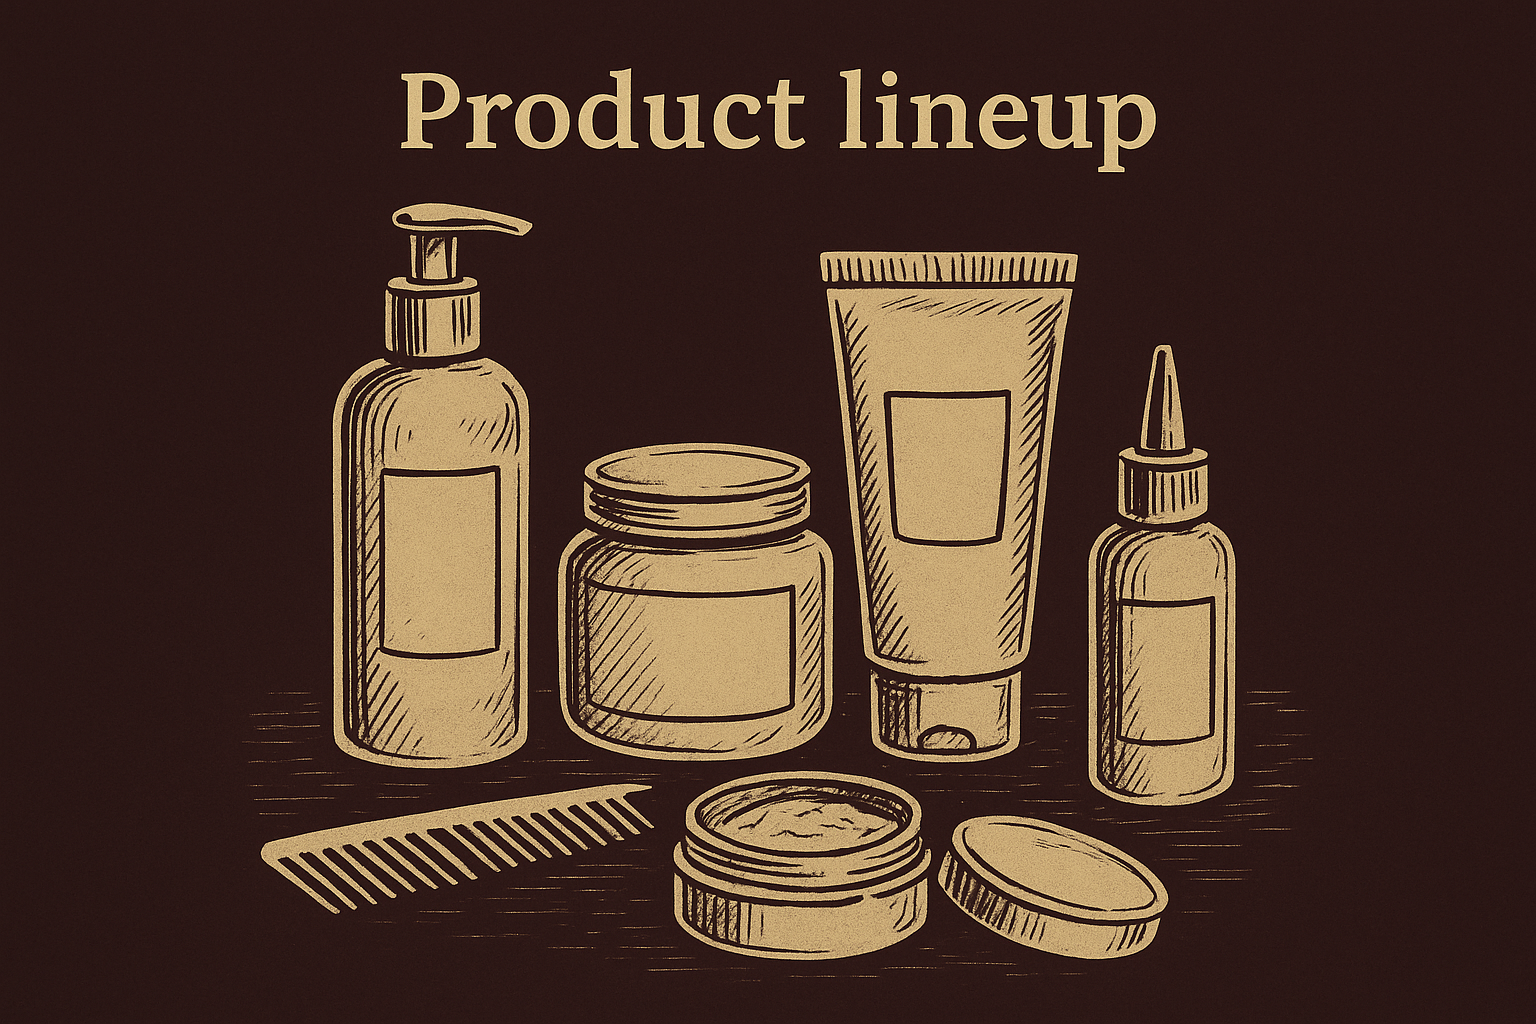
Your product lineup matters more than you think. The wrong combination leaves you with frizz, lack of definition, or braids that unravel too quickly. For a braid out on 4C hair that actually holds, you need products that provide slip during the braiding process and hold once the style sets.
Product lineup
Start with a leave-in conditioner that adds moisture without weighing down your strands. Follow with a styling cream or gel that offers strong hold but doesn't flake. Layer these products strategically, because 4C hair absorbs product quickly and needs enough coverage to lock in definition.
The key is balancing moisture with hold, so your braids don't puff up the moment you step outside.
Here's what works:
- Leave-in conditioner: Provides slip for easier braiding and prevents breakage during the process
- Styling cream or custard: Smooths the hair shaft and defines each braid from root to tip
- Edge control or gel: Seals the ends and keeps flyaways in check throughout the style
- Oil (optional): Seals in moisture on particularly dry sections or adds shine to finished braids
Tools and accessories
You don't need much, but what you use matters. Rat-tail combs help you section cleanly and precisely, while hair clips keep unbraided sections out of the way as you work through your head. Use satin or silk scrunchies to secure braid ends without causing dents or tension damage that shows up after takedown.
Keep a spray bottle with water nearby for refreshing sections that dry out while you work. Your fingers do most of the heavy lifting here, but these tools make the process faster and cleaner from start to finish.
Step 1. Prep your hair for smooth braids
Your prep work determines whether your braid out on 4C hair comes out clean or chaotic. Start with freshly washed or damp hair that's been detangled thoroughly. Working on dry, unprepped hair creates friction, breakage, and braids that refuse to hold definition once you take them down.
Start with clean, stretched hair
Wash and condition your hair fully before you begin. Apply your leave-in conditioner while your hair is still soaking wet, then detangle section by section with a wide-tooth comb or your fingers. Skip this step and you'll fight knots the entire time you braid, which ruins the smooth tension you need for definition.
Stretched hair gives you cleaner parts and tighter braids that translate to better curl definition.
Stretch your hair first using braids, twists, or a blowout on low heat if you want longer, more defined results. Working on shrunken 4C hair is possible but makes sectioning harder and limits how much length your final style shows.
Section with precision
Divide your hair into four to six large quadrants using your rat-tail comb. Clip each section away as you work through one quadrant at a time. Smaller subsections within each quadrant should be about one inch wide for medium-sized braids that unravel into full, defined waves.
Step 2. Apply product and braid with intention
Your product application and braiding method directly control how much definition your braid out on 4C hair delivers. Work on one subsection at a time, applying product from root to tip before you start braiding. Rushing through this step leaves you with uneven coverage, which translates to frizzy, undefined sections once you unravel.
Layer your products correctly
Apply your leave-in conditioner first, making sure every strand is coated. Follow with your styling cream or custard, using more product than you think you need. 4C hair absorbs quickly, so be generous. Smooth each product down the length of the section with prayer hands or raking motions to distribute evenly and eliminate gaps.
The more thoroughly you coat each section now, the less frizz you'll fight later.
Finish with a light layer of gel or edge control on the outer surface of each subsection right before you braid it. This final layer seals everything in and adds the hold you need for lasting definition.
Braid with consistent tension
Start each braid at the root and maintain firm, even tension as you work down to the ends. Loose braids create loose waves that fall flat quickly. Twist or roll the ends around your finger before securing them with a satin scrunchie to prevent frizzy tips that ruin the look.
Step 3. Dry fully, then take down without frizz
Drying time makes or breaks your braid out on 4C hair. Taking down braids before they're completely dry guarantees frizz and ruined definition. You need every strand fully set before you even think about unraveling, which means patience here pays off in lasting results.
Let your braids dry completely
Air drying takes six to eight hours minimum, so plan to braid the night before and sleep in a satin bonnet or scarf. Your pillow friction creates frizz, so protect your braids while they set overnight. If you're in a rush, sit under a hooded dryer on medium heat for 45 to 60 minutes, checking that the roots and mid-lengths are bone dry before you stop.
Touch test each section at the root before takedown, because damp hair at the base ruins your volume and definition.
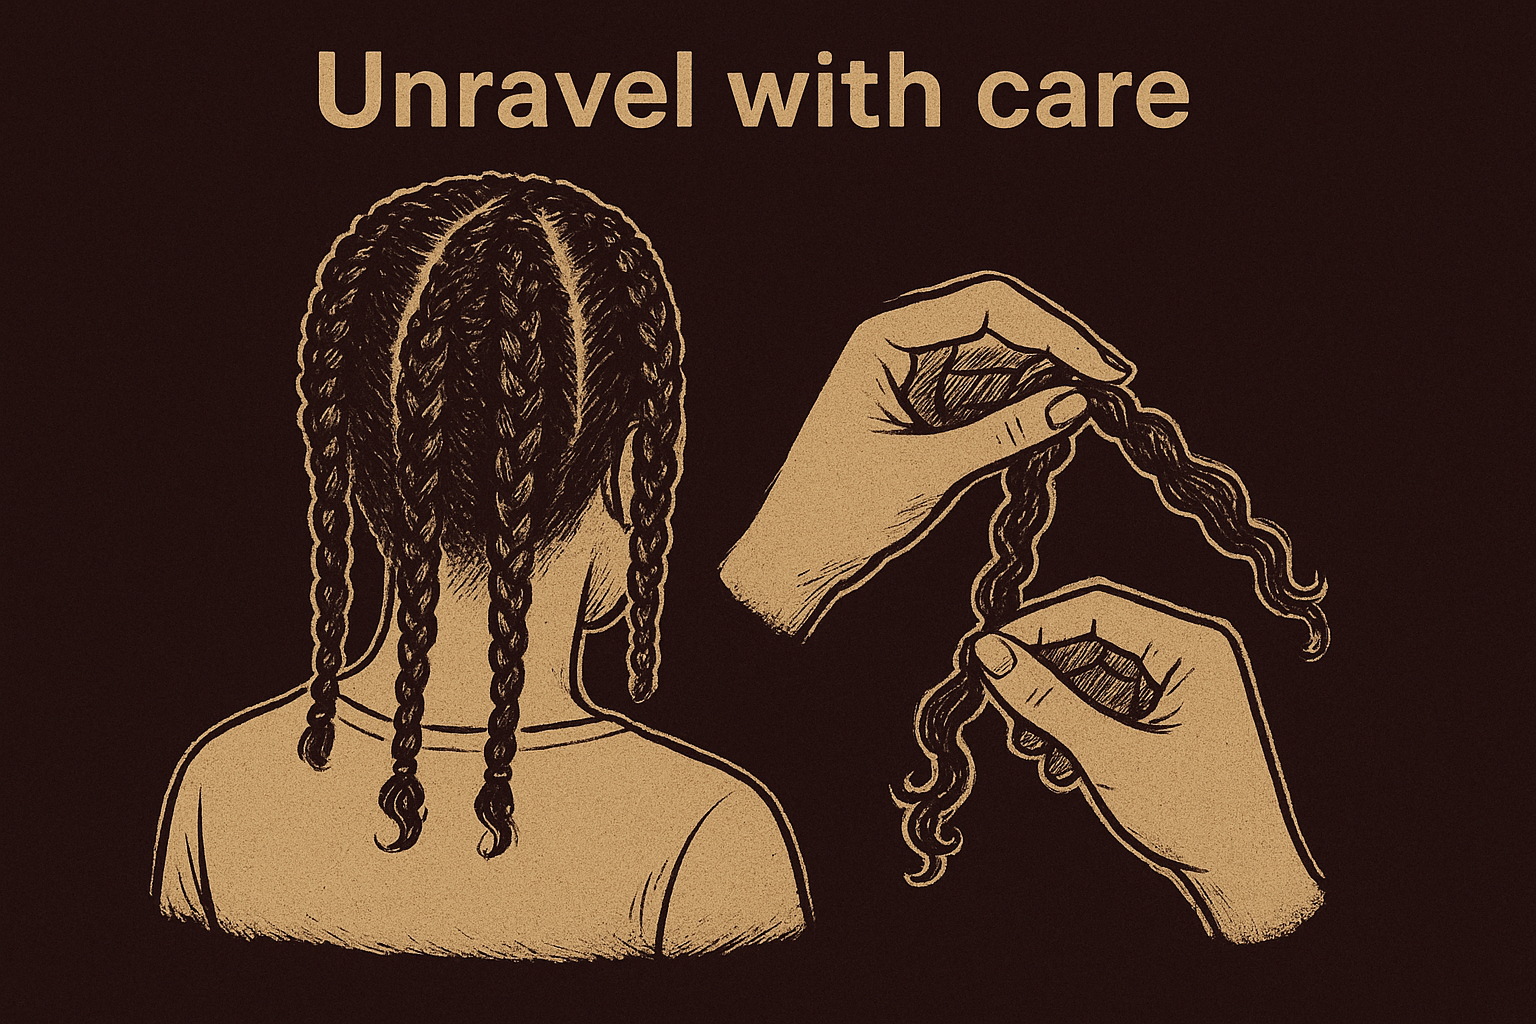
Unravel with care
Start at the ends and work your way up each braid, using just your fingers to separate. Pull apart slowly without yanking or rushing through sections. Apply a light oil or butter to your fingertips if you need extra slip during takedown, which helps prevent snagging on dry ends that want to tangle back together.
Fix common 4C braid out problems fast
Your braid out on 4C hair didn't turn out perfect, and you need fixes that work right now. Most issues trace back to product application, drying time, or takedown technique. Identifying the specific problem helps you adjust quickly without starting over from scratch.
Frizzy roots or undefined sections
Your roots look puffy because you didn't apply enough product at the base or you skipped stretching your hair before braiding. Fix this by misting those sections with water, reapplying your styling cream, and smoothing down with gel and a brush. Focus on the areas that lost definition rather than redoing your entire head.
Targeting problem zones saves time and prevents you from disturbing sections that already look good.
Flat or limp results
Flat waves happen when you braid too loosely or take down your style before it dries completely. Revive volume by separating your roots with your fingers and lifting sections away from your scalp. Spritz a light setting spray or water-gel mix on flattened areas, then reshape and let them air dry for another hour to regain body and bounce.
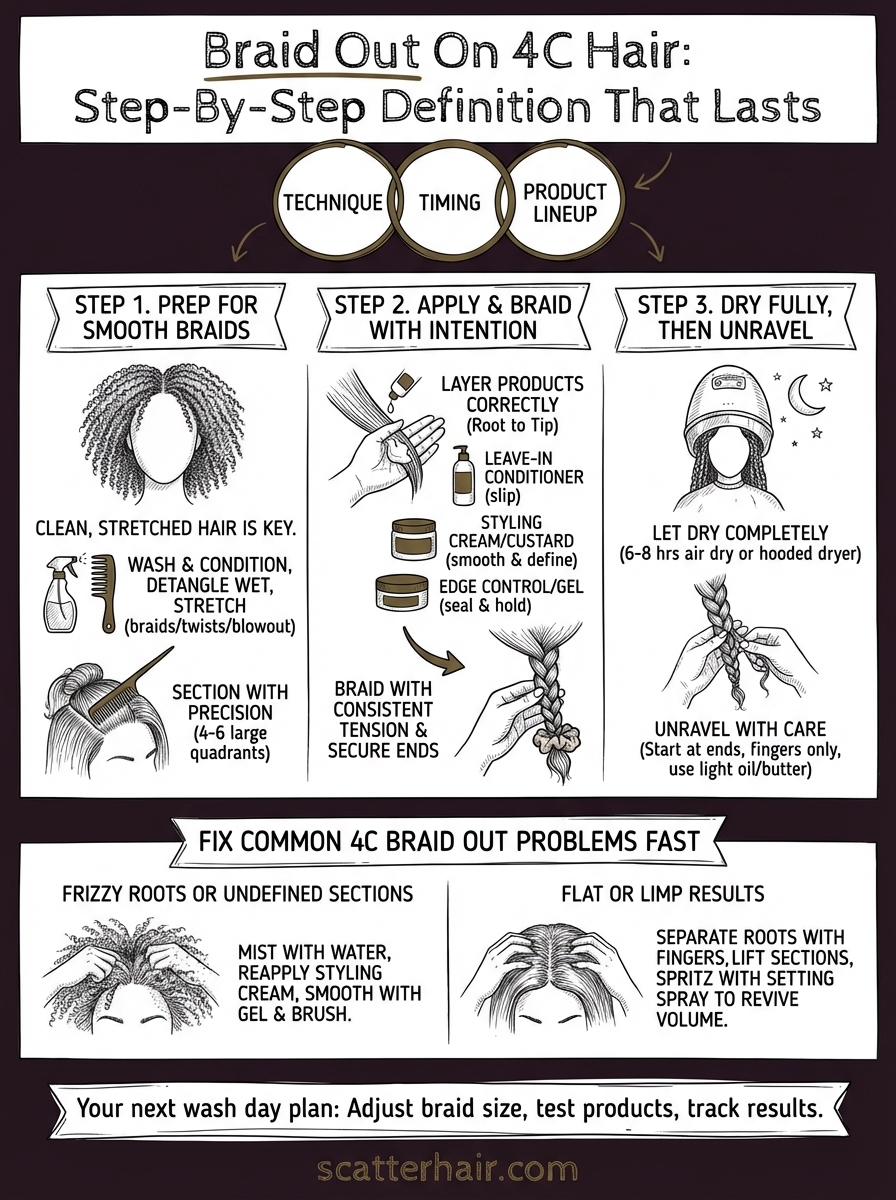
Your next wash day plan
You've got the complete roadmap for a braid out on 4C hair that actually delivers definition and lasts beyond day one. Your next wash day starts with the same foundation: thorough detangling, generous product application, and patience during the drying process. These steps aren't optional if you want results that match the effort you put in.
Adjust your braid size based on what you learned this time. Smaller braids create tighter waves, while larger sections give you looser definition with more volume. Test different product combinations on small sections before committing to your full head, because your hair's porosity and density affect how much hold you need.
Track what works in your notes app so you're not guessing on your next attempt. At scatterhair, we're building products specifically for textured hair that refuses to cooperate with generic solutions. Your styling routine should feel effortless, not like a gamble every single time.