

Curl Definition for Natural Hair: A Routine That Lasts
You've watched the tutorial, followed every step, and your curls looked incredible, for about forty-five minutes. Then the frizz crept back in, the clumps separated, and you were right back where you started. Getting curl definition for natural hair isn't the hard part. Keeping it past lunchtime is where most routines fall apart.
The issue usually isn't your hair. It's the approach. Most guides focus on product layering without addressing the techniques and timing that actually lock definition in place, especially for coily and kinky textures that need more than a prayer and some gel. Your curl pattern deserves a routine built around how it behaves, not a one-size-fits-all method borrowed from a completely different hair type.
That's exactly the kind of problem we're solving at scatterhair. We're building styling products from the ground up for textured hair, custom formulated for performance, not afterthought. While our official launch is coming in 2026, we put together this guide to give you a step-by-step routine that creates lasting definition with whatever you're working with right now. Let's get into it.
What curl definition really means for natural hair
Most people think curl definition is about making individual coils look perfect and uniform. It's not. For natural hair, especially coily and kinky textures, definition is about grouping your strands into clumps that move together, reducing frizz, and holding that shape for more than a few hours. The goal isn't a single isolated spiral. It's clusters of strands working together, which is actually how your curl pattern is built to behave in the first place.
Why clumping matters more than individual curls
Your hair's natural tendency is to group with neighboring strands when it's properly hydrated and sealed. That grouping is what creates the appearance of a defined curl. When those clumps break apart from dryness, manipulation, or the wrong products, you get frizz and undefined texture rather than the clean curl pattern you're after. So curl definition for natural hair is less about stacking products and more about giving your strands the right environment to stay grouped together from wash day through the rest of the week.
The denser and kinkier your texture, the more intentional you have to be about creating and preserving those clumps throughout your entire routine.
What makes coily and kinky hair different
Type 4 hair, particularly 4b and 4c textures, has a tighter, more angular curl pattern that doesn't reflect light the same way looser curl types do. That means shrinkage is significant, moisture evaporates faster, and product selection directly affects how long your results hold. A technique or product line designed for wavy or loosely curly hair often fails on coily textures because it doesn't account for higher density and the way water behaves differently across each curl type. Knowing your specific texture before you start styling is what separates a routine that holds from one that falls flat before you leave the house.
Knowing these mechanics shifts how you approach every single step. Once you understand why your curls behave the way they do, you can stop working against your texture and start building a routine that keeps definition locked in.
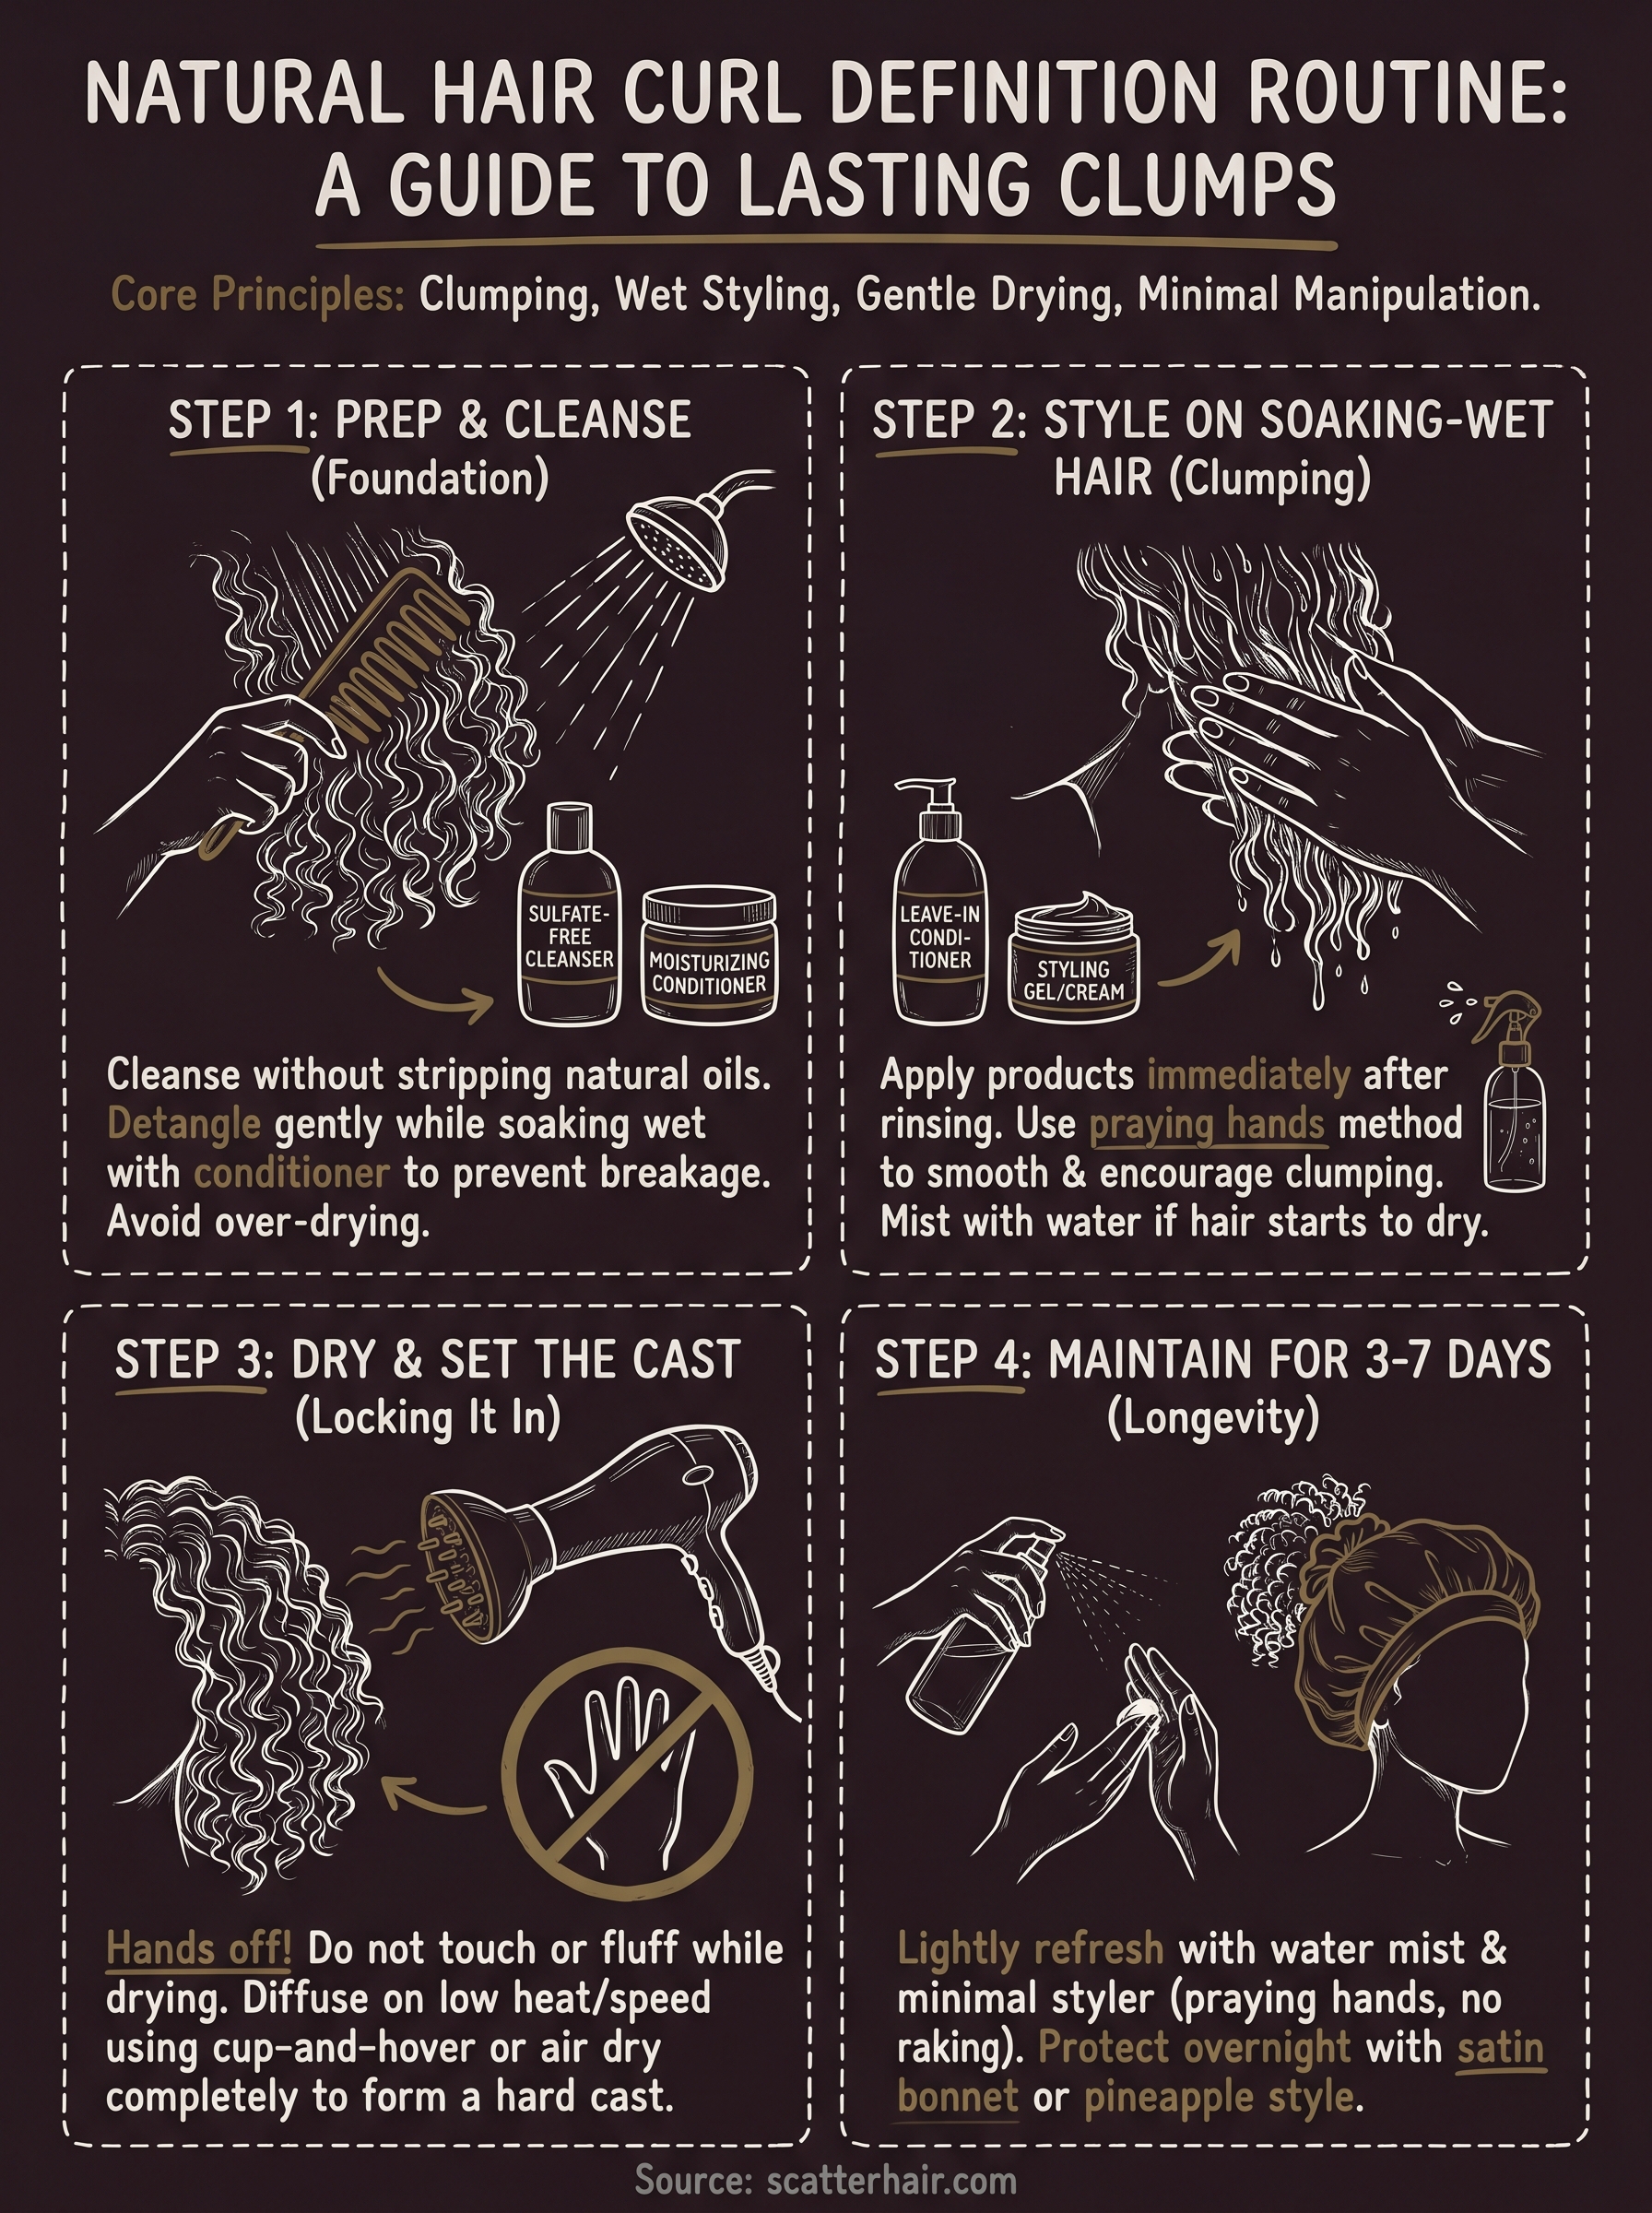
Step 1. Prep and cleanse for definition
Your wash day starts before you touch a single styling product. How you cleanse your hair directly impacts how well your curls clump and hold definition later. Buildup from old products, hard water minerals, and excess oil blocks moisture from penetrating your strands, which means even the best stylers won't perform the way they should on hair that hasn't been properly cleaned.
Choose the right cleanser for your texture
Sulfate-free shampoos work well for most natural hair types because they clean without stripping the moisture your coils need to clump properly. If you have heavy product buildup or regularly use thick butters, clarify with a sulfate shampoo once a month and follow immediately with a moisturizing wash in the same session. Your goal is a clean scalp and strands without that dry, tight feeling that signals you've gone too far.
Starting on stripped, over-dried hair is one of the fastest ways to lose curl definition for natural hair before you even begin styling.
Detangle during the cleanse
Detangling under running water with a wide-tooth comb or your fingers while conditioner sits in your hair reduces breakage and keeps your curl pattern intact. Work in small sections from the ends up toward the roots to remove tangles without pulling apart the curl clusters you want to preserve. Rinse each section fully before moving to the next.
- Divide hair into 4 to 6 sections before washing
- Apply conditioner to each section and detangle before rinsing
- Keep finished sections twisted or clipped while you work through the rest
Step 2. Style on soaking-wet hair for clumps
Timing matters here more than most people realize. Styling on soaking-wet hair gives your products the slip they need to distribute evenly and encourages your strands to group together naturally. If you wait until your hair starts to air dry, the cuticle tightens, strands begin to separate, and no amount of product will rebuild those clumps the same way. For curl definition for natural hair, wet is the only state worth styling in.
Apply products while hair is dripping
Work through each section immediately after rinsing. Apply your leave-in conditioner first, raking it through the section with your fingers to coat every strand. Follow with your styler, whether that's a cream, gel, or a combination, and use the praying hands method to smooth it over the section without disrupting the curl clumps you just built.
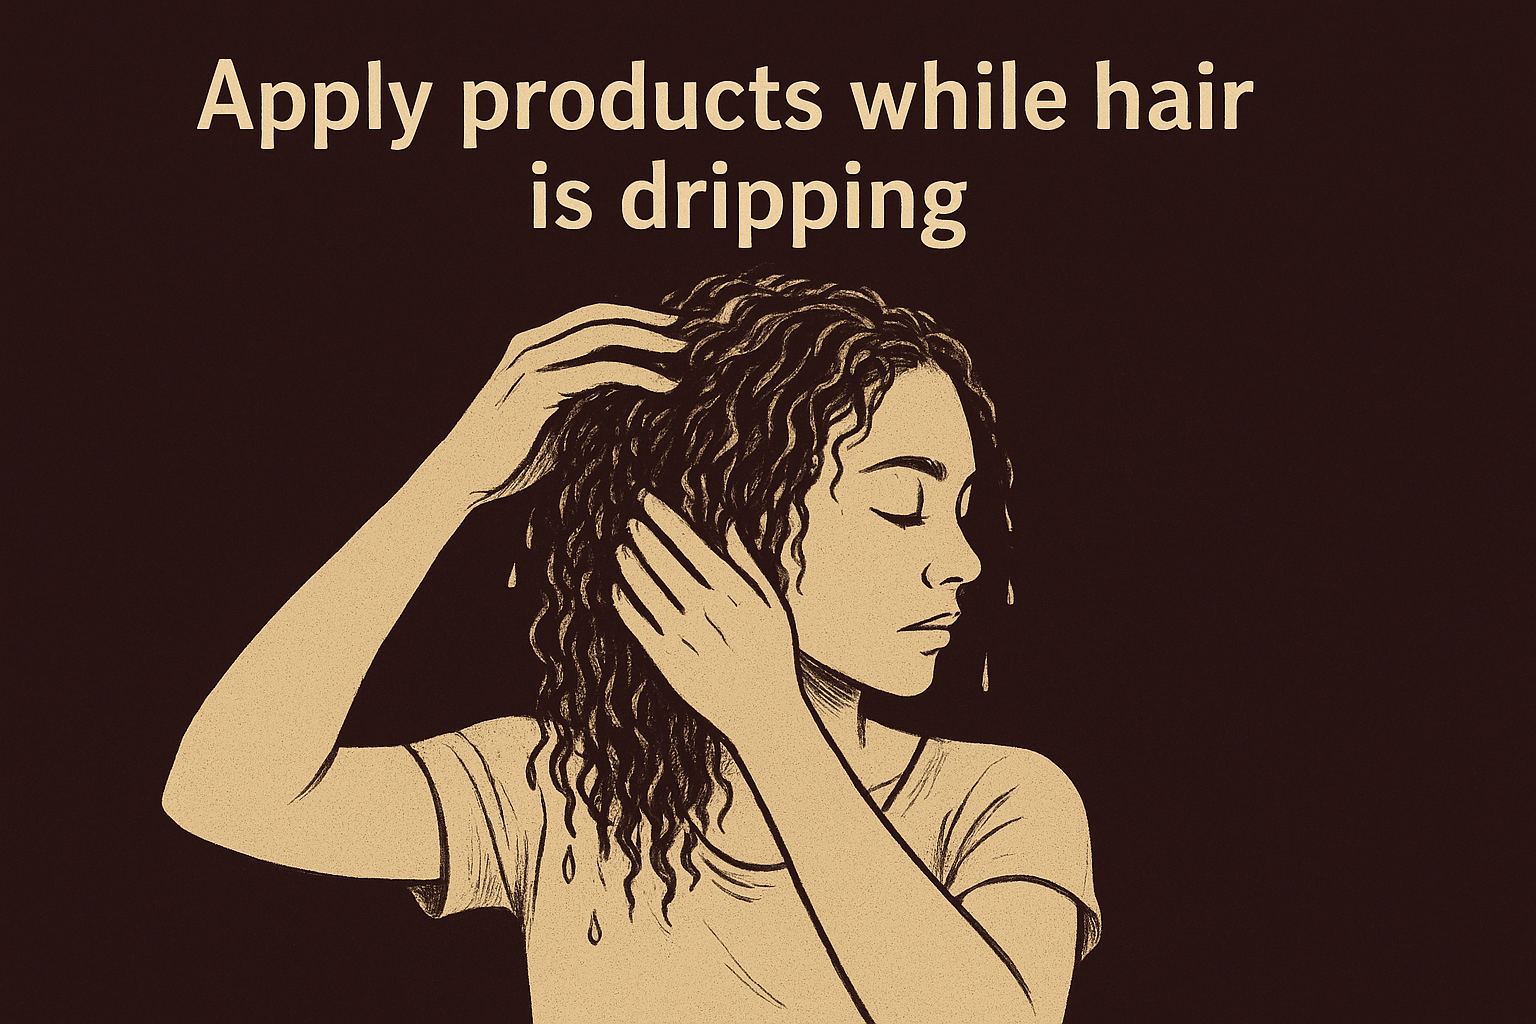
The moment you feel your hair starting to dry in your hands mid-application, mist that section with water from a spray bottle before continuing.
Finish each section by shingling or finger-coiling the ends if your texture is tighter and needs extra encouragement to clump. Once a section is styled, twist or pin it out of the way so it doesn't disturb finished sections while you work.
- Leave-in conditioner: rake through on soaking-wet hair
- Styler: smooth over with praying hands
- Finger coil or shingle ends as needed
- Secure each finished section before moving to the next
Step 3. Dry and set the cast without frizz
Once your hair is styled and sectioned, your only job is to stay out of its way. Touching, separating, or fluffing while it dries breaks the gel cast before it has a chance to form, which invites frizz and destroys the curl clumps you built in step two. The cast is the protective shell that sets your curl definition for natural hair while it dries, so it needs time to fully harden before you touch it again.
Resist the urge to check on your curls mid-dry. Every time you touch the cast before it sets, you are trading definition for frizz.
Choose your drying method
Air drying works for most textures but takes longer, which increases the window for frizz if your environment is humid. Diffusing on low heat speeds up the process and seals the cuticle faster, giving you more consistent results. Hold the diffuser cup under each section and let your hair rest inside it rather than pressing it against your scalp, which breaks clumps.
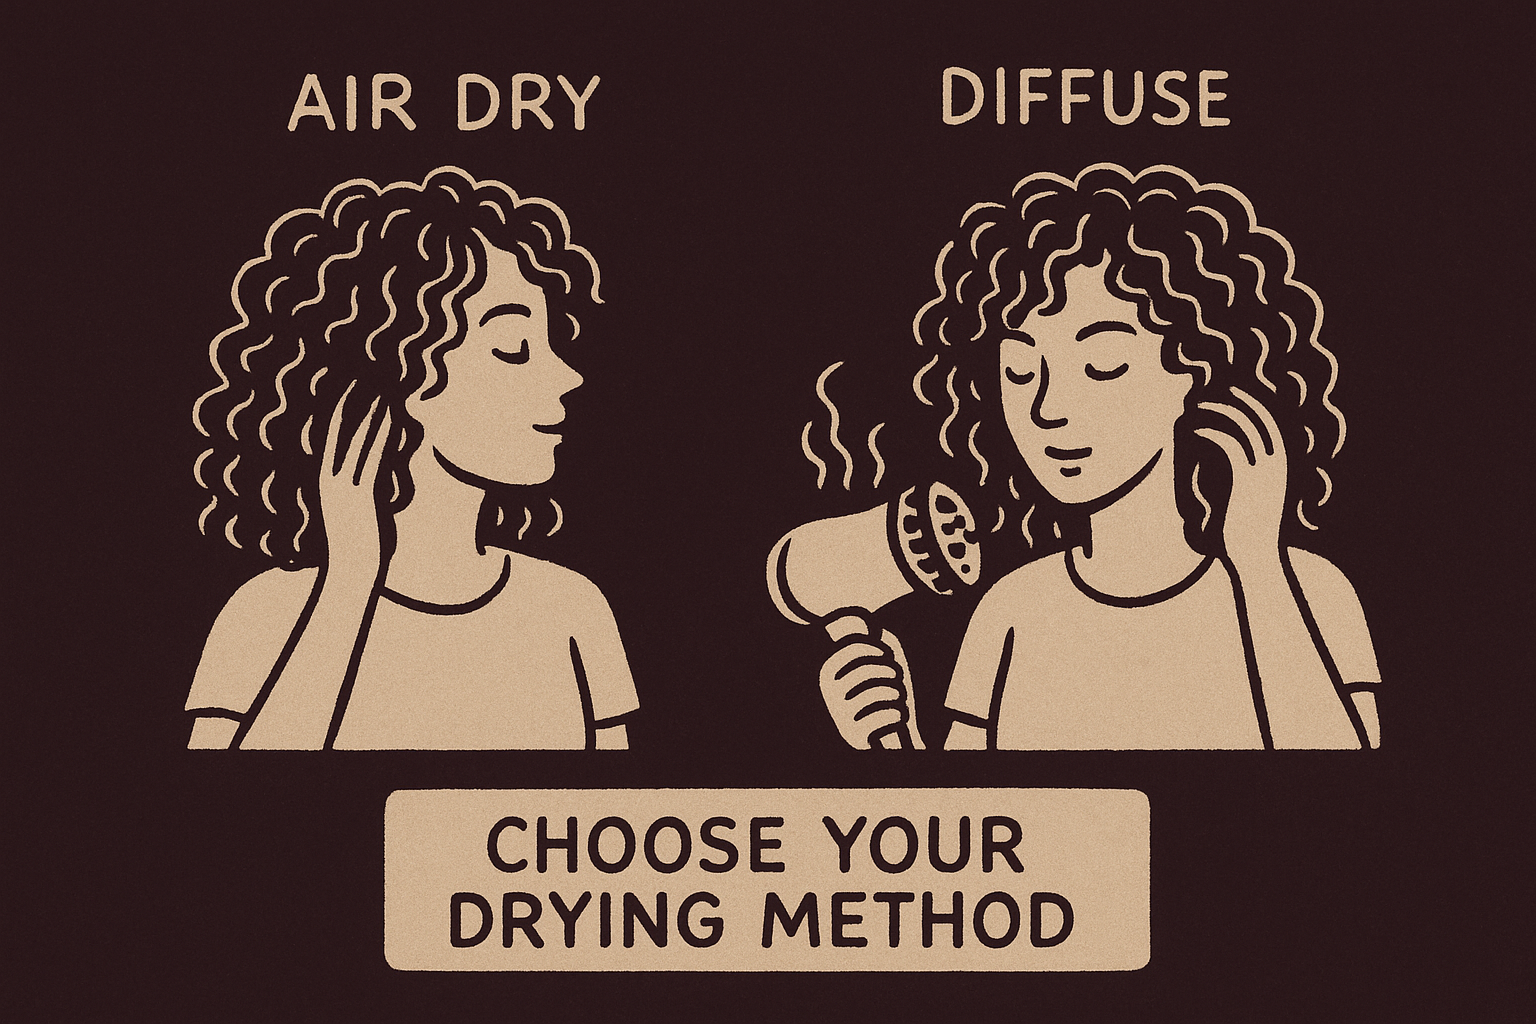
- Air dry: hands-off until completely dry, no touching mid-process
- Diffuse: low heat, low speed, cup and hover method only
Scrunch out the crunch at the right time
Wait until your hair is completely and fully dry before scrunching out the cast. Doing it too early re-introduces frizz because the cuticle is still open. Press your palms upward through each section to break the cast gently, which reveals soft, defined clumps underneath.
Step 4. Maintain definition for 3 to 7 days
Getting definition on wash day is one thing. Keeping it through the rest of the week is where most routines collapse. The good news is that maintaining curl definition for natural hair between wash days requires less effort than creating it, as long as you're working with your hair's needs rather than against them.
The less you manipulate your curls between wash days, the longer your definition holds.
Refresh without resetting your style
On days two and three, your curls will need a light refresh to reactivate the products already in your hair. Mist each section lightly with water and follow with a small amount of your original styler, working it through with the praying hands method rather than raking or separating clumps. Keep manipulation minimal.
Use this quick refresh checklist:
- Mist hair until it feels damp, not soaking
- Apply a pea-sized amount of styler per section
- Smooth down with praying hands, do not rake
- Let air dry without touching
Protect your curls overnight
Your pillowcase pulls moisture out of your strands and creates friction that separates curl clumps while you sleep. Switch to a satin or silk pillowcase, or wrap your hair in a satin bonnet or scarf before bed. Pineappling, which means loosely gathering your hair at the top of your head with a soft scrunchie, keeps your clumps intact through the night without flattening them.
Your next wash day
Now you have a complete routine built from start to finish, and curl definition for natural hair finally has a system behind it instead of guesswork. Skip the prep, and your styler won't grip. Rush the dry, and your cast falls apart before it sets. But when you move through each step with intention, the results build on each other and hold through the week.
Your texture responds better every time you refine the details. Take notes after your next wash day. Notice what changed when you styled wetter, or what happened when you diffused instead of air drying. Small adjustments add up fast once you know what to look for.
We built Scatter for people who are done settling for products that weren't made with their texture in mind. Sign up for early access and be the first to know when our formulas drop in 2026.