

Curlsmith Frizz Control: How To Build An Anti-Frizz Routine
Frizz doesn't care about your plans. You spent time styling your curls, coils, or waves, and by midday, they've puffed into something unrecognizable. If you've been eyeing Curlsmith frizz control products as a potential solution, you're not alone, this line has built a solid reputation among the textured hair community for tackling humidity and flyaways without weighing curls down.
But here's the thing: a single product rarely solves frizz on its own. The real game-changer is building a routine where each step works together, cleansing, conditioning, and styling in sync. That's the approach we champion at scatterhair, where our mission centers on making styling effortless for people with textured hair.
This guide breaks down exactly how to use Curlsmith's anti-frizz lineup to create a routine that actually holds up. You'll learn which products to pair, how to layer them, and the techniques that make the difference between "good hair day" and "where did my curls go?"
What Curlsmith Frizz Control does and who it's for
The Curlsmith frizz control collection targets the root cause of frizz: moisture imbalance and cuticle damage. When your hair's cuticle layer lifts due to humidity or dryness, individual strands repel each other instead of clumping together. This line uses hydrolyzed proteins, natural oils, and film-forming humectants to smooth the cuticle, seal in hydration, and create a protective barrier against environmental triggers.
What makes this line different
Curlsmith builds their frizz-fighting formula around two core principles: lightweight hydration and flexible hold. Unlike older formulas that relied on heavy silicones or stiff gels, these products layer micronutrients that penetrate the hair shaft without weighing down your curl pattern. The key ingredients include babassu oil for moisture retention, provitamin B5 for elasticity, and botanical extracts that control humidity absorption.
Each product in the range serves a specific purpose. Shampoos remove buildup without stripping natural oils. Conditioners detangle while fortifying your strands. Styling products lock in your curl definition while preventing the moisture exchange that causes frizz in humid conditions.
The right anti-frizz routine doesn't fight your hair texture, it works with your natural pattern to minimize disruption.
Who gets the best results
You'll see the most dramatic improvement if you have type 2B to 4C hair that regularly battles flyaways, especially in humid climates or during seasonal transitions. The collection works particularly well for people with medium to coarse hair texture because these hair types benefit most from the protein-moisture balance built into each formula.
Your styling routine matters here. If you air-dry or diffuse, you'll appreciate how these products enhance your natural curl clumps instead of fighting them. If you heat-style occasionally, the heat protectants in the styling range create a buffer against thermal damage that contributes to frizz over time.
The line also fits well for anyone moving away from silicone-heavy products. Curlsmith frizz control formulas use water-soluble alternatives that rinse cleanly during your wash day, preventing the buildup that can actually make frizz worse over multiple styling cycles. One note: if your hair is very fine or low-porosity, start with smaller amounts, the moisture-rich formulas can overwhelm fine strands if you apply them too heavily.
Step 1. Cleanse without stripping
Your anti-frizz routine starts before you even touch a styling product. The wrong cleansing approach strips away your hair's natural oils, leaving your cuticle vulnerable to humidity and environmental stress. Curlsmith's cleansing range gives you options based on how often you wash and how much buildup you're dealing with.
Pick your shampoo based on wash frequency
If you wash weekly or less, reach for Curlsmith's Wash & Scrub Detox Pro-Biotic. This pre-shampoo treatment pulls out product buildup and hard water minerals that prevent your frizz control products from penetrating properly. Apply it to dry hair, massage for two minutes, then follow with a gentle shampoo.
For regular washing (every 2-3 days), the Curl Quenching Conditioning Wash balances cleansing with moisture retention. It removes dirt and oil without creating the dryness that triggers frizz. You'll use this as your main cleanser, focusing application on your scalp rather than coating your entire length.
Apply and massage correctly
Start with fully saturated hair. Pour a quarter-sized amount into your palm (adjust for hair density) and dilute it with water before applying. This creates better distribution and prevents concentrated product from sitting on one section.
Work the cleanser into your scalp using circular motions with your fingertips, not your nails. Spend 60 seconds massaging to stimulate blood flow and ensure thorough cleansing. Let the runoff handle your mid-lengths and ends as you rinse, these sections don't need direct shampooing unless you have significant product buildup.
Your scalp produces the oils that lead to buildup, so concentrating your cleansing efforts there prevents over-washing the rest of your hair.
Rinse until the water runs completely clear. Residual shampoo left in your hair creates a barrier that blocks your conditioner and styling products from working effectively in the next steps of your curlsmith frizz control routine.
Step 2. Condition, detangle, and lock in moisture
After cleansing, your cuticles are open and ready to absorb moisture. This is when you build the foundation that prevents frizz from forming in the first place. Curlsmith's conditioning range layers hydration in a way that strengthens your strands while smoothing the cuticle, and the technique you use here determines whether that moisture actually stays locked in.
Select based on your porosity and density
Your hair's porosity level dictates which Curlsmith frizz control conditioner works best. If you have low porosity hair (water beads up on your strands), use the Hydro Style Flexi Jelly, which contains lighter humectants that penetrate closed cuticles. For high porosity hair (water absorbs quickly), reach for the Double Cream Deep Quencher, a treatment that fills gaps in damaged cuticles and prevents moisture from escaping.
Density matters too. Fine or thin hair needs lighter formulas applied only from mid-length to ends. Thick or coarse hair can handle richer formulas applied more generously.
Apply from ends upward
Flip the traditional approach. Start by coating your ends with conditioner first, since these older sections need the most moisture. Work your way up to mid-length, adding product as you go. Keep conditioner away from your scalp unless you have dry scalp issues.
Use your fingers to rake product through in sections. This distributes conditioner evenly and begins the detangling process. Let it sit for 3-5 minutes minimum (longer if you're deep conditioning).
Conditioning from ends to roots ensures your most damaged areas get maximum product concentration before you work toward healthier new growth.
Detangle with conditioner as your buffer
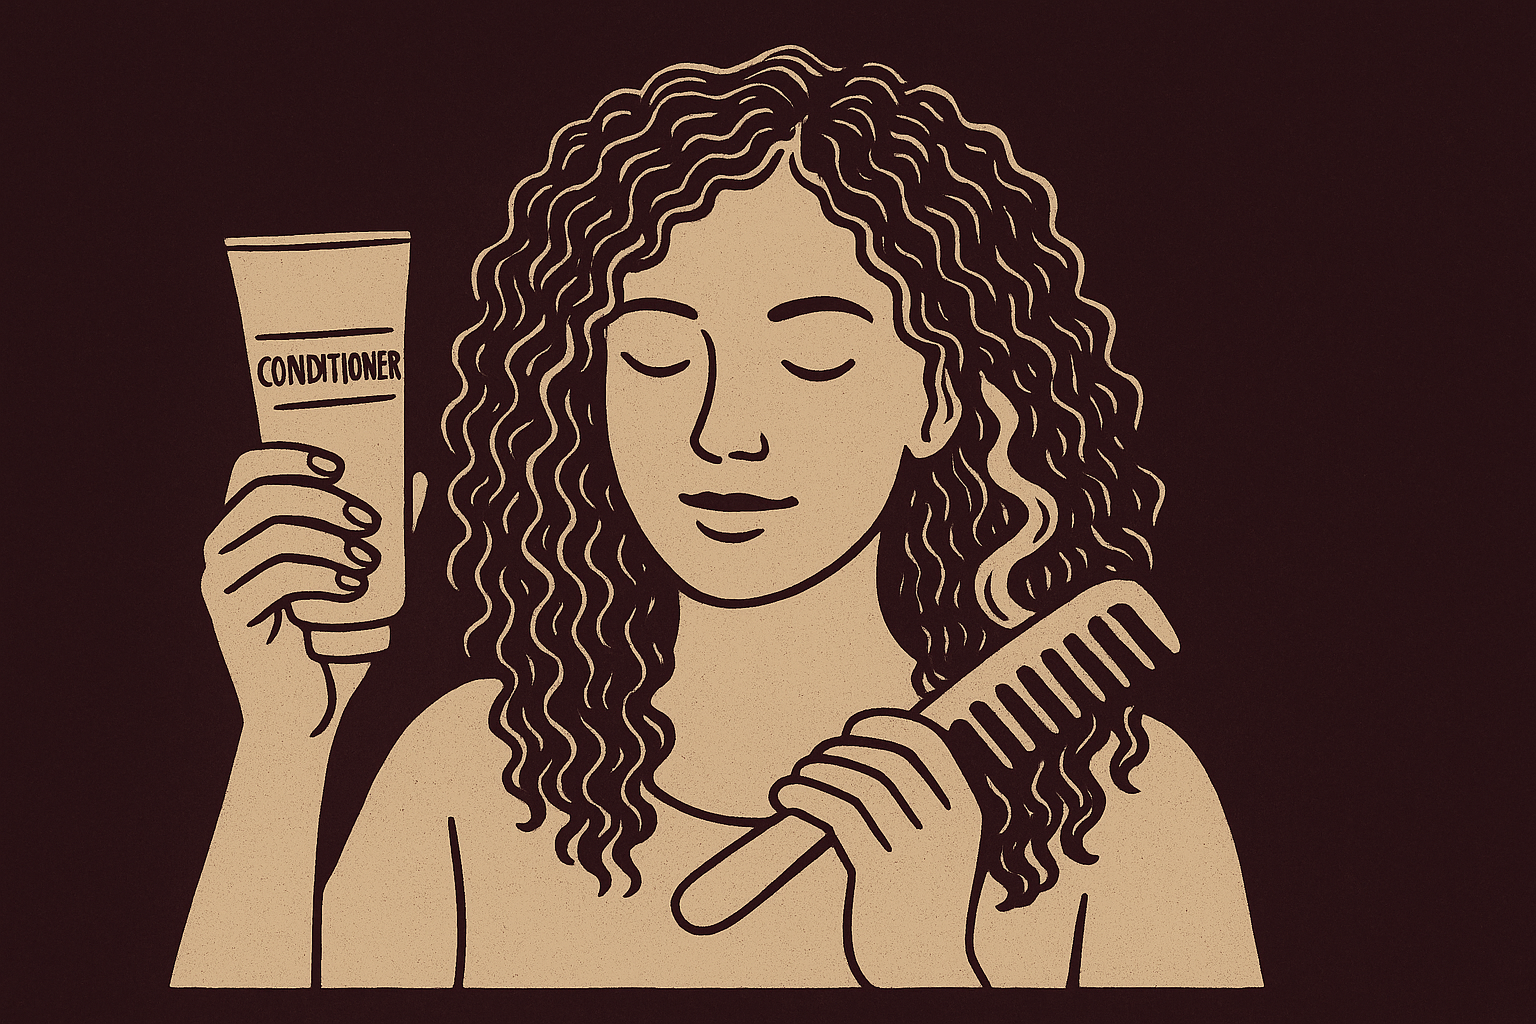
Grab a wide-tooth comb or wet brush while conditioner is still in your hair. Start at your very ends and work up in two-inch sections, holding hair above where you're combing to prevent root tension. The conditioner creates slip that lets tangles release without snapping your strands. Rinse with cool water to seal your cuticle shut and trap that moisture inside.
Step 3. Style for hold, then finish and refresh
Conditioning sets the stage, but styling products determine whether your frizz control lasts through the day or falls apart by lunch. This final step locks in your curl pattern while creating a protective shield against humidity. The Curlsmith frizz control styling range gives you multiple options to layer, each building on the moisture you already sealed in during conditioning.
Apply styling products in layers
Start with a leave-in treatment on soaking wet hair. The Moisture Memory Reactivator works as your base layer, providing continuous hydration that prevents frizz from developing as your hair dries. Squeeze excess water from your hair using a microfiber towel, leaving it damp but not dripping.
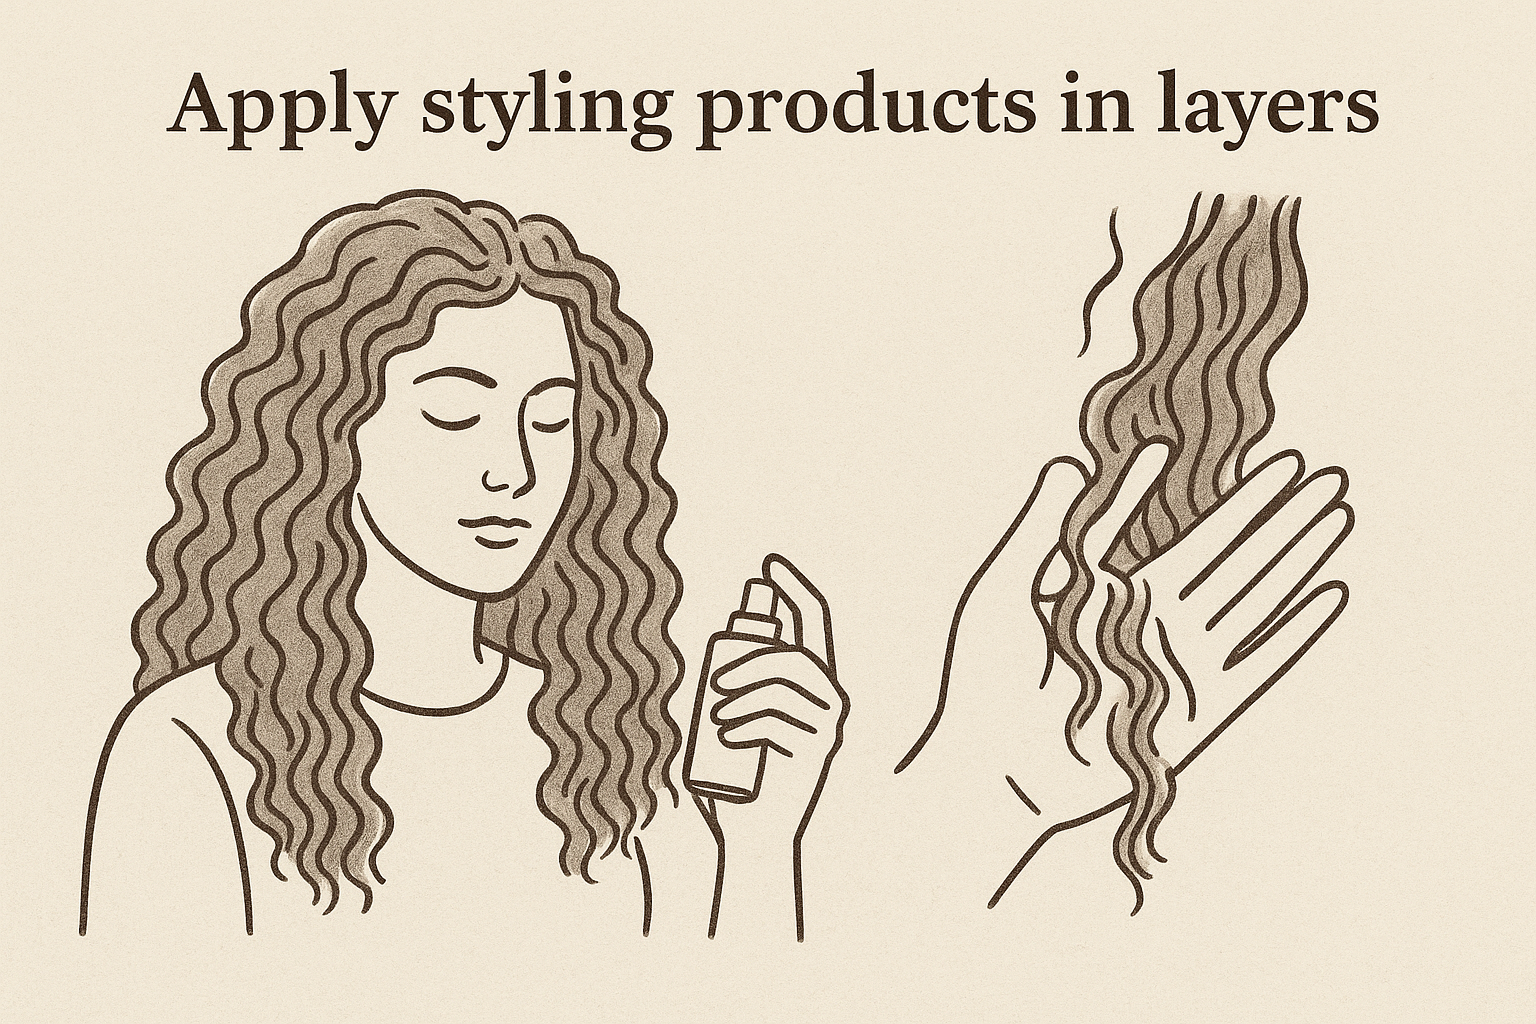
Next, apply a curl-defining cream or gel to small sections (work in 1-inch subsections for best results). The Curlsmith Weightless Air Dry Cream defines without crunch, while the Hydro Style Flexi Jelly gives stronger hold. Use the praying hands method: rub product between your palms, then smooth it over each section from roots to ends. Follow with scrunching to encourage curl formation.
For maximum frizz control, add a finishing serum to lock everything down. The Shine Oil contains lightweight botanicals that seal your cuticle without creating buildup. Apply 2-3 drops to your palms, rub together, then gently smooth over the surface of your hair (don't rake through at this stage).
Layering products from thinnest to thickest consistency ensures each formula penetrates properly instead of sitting on top of the previous layer.
Refresh between washes
Day-two curls need moisture without full rewashing. Mix equal parts Curlsmith Style and Hold Foam with water in a spray bottle (roughly 2 tablespoons foam to 2 ounces water). Spritz onto areas showing frizz, scrunch gently, and let air dry. This reactivates your original styling products without adding weight.
For stubborn frizz patches, apply a small amount of the Shine Oil directly to flyaways using your fingertips. Smooth down in the direction of your curl pattern rather than rubbing back and forth, which creates more frizz.
Your frizz-control routine, simplified
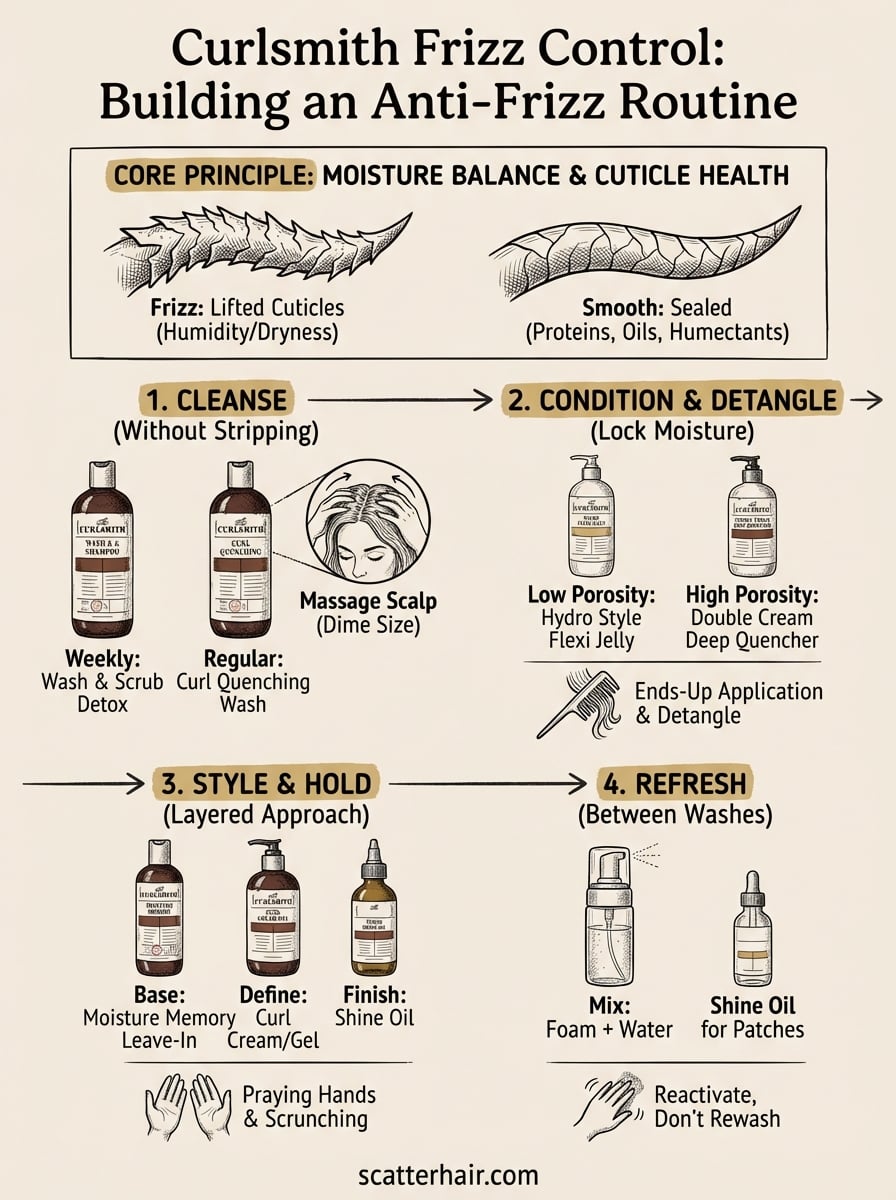
You now have the complete blueprint for managing frizz with Curlsmith's product line. Start with the right cleansing approach for your wash frequency, move into conditioning that matches your porosity level, then layer styling products from thinnest to thickest. Each step builds on the previous one, creating a protective barrier that keeps humidity from disrupting your curl pattern.
The curlsmith frizz control system works because it addresses moisture balance at every stage rather than relying on a single product to fix everything. Your hair needs consistent hydration and protection from root to tip, and this routine delivers both without weighing down your natural texture.
Track your results over three wash cycles to see how your hair responds. You might need to adjust product amounts or switch between formulas as seasons change, and that's completely normal. Building a routine that works takes experimentation, but the payoff is curls that actually behave.
Ready to make styling effortless? Explore more textured hair techniques and tips at scatterhair as we build toward our 2026 launch.