

How to Do a Scalp Massage for Dry Scalp Relief
Your scalp itches the second you take your hair down, flakes show up on dark shirts, and no amount of conditioner seems to fix it. That tightness usually means your scalp isn't getting enough blood flow or oil distribution, and textured hair patterns make it worse because natural oils struggle to travel down the strand. A scalp massage for dry scalp relief is one of the few fixes that actually works with your hair pattern instead of against it, and it costs nothing but a few minutes a day.
This guide walks you through exactly how to do it: finger placement, pressure, and the right massage pattern for coils, curls, and waves, plus how oil choice changes the results. You'll also learn how often to repeat the routine so relief sticks instead of fading by the next wash day.
We put this together because effortless styling starts with a healthy scalp, and a dry, irritated scalp makes every technique harder to pull off. Get this step right, and the rest of your routine, from detangling to defining your texture, gets a lot easier.
Why scalp massage helps relieve a dry scalp
Dry scalp isn't just a hair problem, it's a circulation and sebum problem. Your scalp has thousands of tiny sebaceous glands that produce natural oil, but when blood flow to the area slows down, those glands don't get the signal to keep producing at a healthy rate. Massage physically stimulates the skin, which increases blood flow to hair follicles and wakes those glands back up. A small but often-cited 2016 study published in Eplasty found that daily scalp massage over several months actually increased hair thickness by improving circulation to the follicle, and that same circulation boost is what helps redistribute oil and calm flaking.
The mechanics behind the relief
Textured hair has a specific problem that straighter hair types don't deal with as much: the natural curl or coil pattern makes it harder for sebum to travel from the root down the shaft. On straight hair, oil basically slides down the strand. On coily or curly hair, it has to travel around every bend, so it often stalls out near the scalp or never reaches the ends at all. That's why textured hair can have an oily scalp and dry ends at the same time. Massage helps break up that traffic jam by physically working the oil loose and spreading it across the scalp surface before you even apply a product.
A dry, itchy scalp usually means circulation and oil distribution have stalled, and massage restarts both at once.
What actually happens under your skin
When you apply circular pressure with your fingertips, you're doing more than just moving product around. You're loosening dead skin cells that build up around the follicle opening, which is one of the biggest causes of flaking and itchiness. You're also relaxing the tiny muscles attached to each hair follicle, which can tighten up from stress, cold weather, or harsh products and contribute to that tight, uncomfortable feeling across your crown. Below is a quick breakdown of what's happening at each stage of a massage session.
| What you feel | What's happening | Why it helps dry scalp |
|---|---|---|
| Warmth after a minute | Blood vessels dilate near the surface | More nutrients and oxygen reach the follicle |
| Looser, less tight scalp | Muscle tension around follicles releases | Reduces the pulling sensation that causes discomfort |
| Flakes lifting off easier | Dead skin cells loosen from massage friction | Clears buildup that traps moisture out |
| Oil spreading evenly | Sebum gets physically redistributed | Prevents dry patches next to oily ones |
Why this matters more for textured hair
Curly, coily, and wavy hair types are also more prone to product buildup near the scalp, since heavier creams and butters used to combat dryness at the ends can sit on the scalp and clog follicles if you're not careful. Regular massage keeps that buildup moving instead of settling, which is part of why it pairs so well with a lighter, well-formulated scalp oil rather than a thick butter meant for your strands. Combining consistent massage with the right product is what turns a one-time fix into an actual routine that keeps your scalp calm between wash days, not just right after you do it.
Step 1. Prepare your scalp and gather your tools
Before you touch your scalp, set up your space so the massage actually works instead of turning into a greasy mess. Section your hair into four to six parts using clips or hair ties, especially if you have thick or coily hair where the scalp is hard to reach. You want direct skin contact, not massage-through-hair, because oil and pressure applied on top of your strands barely reach the follicle where the real work needs to happen.
What to gather before you start
Lay everything out ahead of time so you're not hunting for a towel mid-massage with oily fingers.
- A lightweight scalp oil (jojoba, argan, or a peppermint-infused blend for extra tingle)
- Sectioning clips or soft hair ties
- A wide-tooth comb or your fingers for parting
- An old towel or cape to protect your shoulders
- A small dropper or applicator bottle for precise oil placement
- Optional: a silicone scalp massager if your hands tire easily
Skip the sectioning and you'll spend more time fighting your hair than actually massaging your scalp.
Check your scalp condition first
Take thirty seconds to actually look at your scalp under good light or with a mirror. Note where the tightness, flaking, or itchiness is worst, since most people have one or two problem zones rather than an evenly dry scalp. The crown and hairline tend to run drier for a lot of textured hair types because they get the most manipulation, tension from styles, and product buildup. Knowing your trouble spots means you can spend extra time there instead of massaging every inch equally.
Prep your hands and environment
Wash your hands before you start, since dirt and old product under your nails can work their way into open follicles and cause irritation instead of relief. Keep your nails trimmed short too; long nails scratch the scalp rather than massage it, and scratching only makes dryness and inflammation worse. Sit somewhere comfortable with your neck relaxed, either leaning over a sink or sitting in a chair with a towel draped around your shoulders, since tension in your neck and jaw undercuts the relaxation you're trying to create in your scalp. Once you're sectioned, tooled up, and comfortable, you're ready to move on to warming and applying oil.
Step 2. Warm and apply a nourishing scalp oil
Cold oil sitting straight from the bottle does less for your scalp than warm oil, because heat helps the oil penetrate the outer layer of skin instead of just coating the surface. Warming the oil also feels better against a tight, itchy scalp and signals your nervous system to relax before you even start the massage motion. You don't need anything fancy here, just a small container and a few minutes of patience.
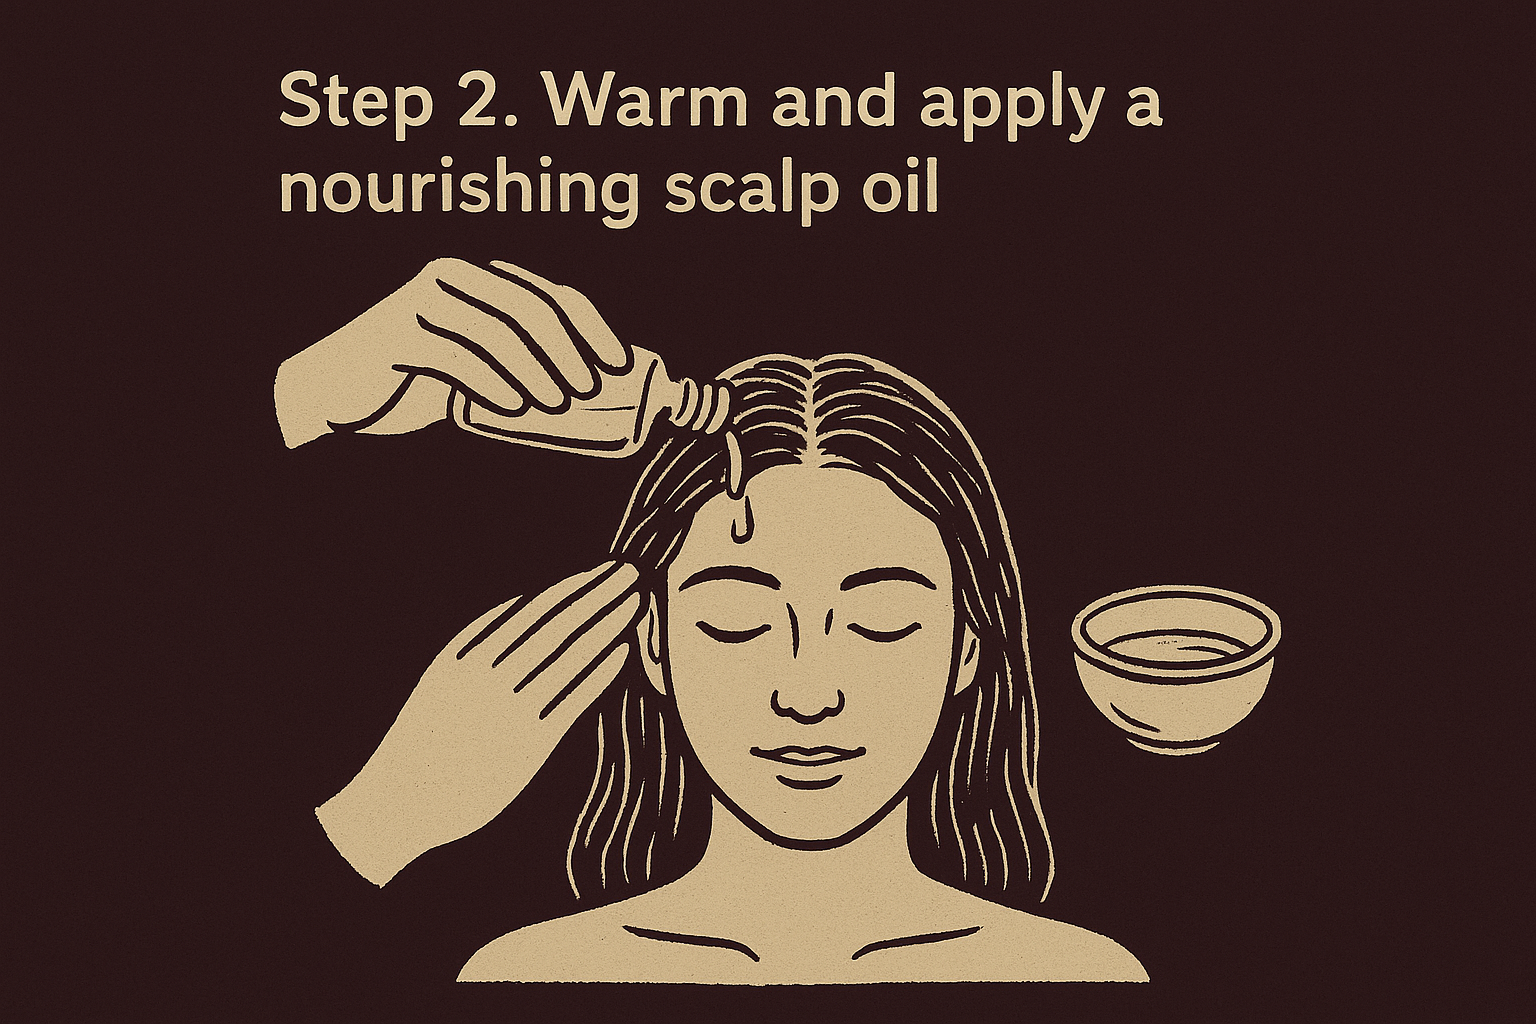
How to warm your oil correctly
Skip the microwave, since it heats unevenly and can scald the oil before you notice. Instead, use one of these two methods:
- Warm water bath: Pour your oil into a small glass bowl or dropper bottle, then set it in a larger bowl of warm (not boiling) water for two to three minutes.
- Hand warming: Rub a dime-sized amount between your palms for thirty seconds until it feels warm to the touch, then apply directly.
Test the temperature on your wrist before applying it to your scalp. It should feel warm, not hot, since scalp skin is more sensitive than most people assume.
Warm oil sinks in where cold oil just sits, and that difference is what separates a real treatment from a quick shine trick.
Applying oil section by section
Work through the sections you clipped earlier one at a time rather than dumping oil all over your head at once. Use a dropper or applicator bottle to place small amounts of oil directly on the scalp, following the part line from front to back. A little goes further than you'd think, especially with lighter oils like jojoba or grapeseed that absorb quickly without leaving residue.
Matching oil to your dryness level
Not every dry scalp needs the same oil, and picking the wrong one can leave you greasy without actually fixing the flaking.
| Scalp condition | Best oil type | Why it works |
|---|---|---|
| Mild dryness, occasional flaking | Jojoba or grapeseed | Lightweight, absorbs fast, won't clog follicles |
| Moderate dryness, visible tightness | Argan or sweet almond | Richer fatty acids for deeper conditioning |
| Severe dryness, constant itch | Peppermint-infused blend | Tingling effect boosts circulation and eases itch fast |
Once every section has a light, even coat, you're ready to work the oil in with actual pressure instead of just letting it sit on the surface.
Step 3. Massage your scalp with circular pressure
Now comes the actual work. Use your fingertips, not your nails, and press firmly enough to move the skin over the skull rather than just sliding across the surface. Circular pressure on the scalp is what breaks up buildup and pulls blood toward the follicle, so light stroking alone won't get you the same relief. Start at your hairline and work backward in small, deliberate circles, spending about five seconds per spot before moving on.
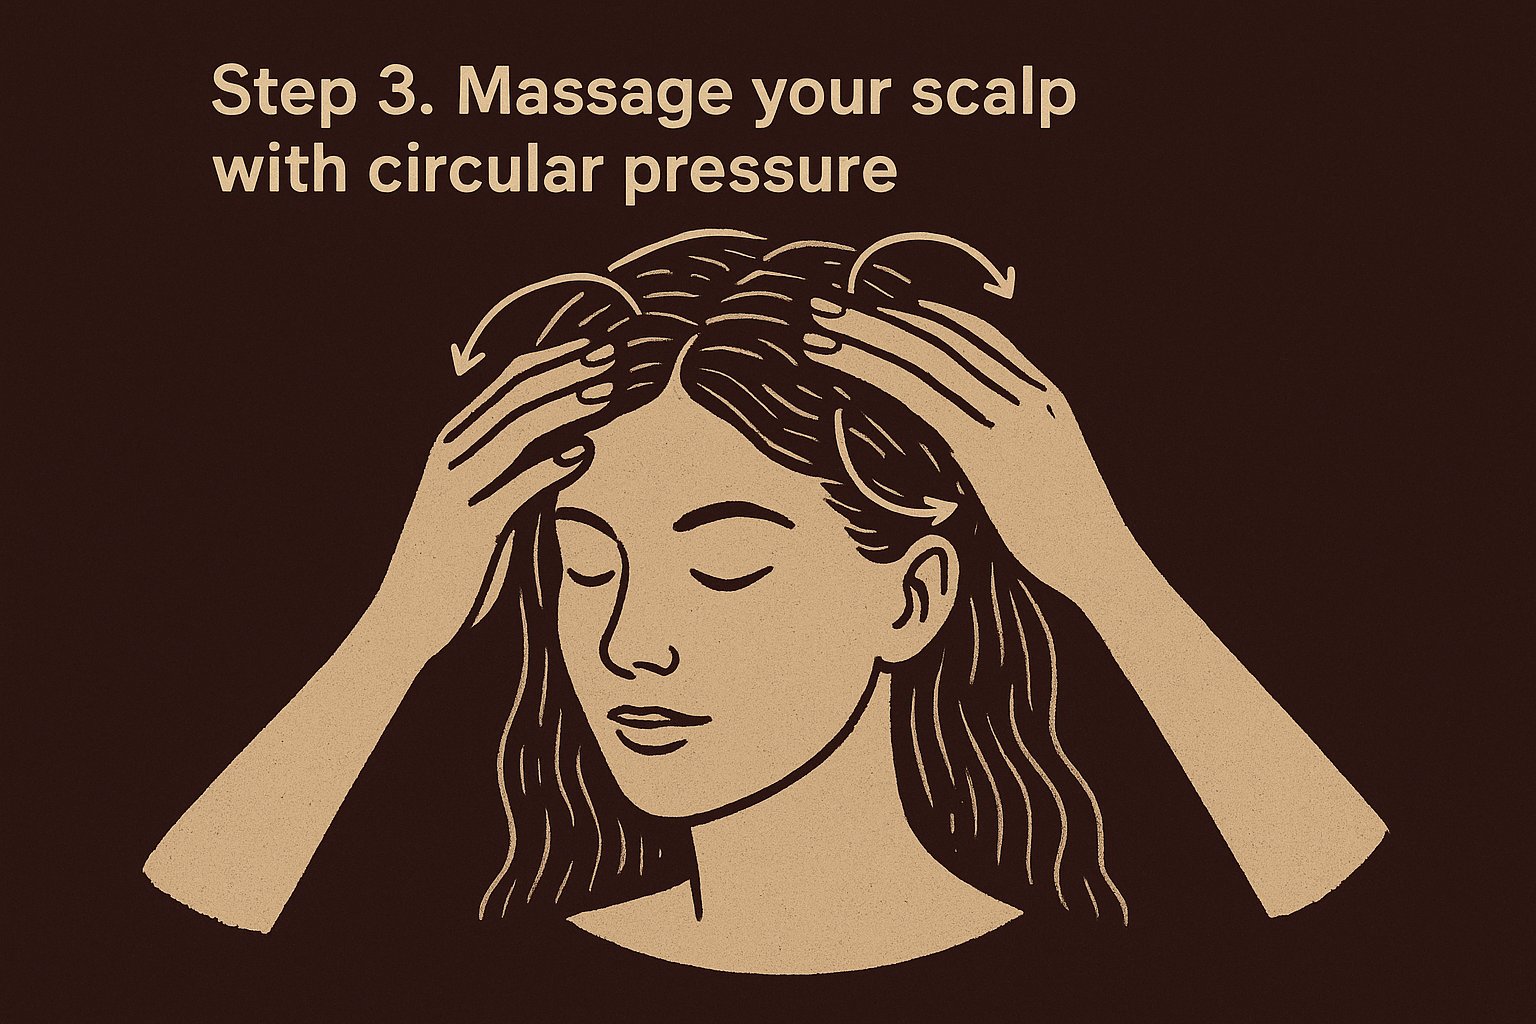
Finger placement and pressure
Place four fingers from each hand flat against the scalp, spaced about an inch apart, and apply medium pressure, similar to what you'd use kneading dough. Too light and you're just rearranging oil; too hard and you risk irritating already-sensitive skin. Move in small circles about the size of a quarter, keeping your fingers in the same spot on the skin rather than dragging them across it.
Pressure that moves the skin, not just your fingers, is what actually stimulates the follicle underneath.
The pattern to follow for textured hair
Work in a consistent path so you don't miss spots or over-massage the same area:
- Start at the front hairline and circle for ten seconds per section.
- Move to the temples, where tension from styles like buns and braids builds up.
- Work across the crown, the area most textured hair types report as driest.
- Move down toward the nape of the neck, circling gently since skin here is thinner.
- Finish behind the ears, an often-skipped spot that holds tension from ponytails.
Spend a full three to five minutes total, since anything shorter barely raises circulation and anything longer starts to feel more like styling than treatment.
Adjusting for coils, curls, and waves
If you have tighter coils, use slightly more pressure since the scalp tends to sit further from the surface under dense strands. Looser waves and curls need lighter pressure since the scalp is more exposed and can feel raw if you press too hard. Either way, keep checking in with how your scalp feels: some tingling and warmth is normal and means blood flow increased, but sharp pain or tenderness means you should ease off. Once you've covered every section and your scalp feels warm and loose rather than tight, you're ready to move into rinsing and locking in the moisture you just worked in.
Step 4. Rinse, moisturize, and build a routine
Rinsing right after a massage matters as much as the massage itself, since leaving too much oil sitting on the scalp overnight can trap sweat and dead skin instead of releasing it. Wait about fifteen to twenty minutes after you finish massaging, giving the oil time to actually absorb, then rinse with warm (not hot) water before shampooing. Hot water strips moisture and can undo the calming effect you just worked for, so keep the temperature moderate through your whole wash.
Choosing a gentle cleanser
Skip anything with sulfates or heavy fragrance right after a scalp treatment, since those ingredients tend to strip the oil you just massaged in before it has a chance to work. A sulfate-free, low-foam shampoo cleans the scalp without undoing the job. Focus your scrubbing motion on the scalp itself rather than the length of your hair, using the same fingertip pressure from the massage to work the shampoo in.
Locking in moisture after rinsing
Once your hair is clean, apply a lightweight leave-in or a few drops of the same scalp oil to damp roots before you style. Damp hair absorbs product more efficiently than dry hair, so this is the moment to reinforce what the massage started rather than waiting until everything's fully dry.
Consistency beats intensity here, a short massage four times a week outperforms one long session on a Sunday.
Setting a realistic massage schedule
Build the habit around your existing wash routine so it doesn't feel like extra work:
- 3 to 4 times per week: oil massage without a full wash, just to keep circulation and oil distribution steady
- On wash day: massage before rinsing, following steps two and three above
- Daily (optional): a dry, one-minute massage with just your fingertips if your scalp runs especially tight
Give the routine two to three weeks before judging results, since flaking and tightness built up over months and won't disappear after one session. Track how your scalp feels each morning, since less tightness on waking is usually the first sign the routine is working before you see any visible change in flaking.
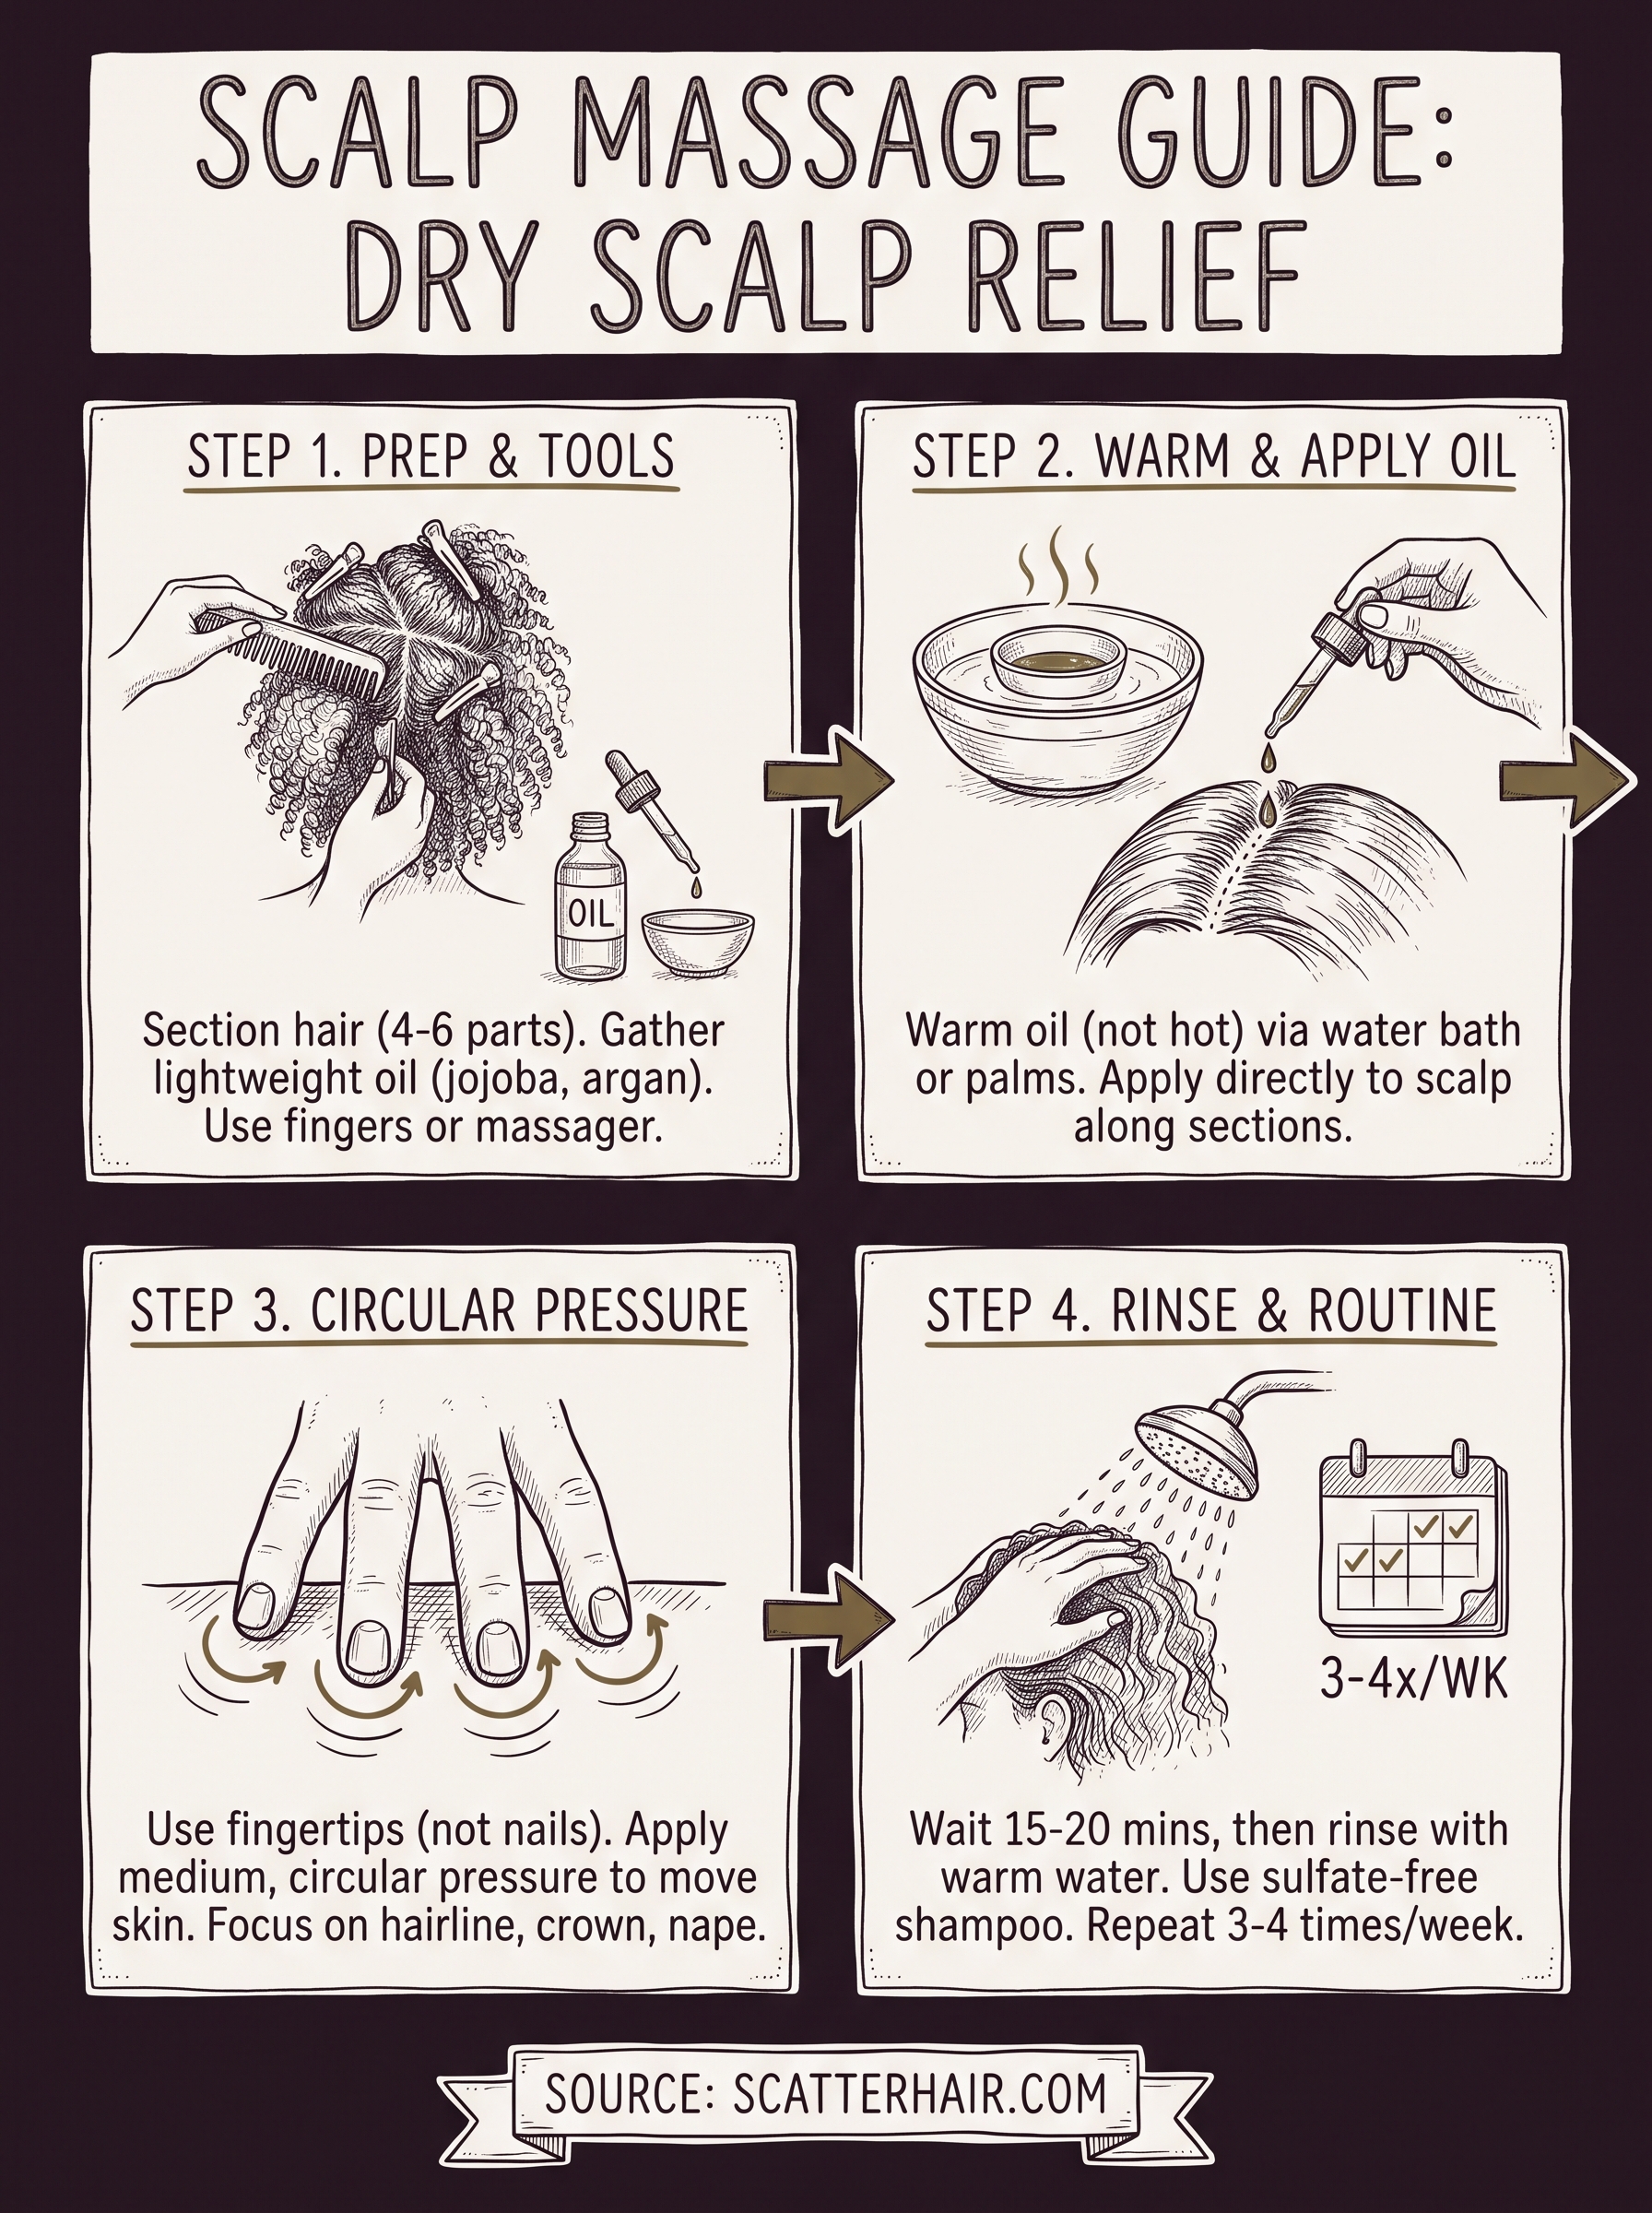
A few minutes a day for a happier scalp
A dry, tight scalp doesn't need a complicated fix, it needs consistent attention. Circular pressure, warmed oil, and a rinse routine you actually stick to will do more for your comfort than another expensive treatment sitting in your cabinet. Give the technique two to three weeks and pay attention to how your scalp feels each morning, since that's usually where the improvement shows up first.
Once your scalp calms down, everything else about your routine gets easier, detangling, defining your curls, even how your products absorb. That's the whole point of starting here instead of jumping straight to styling fixes that never quite stick on a scalp that's still irritated. A healthy scalp foundation is what makes textured hair genuinely low-maintenance instead of a daily struggle.
If you want styling products built specifically for textured hair, along with tutorials and behind-the-scenes looks at how we're formulating them, join the Scatter community and get early access before launch.