

Can You Use Heat Protectant On Dry Hair? How To Apply It
You're about to flat iron or blow-dry your textured hair, but it's already dry and you skipped the protectant step after washing. Now you're wondering: can you use heat protectant on dry hair, or did you miss your only window? Short answer, yes, you absolutely can. And in many cases, applying it to dry hair is actually the better move before picking up a hot tool.
Heat protectant isn't just a wet-hair-only product. The way it works depends on the formula, your hair type, and how you apply it. For textured hair especially, getting this step right is the difference between defined, healthy-looking styles and fried, brittle ends that fight you every time. That's exactly the kind of problem we're solving at scatterhair, building styling products that work with your texture, not against it.
In this guide, we'll break down how heat protectant actually functions on dry hair, walk you through the correct way to apply it step by step, and cover which product types perform best depending on whether your hair is dry or damp. By the end, you'll know exactly how to protect your hair without compromise, no guesswork, no damage.
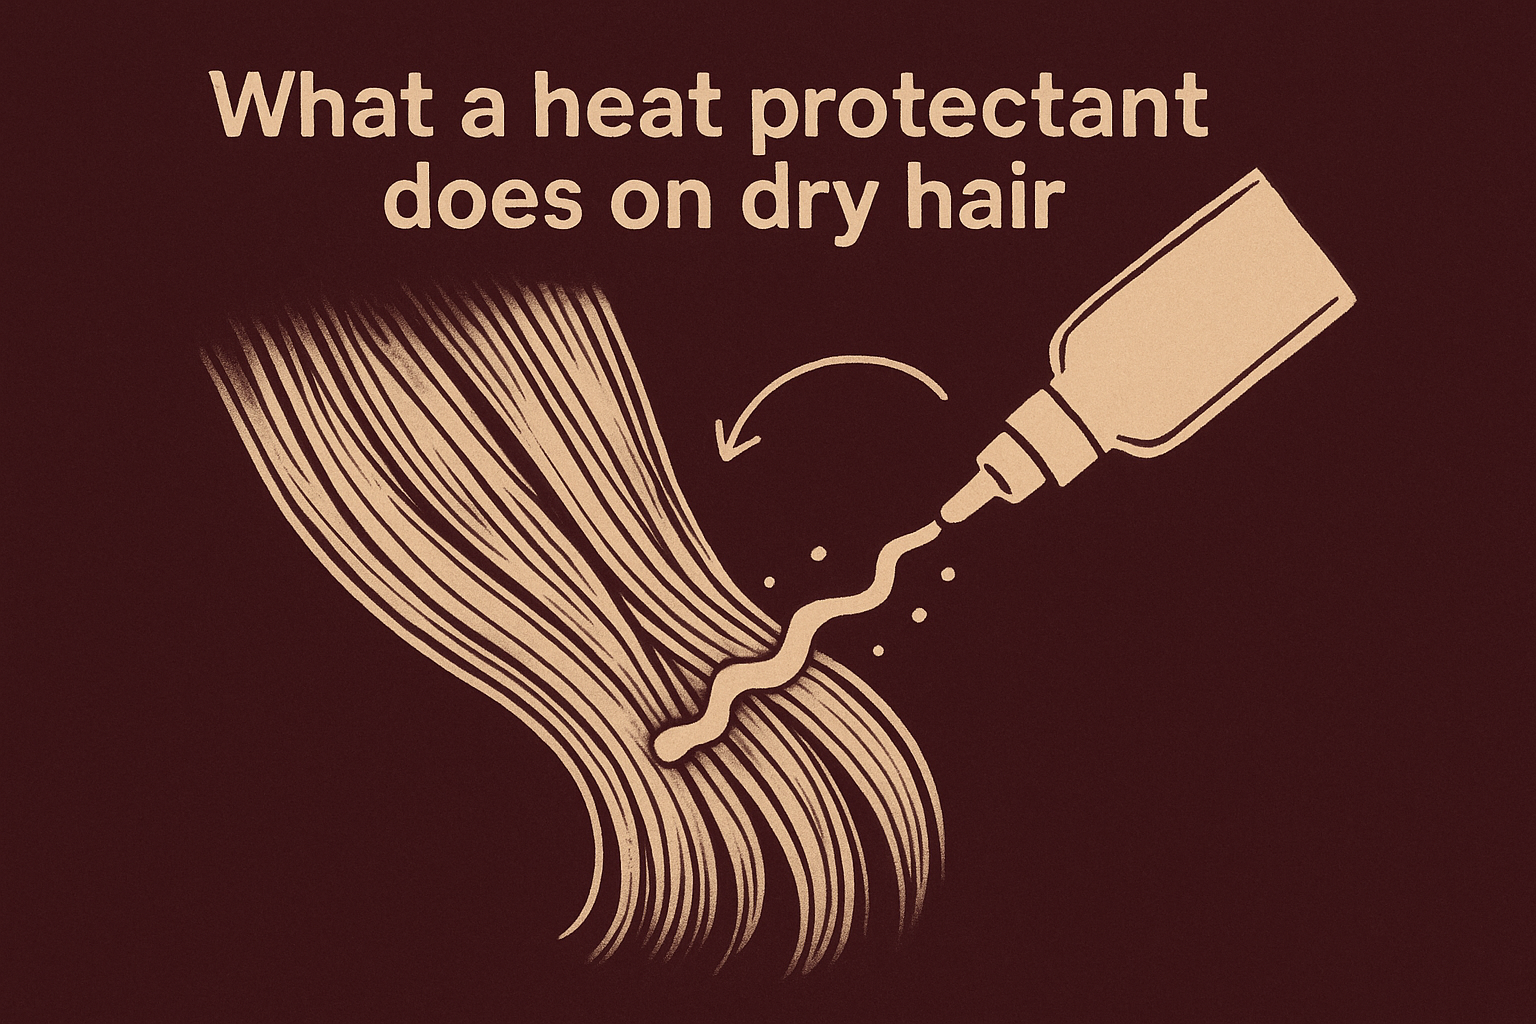
What a heat protectant does on dry hair
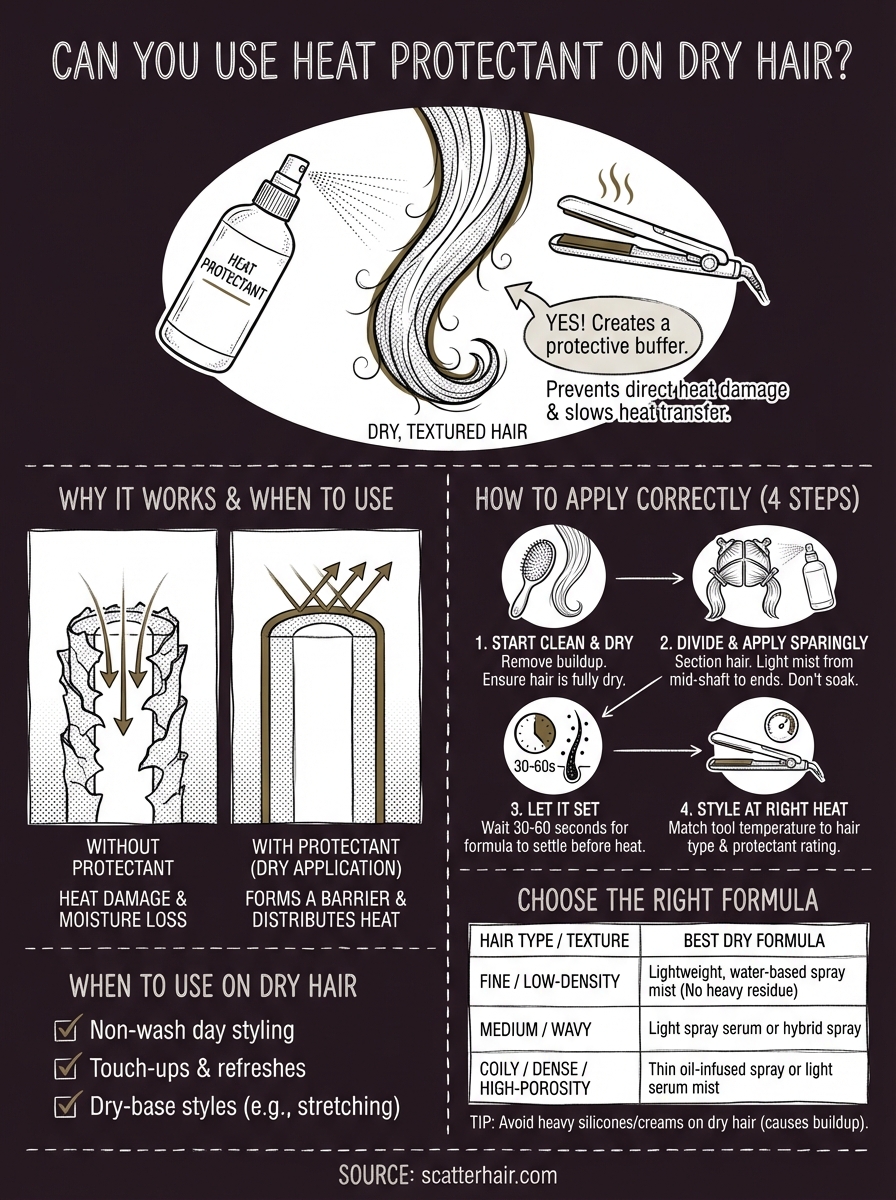
A heat protectant works by forming a thin barrier between your hair's cuticle and the hot tool. When you apply it to dry hair, the formula coats the outer layer of each strand, creating a buffer that slows heat transfer into the deeper cortex. That process does not require your hair to be wet. The protectant just needs enough surface contact to spread evenly, which is fully achievable on dry strands if you apply it with the right technique.
How heat breaks down your hair
Every time you run a flat iron or curling wand over unprotected hair, you expose your strands to temperatures between 300°F and 450°F. At those levels, heat breaks the hydrogen bonds inside the cortex, strips moisture out of the medulla, and causes the cuticle to lift and crack. Over time, that pattern of damage shows up as split ends, frizz, and breakage, especially in textured hair where the natural curl pattern makes each strand structurally more vulnerable to both mechanical and thermal stress.
Textured hair, whether coily, curly, or wavy, has more points of natural curvature along each strand compared to straight hair. Each curve is a spot where the cuticle is slightly more exposed and where heat can cause faster moisture loss. That structural reality means the damage compounds more quickly, and a reliable protective barrier is not optional if you want to maintain healthy hair while styling with heat regularly.
Skipping a heat protectant on textured hair is not just a minor risk. It accelerates cuticle damage at a rate that styling products alone cannot reverse.
What the protective film actually does
When the protectant makes contact with the strand, the film-forming agents in the formula, typically silicones, polymers, or plant-based alternatives, lay flat against the cuticle. They create a thin, even layer that distributes heat more gradually across the surface instead of letting it spike at a single contact point. That slower, more even heat distribution is what protects the internal structure of the strand and keeps the cuticle from lifting and cracking under the tool.
Some formulas also include conditioning agents and humectants that help the hair retain moisture during styling. On dry hair, those ingredients carry extra weight because there is no water present to provide a natural buffer. The protectant becomes the only thing standing between your hair and the direct heat from the tool's plates.
Why dry hair changes the application dynamic
When you ask can you use heat protectant on dry hair, the real question is whether the formula can spread evenly without water acting as a carrier. On wet hair, water helps distribute the product across the strand automatically. On dry hair, you handle that distribution work manually, which is why technique matters more. You need to section your hair and apply the product in thin, controlled passes rather than applying it in one concentrated area.
Dry hair also absorbs product differently than freshly washed, damp hair. The cuticle on dry hair sits more tightly closed, which means a lightweight, finer-mist formula tends to perform better than a thick cream or heavy serum that can sit on the surface without actually penetrating or spreading. Recognizing that difference is the foundation for choosing the right product type and applying it in a way that gives every strand real coverage.
When dry-hair heat protectant makes sense
Dry-hair application is not a compromise. For many people with textured hair, applying protectant to dry strands is the standard move, and understanding the specific situations where it makes sense helps you build a protective routine that actually holds across the week, not just on wash day.
You're styling on a non-wash day
Most textured hair routines separate wash day and styling day. If you wash on Sunday and flat iron on Wednesday, your hair is fully dry by the time you reach for a hot tool. That's not a problem; that's just how the routine works. Treating dry application as your default removes the false idea that a protectant only counts if your hair is still damp.
Stretching a wash cycle is also common with textured hair. If you're re-entering a style or freshening up a look across multiple days, you're applying heat to dry hair each time. Accepting that reality keeps your protective routine consistent instead of skipping it on the days your hair matters most.
You're doing touch-ups
Touch-ups are fast, targeted passes with a flat iron or wand to smooth a section or reshape a curl. Your hair is always dry during a touch-up, which means you need to apply protectant before every touch-up session, not just full styling sessions. Repeat heat passes on the same section within a single week build damage faster than a full style because the strand doesn't have time to recover between applications.
One unprotected pass rarely causes visible damage immediately, but unprotected touch-ups done repeatedly over weeks show up as breakage and split ends.
On second or third-day hair, the cuticle is slightly more compact and lower on ambient moisture than freshly washed hair. A lightweight spray protectant before any touch-up adds back a layer of defense the strand genuinely needs at that point in the cycle.
Your styling method starts from a dry base
Some techniques, like stretching natural hair with a blow dryer or achieving a sleek flat-iron finish, always begin on dry or nearly dry hair by design. For these routines, the question of can you use heat protectant on dry hair is already settled by the method itself. There is no wet phase built into the process, so dry application is not only acceptable, it is the only logical application point. Recognizing that fact aligns your protection step with how the technique actually works.
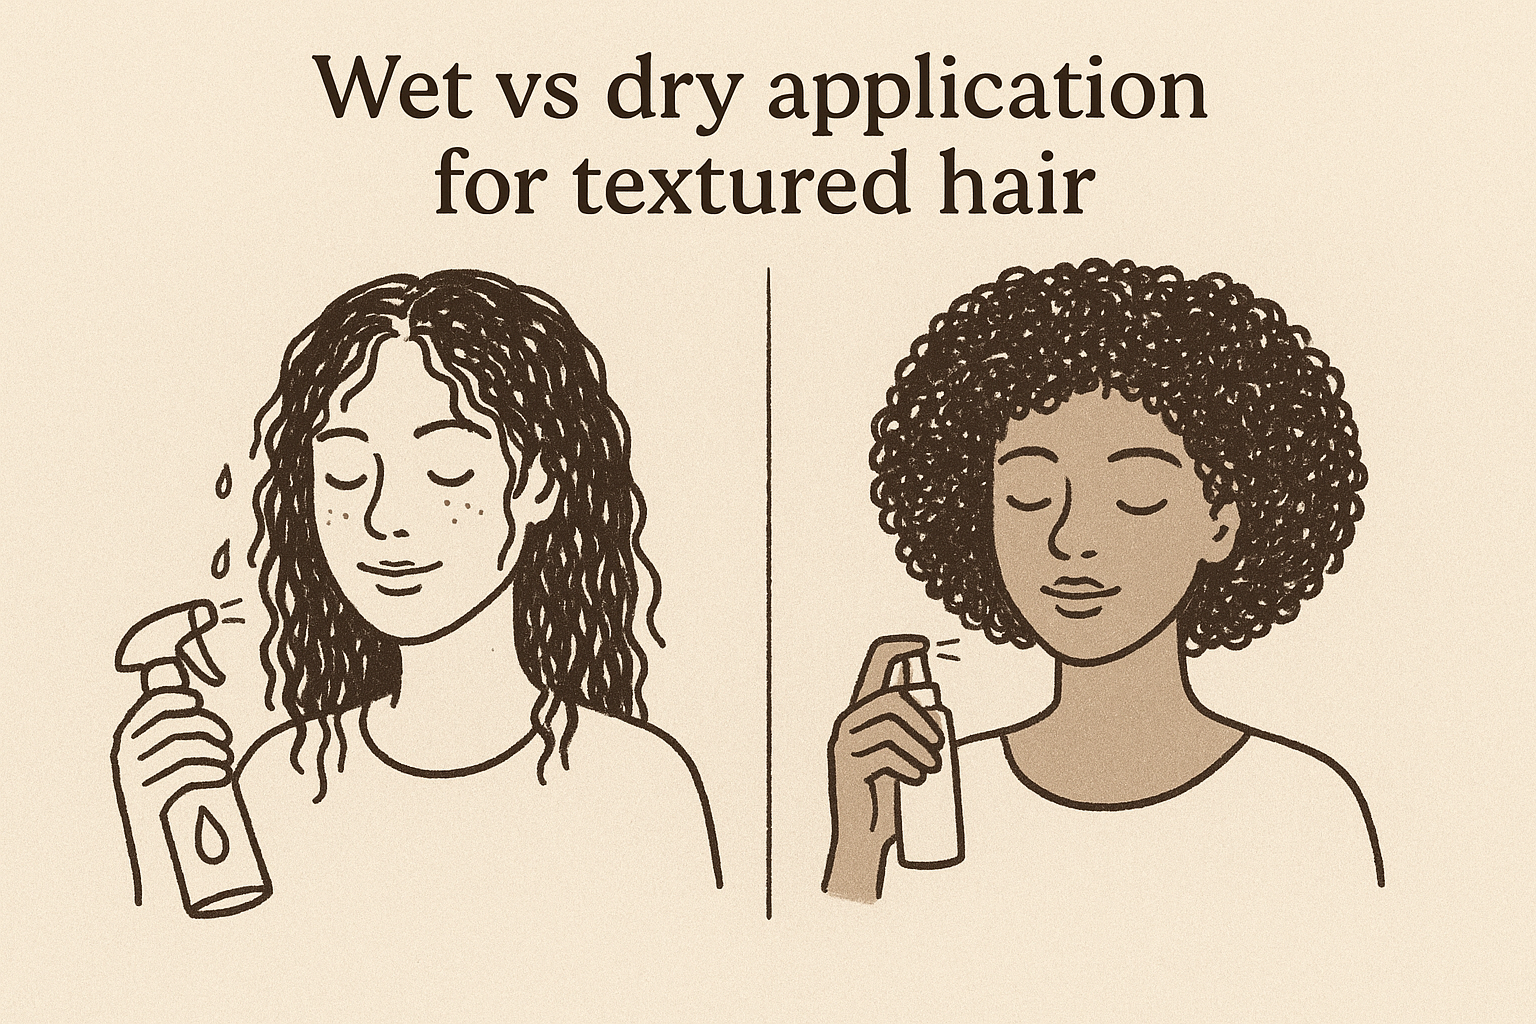
Wet vs dry application for textured hair
Both timing options can protect your strands, but they don't perform the same way. Wet application and dry application interact with your hair differently, and choosing the right one for your situation changes how much coverage you actually get. For textured hair specifically, the gap between the two methods is wide enough that the wrong choice leaves sections under-protected, which defeats the entire purpose.
When wet application works best
Wet application works best when your hair is freshly washed and still holding moisture from the rinse. Water acts as a natural carrier, helping lightweight formulas spread across the cuticle quickly and evenly before you start blow-drying. The strand is also slightly swollen from water absorption at this stage, which means the cuticle is more open and the protective formula can sit closer to the surface.
If your routine involves blow-drying as the first step before any flat iron or curling tool, apply the protectant to damp hair right after towel blotting. This gives the formula time to absorb before heat reaches the strand. Applying to soaking-wet hair dilutes the formula and reduces how much actually coats each strand, so a light towel press first makes a real difference.
When dry application is the stronger choice
Dry application is the right call when your hair is already styled, stretched, or carrying product from earlier in the week. At that stage, adding a wet-phase protectant would disrupt the style, cause unwanted reversion in curly or coily hair, and introduce moisture you'd then need to remove with heat all over again. Applying a lightweight spray directly to dry sections gives you full coverage without changing the state your hair is already in.
If you're styling on a non-wash day, asking can you use heat protectant on dry hair is not even a question. Dry application is your only practical option and it works.
How the two methods compare for textured hair
| Factor | Wet application | Dry application |
|---|---|---|
| Best timing | Right after wash, pre-blow-dry | Non-wash day, touch-ups, day 2+ styling |
| Product type that works best | Lightweight spray or leave-in mist | Fine dry mist or lightweight spray serum |
| Coverage method | Water carries the formula | Manual sectioning distributes the formula |
| Risk to curl pattern | Low, hair is already wet | Low if applied in thin, even passes |
| Reversion risk | None | None if product is dry-formula |
Matching your application method to your hair's current state removes the guesswork and keeps your protective barrier consistent across every styling session, whether it's wash day or not.
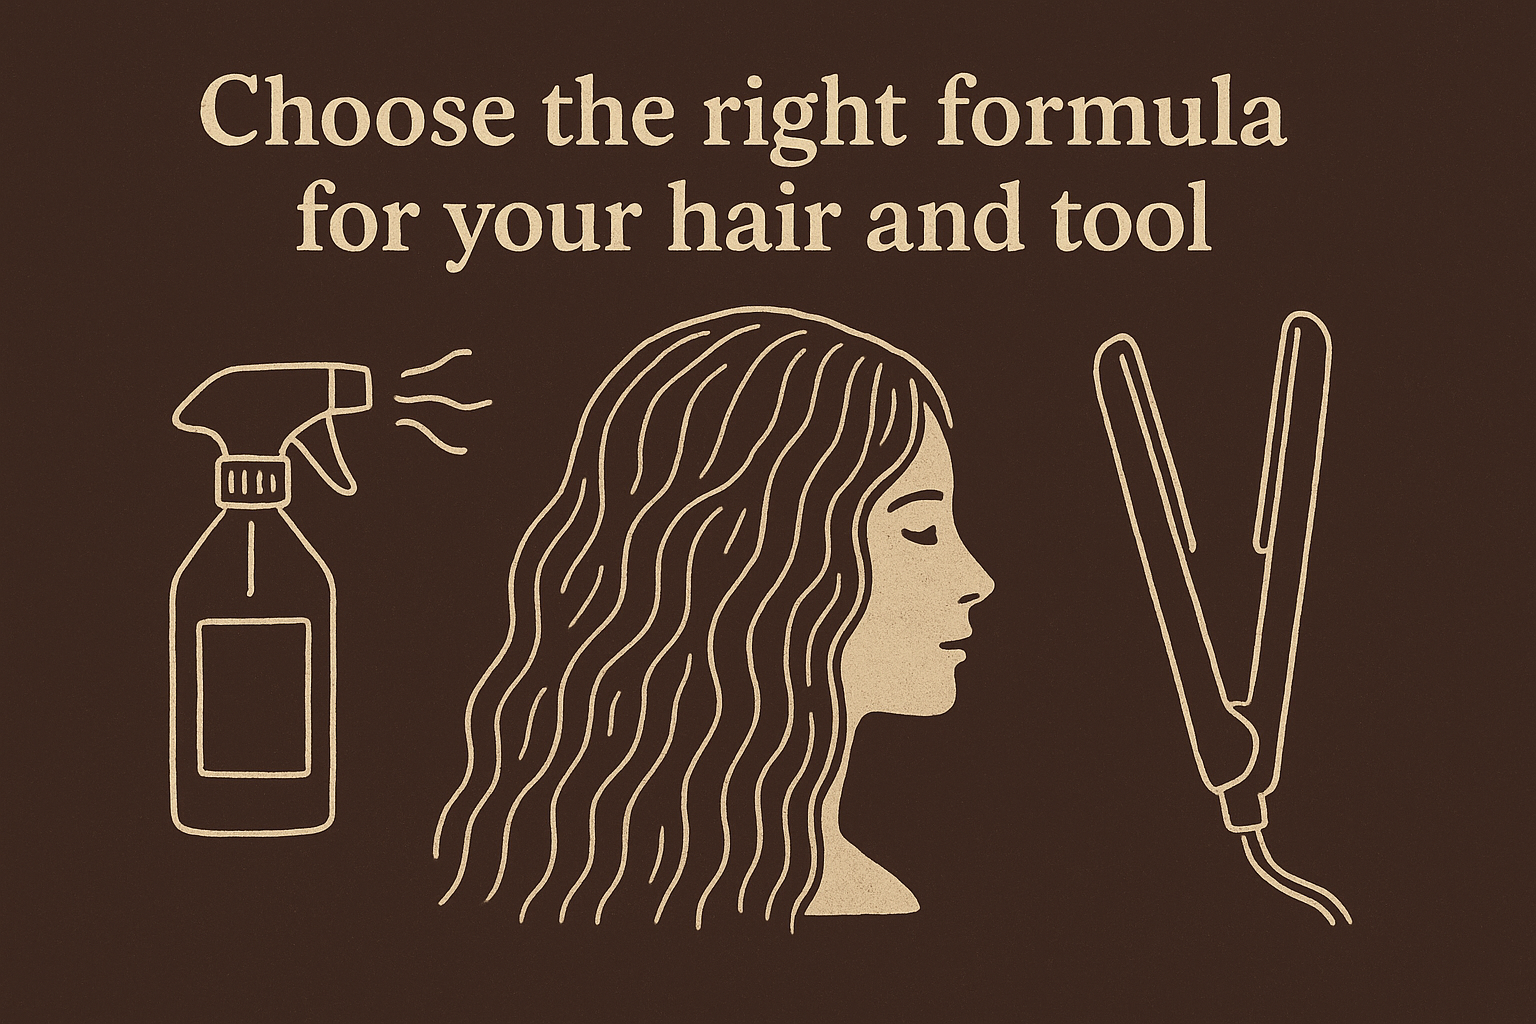
Choose the right formula for your hair and tool
The formula you pick determines whether your protectant actually covers every strand or just sits on top of a few sections. When you can use heat protectant on dry hair, the product type matters more than it does on damp hair because you have no water helping distribute it. Choosing the wrong formula means uneven coverage, product buildup, and potentially more damage than if you had applied nothing at all.
Match the formula to your hair type and texture
Fine or low-density textured hair needs a lightweight, alcohol-free spray mist that disperses quickly without adding weight. A thick cream or serum on dry, fine strands will clump, coat unevenly, and make the hair feel greasy before you even pick up a flat iron. If your hair is coily, dense, or high-porosity, a slightly heavier spray serum or a thin oil-based formula gives better coverage because denser strands need more product to coat the full surface area.
Avoid heavy silicone serums on dry hair unless your hair is very coarse and dense. On dry strands, they rarely spread evenly and can block the protective layer from reaching the cuticle.
Here's a quick reference for matching formula to texture:
| Hair type | Best formula for dry application |
|---|---|
| Fine or low-density | Lightweight water-based spray mist |
| Medium, wavy, or loose curl | Light spray serum or hybrid spray |
| Coily, dense, or high-porosity | Thin oil-infused spray or light serum mist |
| Color-treated textured hair | Spray with added UV filters and conditioning agents |
Match the heat protection level to your tool
Every heat protectant lists a maximum heat threshold, usually somewhere between 230°F and 450°F. That number tells you the upper temperature at which the formula can still protect. If you run a flat iron set above the formula's rated threshold, the product burns off before it can do its job, leaving the strand exposed at exactly the moment it needs coverage most.
For blow-drying on lower heat settings, a standard protectant rated to 350°F is usually sufficient. For high-heat flat ironing or pressing textured hair, look for a formula rated to 400°F or higher. Match the product's ceiling to your tool's actual setting, and build the habit of checking that number each time you switch tools. Getting that pairing right is one of the fastest ways to close the gap between using a protectant and actually protecting your hair.
Step 1. Start with fully dry, low-buildup hair
Before you apply any heat protectant, your hair needs to be completely dry and free of heavy product residue. If your hair still has moisture at the root or mid-shaft, adding a protectant on top creates a layer that traps that moisture in place, and when you run a hot tool over it, you're effectively steaming your strands from the inside. That process causes swelling and cuticle damage that a protectant cannot prevent. Fully dry hair gives the formula a clean, stable surface to coat, which is the starting condition for any effective dry-hair application.
Why buildup blocks the protectant
Product buildup on dry hair is one of the most common reasons a heat protectant underperforms. If your hair is carrying layers of old styler, oil, or leave-in conditioner from earlier in the week, the protectant you apply on top has no direct path to the cuticle. It sits on the residue layer instead, which means the strand itself is not protected even though you went through the full application process. That false sense of security is worse than knowing you skipped it.
Buildup does not have to be visible to block your protectant. Even a thin, invisible film from a previous product application is enough to prevent the formula from bonding to the strand.
Heavy silicone-based products are the most common culprit on textured hair. If you used a sealing oil or thick styler two or three days ago, those ingredients stay on the strand well past their visible residue window. A light dry shampoo pass or a water rinse on the problem sections can clear enough of the surface layer to let your protectant make real contact before you style.
How to check if your hair is ready
Run a quick check on your hair before you reach for the protectant. Press two fingers lightly along a strand from mid-shaft to end and notice the texture. If it feels slick, coated, or tacky, you have enough buildup to interfere with coverage. If it feels smooth but slightly grippy, the surface is clean enough to apply directly.
Use this quick checklist before starting Step 1:
- Hair is fully dry with no damp sections at the root or nape
- No heavy cream, gel, or oil applied within the last 24 hours
- No visible flaking, residue, or product film on the strands
- Scalp and roots do not feel greasy or weighed down
Once you can answer yes to each point, your hair is in the right condition to apply heat protectant on dry hair and get full, even coverage before you style.
Step 2. Apply evenly in sections without soaking
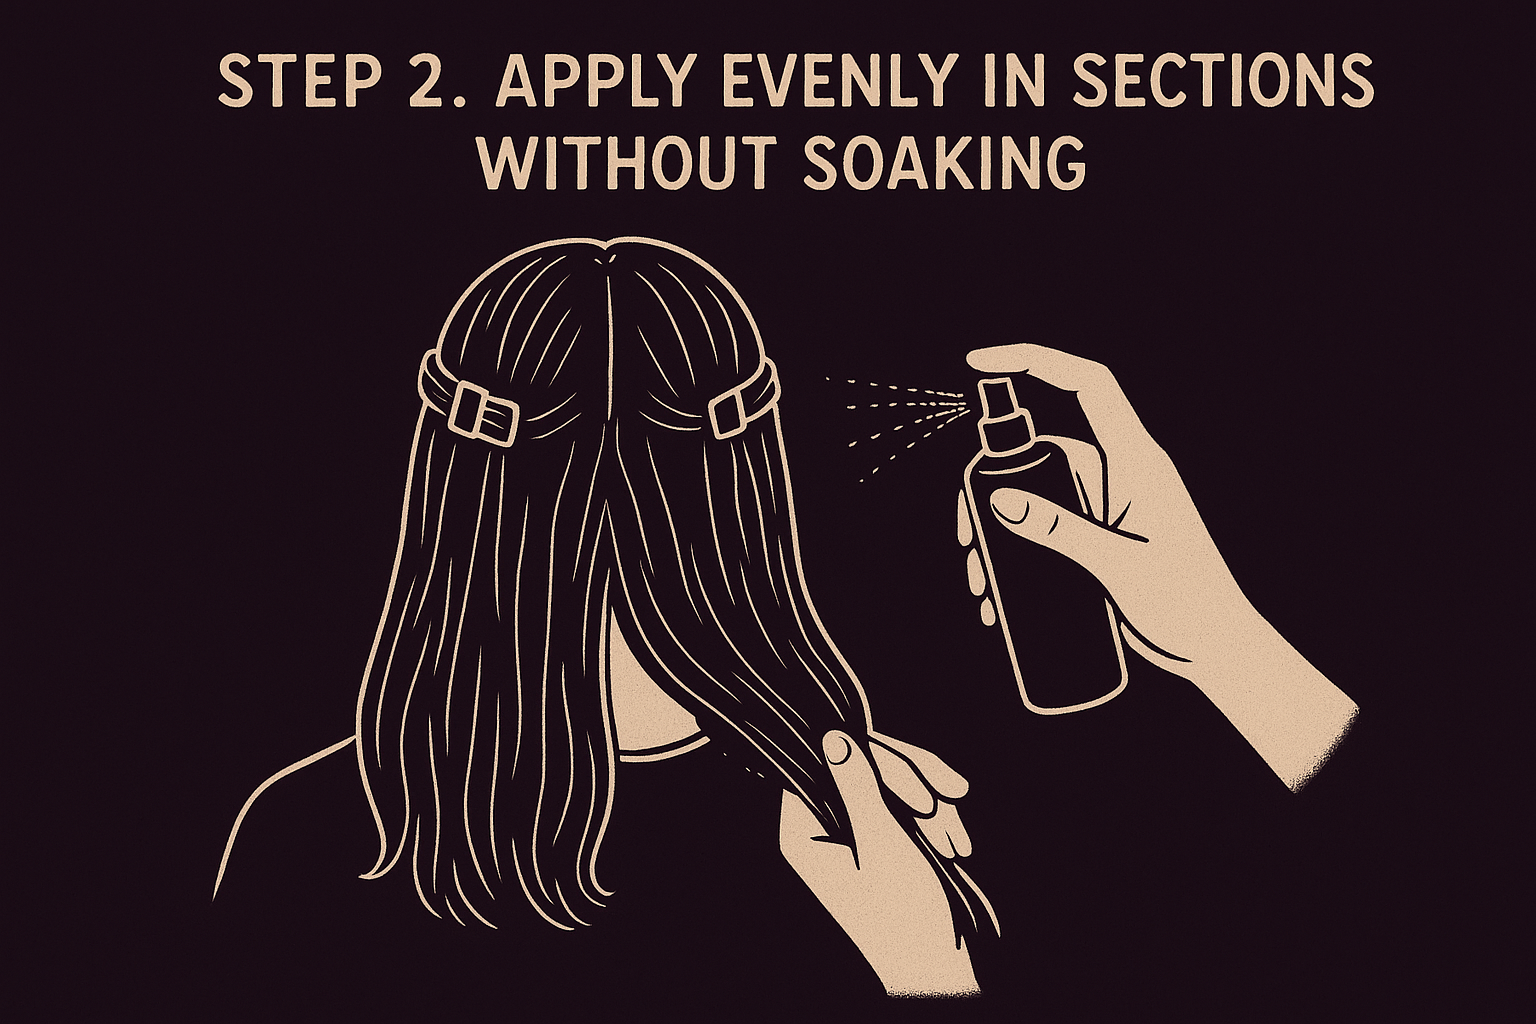
Even coverage is the entire point of this step. When you can use heat protectant on dry hair effectively, it comes down to how you distribute the product, not just whether you applied it. Spraying the formula randomly across the top of your hair only coats the outermost layer, leaving the sections underneath exposed. Dividing your hair first and applying deliberately to each section is what gets full strand coverage from root to tip.
Divide the hair before you spray
Start by parting your hair into at least four sections: two in the front and two in the back. Pin each section up or clip it away so you're working one at a time. For dense or coily hair, breaking it into six to eight smaller sections gives you better control and reduces the chance of any strand getting no product at all. Work from the back sections forward so you don't disturb sections you've already covered.
Hold each section taut between two fingers while you spray so the strand is fully exposed. Apply the protectant starting from the mid-shaft and move toward the ends, then make one quick pass near the root. Most heat damage happens from the mid-length down, so that area needs your closest attention. Once you've coated the section, run your fingers through it once to spread any concentrated spots before moving to the next.
Applying protectant in neat sections is not about being overly precise; it's the only way to confirm every strand actually has coverage before heat touches it.
How much product is enough
Two to three sprays per section is the target for most hair types. On fine or low-density textured hair, stay closer to two sprays per section to avoid weighing the strand down or creating buildup that blocks the formula from reaching the cuticle. On dense or coily hair, three sprays per medium section gives you enough product to coat the full surface area without soaking.
Use this application guide as a reference:
| Section size | Sprays per section | Hair types |
|---|---|---|
| Small (1-2 inches wide) | 1 to 2 sprays | Fine, low-density |
| Medium (2-3 inches wide) | 2 to 3 sprays | Medium density, loose curl |
| Large (3+ inches wide) | 3 to 4 sprays | Coily, dense, high-porosity |
Your hair should feel lightly coated, never wet or stiff after application. If a section feels damp or tacky, you applied too much, and running a hot tool over that level of product concentration will cause the formula to burn rather than protect.
Step 3. Let it set, then style at the right heat
After you've applied the protectant across every section, do not immediately reach for your flat iron. The formula needs a short window to settle onto the strand before heat touches it. On dry hair, that window is shorter than on damp hair, but it still matters. Skipping this pause means the product is still sitting loosely on the surface when the tool makes contact, which reduces how much of the protective film actually bonds to the cuticle before heat starts moving through it.
How long to wait before applying heat
Give the protectant at least 30 to 60 seconds per section before you pass a hot tool over it. That's enough time for the formula to spread fully across the strand and stabilize. You don't need a timer; a useful cue is to finish applying to all sections before you go back to style the first one. By the time you've worked through your full head, the first sections you treated are ready. This natural sequencing removes the wait from your routine without skipping it.
Rushing straight from application to styling on the same section is the most common reason a heat protectant underperforms even when applied correctly.
If you can feel any tackiness on the strand after applying, wait until that feeling is gone before touching it with heat. Tacky product means the formula hasn't fully settled, and heat on a tacky strand can cause the product to burn or stick, leaving residue on your tool and reducing protection at the exact moment you need it.
Match your heat setting to your hair type
Once the product has set, dial your tool to the right temperature for your hair type. Running a higher heat setting than your hair requires is one of the fastest ways to undo the protection you just applied. For textured hair, matching the temperature to your density and current condition keeps the protective barrier intact and reduces cumulative damage over time. The table below gives you a clear starting point:
| Hair type | Recommended heat range | Notes |
|---|---|---|
| Fine or color-treated | 280°F to 340°F | Stay at the lower end to avoid over-processing |
| Medium density, loose curl | 340°F to 380°F | Start at 350°F and adjust based on results |
| Coily or dense textured hair | 380°F to 420°F | Do not exceed the protectant's rated threshold |
| Previously heat-damaged | 300°F or below | Limit heat frequency until hair recovers |
When you can use heat protectant on dry hair correctly, pairing it with the right heat setting is what converts good application into real protection from root to tip.
Step 4. Handle touch-ups, layering, and reapplying
Touch-ups are the moment most people skip the protectant entirely, treating them as too minor to bother with. That thinking leads to repeated, unprotected heat passes on the same sections across multiple days, and that pattern is exactly what causes the worst cumulative damage to textured hair. When you can use heat protectant on dry hair during a full styling session, the same logic applies to every touch-up pass, regardless of how small the adjustment seems.
How to protect during touch-ups
Touch-ups cover a small surface area, which means you need less product than a full application, not zero product. Apply one light spray to the section you're about to re-style, run your fingers through it once to spread the formula, and wait the same 30 to 60 seconds before your tool makes contact. That process takes under two minutes per section and keeps your protective barrier consistent even when you're only refreshing one or two spots in your style.
Skipping the protectant for a quick touch-up is the most common way repeated heat exposure builds into visible breakage over weeks.
Layer without adding buildup
If your hair is already carrying product from your original styling session, adding a second full layer of protectant on top creates buildup that blocks the formula from reaching the cuticle. The solution is to apply one or two light sprays rather than a full re-application and work through the section with your fingers before using heat. This distributes what you add without stacking layers that compound across the week.
Here's a simple reference for managing reapplication at each stage:
| Situation | Reapplication method |
|---|---|
| Same-day touch-up | 1 light spray per section, use fingers to distribute |
| Second-day style refresh | 1 to 2 sprays per section, check for buildup first |
| Third-day or later touch-up | Light spray only after a dry shampoo or scalp brush pass |
| New style after a rest day | Full sectioned application from Step 2 |
Keeping this reapplication process consistent means every heat pass your hair takes across the week has a real protective layer in place, not just the one from your first styling day. That consistency is what separates a routine that actually protects your strands from one that only does the job on wash day.
Quick recap and next steps
Yes, you can use heat protectant on dry hair, and for textured hair especially, dry application is often your most practical and effective option. The process is straightforward: start with clean, fully dry hair that carries no heavy buildup, apply a lightweight formula in deliberate sections, let it set for 30 to 60 seconds before your tool makes contact, and add a fresh light layer before every touch-up pass across the week. Matching your formula type to your hair's density and keeping your tool's heat setting within the protectant's rated threshold are the two factors that turn a basic routine into one that genuinely prevents damage over time.
Your hair deserves products built specifically for how textured hair actually works. Scatter is developing a performance-focused styling line designed to make every style feel effortless from root to tip. Get early access at scatterhair.com and be the first to know when it launches.