

9 Best Frizz Control for Natural Hair Tips for Humidity
You spent 30 minutes getting your curls just right, then walked outside and watched humidity undo everything in seconds. If that sounds familiar, you already know that frizz control for natural hair isn't just a nice-to-have. It's the difference between leaving the house with confidence and fighting your hair all day long.
Here's the thing: frizz isn't a flaw. It's your hair reacting to moisture in the air, and textured hair is especially prone to it because of its structure. Cuticles lift, strands swell, and suddenly your defined curls look like they belong to a different person. But once you understand why frizz happens, you can actually work with your hair instead of against it, and that changes everything. The right techniques paired with the right products make humid days manageable, not miserable.
Below, you'll find 9 proven tips to tame frizz in humidity, from moisture-locking methods and expert-backed techniques to DIY treatments you can try tonight.
1. Diagnose your frizz: humidity, dryness, damage
Not all frizz comes from the same source, and treating the wrong cause is why so many people cycle through products without real results. Before you build any routine, you need to identify whether your frizz comes from humidity, dryness, or structural damage, because each one needs a completely different fix.
Why it works in humidity
When you pinpoint your actual frizz trigger, you stop wasting time on products that don't address the real problem. Humidity-driven frizz happens when your hair shaft is dry or porous enough to absorb moisture from the air and swell unevenly. Damage-driven frizz looks similar but comes from broken cuticles that can't hold any moisture at all, no matter the weather.
Treating humidity frizz with heavy protein won't help if your hair is actually just dehydrated.
How to do it step by step
Run a quick strand test after washing. Healthy hair stretches slightly, then returns to its original length. Hair that snaps immediately is protein-deficient, and hair that stretches without bouncing back is over-moisturized or damaged. Check whether your frizz gets worse outdoors or appears the same inside, since outdoor-only frizz points to humidity as the main culprit.
Best for these hair types and styles
This diagnosis step works for every curl pattern, from loose waves to tight coils. Effective frizz control for natural hair starts with knowing your baseline, which makes every other tip on this list more useful.
Avoid these common mistakes
Skipping this step entirely is the most common mistake. People jump straight to products without understanding their hair's condition, so they layer treatments that cancel each other out and end up with more buildup and more frizz than when they started.
2. Wash without stripping, and clarify buildup
Your cleanser sets the tone for every step that follows. Sulfate-heavy shampoos strip natural oils from textured hair, leaving the cuticle dry and rough, which makes it far easier for humidity to sneak in and cause frizz. Switching to a sulfate-free or low-lather cleanser keeps moisture in while still removing sweat and debris.
Why it works in humidity
Stripped hair is porous hair, and porous strands absorb humidity fast. When you wash without sulfates, your cuticle stays flatter and smoother, which blocks outside moisture from swelling the strand. At the same time, regular clarifying removes product buildup that coats hair and blocks your conditioner from actually penetrating, which is one of the hidden reasons frizz control for natural hair breaks down over time.
Buildup doesn't just weigh curls down; it prevents every moisturizing product you apply from doing its job.
How to do it step by step
Wash with a sulfate-free shampoo every one to two weeks, depending on how often you style. Every four to six weeks, swap in a clarifying shampoo to remove stubborn buildup from gels, creams, and hard water minerals. Always follow a clarifying wash with a deep conditioner to replace any moisture lost in the process.
Best for these hair types and styles
This approach works best for type 3c through type 4c coils, which tend to accumulate product faster because of their tight curl structure. It also suits anyone who uses heavy creams or butters regularly.
Avoid these common mistakes
Over-clarifying more than once a month dries hair out just as much as sulfate shampoos do. Also avoid skipping clarification entirely, because months of buildup make it nearly impossible for any hydration treatment to reach the strand.
3. Deep condition weekly for lasting hydration
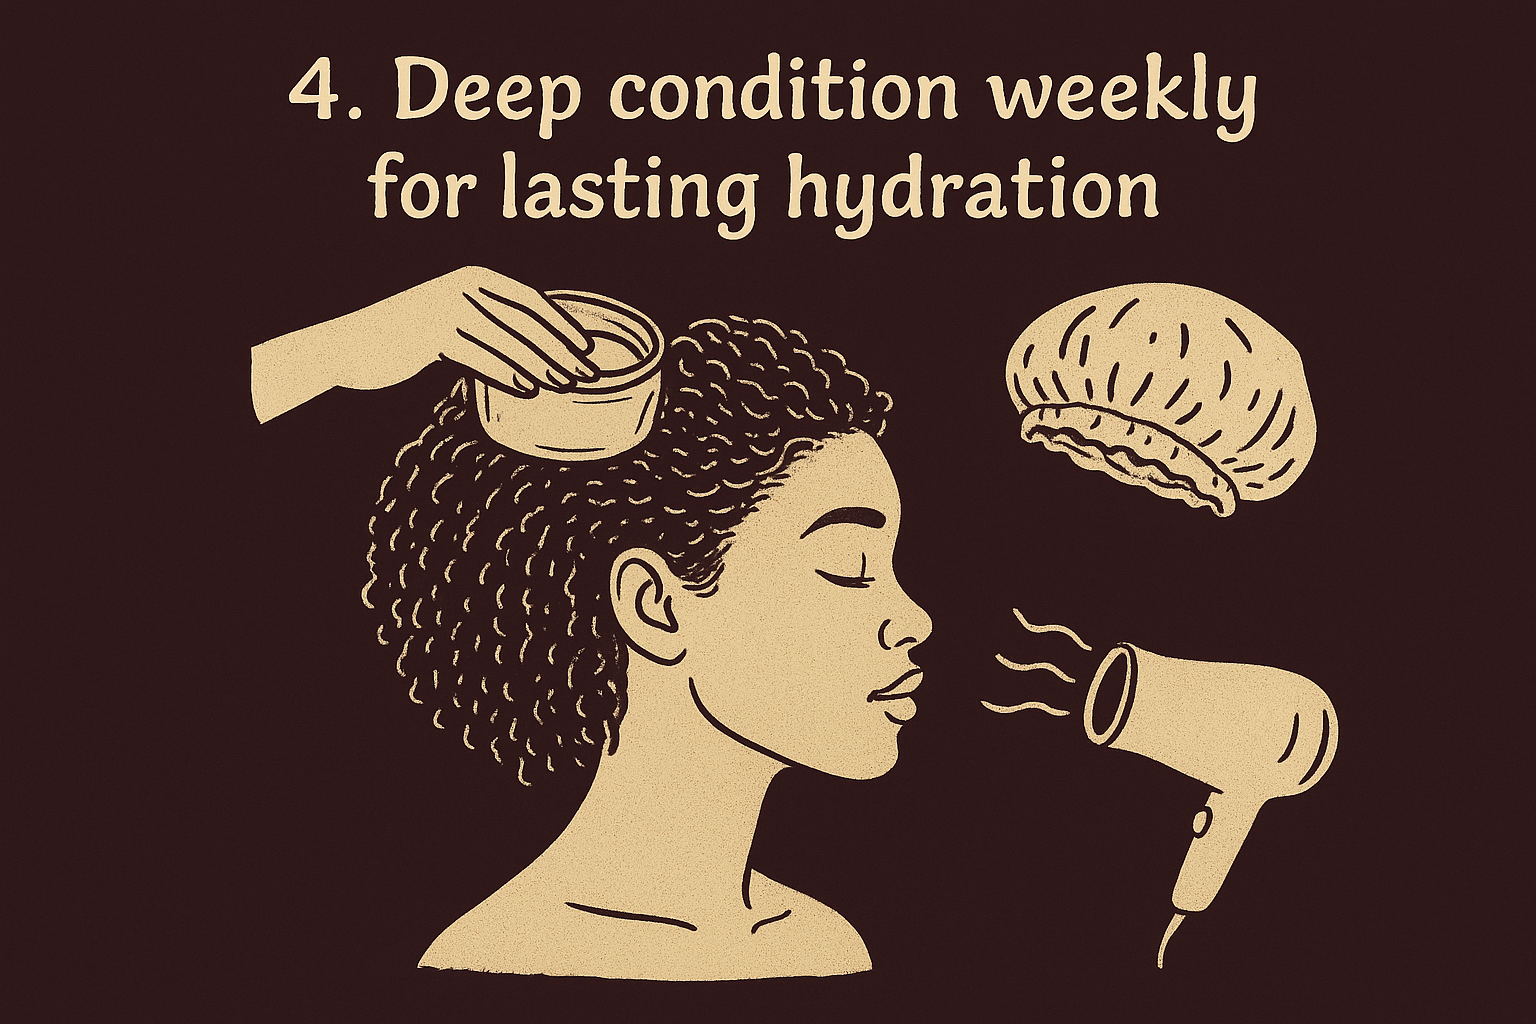
A deep conditioner penetrates the hair shaft and restores moisture at the core level, which a regular rinse-out conditioner simply can't match. When your hair holds hydration from the inside, it pulls far less moisture from the surrounding air. That single shift makes weekly deep conditioning one of the most reliable frizz control for natural hair habits you can build into your routine.
Why it works in humidity
Textured hair is naturally prone to dryness because its coiled structure makes it harder for scalp oils to travel down each strand. Dry cuticles act like a sponge for atmospheric humidity. Deep conditioners fill gaps in the hair shaft with moisturizing agents like aloe, glycerin, and plant oils, flattening the cuticle so outside moisture has nowhere to sneak in.
Hydrated hair has far less reason to swell in humid air than dry, porous strands do.
How to do it step by step
Apply your deep conditioner to freshly washed, damp hair from mid-shaft to ends, then follow these steps to get the most out of each session:
- Cover with a plastic cap and leave it on for 20 to 30 minutes
- Add gentle heat from a hooded dryer or warm towel to push the product deeper into the shaft
- Rinse thoroughly with cool water to seal the cuticle before you move on to styling
Best for these hair types and styles
Deep conditioning works for every curl pattern, but type 4 coils and high-porosity hair benefit the most since they lose moisture fastest and frizz most aggressively in humid conditions.
Avoid these common mistakes
Skipping the heat step limits how deeply the conditioner actually penetrates the strand. Also avoid applying it to completely dry hair, since damp strands absorb product far more evenly and efficiently than dry ones do.
4. Add protein when hair feels mushy or limp
If your curls stretch way out and refuse to spring back, or they feel soft but look undefined and flat, your hair is sending a clear signal: it needs protein. Moisture and protein work together to keep textured strands balanced, and when that balance tips too far toward moisture, your hair loses its ability to hold a style or resist humidity.
Why it works in humidity
Protein treatments rebuild the internal structure of your hair by temporarily filling gaps in the cuticle caused by chemical processes, heat, or daily wear. When those gaps are filled, the strand becomes firmer and more resistant to swelling from outside moisture. That structural reinforcement is a core part of effective frizz control for natural hair in humid climates.
A protein-moisture imbalance is one of the most overlooked reasons curls fall flat by midday.
How to do it step by step
Apply a protein treatment or strengthening conditioner once every four to six weeks, or more frequently if your hair consistently feels soft and limp after washing. Rinse it fully, then follow immediately with a moisturizing conditioner to balance the treatment and prevent stiffness.
Best for these hair types and styles
Protein works best for high-porosity or chemically treated hair across all curl types. If you color, relax, or apply heat regularly, your hair needs protein more often than someone who doesn't.
Avoid these common mistakes
Overusing protein hardens the strand and causes breakage, which creates a completely different problem. If your hair feels stiff or brittle after a protein treatment, follow up with extra moisture and space out future protein sessions.
5. Layer leave-in, cream, and seal ends
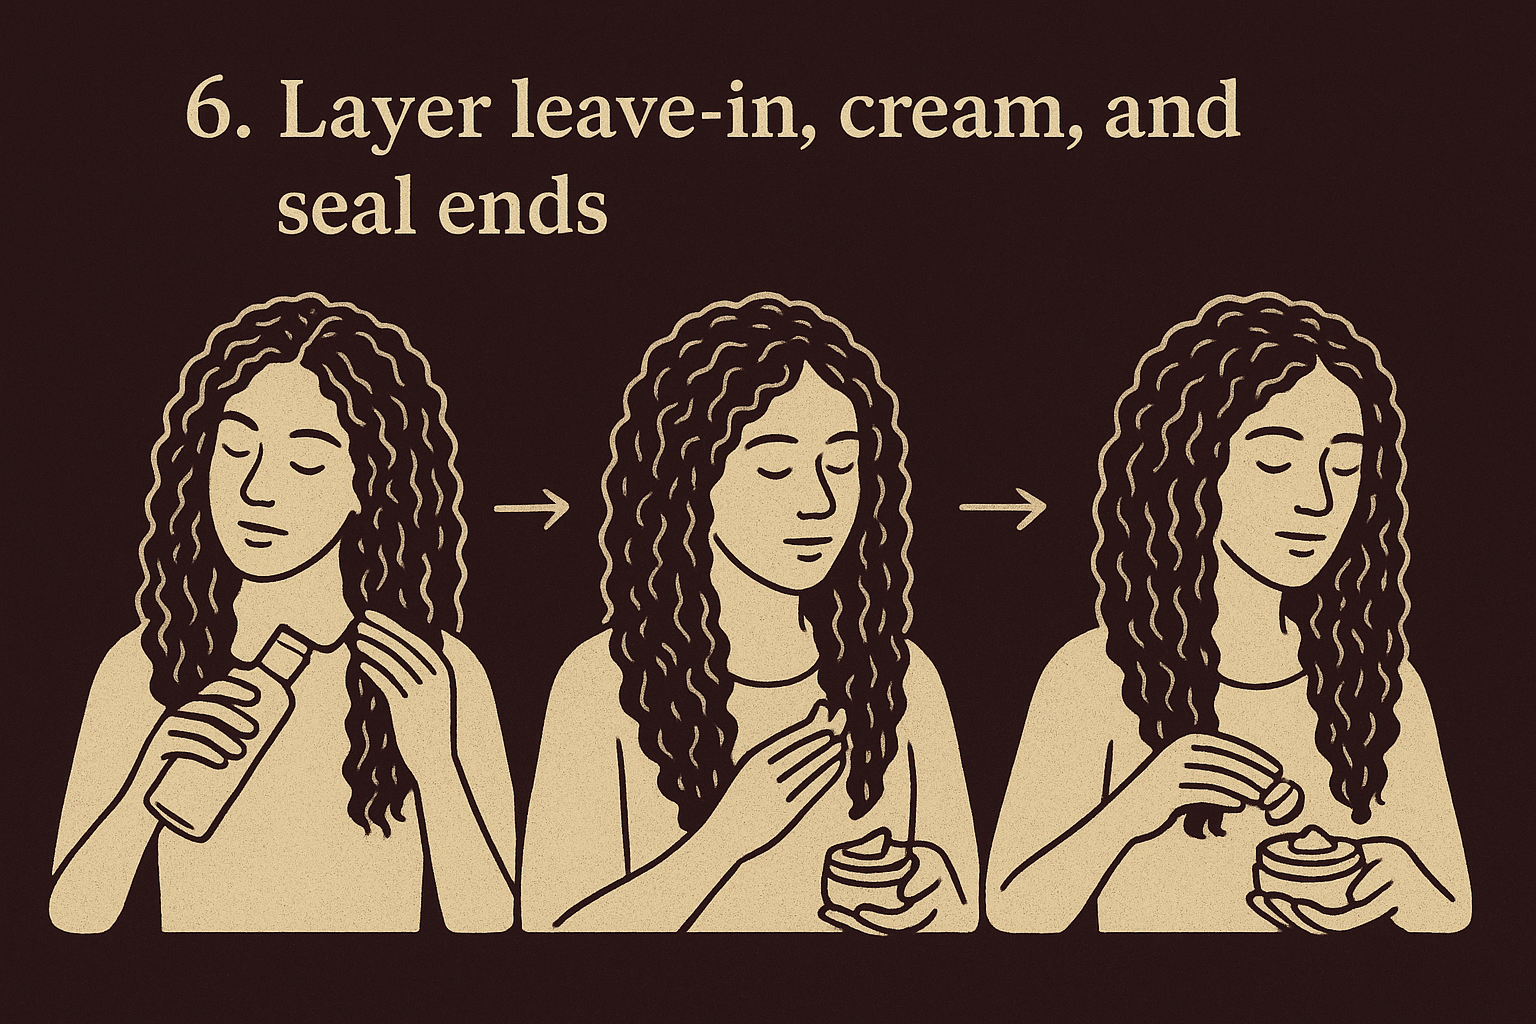
The LOC or LCO method (leave-in, cream, oil) is one of the most effective ways to lock moisture into textured strands before humidity has a chance to interfere. Applying products in a specific order lets each layer build on the last, creating a barrier that keeps your hair hydrated and your cuticle flat throughout the day.
Why it works in humidity
When you layer products intentionally, each layer seals the one before it and reduces how much atmospheric moisture your strands can absorb. The leave-in hydrates, the cream distributes that moisture evenly, and the oil or butter seals everything in. This method is one of the most reliable foundations for frizz control for natural hair because it addresses both moisture loss and humidity absorption at the same time.
Sealing your ends is the step most people skip, but it is also where moisture escapes fastest.
How to do it step by step
Apply your leave-in conditioner first on soaking-wet hair, then work a curl cream through in sections. Finish by pressing a small amount of oil or butter onto your ends to lock everything in before you add any gel or styler on top.
Best for these hair types and styles
This method works especially well for type 4 coils and high-porosity strands that lose moisture quickly, though any curl type benefits from the added protection during humid weather.
Avoid these common mistakes
Using too much oil as your final step can block stylers from forming a proper hold, leaving curls greasy and shapeless. Use a pea-sized amount focused on the ends only, and keep the rest of your hair lighter so stylers can grip and define your curl pattern.
6. Pick humidity-resistant stylers and gels
Your styler is the last line of defense against humid air, and the wrong formula undoes every step you took before it. Not all gels and creams are built for high-humidity conditions. Products with strong hold polymers or film-forming ingredients create a flexible seal over the cuticle that keeps your curl pattern locked in even when the air is heavy with moisture.
Why it works in humidity
Humidity-resistant gels work by forming a light, flexible film around each strand that blocks atmospheric moisture from entering the hair shaft. This is the mechanical side of frizz control for natural hair: your previous steps hydrate from within, and your styler protects from outside. Without a humidity-blocking outer layer, even the best deep conditioning routine breaks down on a muggy day.
A gel that turns white and flaky in humidity is not giving you the film-forming hold you need.
How to do it step by step
Look for gels and creams that list ingredients like polyquaternium, PVP, or VP/DMAPA acrylates copolymer near the top of the label, since these are common film-forming agents. Apply your chosen styler on soaking-wet hair, rake it through in sections, then smooth the surface to encourage the film to form evenly across every strand.
Best for these hair types and styles
Humidity-resistant gels work across type 3 and type 4 curl patterns, especially for wash-and-go styles where definition needs to last all day without refreshing.
Avoid these common mistakes
Applying gel to dry or damp hair instead of soaking-wet hair breaks the film before it forms properly. Also avoid layering two strong-hold gels, since doubling up creates stiff, crunchy results rather than doubling the protection.
7. Style on soaking-wet hair, then don't touch
When and how you apply products matters as much as what you choose. Styling on soaking-wet hair gives every layer the best chance to form correctly, since wet strands are most pliable and receptive. The moment you handle your hair mid-dry, you break the gel cast that locks frizz out.
Why it works in humidity
Soaking-wet hair lets stylers spread evenly through every curl without disruption. As hair dries, product contracts around each strand and forms a seal that is your main barrier against humid air. Touching mid-dry cracks that seal early, which is one of the fastest ways to undo frizz control for natural hair results even after a solid product routine.
The gel cast is not a flaw to scrunch out early; it is the protective layer doing its job.
How to do it step by step
Apply all your products immediately after washing while hair is completely saturated with water. Rake or smooth product through in sections, then leave your hair alone until it is 100% dry.
- Rake styler from root to tip in each section without scrunching
- Clip roots for lift if needed, then step away completely
- Scrunch out the cast only when hair feels fully dry to the touch
Best for these hair types and styles
This technique suits type 3 and type 4 curl patterns running wash-and-go styles. Tighter coils benefit most since their structure disrupts easiest when handled mid-dry.
- Works for loose waves wanting frizz-free definition that holds all day
- Especially helpful for high-porosity strands that absorb humidity quickly
Avoid these common mistakes
Touching or separating curls while wet or damp breaks the cast and lets frizz back in immediately. Avoid letting hair air dry near a fan or open window, since direct airflow disrupts curls before the cast fully sets.
- Never scrunch aggressively until hair feels completely dry to the touch
- Skip patting or blotting with a towel mid-styling session
8. Dry with a microfiber towel and gentle heat
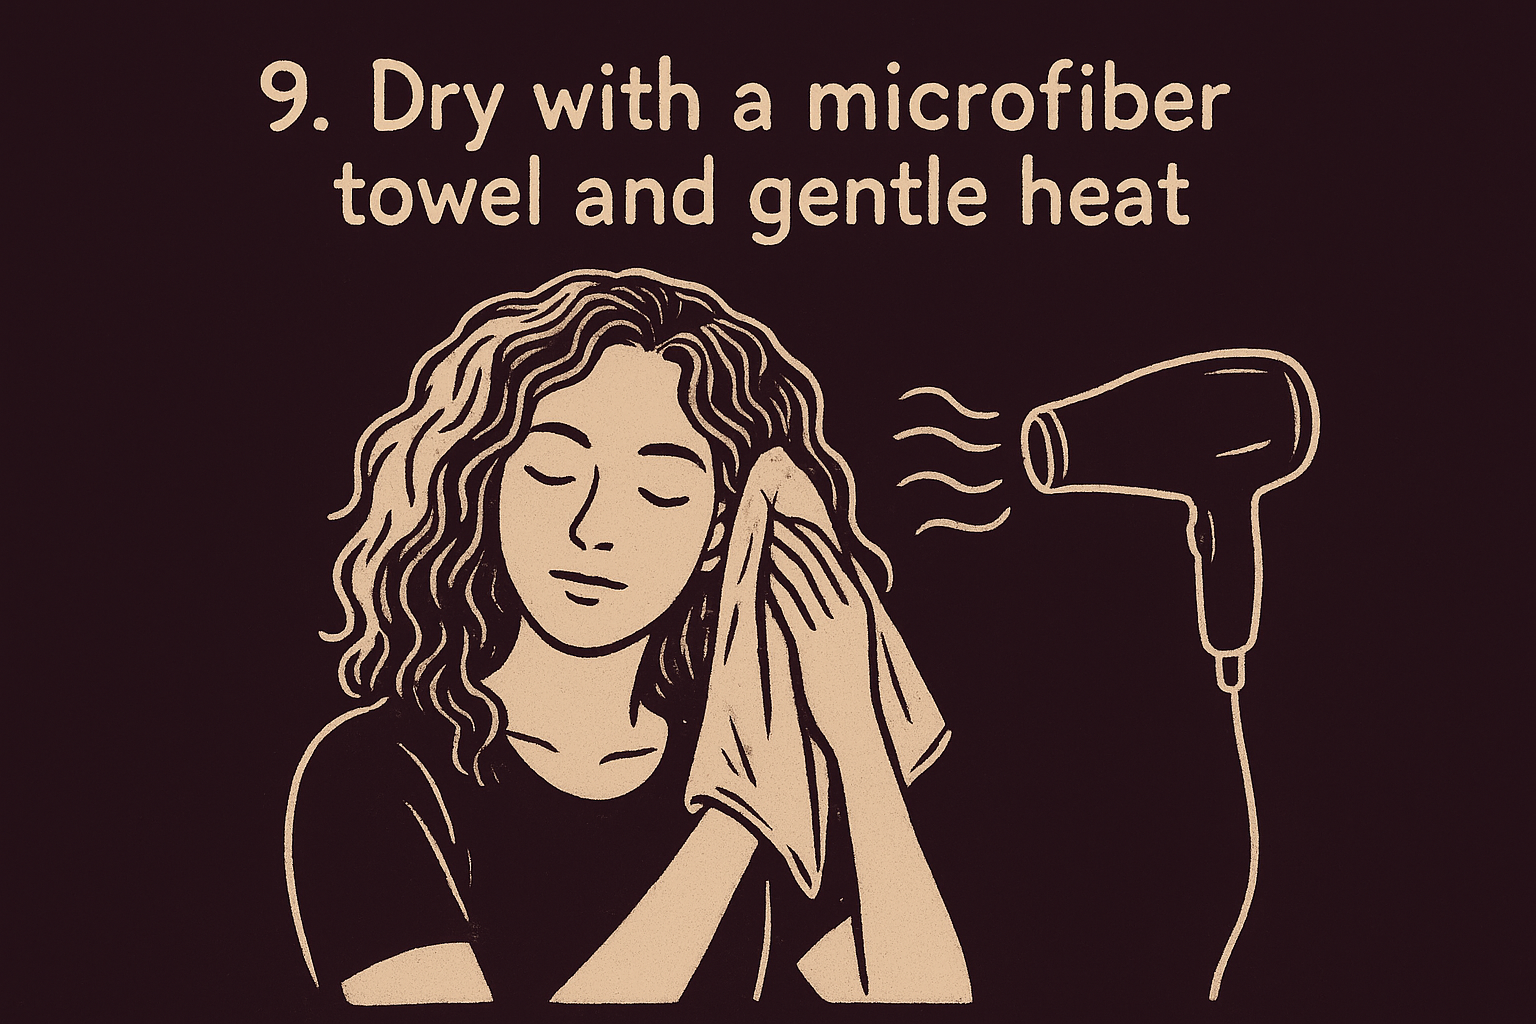
How you remove water from your hair directly affects how much frizz you end up with. Regular terry cloth towels have a rough, looped texture that roughs up the cuticle and creates friction-based frizz before you've even applied a single product. Switching to a microfiber towel or a plain cotton t-shirt removes excess water gently, keeping your curl pattern intact and your cuticle flat.
Why it works in humidity
Rough drying methods lift the cuticle and leave it open, which makes your strands far more likely to absorb humidity the moment you step outside. Microfiber fabric absorbs water without scrubbing, so your cuticle stays smoother throughout the drying process. This is a simple mechanical fix that strengthens your overall frizz control for natural hair routine without adding any extra products.
Gentle drying is one of the easiest upgrades you can make, and most people overlook it entirely.
How to do it step by step
After washing, plop your hair into a microfiber towel or t-shirt for 10 to 20 minutes to absorb excess water. Then diffuse on low heat and low airflow in a scrunching motion rather than blasting curls directly.
Best for these hair types and styles
This works for all curl types, but type 3 and type 4 patterns benefit most since their texture catches on rough towel fibers faster than looser waves do.
Avoid these common mistakes
Rubbing hair vigorously with any towel is the main mistake to avoid. Also skip high heat when diffusing, since it dries the cuticle out fast and makes it harder to seal moisture in before you head outside.
9. Sleep on satin and refresh the next day
Your nighttime routine has a bigger impact on your frizz than most people expect. Cotton pillowcases absorb moisture from your hair and create friction as you move in your sleep, which breaks your curl pattern and lifts the cuticle overnight. Switching to a satin or silk pillowcase, or wearing a satin bonnet, keeps your curls intact and your cuticle flat so you wake up closer to day-one results.
Why it works in humidity
Satin creates almost zero friction against your hair, so your cuticle stays smooth through the night. That matters for frizz control for natural hair because a smoother cuticle is far less likely to swell when it meets humid air in the morning. Retained overnight moisture also means your hair starts each day hydrated rather than dry and reactive.
Protecting your hair at night extends your styling work by days, not just hours.
How to do it step by step
Gather your curls loosely into a pineapple (a high, loose ponytail) before bed, then cover with a satin bonnet or sleep directly on a satin pillowcase. In the morning, spritz your hair with water or a diluted leave-in mix, then scrunch gently to reactivate your styler and reshape any flattened curls.
Best for these hair types and styles
This works for all curl types, but type 4 coils and stretched styles benefit most since they unravel fastest from overnight friction.
Avoid these common mistakes
Sleeping on wet hair without protection causes the worst morning frizz because the cuticle sets in a disrupted position as it dries. Also avoid tight sleep styles like buns, since they create tension lines and dents that no refresh spray can fully fix.
Your frizz plan for humid days
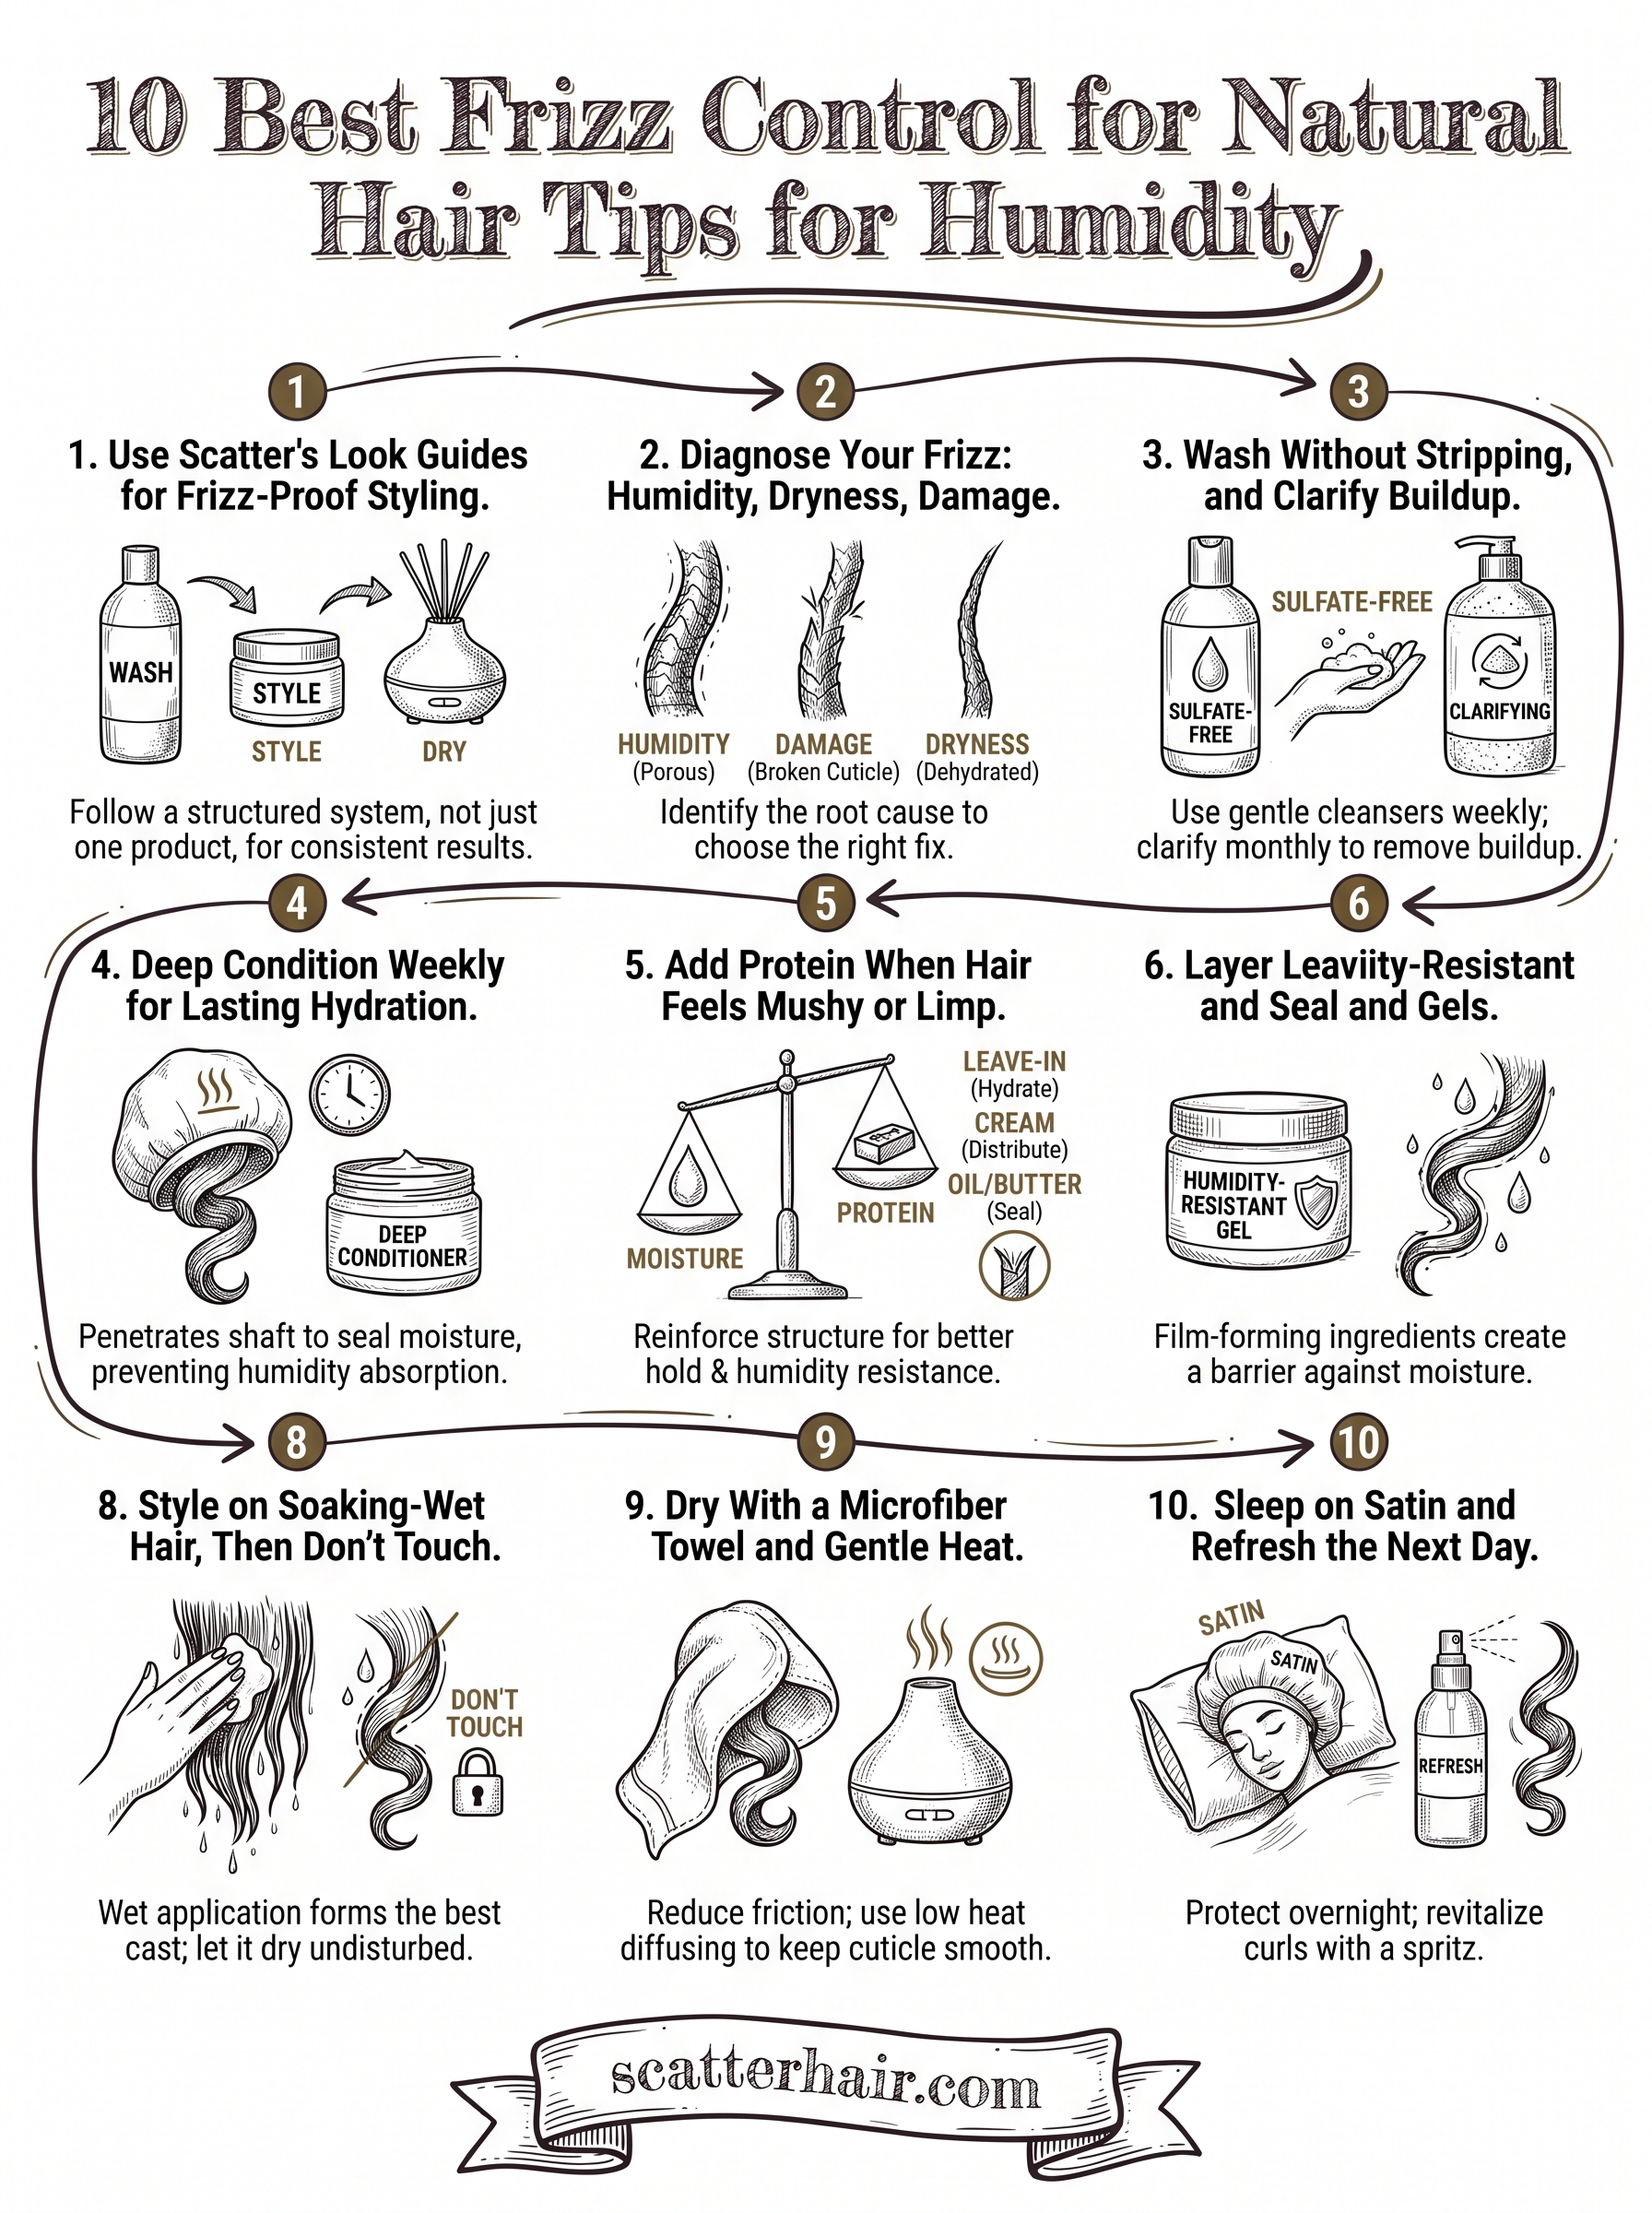
Frizz control for natural hair comes down to building a routine that works before humidity hits, not scrambling to fix it after. Every tip in this list connects to the same principle: hydrated, sealed, and protected hair handles humid air far better than dry, unprotected strands ever will. Start with diagnosing your frizz type, lock in moisture with weekly deep conditioning, layer your products in the right order on soaking-wet hair, and protect your work overnight with satin. You don't need every product on the market to get results; you need the right system applied consistently.
Scatter's first product is Slip, a 2% hyaluronic acid hair serum. Work it through wet-to-damp hair, then air dry for texture or blow dry for body. It's on pre-order now.