

Braid Out Basics: How To Do A Braid Out That Lasts Overnight
A braid out is one of the most reliable ways to get defined, stretched curls without heat, but only if you do it right. If you've ever searched how to do a braid out and ended up with frizzy, undefined results the next morning, you're not alone. The technique looks simple on paper, yet small missteps in prep, product choice, or timing can make or break your results. Getting it to last overnight is where most people struggle.
This guide shares the knowledge that helps you work with your texture right now.
This guide breaks down the entire braid out process from start to finish: how to prep your hair, which products to layer, the braiding technique itself, and the overnight details that actually matter. Whether you're attempting your first braid out or trying to figure out why yours keep falling flat, you'll walk away with a method that holds up.
What a braid-out is and what you need
A braid-out is a no-heat styling technique where you braid damp, product-coated hair, let it dry completely, then unravel the braids to reveal stretched, defined curl patterns. Unlike a twist-out, which uses two sections of hair wrapped around each other, a braid-out uses three sections, which creates a slightly more defined, uniform wave pattern. The result is volume with structure, and each section of hair takes the shape of the braid that held it overnight.
The difference between a mediocre braid-out and a great one comes down to preparation and patience, not the technique alone.
Knowing how to do a braid out well starts with having the right tools and products on hand before you even touch your hair.
The supplies you need
You don't need a full cabinet of products to get this right. A few targeted items make the difference between a style that holds through the next day and one that falls flat within hours. Here's what to gather before you start:
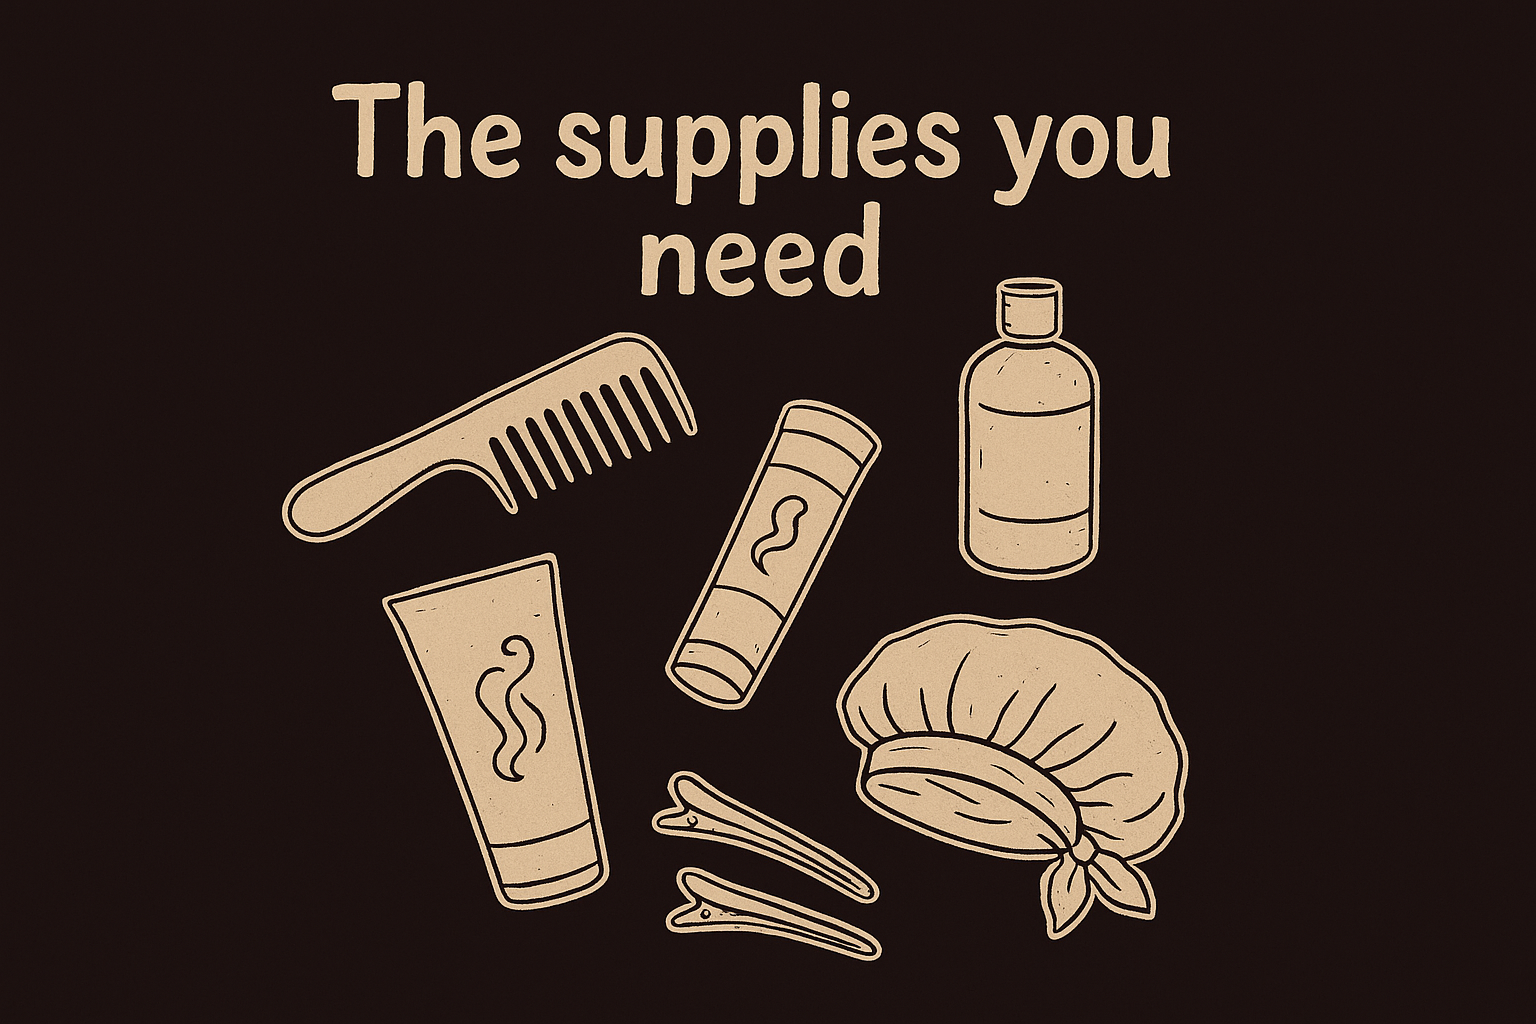
| Item | Purpose |
|---|---|
| Wide-tooth comb or detangling brush | Removes knots without disrupting your curl pattern |
| Moisturizing leave-in conditioner | Adds moisture and slip for easier braiding |
| Curl cream or styling gel | Defines and holds the wave pattern overnight |
| Satin or silk scarf or bonnet | Protects the set while you sleep |
| Sectioning clips | Keeps each section clean while you work through the rest |
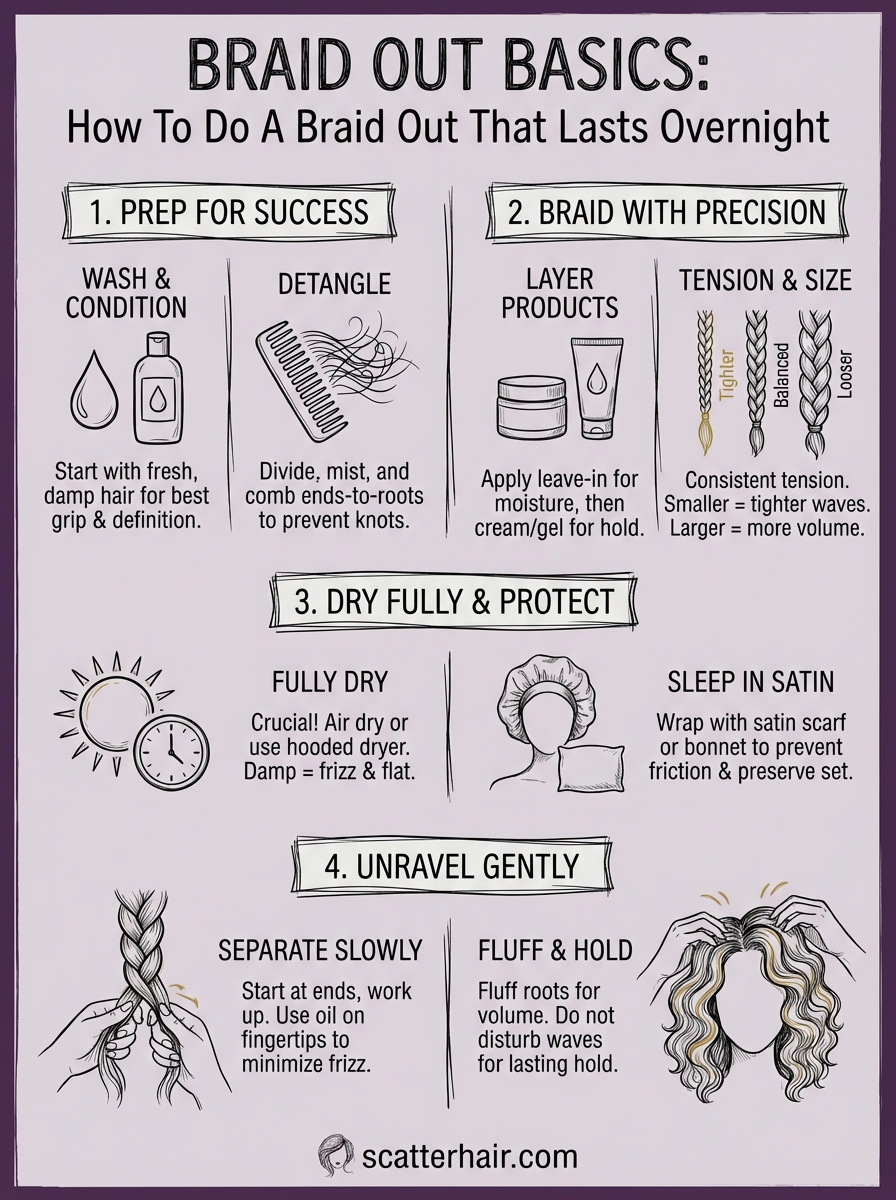
Product layering is non-negotiable here. You want to apply a leave-in first to hydrate, then follow with a cream or gel that carries enough hold to maintain the wave shape through a full night of drying. Skipping one of these layers is one of the most common reasons braid-outs lose definition by morning.
Step 1. Prep your hair for an overnight set
Prep is the foundation of a successful braid-out. Starting on freshly washed or refreshed hair gives your products the best surface to grip, which means better definition when you unravel in the morning. Dry or dirty hair resists product absorption, and no amount of braiding technique compensates for that.
Wash or refresh before you braid
If your hair hasn't been washed recently, co-wash or shampoo it that evening. You want your hair damp but not soaking wet when you apply products and start sectioning. Excess water extends dry time significantly and risks leaving your style flat and undefined by morning.
Damp hair holds product better than dry hair and gives each braid a cleaner shape from the start.
Detangle section by section
Divide your hair into four to six parts before you do anything else. Work through each section with a wide-tooth comb or detangling brush, moving from ends to roots. Skipping this step causes knots inside the braid that disrupt the wave pattern once you unravel.
Work in this order for each section:
- Spray with water or leave-in conditioner to soften
- Comb from ends to roots until fully detangled
- Clip the section away before moving on to the next
Step 2. Braid with the right tension and size
Once your hair is prepped and coated with product, the way you braid determines everything about your final result. Tension and braid size are the two variables most people overlook when figuring out how to do a braid out that holds shape overnight. Getting both right means you unravel defined waves, not a frizzy mess.
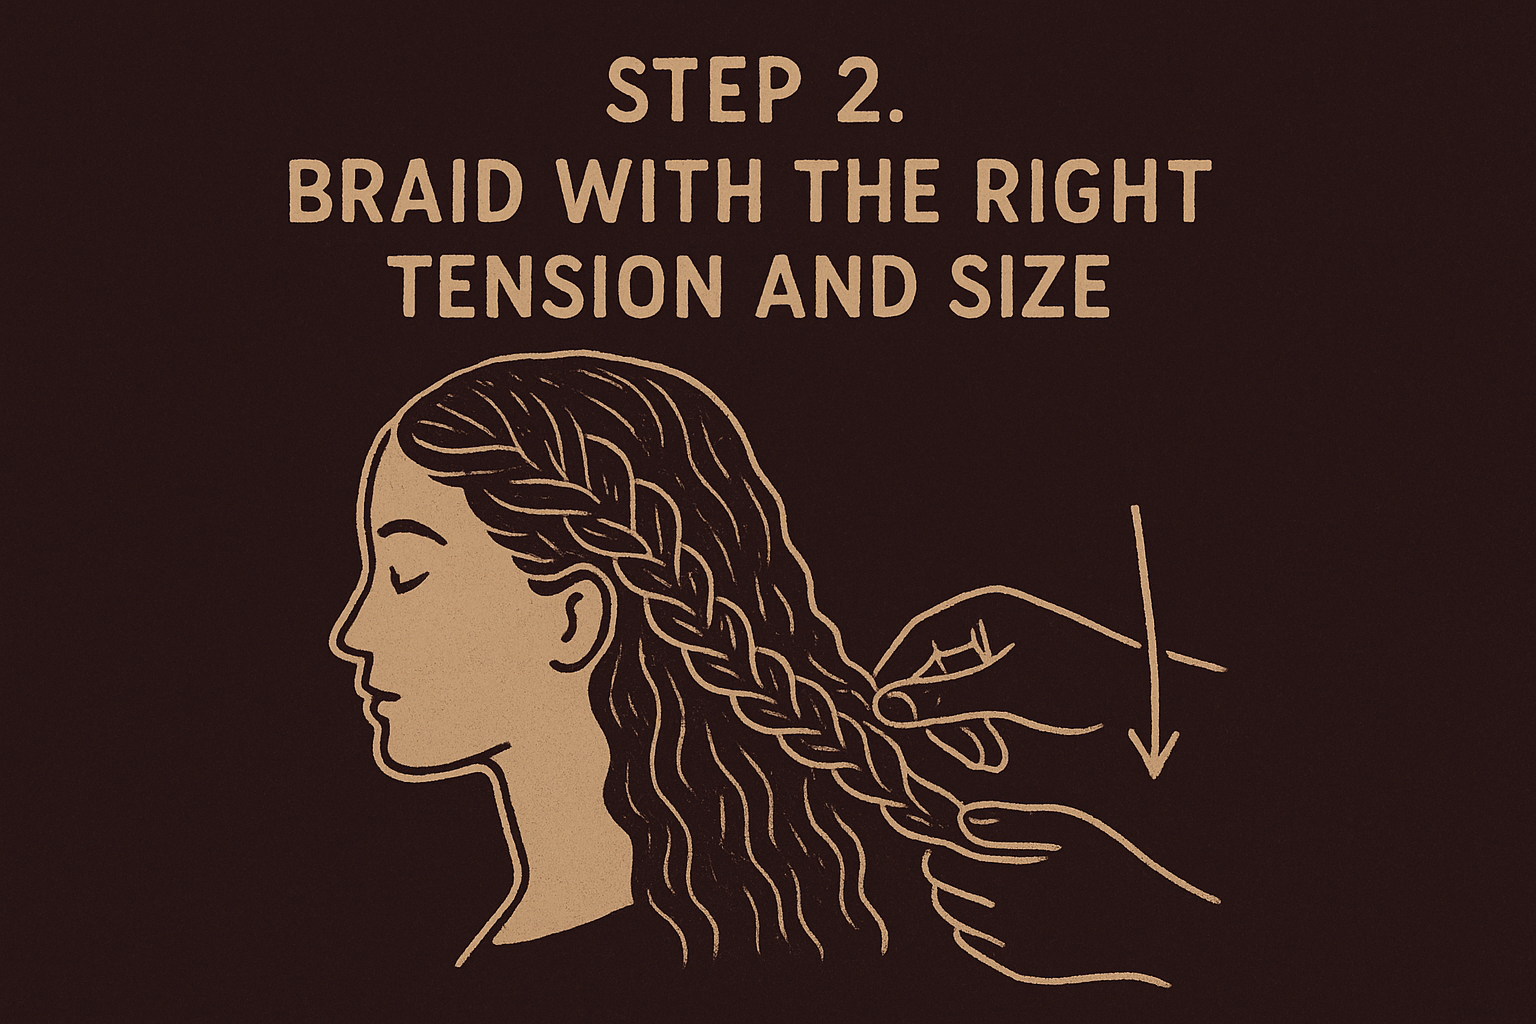
Too tight creates a stiff, unnatural wave pattern; too loose and the braid won't hold its shape long enough to set.
Size controls volume and definition
Smaller braids produce tighter, more defined waves with less volume, while larger braids create a looser wave with more body. Aim for six to ten medium-sized braids for a balanced result. Start each braid slightly looser near the scalp if you want more root volume.
- 8-10 braids: tighter definition, less volume
- 6-7 braids: balanced waves with moderate volume
- 4-5 braids: big, open waves with maximum volume
Tension keeps the style intact
Apply consistent, medium tension throughout each braid from root to tip. Hold each section firmly enough that the braid stays neat, but not so tight that it pulls at your scalp. Work in a downward direction and keep each braid smooth before securing the end with a small hair tie.
Step 3. Dry it fully so it lasts overnight
Drying is the step most people rush, and it's the step that costs them their results. Unraveling damp braids causes immediate frizz and a limp wave pattern that won't hold past the morning. Your hair needs to be fully dry before you touch a single braid.
Give your hair enough time
Air drying overnight works well if your hair isn't too thick or dense. Sit under a hooded dryer for 20 to 30 minutes before bed if your hair takes a long time to dry, then let it finish drying naturally as you sleep. Press the outside of each braid to check progress. If it feels cool or slightly damp, it needs more time.
Rushing the dry time is one of the most common reasons a braid out falls flat, even when your braiding technique is solid.
Protect the set while you sleep
Once your hair feels dry to the touch, wrap your entire head in a satin scarf or cover it with a silk bonnet before you sleep. This keeps friction from the pillow from disrupting the braid pattern overnight. Lay each braid flat against your head, then tie the scarf snugly but not tight enough to flatten the roots.
Step 4. Unravel for definition, volume, and hold
How you unravel makes or breaks the final look. Pulling braids apart too fast or separating too many strands at once causes immediate frizz that no product can fix afterward. Take your time with this step. It is the payoff for everything you did the night before.
The way you open each braid determines whether you get defined waves or a frizzy cloud, so move slowly and deliberately here.
Separate each braid the right way
Start from the bottom of each braid and work upward, gently loosening the sections with your fingers only. Never use a comb to separate. Once the braid is fully open, use your fingertips to lightly pull each wave apart from root to tip to build volume without disrupting the pattern you set overnight.
Follow this order for the best result:
- Unravel from the ends up toward the scalp
- Separate each wave gently with your fingertips, not your nails
- Rub a small amount of oil or curl cream between your palms before touching each section to reduce frizz on contact
- Fluff at the roots last to lift volume without disturbing the waves below
This is the final test of how to do a braid out the right way. If your prep, product layering, braiding, and drying were all solid, your waves will hold shape from the moment you open the first braid.
Keep it going tomorrow
Your braid-out doesn't have to end when you wake up. Refreshing your style on day two is straightforward: lightly mist your hair with water, smooth any frizz with a small amount of curl cream, then re-wrap with your satin bonnet until the moisture absorbs. Avoid re-wetting your hair completely or you'll restart the drying process from scratch and lose the shape you built overnight.
To stretch your style into day three, sleep in loose twists each night using the same satin bonnet setup. This keeps your wave pattern intact without repeating the full process of how to do a braid out from the beginning. Focus your refresh on the edges and crown, since those sections show wear first and make the biggest visual difference when they're smoothed back down.
Styling textured hair should feel manageable and consistent, not like a guessing game every time. Scatter's first product is Slip, a 2% hyaluronic acid hair serum. Work it through wet-to-damp hair, then air dry for texture or blow dry for body. It's on pre-order now.