

How to Style Curly Hair When Wet for Defined Curls
Your curls look great when they're wet, then you let them dry and everything falls apart into frizz. That gap between wet and dry is where most curl definition gets lost, and it usually comes down to timing and technique, not your hair type. If you're searching for how to style curly hair when wet, you're already on the right track, because curls are far easier to shape and define with moisture still in the strand.
The short answer: you need to work product through soaking wet hair, detangle before you touch a single curl, and avoid disturbing the pattern once it starts forming. Skip any of those steps and you're fighting frizz for the rest of the day. Get the order right and you lock in defined curls that hold without feeling crunchy or stiff.
This guide walks through the exact sequence, from the shower to the diffuser, including which styling products actually help textured hair versus which ones just weigh it down. We built Scatter around this exact problem, so consider this the routine we wish existed when we were still guessing.”
Why styling curly hair wet keeps curls defined
Water changes the shape of your hair shaft temporarily, softening the hydrogen bonds that hold each strand in whatever position it dried in last. That softness is exactly why wet styling works so well for curly and wavy textures. When you apply product while hair is still saturated, you're shaping the curl pattern before it sets, not fighting against a pattern that already formed the wrong way.
How curls form and clump together
Curls need to clump into uniform ringlets to look defined, and clumping only happens when individual strands stick together with the help of product and moisture. Dry hair strands repel each other and separate, which is what creates that fluffy, undefined frizz you see by midday. Wet strands, coated in a curl cream or gel, bond into thicker curl clumps that dry as one unit instead of a hundred loose pieces.
Curls set once, so the shape you lock in wet is the shape you're stuck with all day.
What happens when you skip wet styling
Styling dry or damp hair means you're applying product on top of a curl pattern that's already partially formed and often disturbed from a towel or pillow. The result is patchy definition, flat roots, and frizz along the lengths where the cuticle got roughed up. Timing matters more than the specific product line you use, which is why even the best curl defining creams underperform when applied at the wrong moisture level.
Getting this stage right also protects the hair itself. According to the American Academy of Dermatology, wet hair is more fragile and prone to breakage from rough handling, so the gentler scrunching and clumping techniques used in wet styling do double duty: they shape the curl and reduce mechanical damage at the same time.
Step 1. Prep your curls in the shower
Good wet styling starts before you touch a single product. Detangle your hair with your fingers or a comb or brush built for textured hair while it's covered in conditioner, never on dry strands, since dry detangling rips through curl clumps and causes breakage. Work from the ends up to the roots, section by section, so you're not dragging knots through hair that hasn't loosened yet.
Rinse in a way that protects the pattern
Rinse most of the conditioner out, but leave a light coating behind. That slip is what lets product glide through your strands in the next step instead of catching and creating friction. Turn the water to cool or lukewarm before you finish, since cold water helps close the cuticle and gives you a smoother base to style on.
Detangle in the shower with slip, and every step after gets easier.
Skip the towel scrunch
Don't reach for a towel yet. Rubbing wet curls with terrycloth roughs up the cuticle and creates frizz before you've even applied a single styling product. Step out of the shower dripping and move straight into product application while your hair is still soaking wet.
Step 2. Apply product to soaking wet hair
Now the real work starts. Apply your curl defining leave in conditioner first while hair is still dripping, working it through in sections from root to tip. This layer adds slip and moisture that everything else builds on, so don't skip it even if you're short on time.
Layer products in the right order
Follow with a curl cream, then seal with a gel if your hair needs extra hold. Layering this way, thinnest to thickest, keeps each product doing its job instead of sliding off wet strands.
1. Leave-in conditioner (root to tip)
2. Curl cream (mid-lengths and ends)
3. Gel (light layer, focus on frizz-prone spots)
Apply each layer while hair is still soaking, not after it starts air-drying, since product application on partially dry hair leads to uneven coverage and patchy curls.
Product goes on wet, never on hair that's already started drying, or you'll get patchy curls.
How much product is too much
Use enough product to feel like your hair is coated, almost slick, not just damp. Curly hair needs more product than straight hair, and skimping here is the top reason people end up with frizz by noon. If your curls feel dry or crunchy once fully dried, you didn't use enough.
Step 3. Scrunch and clump your curls
Grab sections of hair and scrunch upward toward your scalp, cupping your palms like you're squeezing water out of a sponge. This motion pushes strands together into clumps rather than pulling them apart, which is exactly how to define curls instead of creating frizz. Repeat around your whole head, working in small sections so no part of your hair gets skipped.
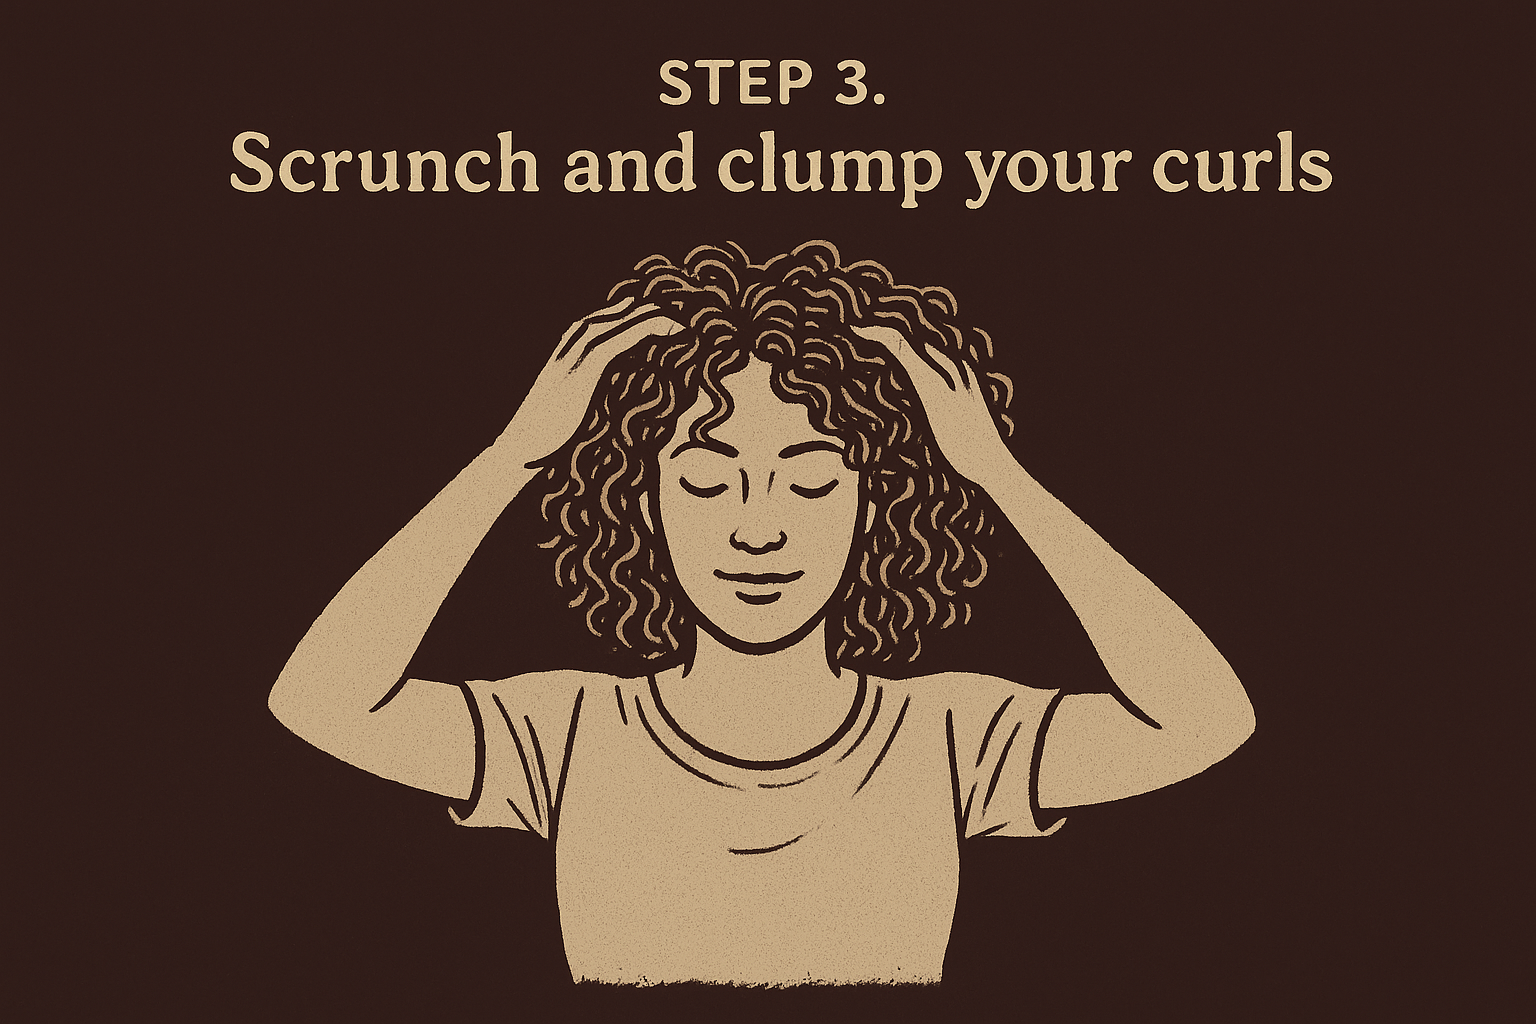
Encourage clumping with the praying hands method
Press sections between flat palms, like you're praying, then twist your wrists slightly as you release. This "praying hands" technique is a favorite among curl specialists because it groups individual strands into uniform ringlets without adding tension. Focus extra attention on your crown and part line, since those areas tend to clump less on their own.
Scrunch upward, never rake sideways, or you'll pull your curl clumps apart before they even set.
Don't rake or separate yet
Resist the urge to run fingers through your hair to check your progress. Raking now separates the clumps you just built, undoing the wet styling work before it has a chance to hold.
Step 4. Dry your curls without disturbing them
Once your curls are scrunched and clumped, the goal shifts to drying without breaking that shape apart. Grab a microfiber towel or an old cotton t-shirt and scrunch upward gently to remove excess water, the same motion you used with product, never rubbing. This step, sometimes called plopping, works well too: pile your curls into the towel on top of your head and let it sit for ten to fifteen minutes while you get ready.
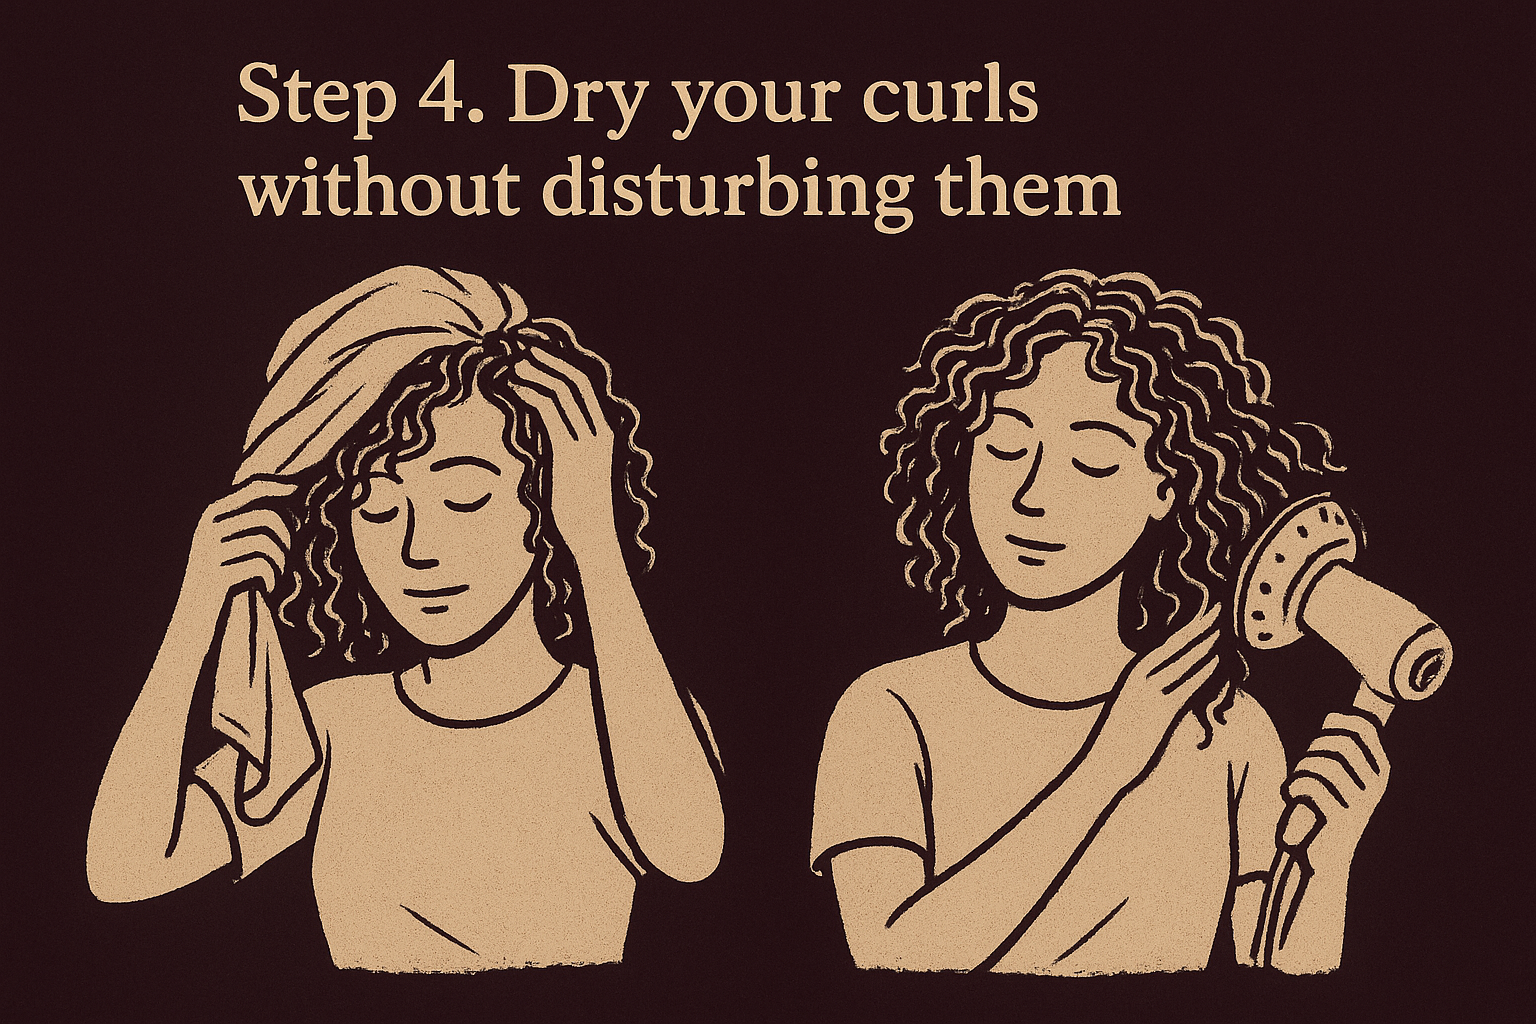
Diffuse on low heat and low speed
When you're ready to finish drying, use the right diffuser for curly hair on your blow dryer, set to low heat and low speed. Cup sections of hair in the diffuser bowl and hold them against your scalp instead of moving the dryer around, which keeps clumps intact instead of scattering them into frizz.
Hands off once you're drying, movement is the enemy of a clean curl clump.
Air dry if you have the time
Air drying works just as well if you're not in a rush, and it's gentler on your strands overall. Either way, leave your curls completely alone until they're bone dry. Touching damp curls, even lightly, reopens the cuticle and invites the frizz you worked hard to avoid.
Making wet styling part of your routine
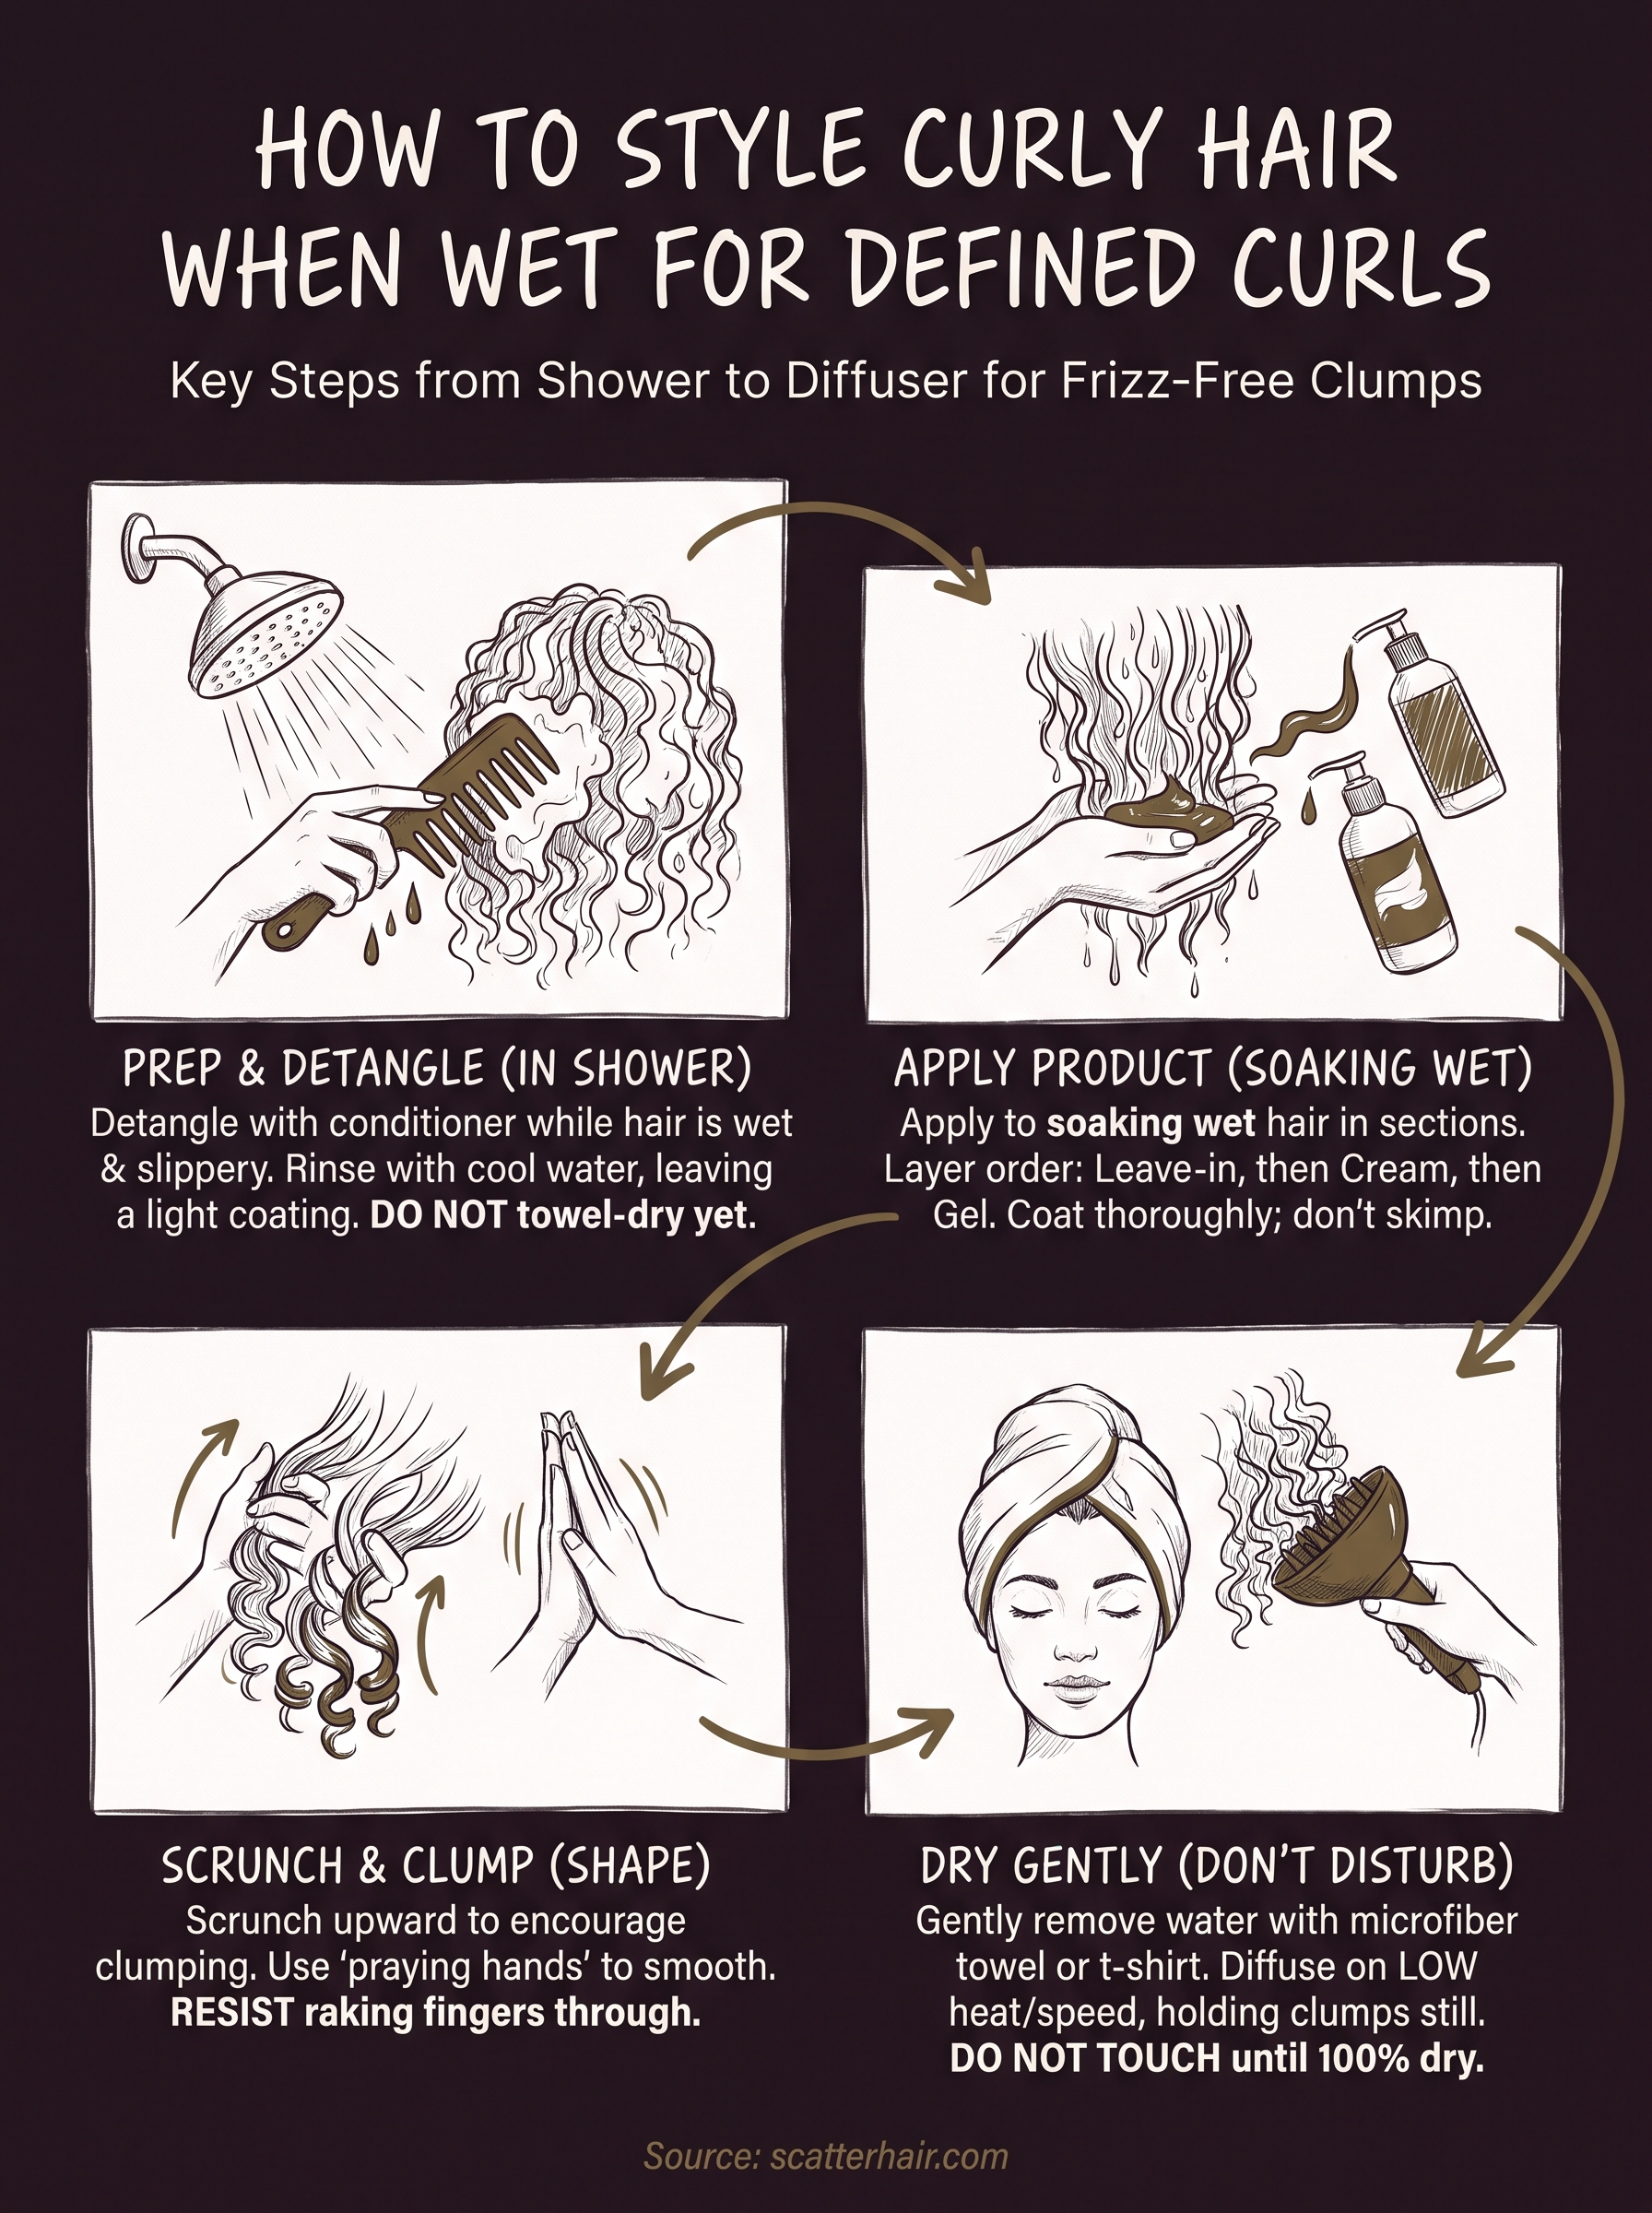
None of this works as a one-time trick. Wet styling becomes second nature once you've run through the sequence a few times: detangle in the shower, apply product soaking wet, scrunch and clump, then dry without touching. Once your hands know the motions, the whole routine takes maybe ten extra minutes over what you're already doing.
Repetition is what turns defined curls from a lucky morning into a daily result. Your curl pattern responds to consistency, so the fifth time you do this routine will look better than the first, even with the same products.
If frizz keeps creeping back despite good technique, only your formula still needs work, and a deeper routine for keeping frizz down is the place to start. That's the gap we built Scatter to close. Sign up for early access and be first to try styling products made specifically for wet application on textured hair.