

How to Co-Wash Curly Hair: Step-by-Step Technique
If your curls feel dry, tangled, or weighed down no matter what you try, the problem might be your routine, not your hair. Learning how to co wash curly hair properly can fix frizz, restore moisture, and keep your curl pattern intact between real shampoo days. Most people either skip conditioner-only washing entirely or do it wrong, scrubbing like they would with shampoo and stripping out the exact moisture they're trying to lock in.
Co-washing isn't complicated, but it does have a specific technique that makes the difference between bouncy, defined curls and a limp, product-heavy mess. You need the right conditioner application method, the correct scalp massage motion, and a realistic sense of how often to co-wash based on your hair type and activity level.
This guide walks through the exact step-by-step process, from sectioning wet hair to finishing with the right styling products for textured hair. You'll get clear direction on technique, timing, and the small details that separate a routine that actually works from one that just adds more buildup.
What co-washing is and how often to do it
Co-washing means cleansing your hair with conditioner instead of shampoo. The conditioner still lifts away sweat, product residue, and light dirt, but it does it without the harsh sulfates that strip your natural oils. That's the whole point of co washing curly hair: you get clean without the dry, straw-like feel that traditional shampoo leaves behind on textured strands. Most co-washes use gentle cleansing agents instead of the detergents found in regular shampoo, so your curls hold onto more of the moisture they need to stay soft and defined.
Why your curls need this instead of regular shampoo
Textured hair is naturally drier than straight hair because the twists and bends in the strand make it harder for scalp oil to travel down the shaft. Sulfates in most shampoos strip whatever oil does make it down there, which leaves curls frizzy, brittle, and prone to breakage, so a gentle shampoo without sulfates is the safer pick on the days you do lather up. A proper curly hair cleansing routine relies on co-washing to remove buildup while preserving the lipid layer that keeps your curl pattern springy and your ends from splitting.
Skip the sulfates on wash day and your curls stay defined instead of fighting frizz all week.
How often you should actually co-wash
Frequency depends on your curl type, scalp condition, and activity level, not a fixed schedule you copy from someone else's routine. Wavy hair with a naturally oilier scalp usually needs cleansing more often than tight coils, which can go longer between washes without looking flat or heavy.
| Hair type / lifestyle | Suggested co-wash frequency |
|---|---|
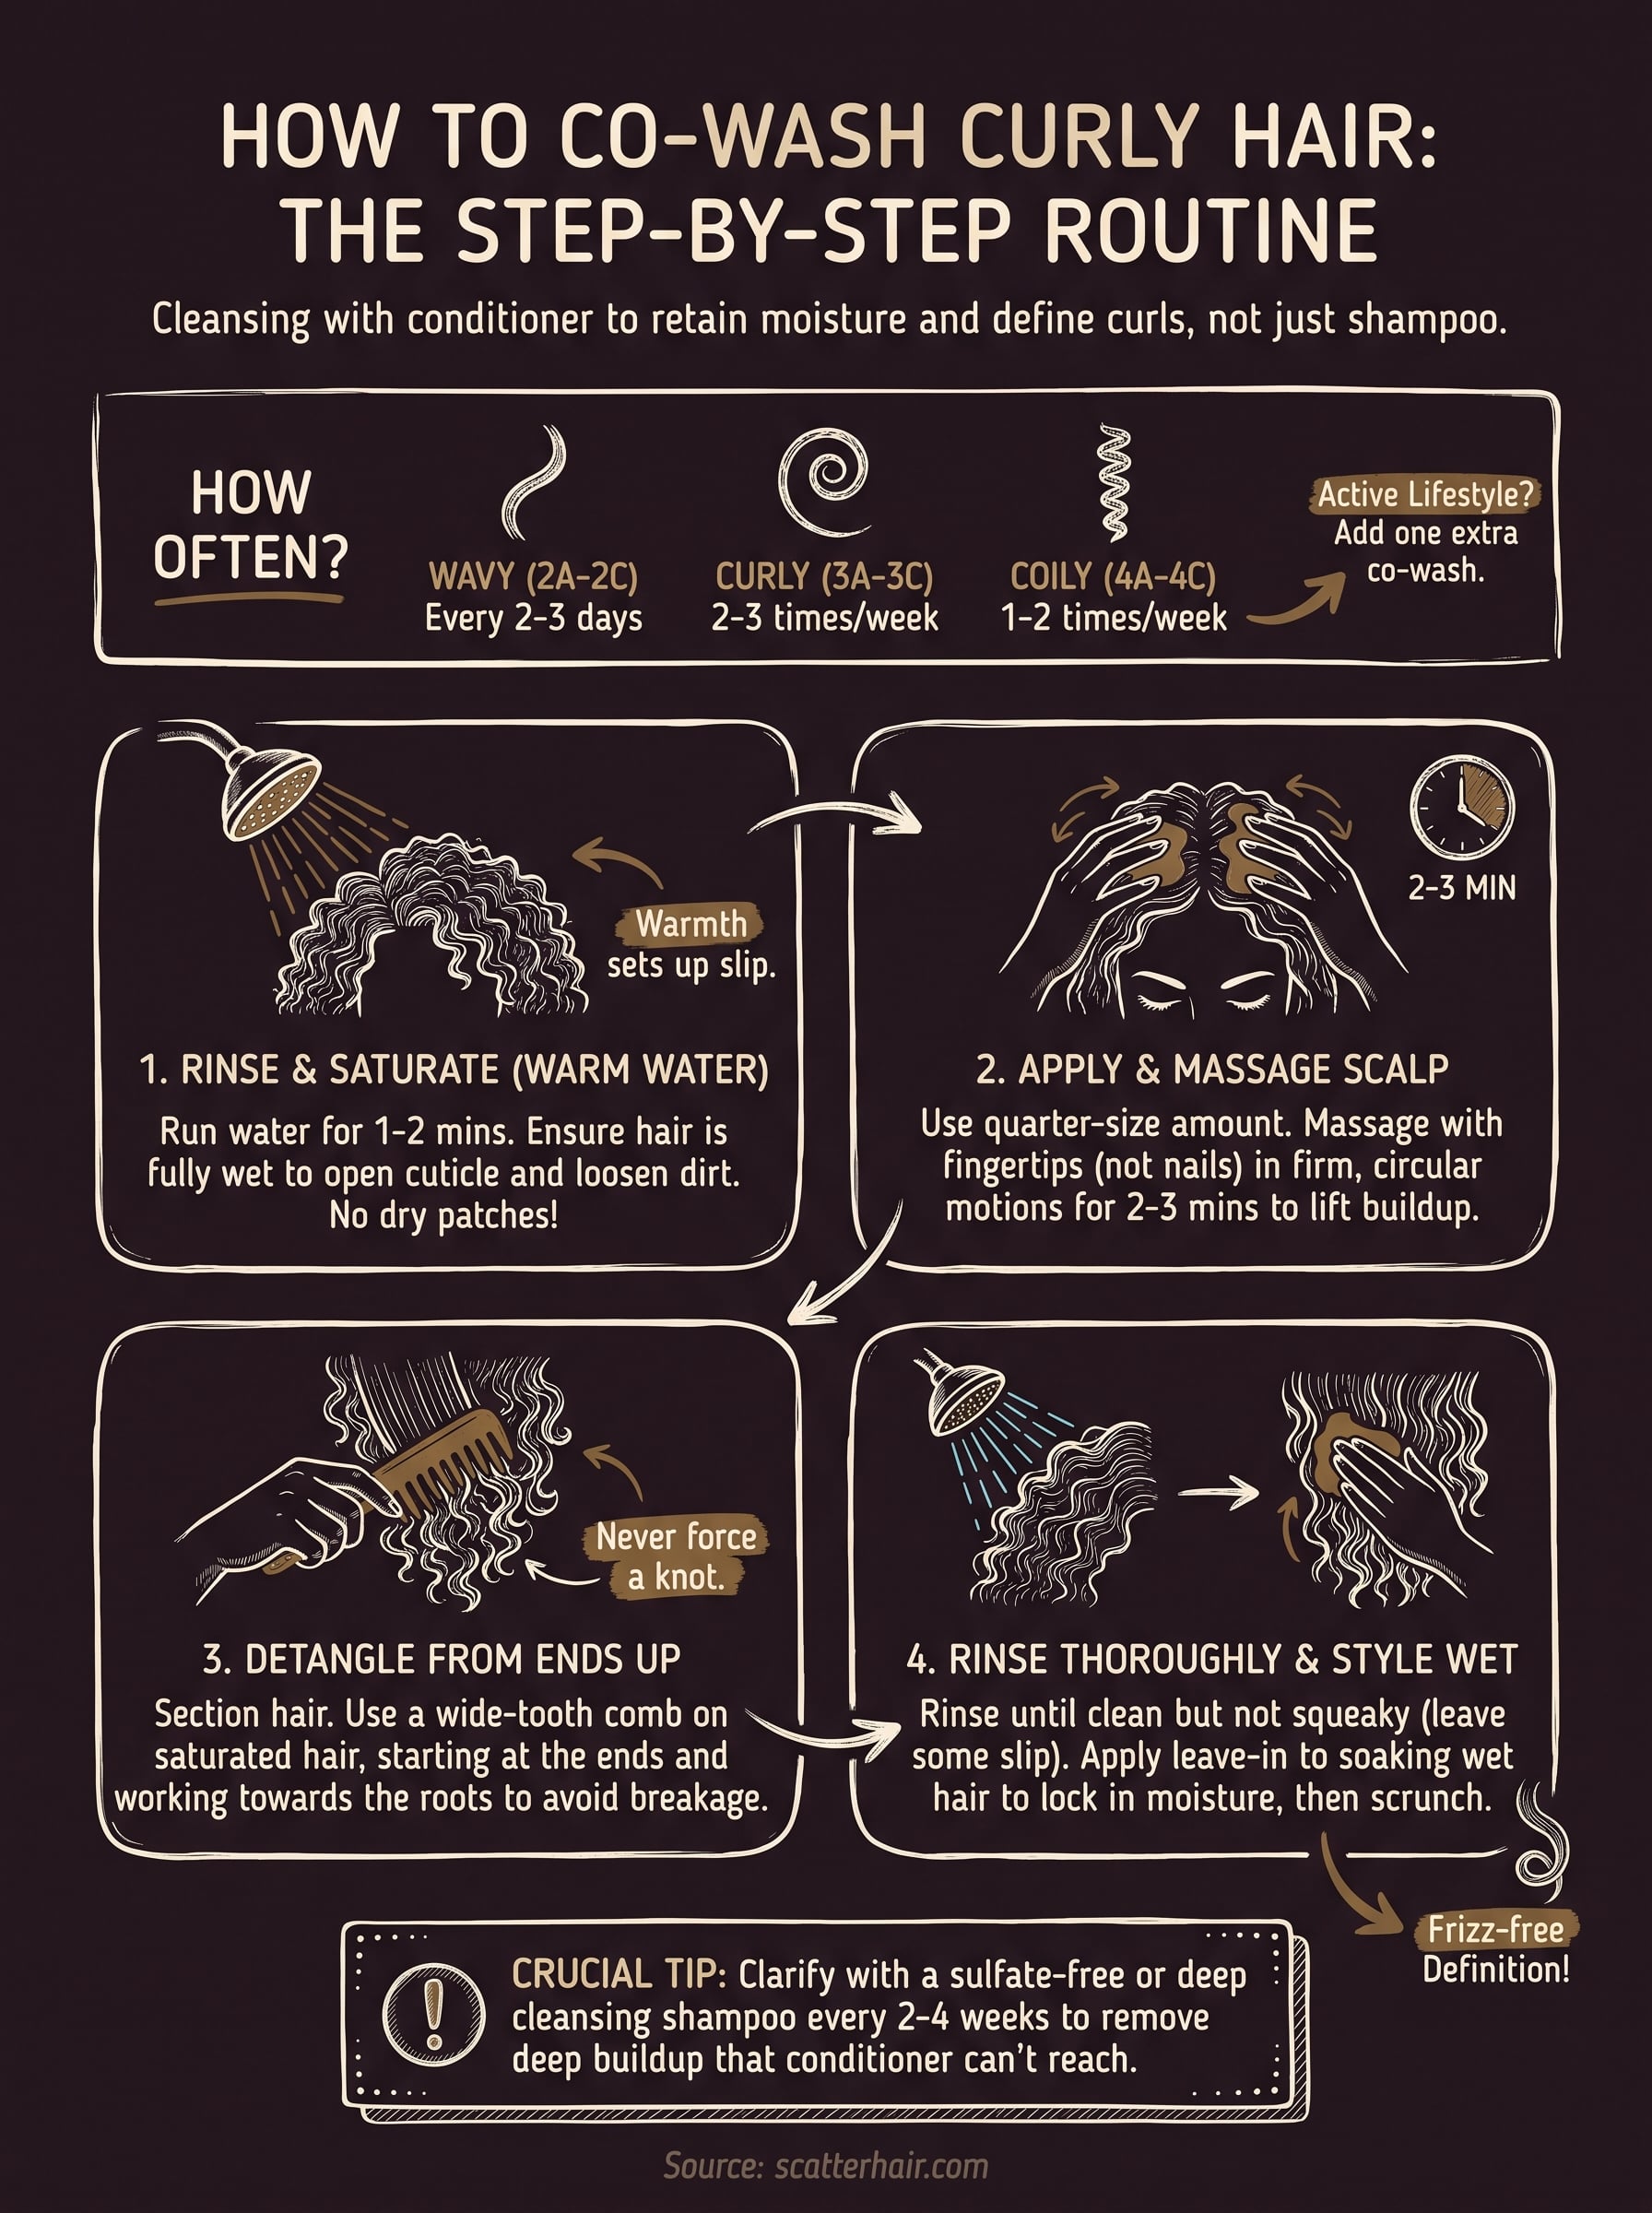
| Wavy hair (2A-2C) | Every 2-3 days |
| Curly hair (3A-3C) | 2-3 times per week |
| Coily hair (4A-4C) | 1-2 times per week |
| Frequent gym-goers or sweaty scalps | Add one extra co-wash per week |
| Low-porosity hair prone to buildup | Alternate with a clarifying shampoo every 2-4 weeks |
Remember that co-washing replaces some, not all, of your shampoo days. Your scalp still produces oil and product residue that a conditioner alone can't fully break down, so plan on a deep cleansing shampoo for buildup roughly once every two to four weeks depending on how much styling product you use. Ignoring this step is the main reason people complain about buildup and limp curls after switching to a co-wash routine, when the real fix is just balancing the two methods instead of dropping shampoo completely.
Step 1. Rinse and saturate your hair with warm water
Begin every co-wash session with a thorough pre-wash rinse, letting warm water run through your hair for a full one to two minutes before you touch any product. Water alone loosens sweat, dust, and light product residue sitting on the surface of your strands, so the conditioner you apply next can focus on actual cleansing instead of fighting through a layer of grime. Cold water won't cut it here. You need enough warmth to soften the cuticle and let water penetrate the strand, which sets up better slip and absorption for the co-wash step that follows, and how porous your hair is determines how quickly that water soaks in.
Check that every section of your head gets equal attention, especially at the nape and behind the ears where product buildup collects fastest. Flip your head upside down or lean over the tub so water reaches your scalp directly instead of just skimming the surface layer of hair. This is also the moment to gently finger-comb through any obvious knots while your hair is fully wet and slippery, since detangling now means less resistance once conditioner goes on.
A hair type that's fully saturated with warm water cleanses faster and needs less product to get soft, defined curls.
Skip the shortcut of a quick splash and call it done. Partial saturation leaves dry patches that won't absorb conditioner evenly, which shows up later as sections of your curls that feel crunchy or under-conditioned compared to the rest. Watch your hair as the water runs through it: strands should look uniformly dark and heavy with water, and you shouldn't see any dry, lighter-colored patches left. That visual check takes ten seconds and saves you from an uneven co wash technique that undercuts everything you do in the next three steps.
Step 2. Apply the co-wash and massage your scalp
Once your hair is fully saturated, apply a quarter-sized amount of co-wash to your palms and rub your hands together before it touches your scalp. Start at the crown and work outward in small circles, adding more product as needed until every section of your scalp feels coated. Don't dump conditioner straight onto dry-looking spots and hope it spreads on its own. Distributing it with your fingertips first gives you better control and keeps you from over-applying in one area while missing another.
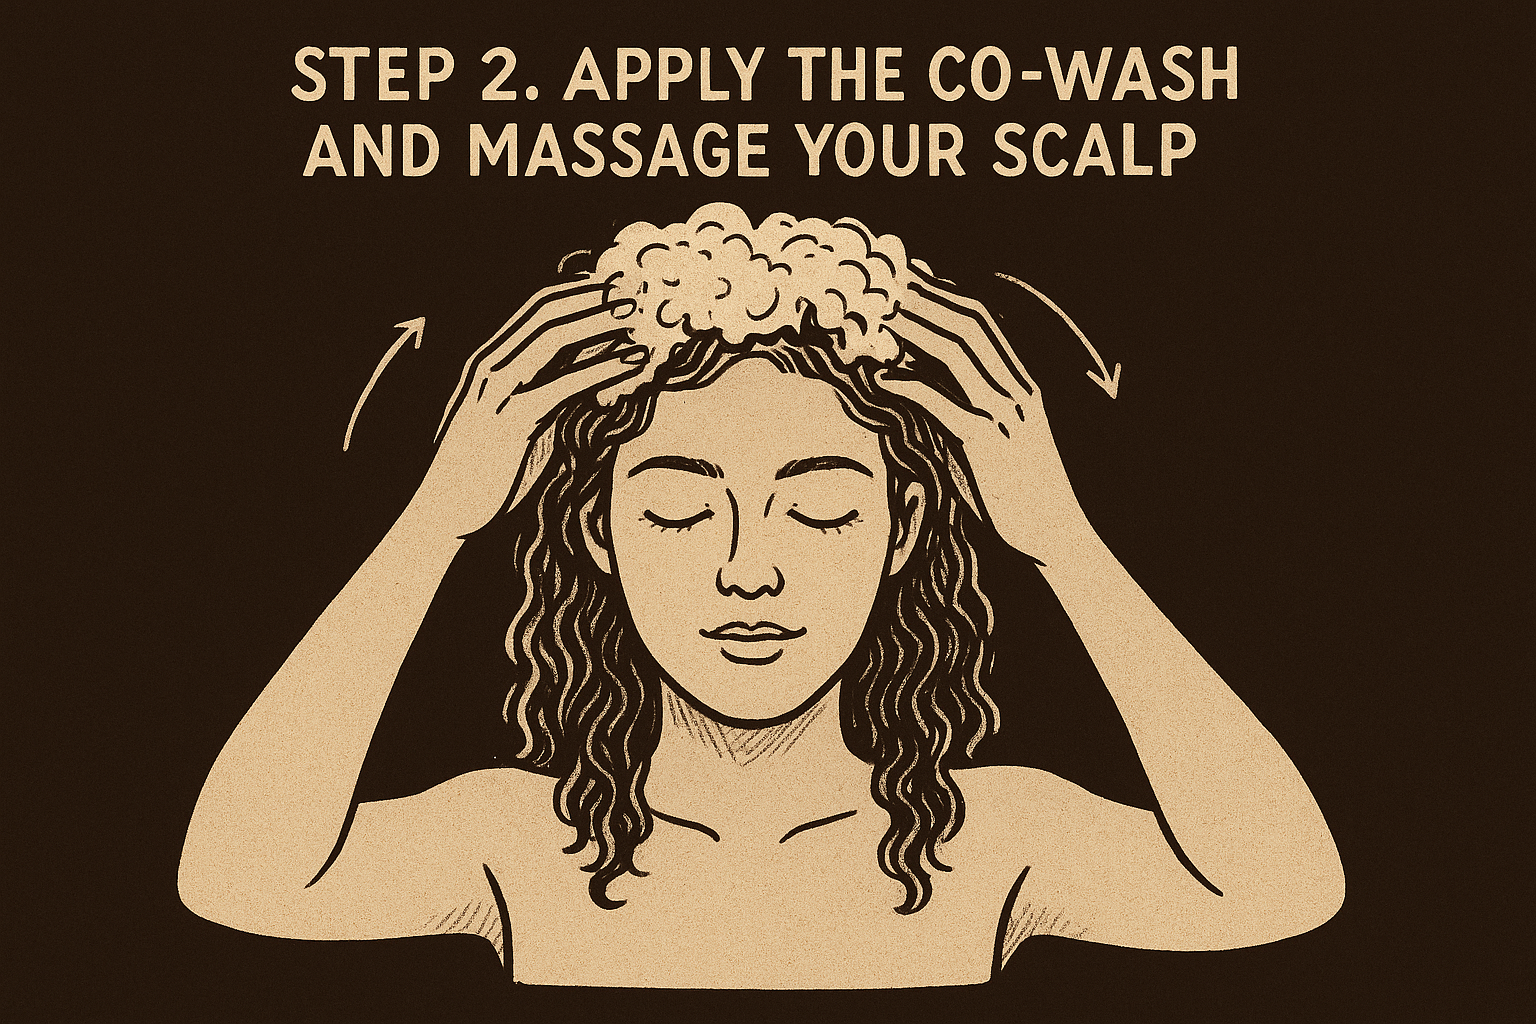
Massage using the pads of your fingers, never your nails, in firm but gentle circular motions across your entire scalp. This movement does two jobs at once: it lifts dead skin and product buildup the way a scalp scrub would, and it stimulates blood flow to the follicles, which supports healthier growth over time. Spend a full two to three minutes on this step, moving methodically from your hairline back to the nape rather than scrubbing randomly.
A slow, deliberate scalp massage cleans better than aggressive scrubbing ever will.
Keep your motions consistent even on days you're rushed. Rushing this step is the fastest way to end up with a co-washed scalp that still feels itchy or coated a day later, because the conditioner never actually made contact with the skin underneath your hair, which is the foundation of any scalp care routine for textured hair. Use these checkpoints to confirm you're doing it right:
- Fingertips reach the scalp, not just the hair surface
- Every section gets circular motion, not a single swipe
- You spend at least two minutes total, not thirty seconds
- No area feels dry or untouched when you check by parting sections
This technique sets up the next step, where you'll move that same conditioner down through your lengths and ends.
Step 3. Detangle and distribute through your ends
Work the conditioner down from your scalp to your ends using a wide tooth comb made for curls, starting at the bottom third of a section and moving upward in short strokes. Detangling curly hair this way, from ends to roots, avoids pushing knots into one tight ball at your scalp, which is what happens when you comb top-down on wet, coily strands. Move slowly through each section before touching the next one, and never force the comb through resistance. If you hit a snag, hold the hair above it steady with your other hand and ease the knot apart with your fingers first.
Section your hair into four to six parts before you start this step, especially if you have dense or coily texture. Smaller sections mean more manageable detangling and better product distribution, since you can actually see and feel where the conditioner still needs to go. A finger detangling method works well as a follow-up pass once the comb has cleared the bigger tangles, or you can reach for a brush built for detangling textured hair to catch any remaining knots the comb might have missed.
Detangle from your ends up, and you'll never fight a knot at the root again.
Check each section before moving on:
- Comb glides through without catching
- Conditioner feels evenly distributed, not clumped in one spot
- Ends feel slick and saturated, not dry or crunchy
- No visible tangles remain when you shake the section loose
Rinsing too early is the most common mistake here. Give every section this full pass before you touch the faucet, because conditioner still needs a minute or two of contact time on your ends, which are the oldest and driest part of the strand, to actually soften and smooth the cuticle.
Step 4. Rinse thoroughly and style your curls
Rinse your hair with cool to lukewarm water, running your fingers through each section until it feels clean but not squeaky. Squeaky-clean is actually a warning sign here: it means you stripped away the light film of conditioner that keeps your curl pattern soft and frizz-free. Leave a small amount of slip behind on purpose, especially through your mid-lengths and ends, since that residue acts as your first layer of moisture before any styling product touches your hair.
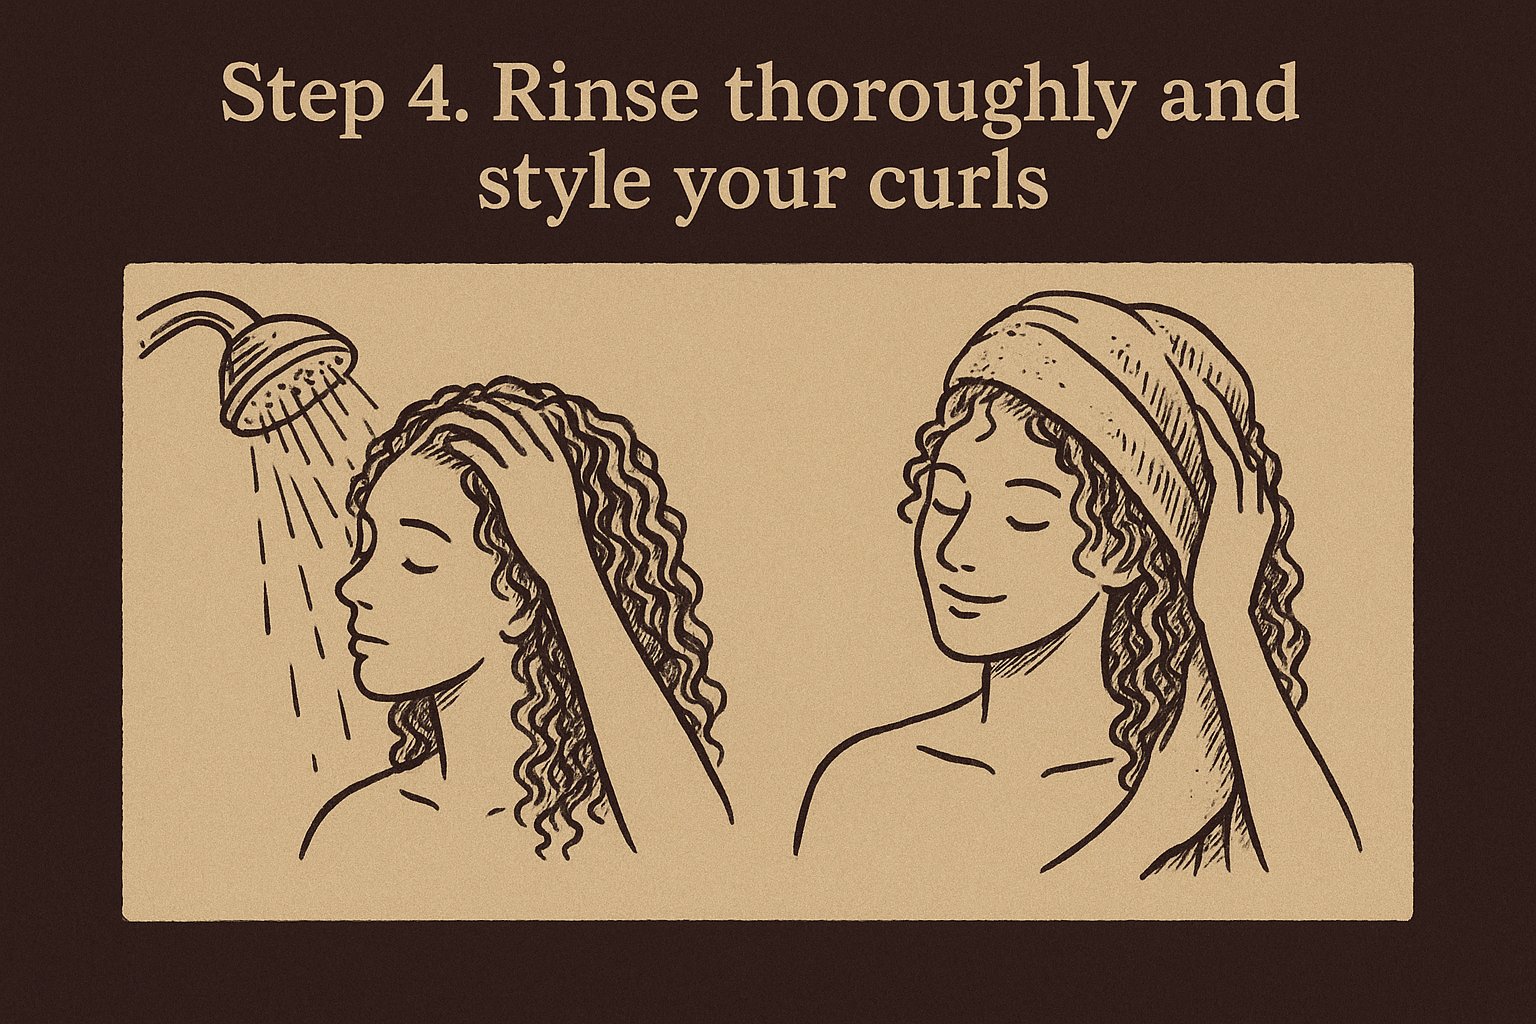
Squeeze out excess water with a microfiber towel for curly hair or old cotton t-shirt, pressing rather than rubbing to avoid roughing up the cuticle. Apply your leave-in or curl cream while hair is still soaking wet, using a praying-hands motion down each section instead of rubbing it in circles. This locks moisture into the strand before it has a chance to evaporate, which is the whole reason co-washed hair feels softer than shampooed hair by the time it dries.
Style while your curls are still wet, and you'll lock in more moisture than any product applied afterward ever could.
Scrunch upward from the ends toward your scalp to encourage clumping, then let hair air-dry or diffuse on low heat. A few finishing checkpoints:
- Product distributed evenly, no dry patches left uncovered
- Curls scrunched, not smoothed or pulled straight
- Diffuser held a few inches away, moving constantly
- No touching once curls start to set, to avoid frizz
Grab a step-by-step wash and go tutorial from scatterhair.com once your co-wash routine is dialed in, so your finished style matches the technique.
Making co-washing part of your wash day
Co-washing works when you treat it as one piece of a full routine, not a shampoo replacement you set and forget. Rinse thoroughly, massage your scalp with intention, detangle from the ends up, and rotate in a clarifying shampoo every few weeks so buildup never gets the chance to weigh down your curls. Once you've run through this step-by-step technique a few times, it stops feeling like a checklist and becomes muscle memory, the same way brushing your teeth does.
Getting the wash right is only half the equation. What you put on your curls afterward decides whether they hold definition all day or fall flat by noon, so it's worth seeing which curl defining creams actually hold up on textured hair. Scatter is building styling products specifically for textured hair, made to work with the routine you just learned instead of against it. Sign up at scatterhair.com to get early access when we launch.