

How to Style Fine Curly Hair for Definition Without Weight
Fine curly hair sits in a frustrating middle ground. Too little product and your curls fall flat by noon. Too much and you're stuck with greasy, weighed-down strands that clump instead of curl. If you've been Googling how to style fine curly hair at 11pm after another disappointing wash day, you already know the usual advice doesn't account for hair that's both curly and delicate.
The fix isn't about finding one miracle product. It's about layering lightweight formulas in the right order and amount, then using techniques like microplopping or finger coiling that add lift instead of stripping it. Fine curls need definition without density, and that comes down to ratios, application method, and knowing which ingredients actually build hold versus which ones just sit heavy on the hair shaft.
This guide walks through a full styling routine built specifically for fine, low-density curls: prepping wet hair, choosing the right curl cream or gel combo, and drying methods that preserve volume. You'll also get product categories to look for (and skip) so every wash day gets you closer to curls that actually hold shape, not just for an hour, but all day.
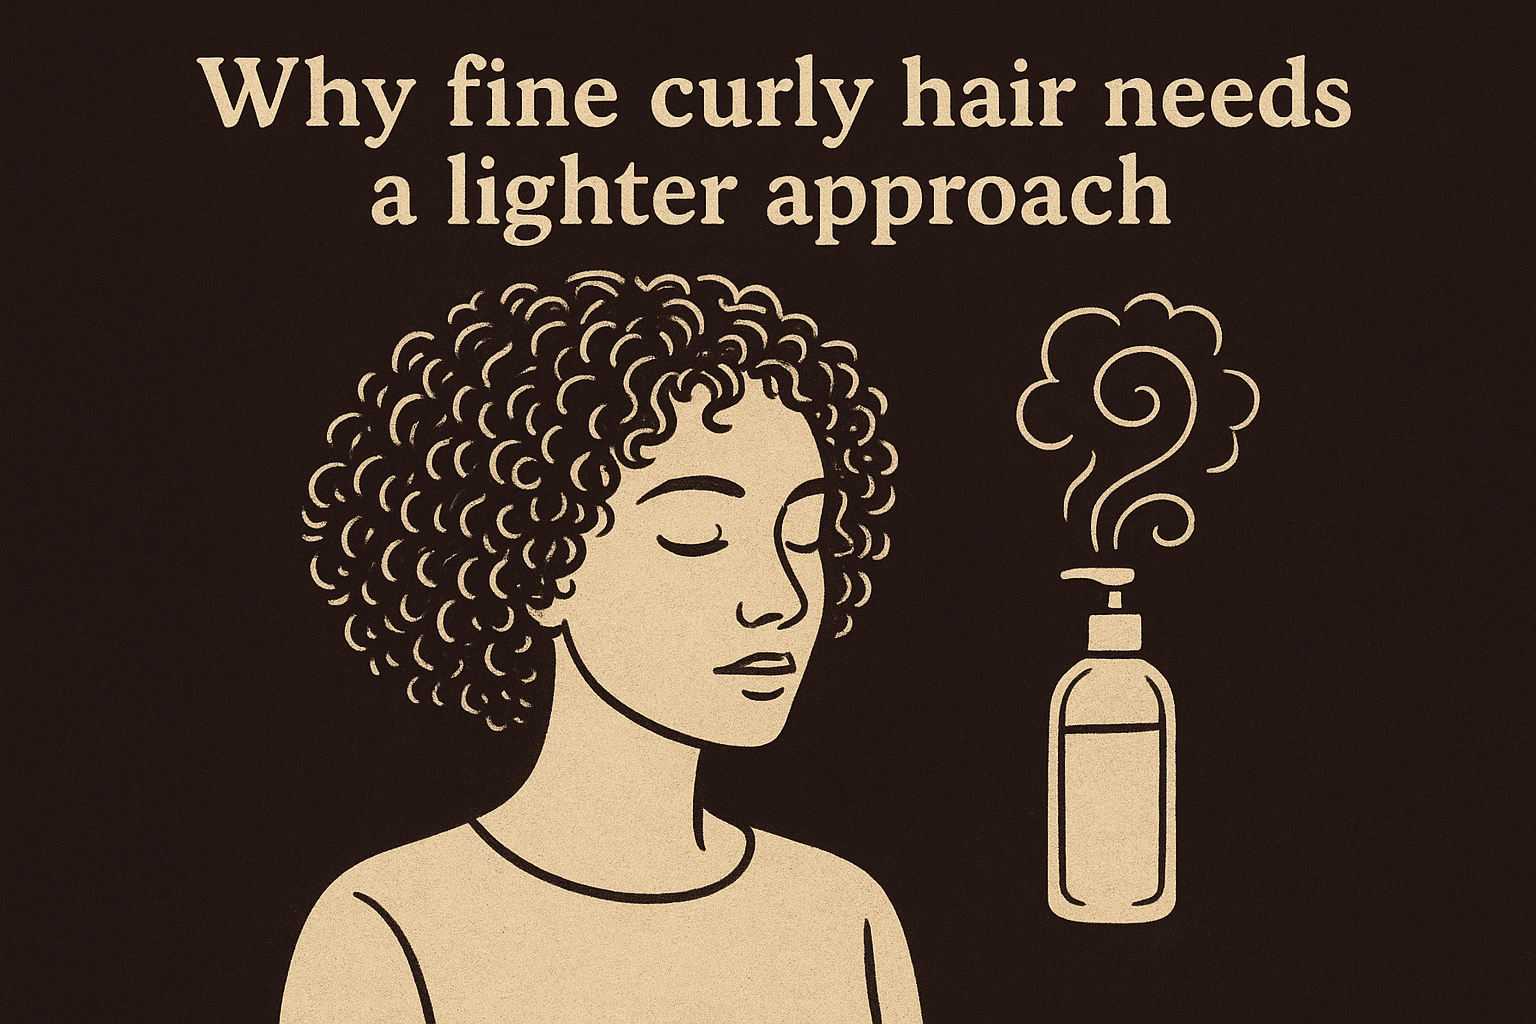
Why fine curly hair needs a lighter approach
Hair type and hair texture are two different things, and mixing them up is why so many curly girl routines fail on fine strands. Curl pattern (2C, 3A, 3B, whatever letter-number combo you use) describes the shape of the curl. Strand thickness describes the diameter of each individual hair, and that's measured independently of curl pattern. You can have tight 3B curls that are also fine, meaning each strand is thin even though the curl itself is springy. That combination, fine strands plus curly texture, is exactly why generic curl advice keeps letting you down.
Fine doesn't mean the same thing as low density
People often confuse fine hair with thin hair, but they're not interchangeable. Density refers to how many strands grow per square inch of scalp. Fineness refers to the width of each strand. You can have high density fine hair, meaning thousands of thin strands packed tightly together, and it will still behave like fragile hair under heavy products even though there's technically a lot of it. This matters because most product lines are formulated for coarse, low-porosity hair that can absorb and hold onto heavier butters, oils, and silicones without collapsing. Fine strands don't have that structural capacity.
Fine curly hair doesn't need more product, it needs the right weight-to-hold ratio.
Why heavy formulas backfire on thin strands
Every hair fiber has a limit to how much weight it can support before gravity wins. Coarse curls can carry rich butters and thick creams and still spring back. Fine curls can't. Once you cross that threshold, curls stop clumping into defined ringlets and start hanging in separated, straggly pieces, or worse, they clump together into one heavy chunk that looks more like a wave than a curl. Silicone-heavy conditioners and thick butters are the usual culprits. They coat the strand smoothly, which feels great in the shower, but that same coating adds weight the second your hair dries.
Here's a quick way to see the difference in how fine versus coarse curls handle common ingredients:
| Ingredient type | Effect on coarse curls | Effect on fine curls |
|---|---|---|
| Shea butter, heavy oils | Adds moisture, curls stay bouncy | Weighs curls flat within hours |
| Dimethicone (heavy silicone) | Smooths frizz without much drag | Builds up fast, causes limp clumps |
| Light gels with polymers | Adds hold, may feel stiff | Builds definition without collapse |
| Water-based leave-ins | Hydrates, may need reapplication | Ideal, absorbs fast, no residue |
The buildup problem compounds fast
Nothing accelerates the flat-curl problem faster than product buildup. Because fine strands have a smaller surface area, residue from gels, creams, and dry shampoo accumulates on them proportionally faster than it does on thick strands. One skipped clarifying wash can be the difference between curls that spring back and curls that sit lifeless against your scalp. Overlapping heavy products day after day (a rich cream, then a butter-based gel, then a serum) is the classic mistake that turns a fine curly hair routine into a greasy mess by day three.
So the lighter approach isn't a preference, it's a structural necessity. Everything from your clarifying wash to your final diffuse needs to respect the limit fine strands have for weight while still giving curls enough hold to stay defined through humidity, sleep, and a full day out. The next six steps walk through exactly how to hit that balance, starting with clearing out whatever's already sitting on your strands from old routines.
Step 1. Clarify to clear away buildup
Start every fine curly hair routine with a clean slate. Before you can style for definition, you need to strip away whatever's already coating your strands: old gel flakes, silicone residue from conditioners, mineral deposits from hard water, and the invisible film that dry shampoo leaves behind. Clarifying shampoo is the only product strong enough to break down that buildup, and for fine curls, skipping this step means every product you apply afterward has less room to actually work.
How often you actually need to clarify
You don't need to clarify every wash day. Fine curly hair holds less product than coarse curls, but it still needs a reset on a schedule that matches how much you're layering on.
- Once a week if you use gels, creams, or mousse daily and live in hard water
- Every 10 to 14 days if you rotate lighter leave-ins and only style every few days
- Right away if your curls feel coated, look dull, or refuse to hold a clump no matter what you apply
If your curls stopped responding to your usual products, buildup is almost always the reason, not the products themselves.
Doing it without over-stripping fine strands
Clarifying shampoos are formulated to cut through wax and silicone, which means they can also strip natural oils faster on fine hair than on coarse hair. Apply it only to your scalp and roots, then let the lather run down the length as you rinse instead of scrubbing it into your ends. This targets the areas where oil and product actually build up while sparing the mid-lengths and ends, which are usually the driest and most fragile part of a fine curl.
Follow every clarifying wash with a moisture-focused conditioner, even if you're going to do a full cleanse-and-condition routine right after. Clarifying resets your canvas, but it also opens the cuticle slightly, and fine strands need that quick moisture replenishment to avoid feeling like straw once they dry. Skip this step and you'll trade greasy buildup for frizz and static, which isn't the trade you want.
Watch for a subtle sign that you've overdone it: if your curls feel squeaky clean but suddenly frizzier or harder to detangle than usual, dial back to clarifying every other wash instead of weekly. Fine curls respond fast to changes in your routine, so use that as feedback rather than pushing through with a schedule that isn't working. Once your slate is genuinely clean, you're ready to move into the actual cleanse step, where the goal shifts from stripping to gently maintaining that clean baseline.
Step 2. Cleanse with a lightweight, low-lather shampoo
Once your slate is clean, you don't need another stripping wash every time you shampoo. Low-lather shampoo picks up where clarifying leaves off: it removes sweat, scalp oil, and light product residue without undoing the moisture balance you just restored. For fine curly hair, this is the wash you'll use most weeks, and getting the formula right matters more than how often you use it.
What to look for on the label
Skip anything that lists sulfates like sodium lauryl sulfate near the top of the ingredient list. They lather big, which feels satisfying, but that lather comes from stripping power your fine strands don't need on a regular wash day. Instead, look for these markers of a lightweight cleanser:
- Sulfate-free surfactants like cocamidopropyl betaine or decyl glucoside, which clean gently without over-drying
- Low or no silicone content, since silicones build up fastest on thin strands
- Thin, watery consistency rather than a thick, creamy texture, which signals fewer heavy conditioning agents
- Minimal butters or oils listed early in the ingredients, since those add weight before you've even styled
A shampoo that barely lathers is doing fine curls a favor, not skipping a step.
Where and how to apply it
Apply shampoo to your scalp only, using your fingertips (never nails) to work it in with small circular motions. This loosens oil and debris at the root without dragging cleanser down the length, where it can leave curls feeling dry and prone to frizz once they're rinsed and dried. Let the suds slide down naturally as you rinse instead of scrubbing them through your ends. This one adjustment, focusing effort at the root and letting gravity handle the rest, is often the difference between curls that look fresh and curls that look flat by afternoon.
Rinse temperature and timing
Rinse with cool to lukewarm water rather than hot. Hot water opens the cuticle wider than necessary and can leave fine strands more porous, which means they'll absorb product unevenly in the next step. Spend an extra thirty seconds making sure every trace of shampoo is gone, especially at the nape and behind the ears, since leftover residue there is a common source of buildup that people miss because they can't see it easily.
Once your scalp feels clean and your strands feel light rather than squeaky, you're done. Move straight into conditioning while your hair is still soaking wet, since fine curls lose moisture fast once they're exposed to air, and the next step is where you'll rebuild slip and softness without adding weight back in.
Step 3. Condition without weighing curls down
Conditioner is where most fine curly hair routines go wrong. You've just stripped buildup and cleansed lightly, so this is the moment to rebuild slip and softness, not undo all that work with a rich, butter-loaded formula. Lightweight conditioner should restore moisture and make detangling easier without leaving a coating that flattens your curl pattern once it dries.
Picking a formula that won't collapse your curls
Look at the first five ingredients on the bottle before you buy. If shea butter, mineral oil, or heavy silicones show up near the top, that conditioner is built for coarse hair, not yours. For fine curls, prioritize:
- Water as the first ingredient, which signals a thinner, more absorbable base
- Lightweight emollients like glycerin or aloe rather than thick butters
- Slip agents such as cetrimonium chloride, which detangle without heavy buildup
- Protein in small doses, since fine strands benefit from light protein but go brittle with too much
The best conditioner for fine curls is the one that disappears into your hair, not the one that sits on top of it.
Where to apply and how much to use
Apply conditioner mid-shaft to ends only, skipping your roots entirely. Roots have their own natural oil supply, and adding conditioner there is one of the fastest ways to end up with limp, greasy-looking curls by hour three. A coin-sized amount is usually enough for shoulder-length fine curls; if you need more to feel slip through your strands, add small amounts gradually rather than doubling up from the start.
Rinse-out vs leave-in conditioner
Decide before you get in the shower whether you're doing a full rinse-out or leaving some in. Fine curls generally do better with a full rinse-out conditioner followed by a separate, thinner leave-in later, rather than skipping the rinse step to save time. Rinsing out the bulk of the conditioner prevents the double layer of moisturizing product that leads to buildup by day two.
| Approach | Best for | Risk if overused |
|---|---|---|
| Rinse-out only | Daily or every-other-day wash routines | Minimal, this is the safer default |
| Leave-in conditioner | Stretching wash days 3+ days | Buildup and flattened curls if layered too thick |
| Both, rinse-out then leave-in | Low-porosity, moisture-hungry fine curls | Only risky if leave-in isn't diluted or applied sparingly |
Rinse most of the conditioner out with cool water, leaving just enough slip to make detangling easy. That controlled amount of moisture is exactly what the next step depends on, since detangling fine curls works best while hair is still soaking wet and coated in a thin layer of slip, not dripping in conditioner.
Step 4. Detangle gently on soaking wet hair
Detangling is where a lot of fine curly hair gets damaged without anyone noticing until months later, when breakage shows up as flyaways and thin spots. Wet detangling works because water and the slip left over from your conditioner reduce friction between strands, so knots slide apart instead of snapping off. Do this step while hair is still soaking, not towel-dried or air-dried, since fine strands lose that slip fast and tangle right back up once they start drying.
Why a wide-tooth comb beats your fingers (sometimes)
Both finger detangling and a wide-tooth comb work for fine curls, but they solve different problems. Fingers give you more control and let you feel exactly where a knot sits, which matters because fine strands snap under tension that coarser hair would shrug off. A wide-tooth comb clears larger sections faster, which is useful if your curls tangle a lot between washes.
- Start with fingers at the very ends, working out small knots before they compound higher up
- Switch to a wide-tooth comb once the ends are clear, combing from ends toward roots in short strokes
- Never comb from root to end on tangled hair, since that drags every knot down the shaft at once
- Add more conditioner or water the moment you feel resistance instead of forcing the comb through
Detangling fine curls is about patience, not tools. Rushed strokes are what cause the breakage, not the comb itself.
Sectioning makes the difference on fine, easily tangled curls
Divide your hair into four to six sections before you start, clipping each one out of the way until you're ready for it. Working in small sections means you're never fighting a full head of tangled curls at once, which is exactly the kind of tension fine strands can't handle without snapping. This also helps you apply leave-in products evenly in the next step, since sectioned hair gets more even coverage than one big wet mass.
Rinse your comb or fingers between sections if you notice shed hair collecting, since leftover strands tangling into wet hair creates new knots you didn't have a minute ago. Once each section is fully detangled and smooth, twist it loosely and clip it back up rather than letting it flop loose, where it can re-tangle with a neighboring section before you've finished the rest of your head. By the time you've worked through every section, your curls should feel smooth and slip-coated but not dripping, which is the exact condition you want going into styling.
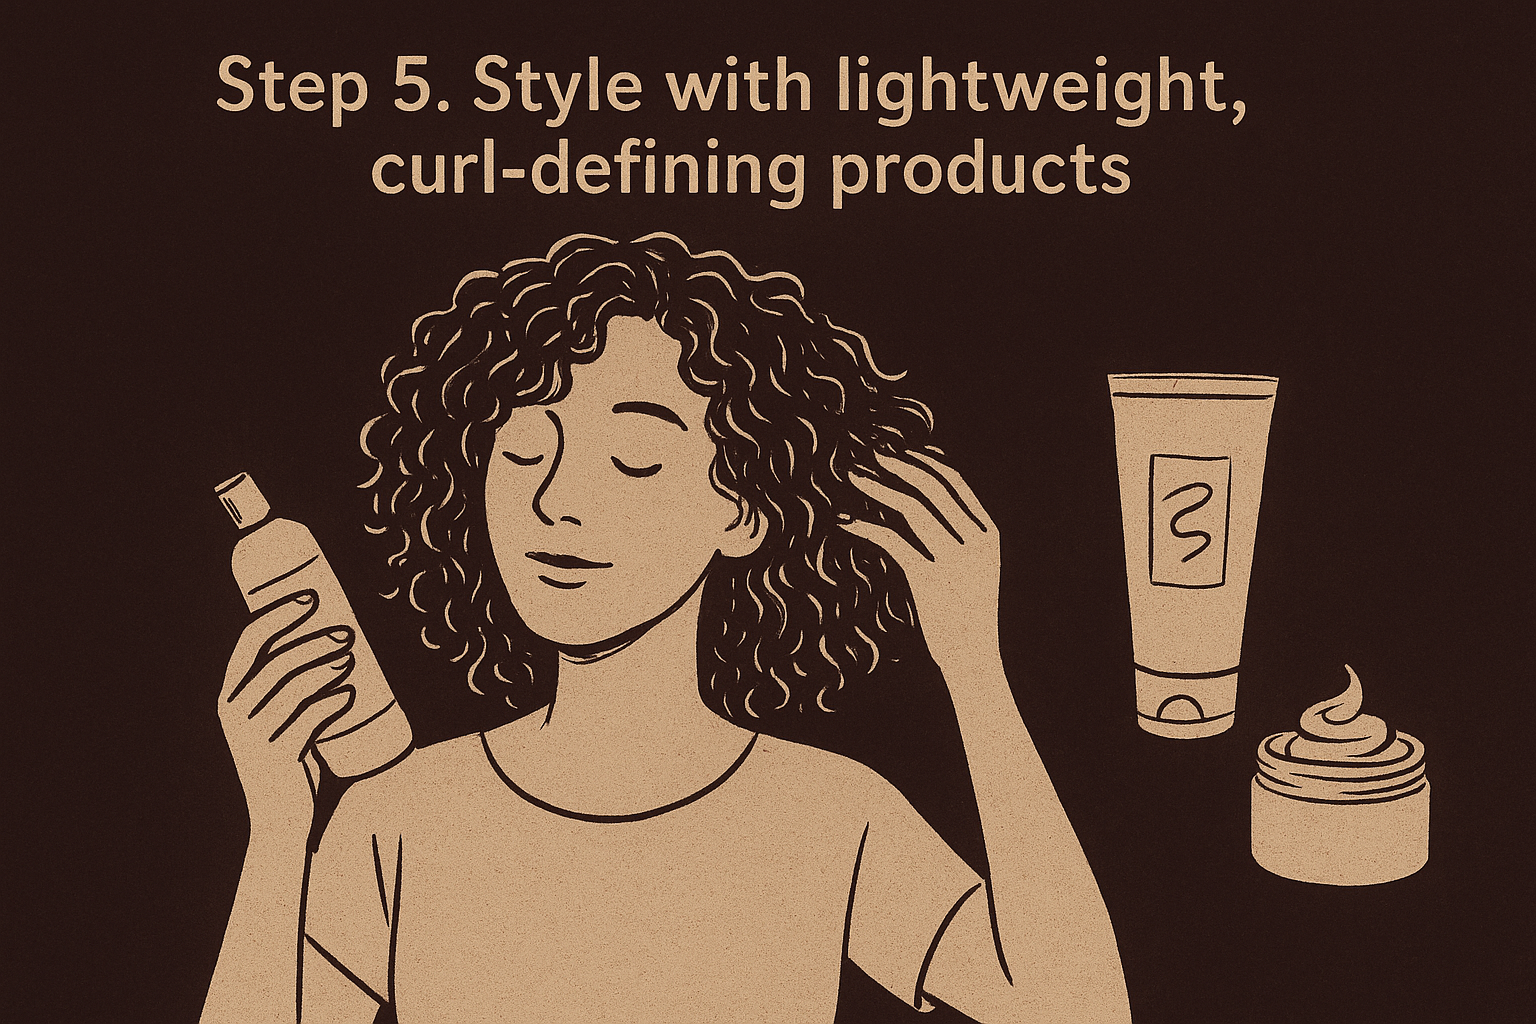
Step 5. Style with lightweight, curl-defining products
Styling is where every previous step either pays off or falls apart. Your curls are detangled, sectioned, and coated in a thin layer of slip, which means they're primed to absorb product evenly instead of pooling it in patches. Curl-defining products for fine hair work best applied in thin layers, not one heavy application, since fine strands can only hold so much before they clump into limp pieces instead of springy curls.
Building your product stack in the right order
Layering order matters as much as product choice. Apply lightest to heaviest, and always on soaking wet hair, section by section, using the same clips from the detangling step.
- Leave-in conditioner first, a few drops per section, raked through with fingers for even coverage
- Lightweight curl cream second, a dime-sized amount per section, scrunched upward rather than smoothed down
- Light-hold gel last, applied in a praying-hands motion to encase the curl and lock in shape without adding weight
Fine curls hold better with three thin layers than one thick one.
Techniques that add definition without bulk
Microplopping is worth learning if you haven't already. After applying your product stack, flip your head forward and gently press a microfiber towel or cotton t-shirt against your curls for 30 to 60 seconds, section by section, instead of the full-head plop coarser curls use. This removes excess water and product without disturbing the clumps you just formed, which matters because fine curls lose their shape fast if you're rough with them at this stage.
Finger coiling works well for anyone wanting more defined, separated ringlets rather than one big clumped section. Take a small piece of hair, about the width of two fingers, and twirl it around your finger in the direction it naturally curls, then release. Repeat through each section. It takes longer than scrunching, but on fine curls, it produces noticeably crisper definition because you're shaping the curl instead of just coating it.
Skip these product categories entirely
Certain formulas undo everything you've done so far, no matter how well you apply them:
| Skip this | Why it fails fine curls |
|---|---|
| Mousse with heavy polymers | Feels light going on, flakes and stiffens by afternoon |
| Butter-based styling creams | Coats strands too thick, collapses clumps within hours |
| Anti-frizz serums with dimethicone | Builds up fast, leaves curls greasy by day two |
Once your product stack is applied and clumps are formed, resist the urge to touch or restyle. Every extra pass of your hands breaks up the clumps you just built, and fine curls don't have the density to reform on their own once disturbed.
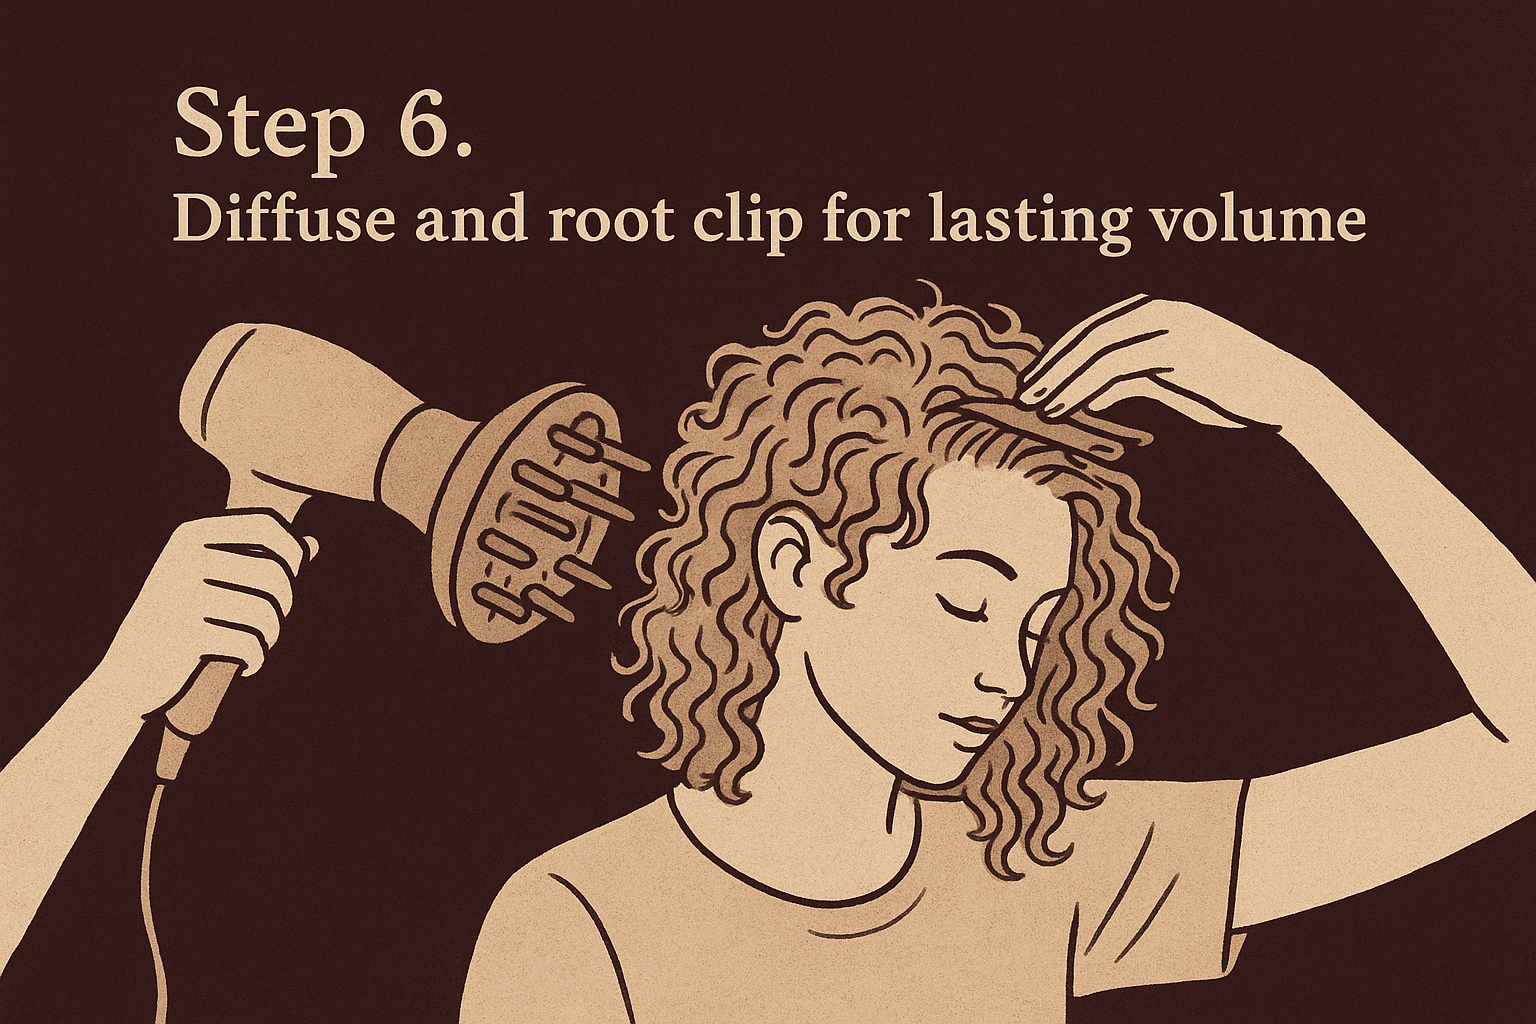
Step 6. Diffuse and root clip for lasting volume
Drying is the step that decides whether your curls hold shape all day or collapse the second they touch a pillow or a humid sidewalk. Diffusing on low heat dries curls fast enough to lock in the clumps you built during styling, but air drying alone often lets fine strands droop under their own weight before they ever set. The goal here isn't just removing water, it's drying your curls in the position you want them to keep.
Setting up your diffuser correctly
Attach the diffuser bowl and flip your head upside down, cupping sections into the diffuser rather than blasting air straight down at your roots. Hot air on high speed disrupts fine clumps and creates frizz, so keep heat on low or medium and airflow on low as well. Hold each section in the diffuser bowl for 10 to 15 seconds before moving to the next, working from the nape upward.
- Low heat, low speed, always, since fine strands scorch and frizz faster than coarse ones
- Cup, don't rustle, holding sections still instead of shaking the diffuser through them
- Dry to 80 percent with the diffuser, then let the last stretch finish air drying to avoid over-drying fragile ends
Volume on fine curls comes from how you dry them, not from how much product you used.
Root clipping for lift that lasts
Once your curls are roughly 80 percent dry, clip your roots up before they finish setting. Take small sections at the crown and front hairline, lift them straight up away from the scalp, and secure each with a duckbill clip or a curl clip. Leave the clips in for 10 to 15 minutes while the rest of your hair finishes air drying. This is the single most effective trick for fine curly hair volume, because it trains the root to dry lifted instead of flat against your scalp, where gravity would otherwise pull it the second you stop diffusing.
Finishing touches once hair is fully dry
Remove the clips only after your hair is completely dry, not just dry to the touch at the surface. Pulling clips too early lets damp roots fall flat again, undoing the entire step. Once clips are out, resist brushing or fluffing with your fingers. If a few pieces need separating, use a small dab of dry oil on just your fingertips, applied to the very ends only, never the roots. Your curls should now hold definition, volume at the root, and a shape that lasts well past midday without a single heavy product weighing them down.
Finding your fine curl rhythm
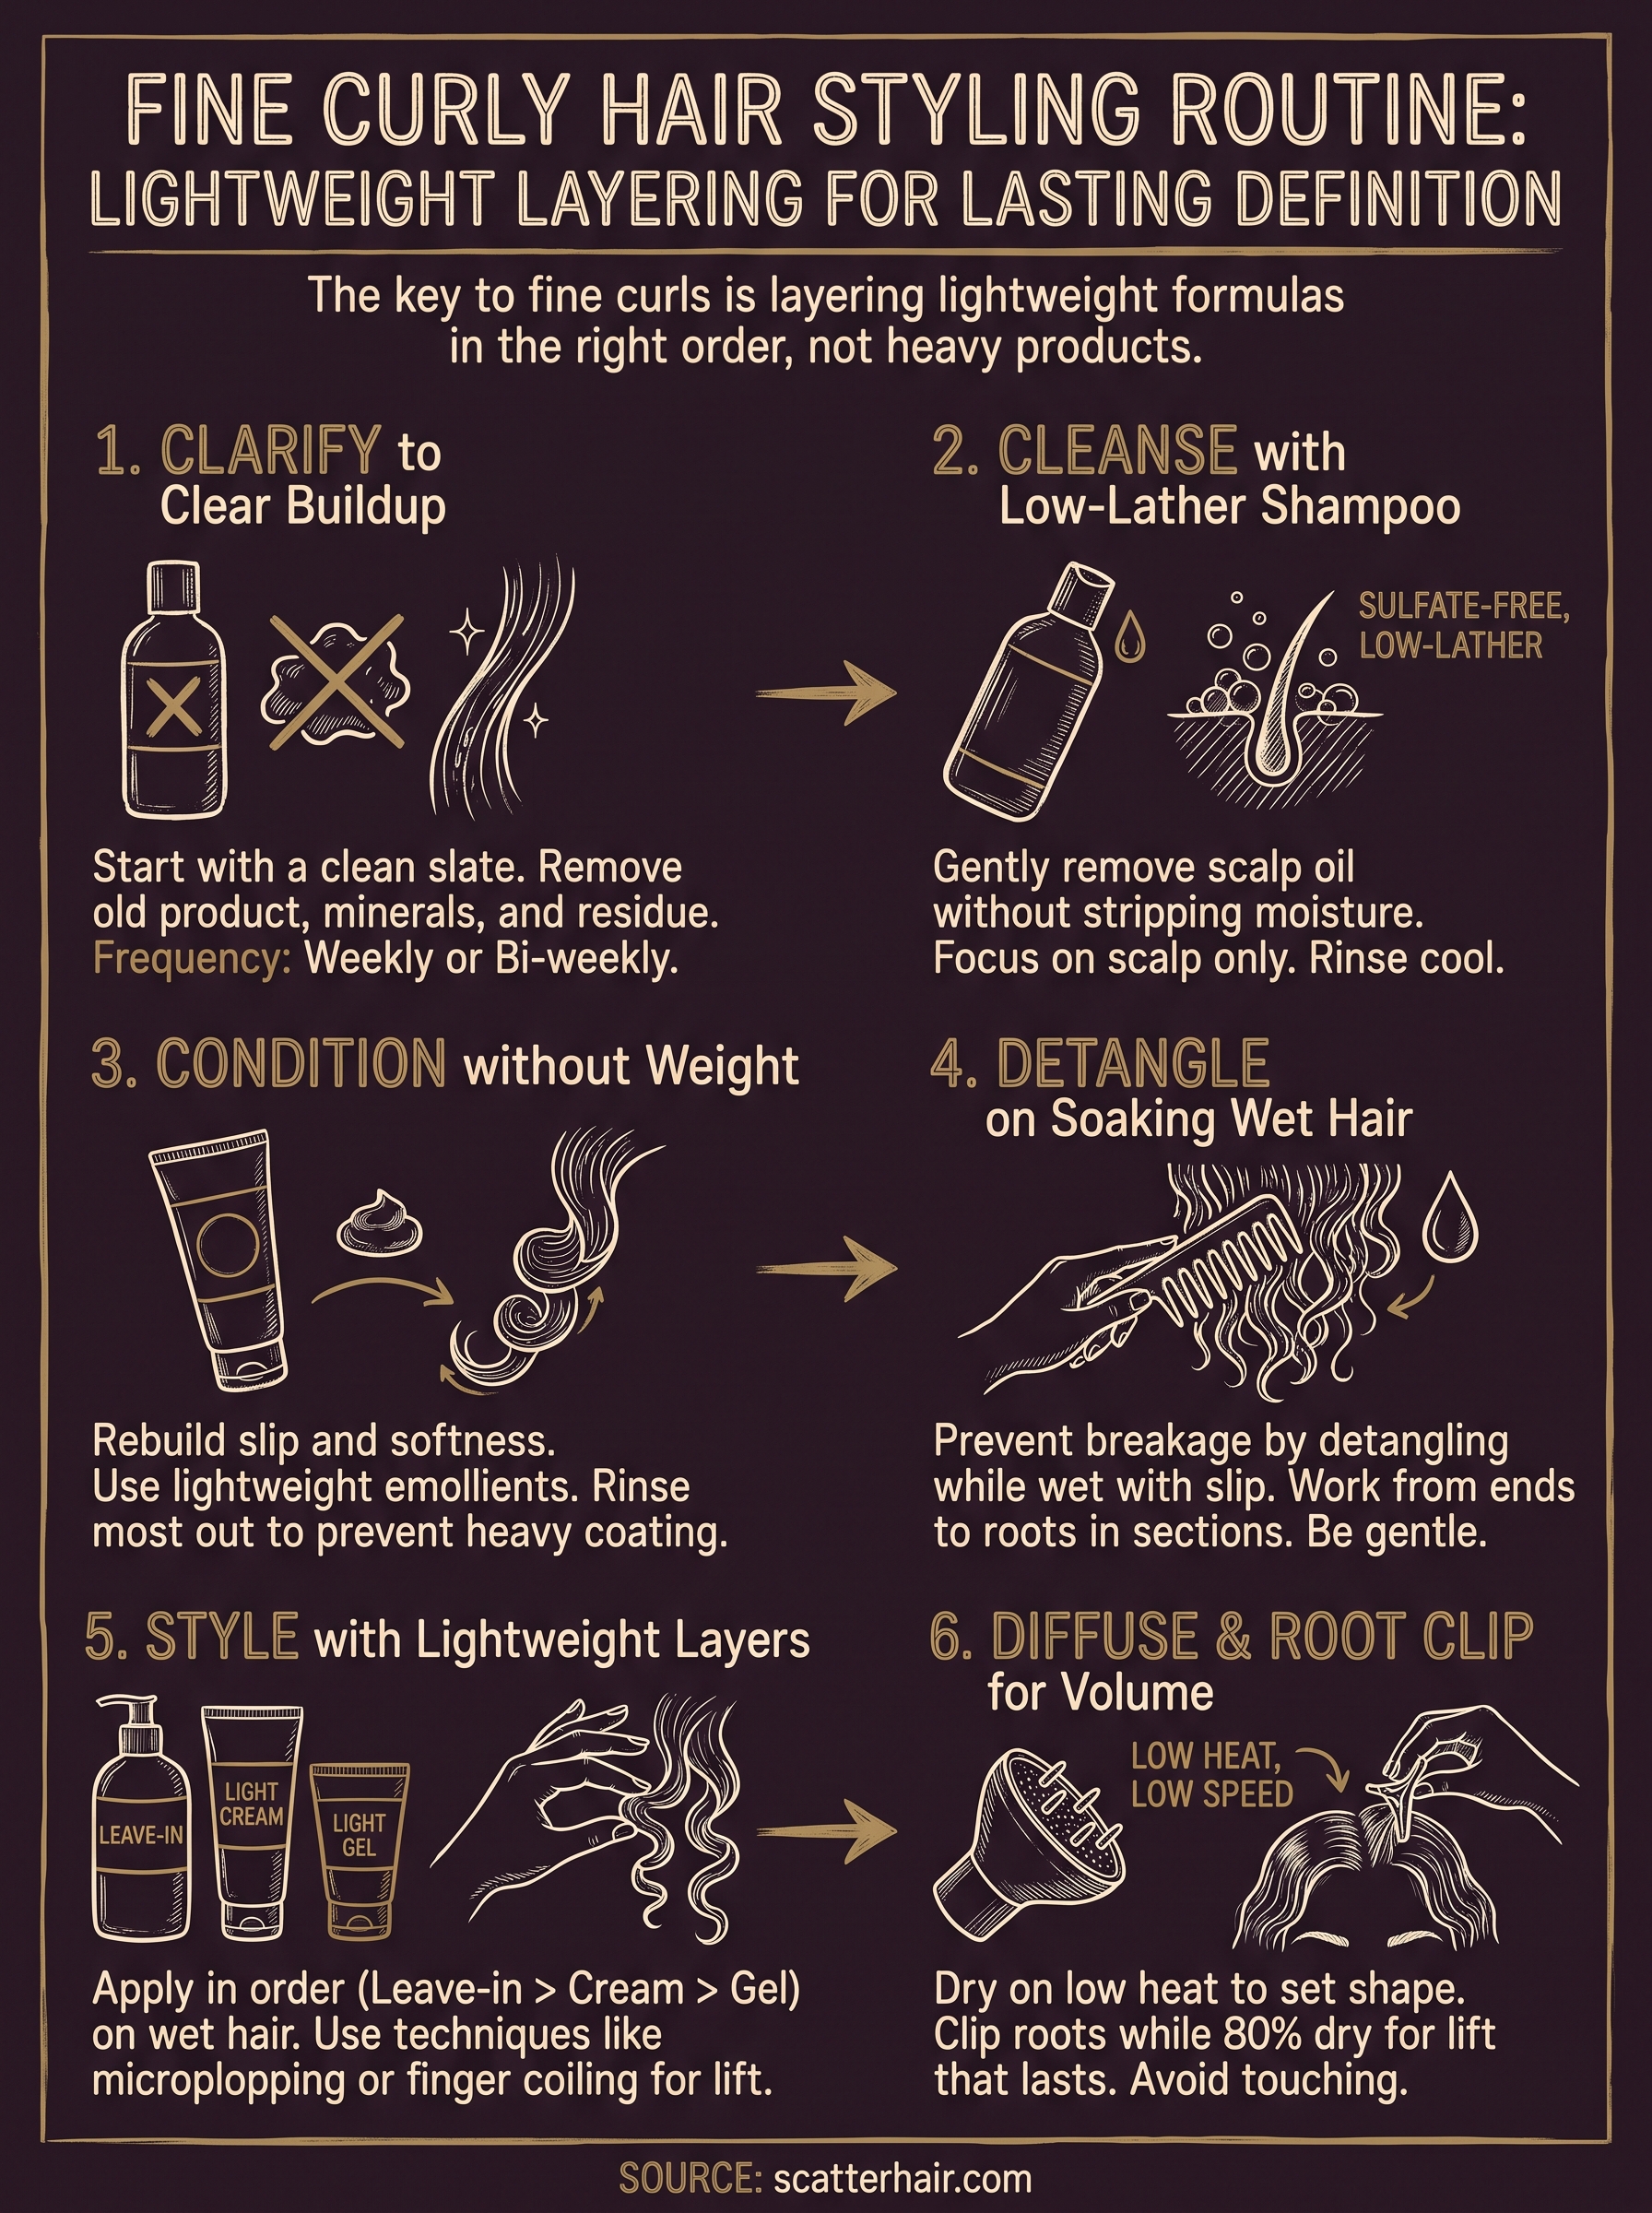
Six steps sound like a lot until you realize most of them take seconds, not minutes. Clarify, cleanse, condition, detangle, style, diffuse. Once you've done this sequence two or three times, you'll know exactly how much product your curls actually need, which is almost always less than you think. Fine curly hair rewards consistency more than any single product, so give your routine a few wash days before you start swapping formulas again.
Think of this less as a strict routine and more as a framework you adjust as your hair tells you what it needs. Some weeks you'll skip the leave-in. Other weeks your curls will want an extra clarifying wash. That flexibility, built on lightweight layering, is what keeps fine curls defined instead of flat.
If you're still hunting for products actually formulated for textured, low-density curls, join the list at Scatter for early access and styling guides built around hair like yours.