

Overnight Braid Out: A No-Heat Routine For Soft Curls
The overnight braid out is one of the simplest ways to get soft, defined curls without picking up a single heat tool. You braid damp or prepped hair before bed, sleep on it, and wake up to waves and curls that actually hold shape, no diffuser, no curling iron, no damage.
But if you've got textured hair, you already know the gap between "simple in theory" and "works in practice." The wrong prep, the wrong braid size, or the wrong product can leave you with frizz, flat roots, or curls that drop by noon. That's exactly the kind of styling frustration we're tackling at scatterhair, building products that make textured hair easier to work with, not harder. Because styling should feel effortless, not like a gamble.
This guide breaks down the full routine step by step: how to prep your hair, how to braid it, how to sleep without wrecking it, and how to unravel for the best results. Whether you're brand new to braid outs or you've been doing them for years and want a more consistent outcome, you'll walk away with a method that actually holds up the next morning.
What an overnight braid out is and what you need
An overnight braid out is a heatless styling method where you section your hair into braids while it's damp or product-loaded, let the braids set overnight, and unravel them in the morning for curls or waves. The technique works by training your hair's shape as it dries, so the curl pattern you get reflects the size and tension of the braids you put in. Bigger braids give you loose waves. Smaller braids give you tighter, more defined curls.
How it works on textured hair
Textured hair holds shape well when it dries under tension, which is exactly what braiding does. When you braid damp hair and leave it overnight, the hair dries molded to the braid's pattern. By morning, your strands have set in that shape. The key is that the hair needs to be mostly dry before you unravel, otherwise the curl won't hold. That's why the prep phase matters as much as the braid itself.
The drier your hair is when you take the braids down, the longer the curl pattern holds throughout the day.
What you need
You don't need much to get started. Most of what you need you probably already have, and the items below cover the full routine from prep to morning takedown:
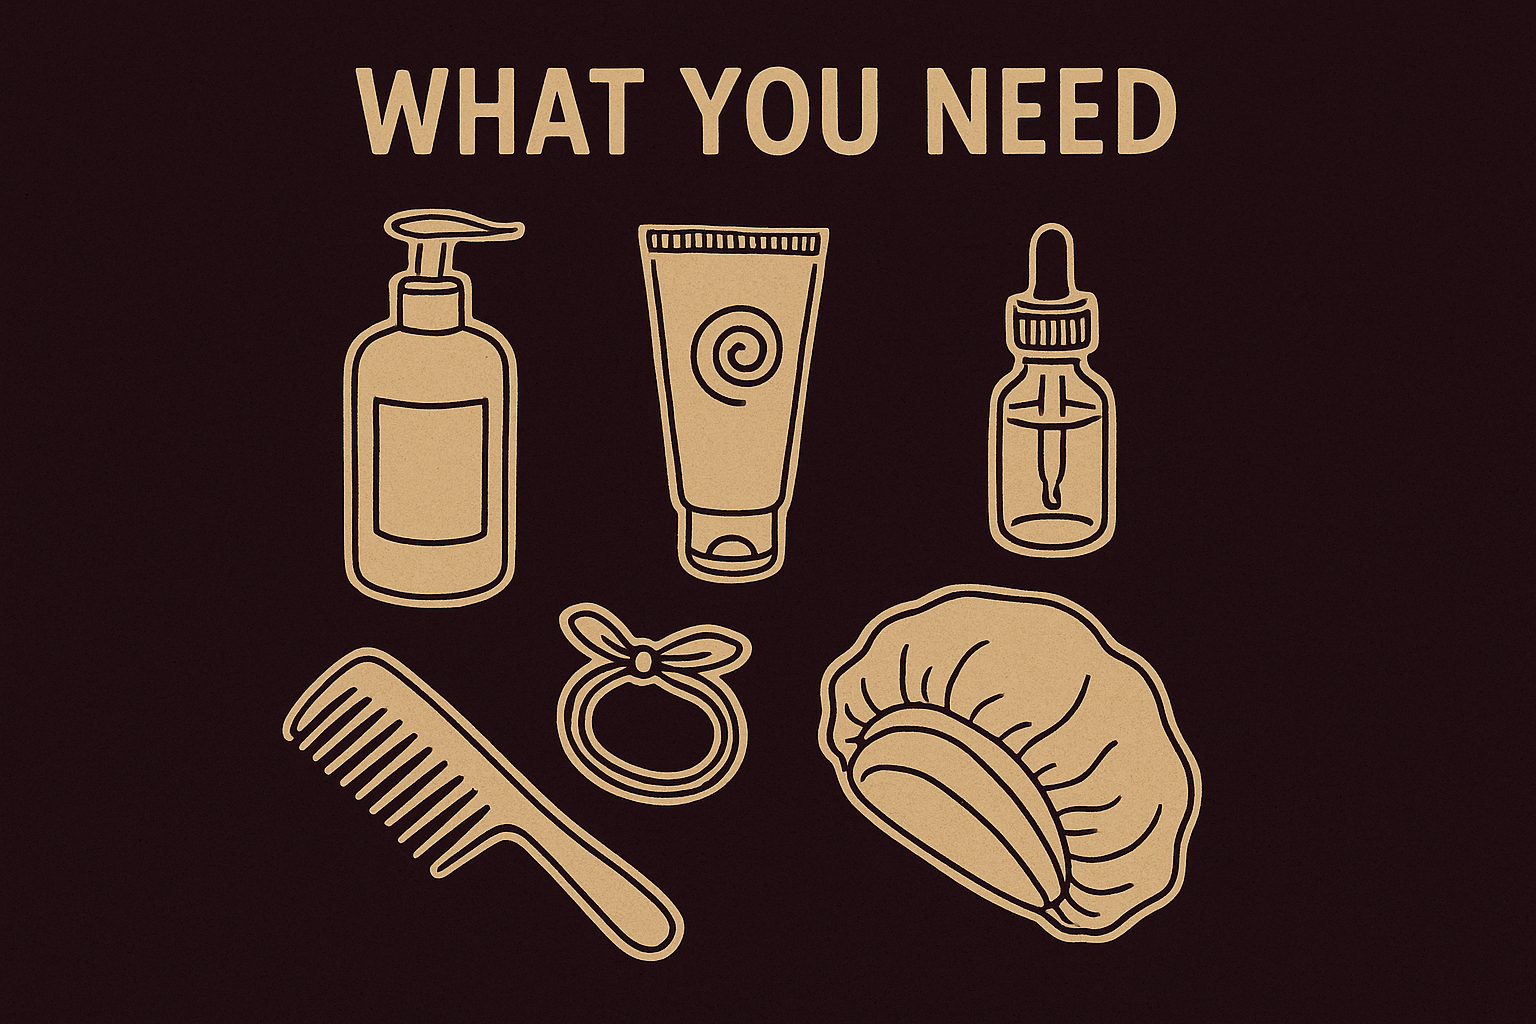
- Leave-in conditioner to hydrate and cut frizz before braiding
- Curl cream or styling butter to define and hold the pattern
- A light oil (jojoba or argan work well) to seal moisture in
- Fabric hair ties or bands that won't leave creases in your hair
- A satin or silk scarf or bonnet to protect the braids while you sleep
- A wide-tooth comb or detangling brush for prepping before you braid
No heat tools or complicated equipment required, just the right products and a routine that does the work while you sleep.
Step 1. Prep your hair so it sets overnight
Prep is what separates an overnight braid out that holds all day from one that falls flat by mid-morning. Your hair needs to be damp and product-coated before you start braiding, giving the strands something to mold to as they dry. Skipping this step or rushing it is the most common reason people don't get the results they want.
Start with damp, not soaking wet hair
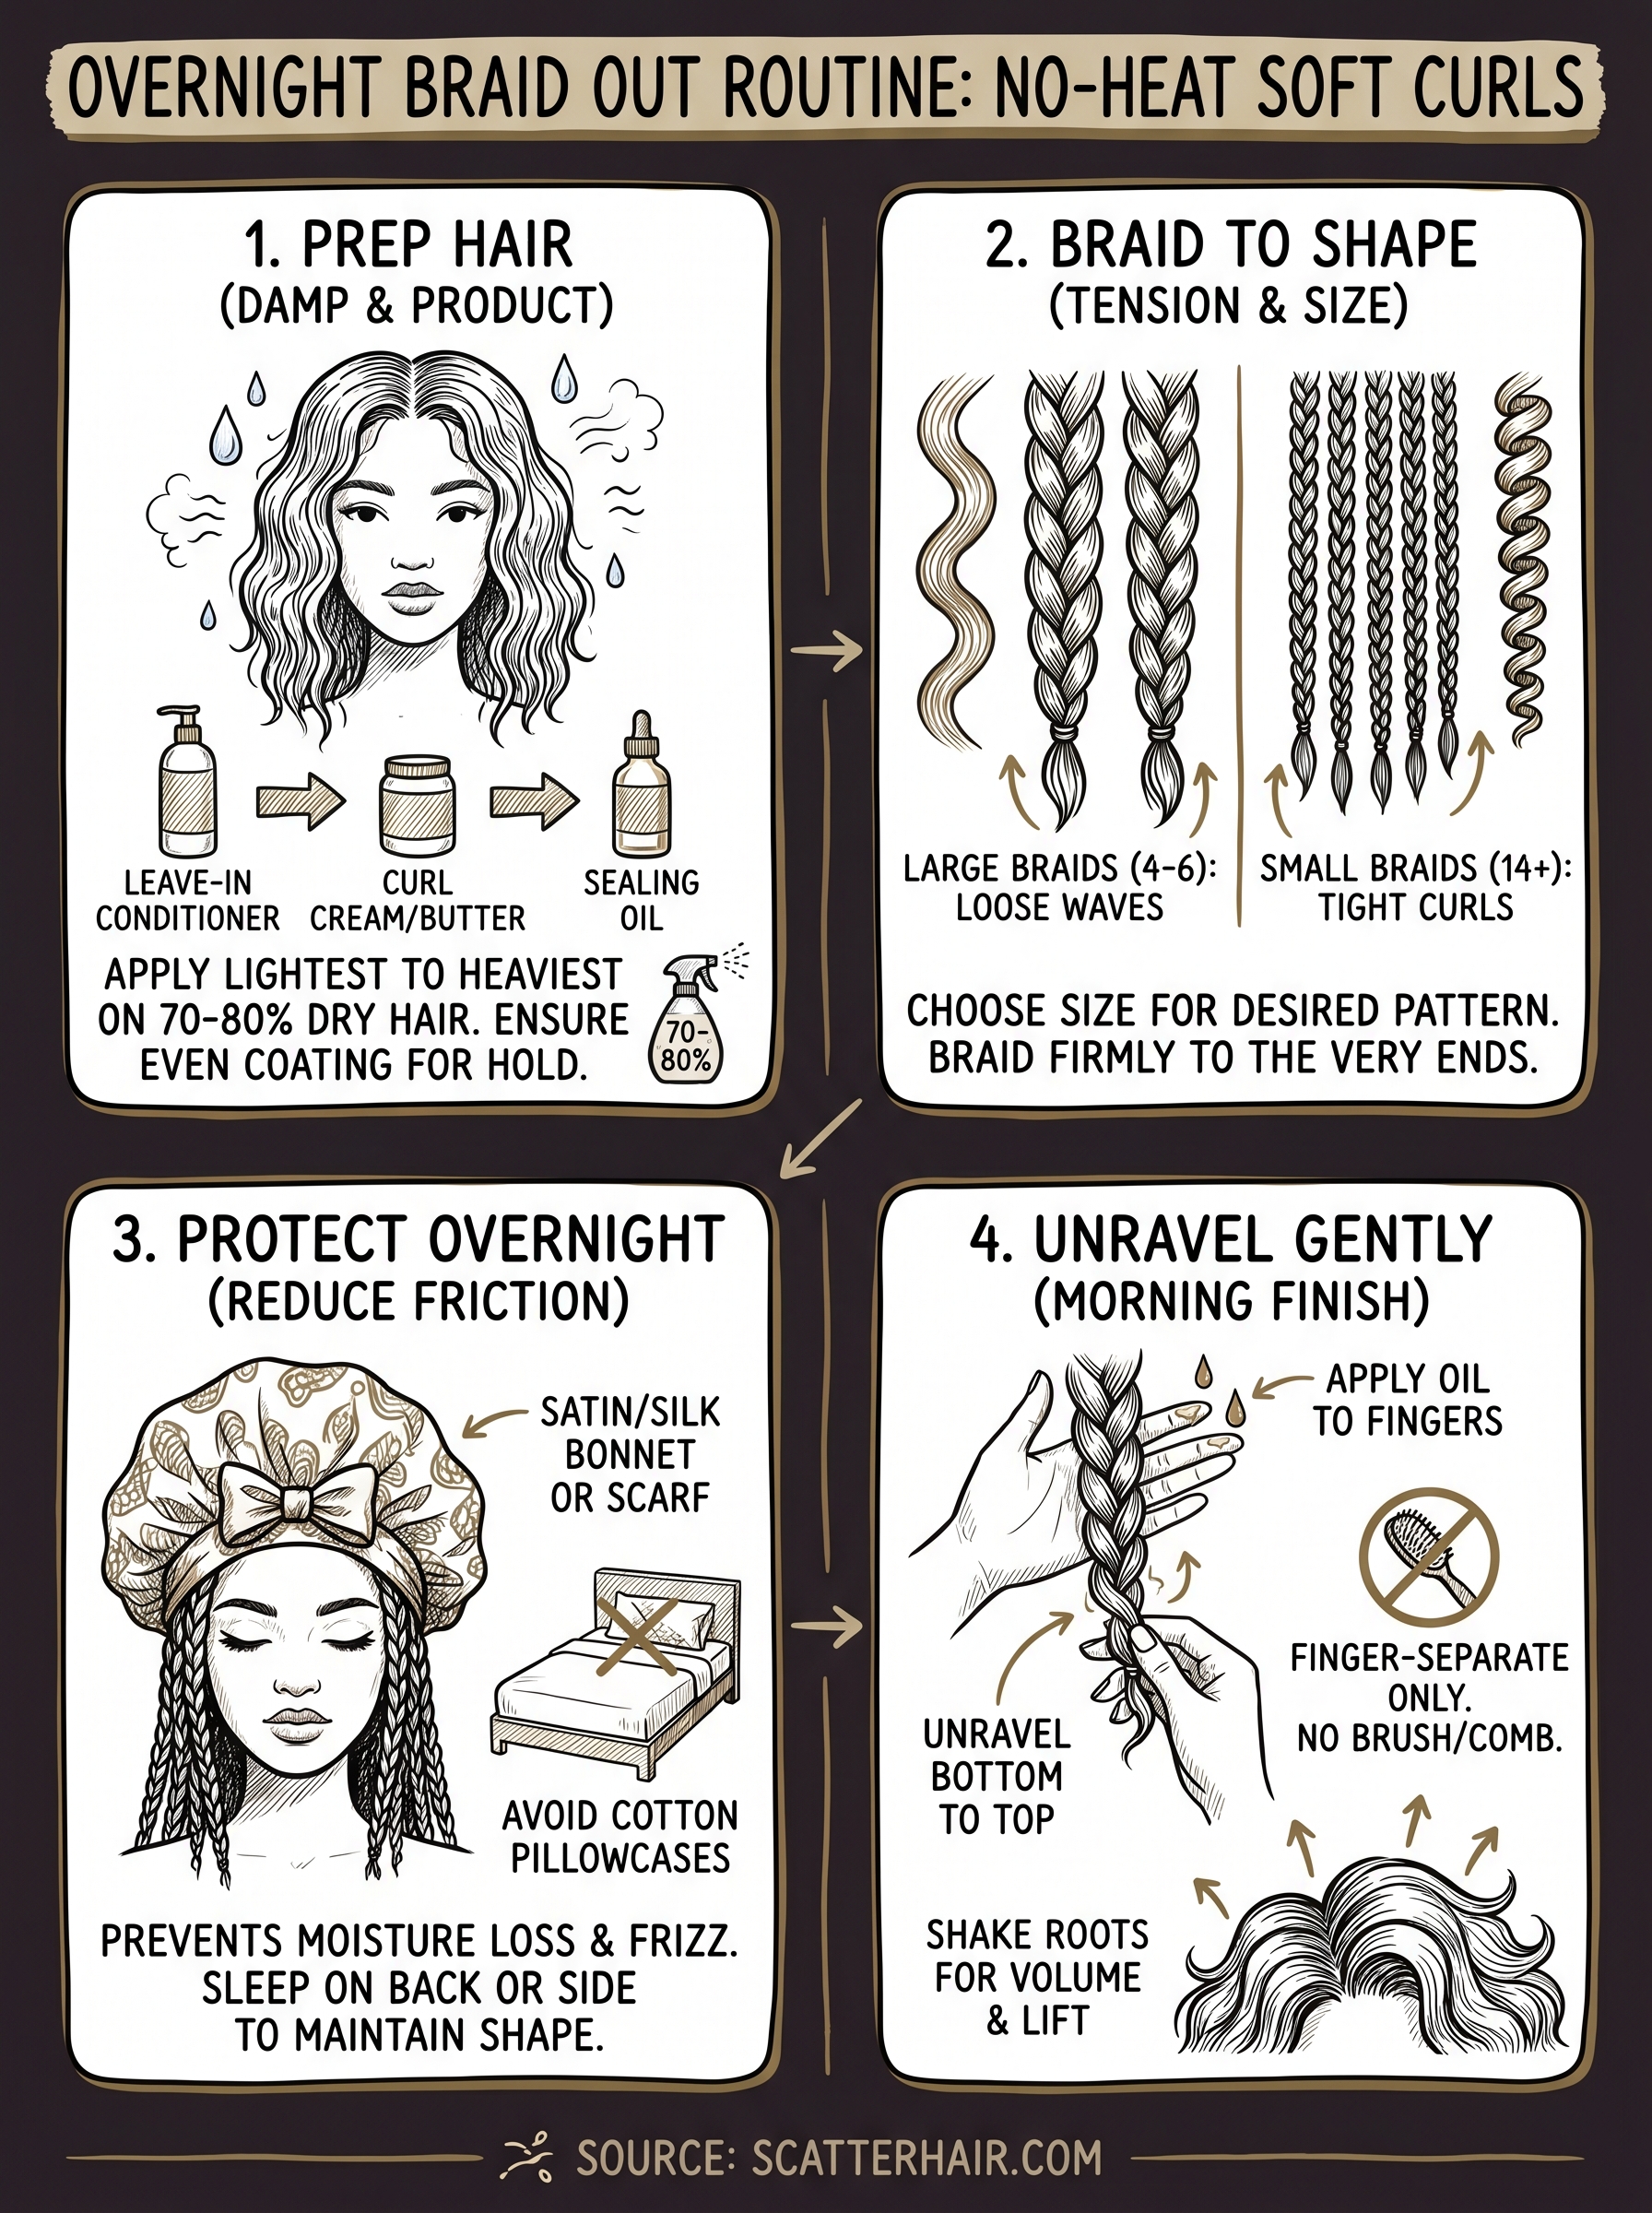
Soaking wet hair takes too long to dry, and if your braids are still wet when you take them down in the morning, the curl won't hold. Aim for hair that's about 70 to 80 percent dry before you start braiding. You can either braid right after washing and squeezing out the excess water, or spritz dry hair lightly with water until it's damp throughout.
Hair that's too wet when you unravel the braids will drop its curl pattern within the hour.
Apply products in the right order
Layer your products from lightest to heaviest: start with a leave-in conditioner on each section, then follow with a curl cream or styling butter. Finish with a small amount of oil to seal everything in. Apply products section by section as you braid, not all at once, so nothing dries out before you get to it.
Step 2. Braid for the curl pattern you want
How you braid determines everything about the curl you wake up to. Braid size, section count, and tension all shape the final result, so this step in your overnight braid out routine deserves real attention, not just a quick plait before you crash.
Braid size and what it gives you
Start by deciding what curl pattern you're going for, then choose your braid size to match. Fewer, larger braids give you soft waves with body. More, smaller braids give you tighter, more defined curls.
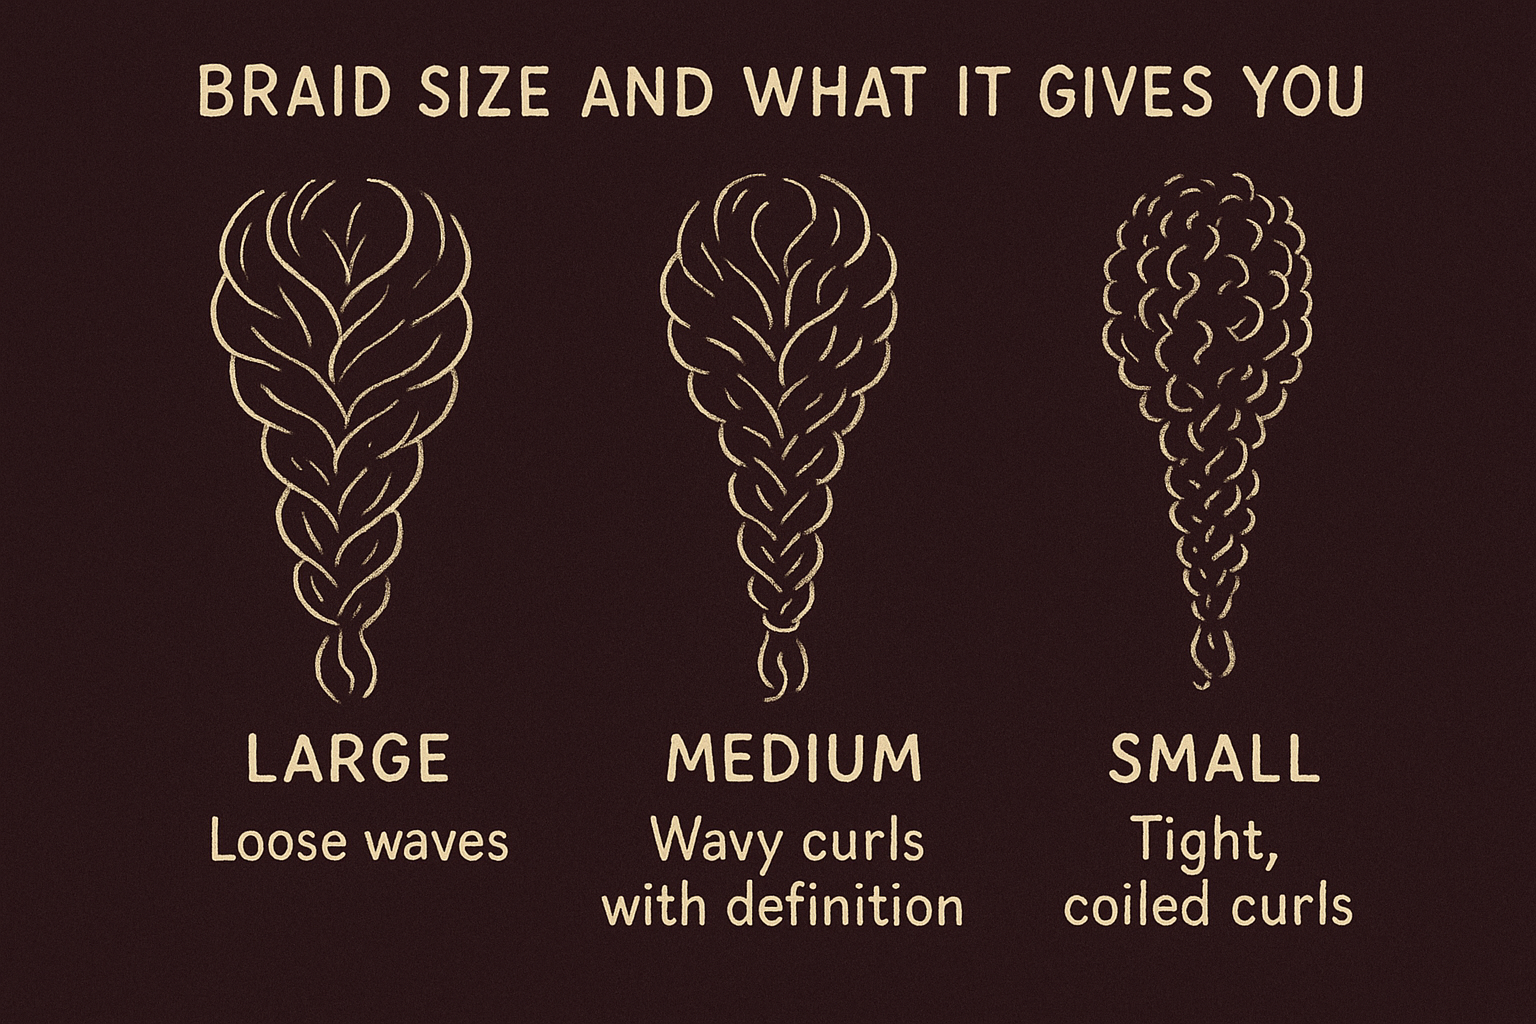
| Braid size | Number of braids | Result |
|---|---|---|
| Large | 4 to 6 | Loose waves |
| Medium | 8 to 12 | Wavy curls with definition |
| Small | 14 or more | Tight, coiled curls |
If you want volume at the roots, braid each section straight back from the scalp rather than starting the braid flat against your head.
How to braid for the best result
Braid each section all the way to the ends before securing it. Stopping short leaves the ends straight, which breaks up your curl pattern in the morning. Keep your tension firm but not tight, since braids that are too tight leave your roots looking stretched and flat when you take them down.
Step 3. Protect the braids while you sleep
Your overnight braid out can unravel, frizz, or flatten while you sleep if you skip the protection step. Cotton pillowcases absorb moisture from your hair and create friction that loosens your braids and pulls at the roots by morning. Protecting your braids before you lie down keeps everything in place and preserves the moisture your products locked in.
Sleeping on cotton without protection is one of the fastest ways to undo the work you put into prep and braiding.
Use a satin or silk bonnet or scarf
A satin or silk bonnet is the easiest option for protecting your braids. Pull it over your hair before bed, making sure no braids are sticking out or bent at an odd angle. If a bonnet doesn't fit comfortably, use a large satin scarf tied loosely at the nape of your neck instead.
- Bonnet: best for shorter to medium-length braids
- Scarf: better for long or voluminous braids that won't fit under a bonnet
- Satin pillowcase: backup option if neither stays on through the night
Sleep position matters too
Try to sleep on your back or side to avoid crushing the braids under your neck or shoulder. This keeps the braid pattern intact and your roots lifted.
If you move around at night, a satin pillowcase gives you a backup layer of protection even when your bonnet shifts during sleep.
Step 4. Take down, separate, and refresh in the morning
How you unravel matters as much as how you braided. Rushing the takedown or using the wrong technique will break up your curl pattern and create frizz before you leave the bathroom. Your overnight braid out results hold longer when you slow down for this step.
How to unravel without losing definition
Put a small amount of oil on your fingertips before you touch the braids. This reduces friction and keeps frizz down as you unravel. Work from the bottom of each braid upward, loosening each plait gently rather than yanking it apart.
Never use a brush or comb to separate your curls after a braid out, fingers only.
- Unravel each braid from the end up
- Keep oil on your fingertips throughout
- Separate curls with your fingers, not a tool
- Work one section at a time
Refresh and shape the finish
Once the braids are out, shake your roots with your fingertips to lift volume at the scalp. If any section looks flat, scrunch a small amount of curl cream into it and let it air dry for a few minutes before moving on.
Your final shape comes from working from the root outward, not from the ends. Pulling from the ends collapses the curl; lifting from the root keeps volume and definition intact.
Keep the look going
Your overnight braid out can last two to three days with the right maintenance routine. At night, loosely re-twist your curls or gather them into a pineapple at the top of your head, then cover with your satin bonnet. This keeps your curl pattern intact so you're not starting over every morning.
On day two, a light spritz of water mixed with a small amount of curl cream refreshes any sections that have dropped or flattened. Focus on the areas that lose definition first, usually around your hairline and the nape of your neck. Work the product in with your fingers and scrunch upward to revive the shape without adding weight. Avoid over-touching throughout the day, since handling your curls too much breaks up the pattern faster than anything else.
When you're ready to build a full textured styling routine around products built to perform, check out what Scatter is working on ahead of the 2026 launch.