

5 Best Protective Styles For Short Natural Hair To Grow
Short natural hair doesn't mean limited styling options. If you're rocking a TWA or growing out a big chop, finding protective styles for short natural hair can feel tricky, but it doesn't have to be. The right styles shield your ends from breakage, reduce daily manipulation, and give your curls the breathing room they need to actually grow.
At scatterhair, we're all about making textured hair styling effortless, not exhausting. That means knowing which looks work for your hair, not against it. Below, we're breaking down five protective styles that actually work for shorter lengths, no waist-length braids required. Whether you want something low-maintenance for the week or you're ready to switch things up, these options help you retain length while embracing your natural texture.
1. Mini twists
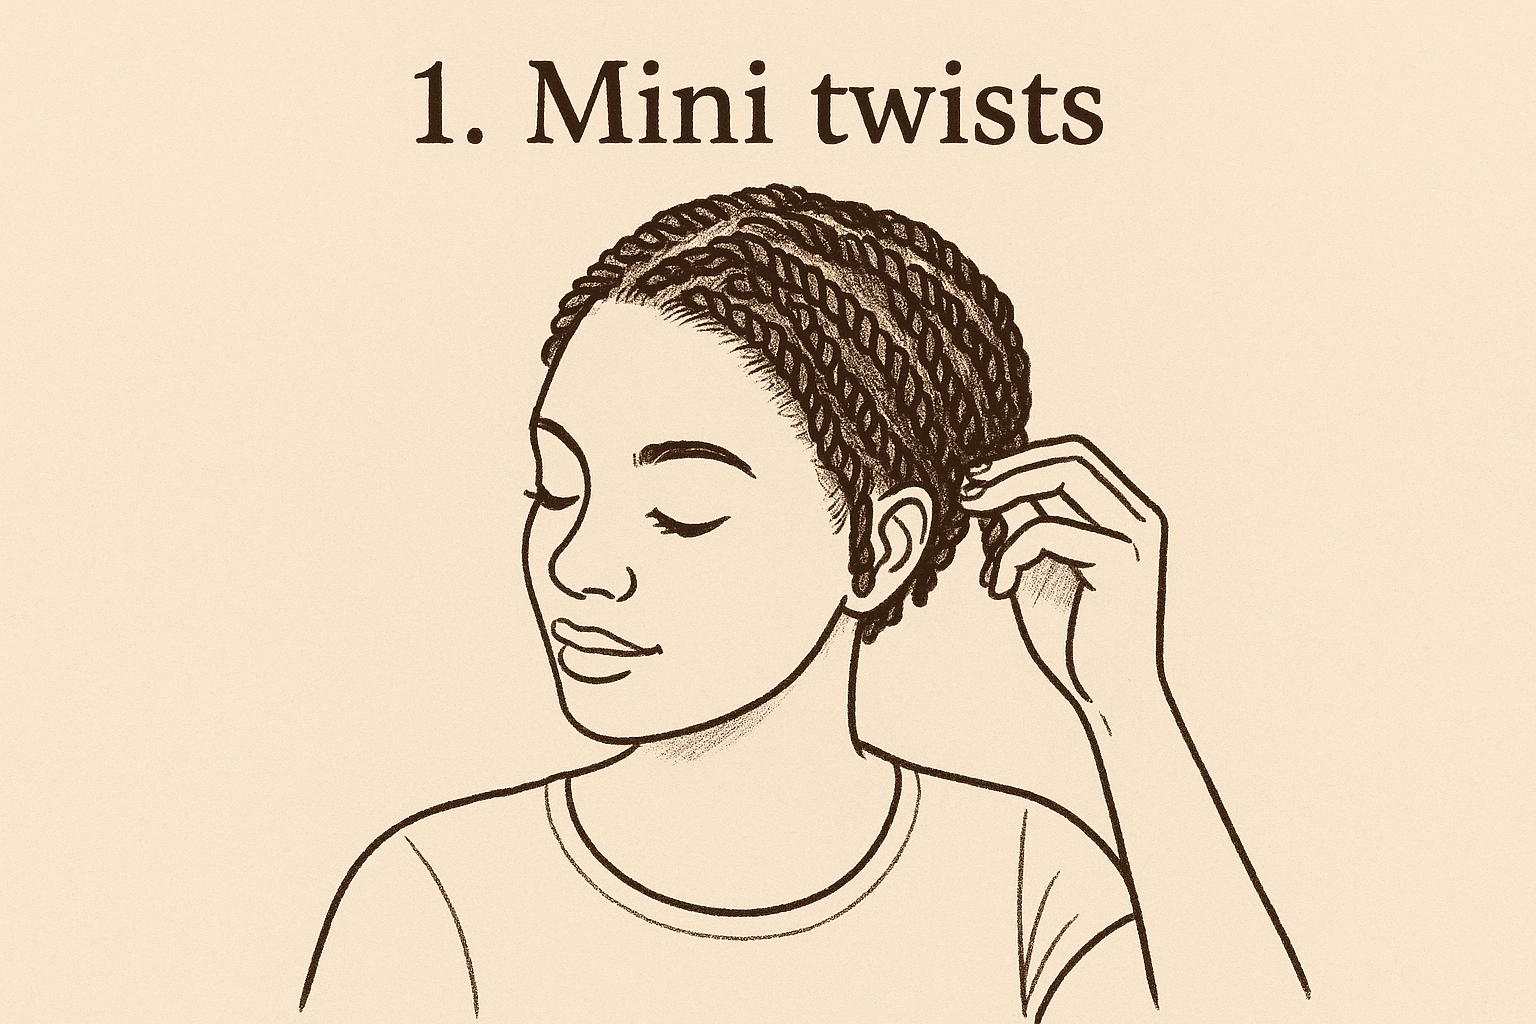
Mini twists give you one of the most flexible protective styles for short natural hair because they work at almost any length. You twist small sections of hair from root to tip, creating defined coils that tuck your ends away and cut down on daily styling. They look polished, they're easy to maintain, and they let your hair rest without locking you into a single look for weeks.
Why mini twists help you retain length
Mini twists protect your ends by keeping them coiled and contained, which means less friction against your clothes, pillowcase, or hands throughout the day. When you leave your hair in a twist-out or loose style, your ends are constantly exposed to potential breakage from rubbing and tangling. Twists eliminate that risk while still letting your scalp breathe.
Keeping your ends tucked is one of the simplest ways to hold onto the length you're growing.
How to install mini twists on short hair
Start with freshly washed and conditioned hair that's damp, not soaking wet. Part your hair into small sections using a rat-tail comb, then apply a lightweight leave-in conditioner followed by a twist cream or gel. Twist each section tightly from root to tip, making sure the ends are secure. The smaller your sections, the longer your twists will last and the fuller they'll look on shorter hair.
How to keep mini twists moisturized without buildup
Spritz your twists every few days with a water-based leave-in spray or diluted conditioner in a spray bottle. Focus on the length and ends, not your scalp, to avoid clogged follicles. Seal the moisture in with a light oil like jojoba or grapeseed. Heavy creams will just sit on top of your twists and attract lint.
How to wash your scalp while wearing mini twists
Dilute a sulfate-free shampoo with water in an applicator bottle and apply it directly to your scalp in sections. Massage gently with your fingertips, then rinse thoroughly, letting the water run down the length of your twists. Follow up with a light conditioner if your hair feels dry, then let your twists air-dry or use a hooded dryer on low heat.
When to take them down and what to do next
Keep mini twists in for two to four weeks maximum to avoid matting at the roots. When you take them down, saturate each twist with conditioner or oil before unraveling it to reduce breakage. Detangle gently with your fingers, then follow up with a clarifying wash to remove any product buildup before your next style.
2. Flat twists into a tucked style
Flat twists sit flush against your scalp, giving you a sleek, defined look that works beautifully on shorter lengths. You twist the hair along your scalp in sections, then tuck the loose ends under or pin them for a polished finish. This style keeps your ends protected while giving you a clean, put-together appearance that doesn't require extensions.
Why flat twists work so well on short natural hair
Flat twists lay directly on your scalp, which means they don't add bulk or require a lot of length to look full. They give you the structure of cornrows without the tension, and you can do them yourself at home. Short hair makes the tucking process easier since you're not dealing with long, heavy ends that pull loose.
When your hair sits close to your scalp, you reduce friction and breakage throughout the day.
How to do flat twists for beginners
Start with damp, detangled hair and apply a twist cream or gel for hold. Part a section along your hairline, divide it into two strands, then twist them over each other while picking up hair from the scalp as you go, similar to cornrowing. Keep your sections medium-sized for easier control.
Easy ways to tuck the ends on short lengths
Once you reach the end of a flat twist, wrap the loose tail around itself and secure it with a small bobby pin tucked under the twist. You can also twist the ends into tiny coils and pin them flat against your scalp for a seamless finish.
How to make the style last overnight
Wrap your hair with a silk or satin scarf before bed to keep your flat twists smooth. You can also use a bonnet over the scarf for extra protection if your twists feel loose.
Signs the style has too much tension
If your scalp feels sore, itchy, or tight, your twists are pulling too hard. You might also notice small bumps along your hairline or thinning at the edges, which means you need to loosen up or take the style down.
3. Straight-back cornrows
Straight-back cornrows give you one of the most classic protective styles for short natural hair because they keep your scalp exposed and your ends tucked away for weeks at a time. The braids run from your hairline to your nape in clean, parallel rows that don't require extensions on shorter lengths. This style works whether you do it yourself or head to a braider, but tension matters more than technique when it comes to protecting your hair.
Why cornrows can be protective and when they are not
Cornrows protect your hair by minimizing daily manipulation and keeping your ends secured. They stop being protective when they're installed too tightly, which pulls on your roots and thins your edges. If your scalp feels sore or you see white bumps along the rows, the braids are doing more harm than good.
What to ask for at the braid shop for short hair
Ask for medium-sized cornrows with no extensions if your hair is short. Request that the braider keeps the tension light at your hairline and avoids pulling your edges backward. Mention that you want the braids finished with your natural ends, not burned or glued.
How to keep your scalp calm and clean in cornrows
Apply diluted witch hazel or rose water to your scalp with a cotton pad between the rows to reduce itching. Use a sulfate-free shampoo in an applicator bottle once a week, focusing on your scalp, then rinse thoroughly without disturbing the braids.
How long to keep cornrows in for growth goals
Keep cornrows in for two to three weeks maximum to avoid matting at the roots. Leaving them in longer increases your risk of breakage when you take them down.
The takedown routine that prevents breakage
Saturate each braid with conditioner or oil before you unravel it. Work from the ends upward, using your fingers to gently detangle as you go, then follow up with a clarifying wash.
When you take your time during takedown, you keep the length you worked to protect.
4. Bantu knots
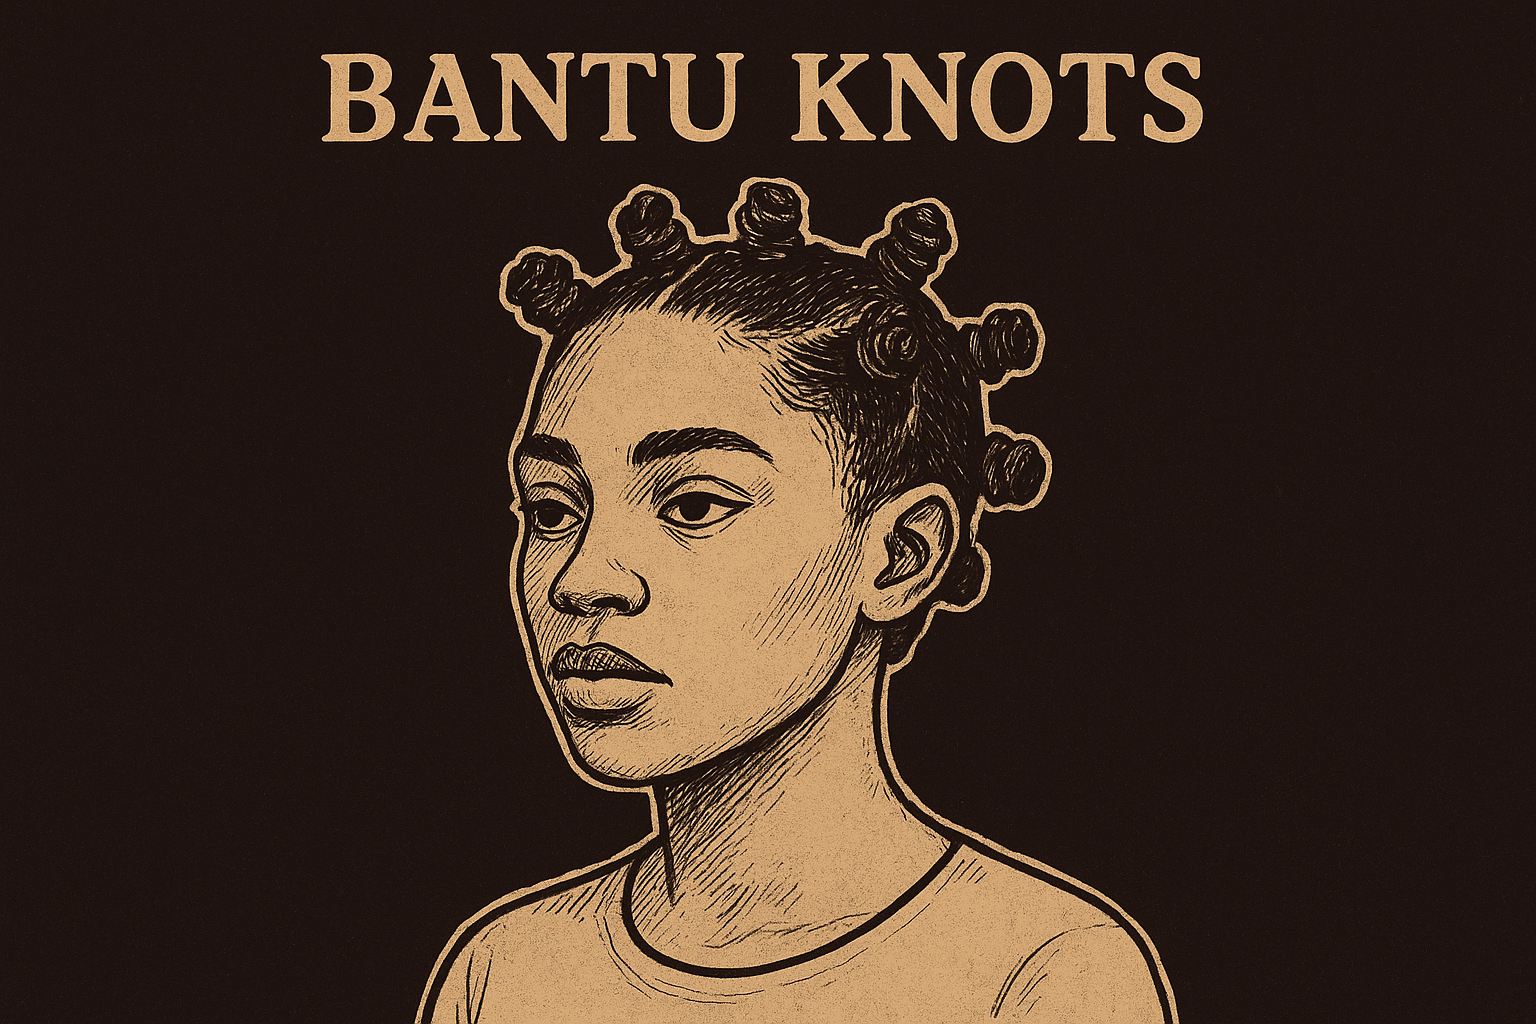
Bantu knots give you a sculptural, low-manipulation style that works beautifully on short natural hair. You section your hair, twist each section tightly, then wrap it around itself into a small knot that sits against your scalp. This style keeps your ends completely tucked away while giving you a bold, defined look that transitions easily into a knot-out for volume and curl definition.
Why Bantu knots protect ends and cut down manipulation
Bantu knots seal your ends inside each coil, which eliminates exposure to friction from clothing, pillowcases, and your hands. You don't comb through your hair daily, you don't tug at tangles, and you reduce the breakage that comes from constant styling. This makes them one of the most protective options when you want to give your hair a real break.
How to section and knot short hair for a full look
Start with damp, detangled hair and part it into medium-sized sections using a rat-tail comb. Apply a twist cream or gel to each section, twist it tightly from root to tip, then wrap the twist around itself at the base to form a knot. Secure the end by tucking it under the knot. Smaller sections create more knots and a fuller appearance on shorter lengths.
How to prevent dryness and single-strand knots
Spray your knots every few days with a lightweight leave-in conditioner mixed with water, then seal with a light oil like grapeseed or jojoba. Keep your knots covered at night with a satin bonnet to reduce friction that causes dryness and tangles.
Hydration between wash days keeps your hair soft and prevents the brittleness that leads to breakage.
How to refresh Bantu knots between wash days
Lightly mist your knots with water or a leave-in spray, then smooth down any frizz with a small amount of gel on your fingertips. You can also re-twist any loose knots without taking the entire style down.
What to do after you take them down
Unravel each knot gently with your fingers coated in oil or conditioner to prevent snagging. Separate the curls carefully for a fuller knot-out, or move straight into your next protective style after a clarifying wash.
5. Glueless wig over a low-tension base
Glueless wigs give you one of the most versatile protective styles for short natural hair because they let you switch up your look while keeping your natural hair completely covered and undisturbed. You secure the wig with adjustable straps and combs instead of glue or tape, which means no damage to your hairline. Your hair stays braided or twisted underneath, protected from manipulation, while you experiment with length, color, and texture without commitment.
Why glueless wigs can help you grow your hair out
Glueless wigs eliminate daily styling stress on your natural hair because you're not combing, brushing, or applying heat to it. Your hair stays in a simple base style for weeks, which reduces breakage and lets your scalp produce the natural oils your hair needs to thrive.
Best base styles for short hair under a wig
Cornrow your hair straight back in four to six medium-sized braids that lay flat against your scalp. You can also do flat twists or simply braid your hair into small sections without extensions. Keep the base smooth and thin so your wig sits naturally.
How to avoid friction at the hairline and nape
Line your wig cap with a satin or silk scarf before putting on the wig to create a barrier between the cap and your edges. Avoid pulling the wig too far forward, and adjust the straps loosely so they hold without digging into your nape.
How to maintain your scalp and edges while wearing wigs
Apply a lightweight oil to your edges and scalp every few days by lifting the wig slightly at the hairline. Use a cotton pad with witch hazel between the braids to keep your scalp clean and calm.
When you protect your edges from constant tension, you keep the hairline you have.
How to rotate wigs and base styles without damage
Take your wig off at night and give your scalp a break by wearing a satin bonnet. Change your base style every two to three weeks to prevent your hair from matting at the roots.
A simple plan you can stick to
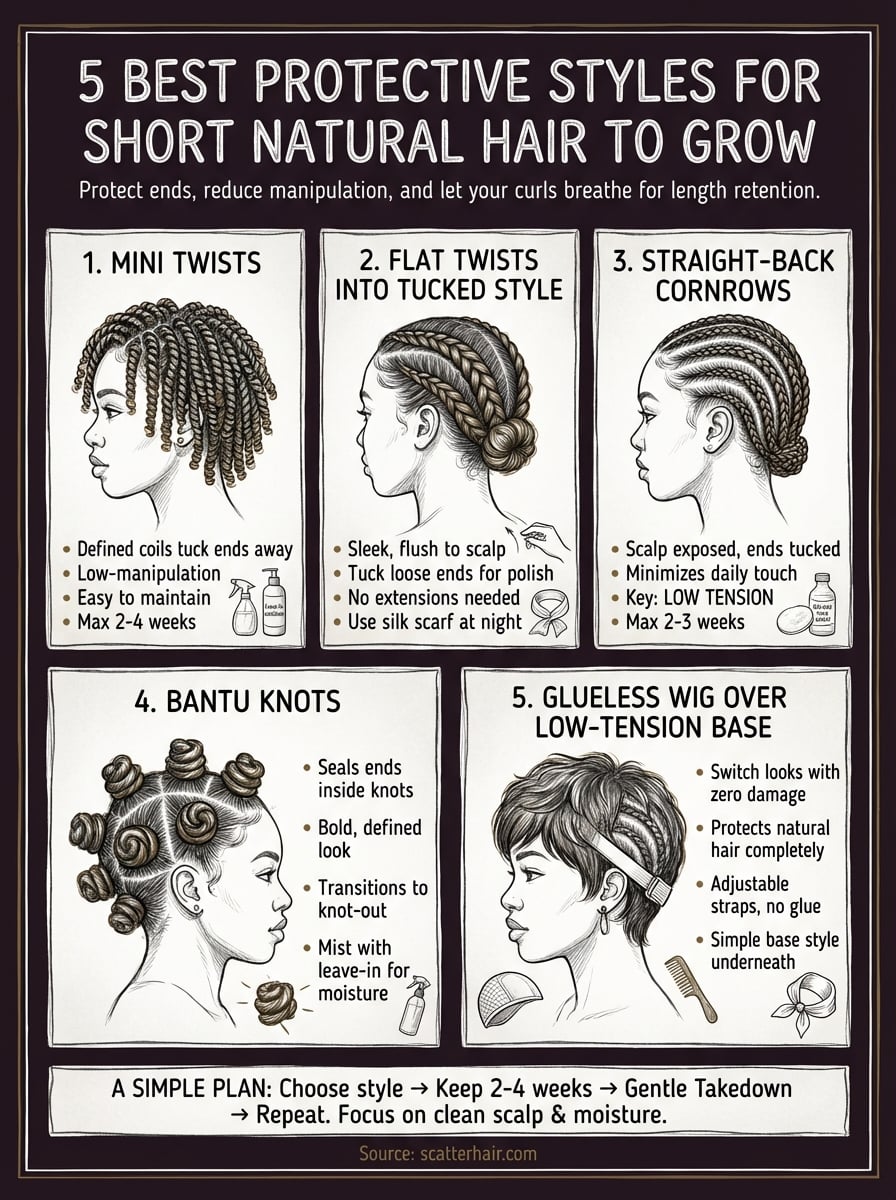
Growing out short natural hair doesn't require a complicated routine or expensive products. Pick one of these protective styles for short natural hair, commit to keeping it in for two to four weeks, then take it down gently and repeat. Focus on keeping your scalp clean, your hair moisturized, and your tension low. The styles that work are the ones you can maintain without stress, not the ones that look perfect in someone else's tutorial.
Your hair grows when you stop fighting it and start working with your natural texture. These styles give you the protection you need while you figure out what actually works for your curl pattern and your lifestyle. At scatterhair, we're building products that make styling textured hair effortless, because your hair shouldn't require a full-time commitment. Rock your texture, embrace the mess, and give your curls the breathing room they need to thrive.