

Twist Out On Short Natural Hair: Step-By-Step Definition
Getting a twist out on short natural hair to actually look defined and last more than a few hours can feel like solving a puzzle with missing pieces. You've watched the tutorials, bought the products, and followed every step, yet somehow, the results don't match what you saw on screen. The frustration is real, and you're definitely not alone in experiencing it.
The good news? Achieving a gorgeous, defined twist out on shorter lengths isn't about luck or having "the right" hair type. It comes down to technique, timing, and knowing your texture. Once you understand how these elements work together, you can create twist outs that hold their shape and showcase your natural pattern beautifully.
This guide breaks down everything you need to know, from prep to unraveling, so you can finally get the definition you've been chasing. Here at scatterhair, we're building styling products specifically for textured hair because looking effortlessly good shouldn't require hours of struggle. Until our 2026 launch, let's get you started with the techniques that actually deliver results.
What you need for a short-hair twist out
The right setup makes all the difference when you're working with shorter lengths. You don't need a cabinet full of products, but you do need specific items that work together to create definition without weighing down your hair. Think of it as building a toolkit that addresses moisture, hold, and precision.
Products for moisture and hold
Your product lineup should include a leave-in conditioner, a curl cream or gel, and a lightweight oil. Leave-in conditioner provides the moisture base your hair needs to clump and define. Curl cream adds hold while maintaining softness, and gel locks everything in place for longer-lasting definition. Oil seals moisture at the end without making your twist out on short natural hair look greasy or flat.
The key is layering products from thinnest to thickest consistency for maximum absorption and definition.
Avoid products with heavy butters or petroleum-based ingredients when working with shorter hair. These create buildup quickly and prevent your twists from unraveling cleanly, leaving you with frizz instead of defined curls.
Tools for sectioning and styling
Rattail combs help you create clean parts between sections, which directly impacts how uniform your finished twist out looks. You'll also need duckbill clips or hair ties to keep sections separated while you work. A spray bottle filled with water keeps hair damp as you twist, since dry hair won't hold the pattern.
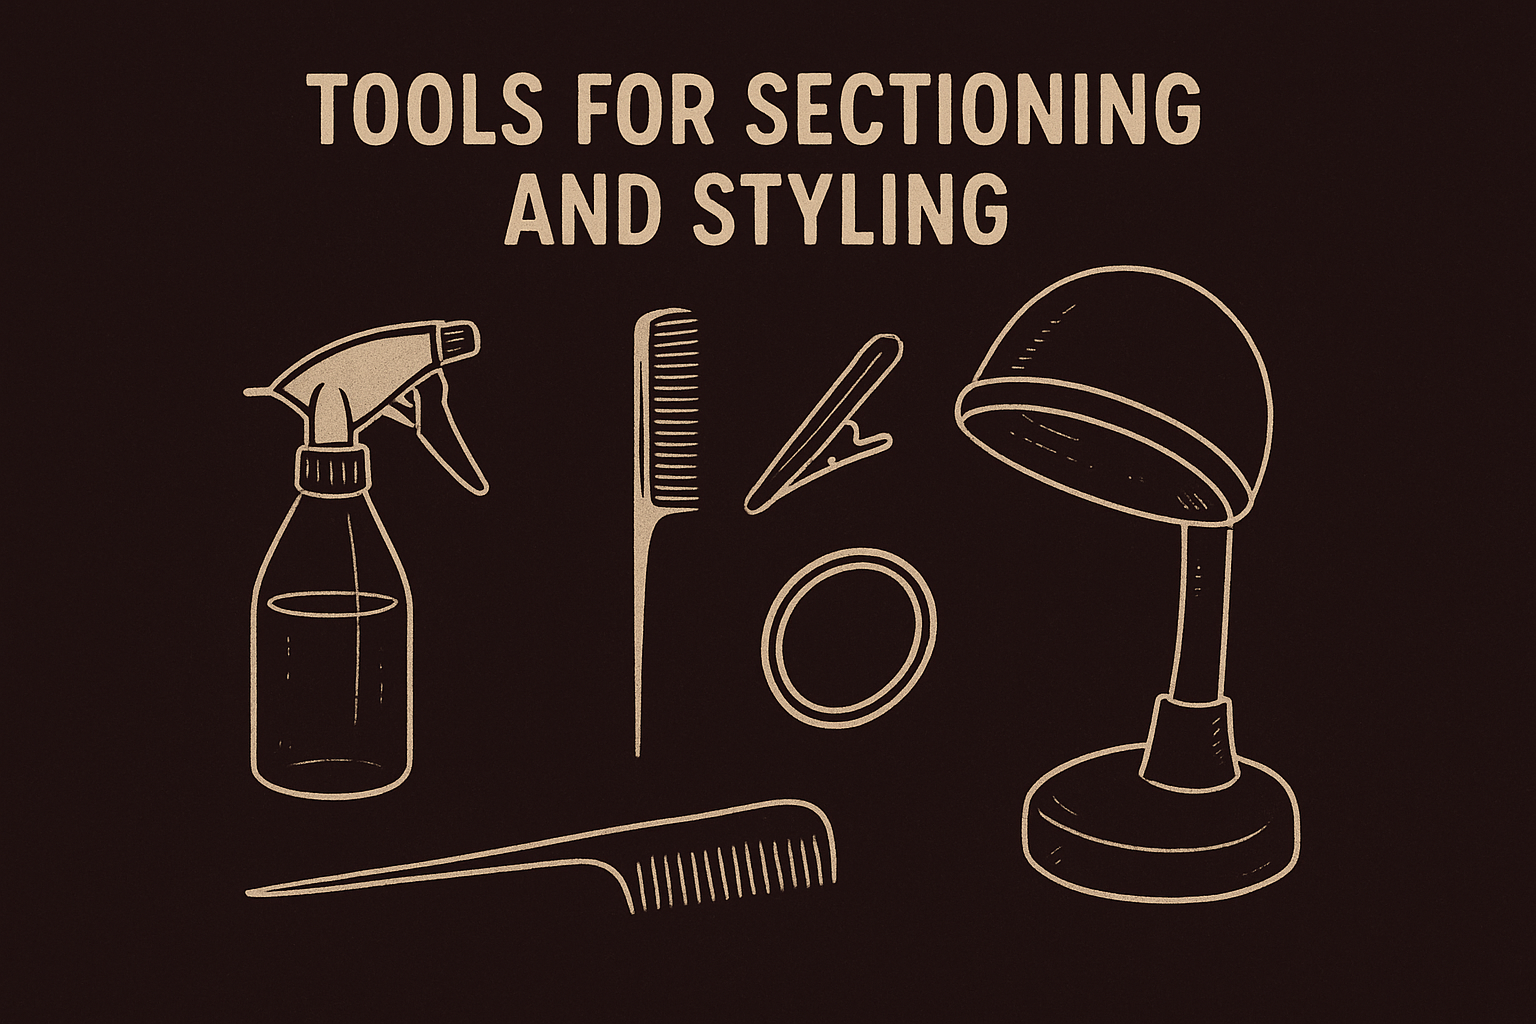
Consider adding a hooded dryer or diffuser attachment to your setup if you want faster drying times. Air drying works perfectly fine, but heat tools cut the wait from hours to under an hour. Keep a satin bonnet or scarf handy for sleeping, as cotton pillowcases absorb moisture and create friction that ruins your definition overnight.
Step 1. Cleanse, condition, and detangle for clumping
Clean hair absorbs products better and creates the foundation for defined curls that actually last. Buildup from previous styling sessions blocks moisture and prevents your twists from setting properly, which means you'll fight frizz instead of seeing definition. This first step isn't optional if you want your twist out on short natural hair to look intentional rather than messy.
Start with freshly washed hair
Use a sulfate-free shampoo to cleanse your scalp without stripping natural oils. Focus the shampoo on your roots and scalp, then let the suds rinse through your ends. Follow with a moisturizing conditioner that you leave on for at least three minutes. The conditioner softens your hair and makes detangling significantly easier, reducing breakage when you start working through knots.
Proper detangling while conditioner sits in your hair prevents damage and sets up clean curl clumps.
Detangle in sections for even saturation
Divide your hair into four to six sections using clips. Start detangling from the ends and work toward your roots with a wide-tooth comb or your fingers. You'll notice your hair naturally clumps together as you work through it. This clumping is exactly what creates definition later, so don't brush it out. Rinse the conditioner with cool water to seal your cuticles and lock in moisture.
Step 2. Layer products for hold without flakes
Product application determines whether your twist out on short natural hair looks defined or feels crunchy and flaky. The order you apply products matters just as much as what you use, since layering from lightest to heaviest allows each formula to penetrate properly. Skipping this sequence or applying too much of any single product leads to white residue and stiff curls that crack when you touch them.
Start with leave-in on damp hair
Apply leave-in conditioner to soaking wet hair while it's still sectioned from detangling. Use a quarter-sized amount per section and work it through from root to tip using your fingers or a denman brush. Your hair should feel slippery and thoroughly coated, not just lightly moistened. This layer provides the moisture foundation that prevents dryness and frizz later.
Damp hair absorbs products better than wet or dry hair, giving you maximum definition with minimal product buildup.
Add curl cream, then seal with gel
Squeeze excess water from each section before applying a dime-sized amount of curl cream. Work it through evenly, then follow immediately with gel while hair is still damp. Use light, raking motions rather than heavy-handed application to avoid flaking. The gel should enhance your clumps, not create a crunchy helmet effect that ruins your natural texture.
Step 3. Create small, even twists that won't unravel
The twisting technique you use directly impacts how your finished twist out on short natural hair looks and lasts. Inconsistent twist sizes create uneven definition, while loose twists unravel prematurely and leave you with frizzy sections instead of defined curls. Your goal is to create uniform tension throughout each twist so every section dries with the same curl pattern.
Keep twists pencil-width or smaller
Work with sections no wider than a pencil for maximum definition on shorter lengths. Two-strand twists work best because they're simple to create and unravel cleanly without tangling. Start each twist at your roots and wrap the strands tightly around each other, maintaining constant pressure as you work toward the ends. If a twist feels loose halfway through, start over rather than continuing with inconsistent tension.
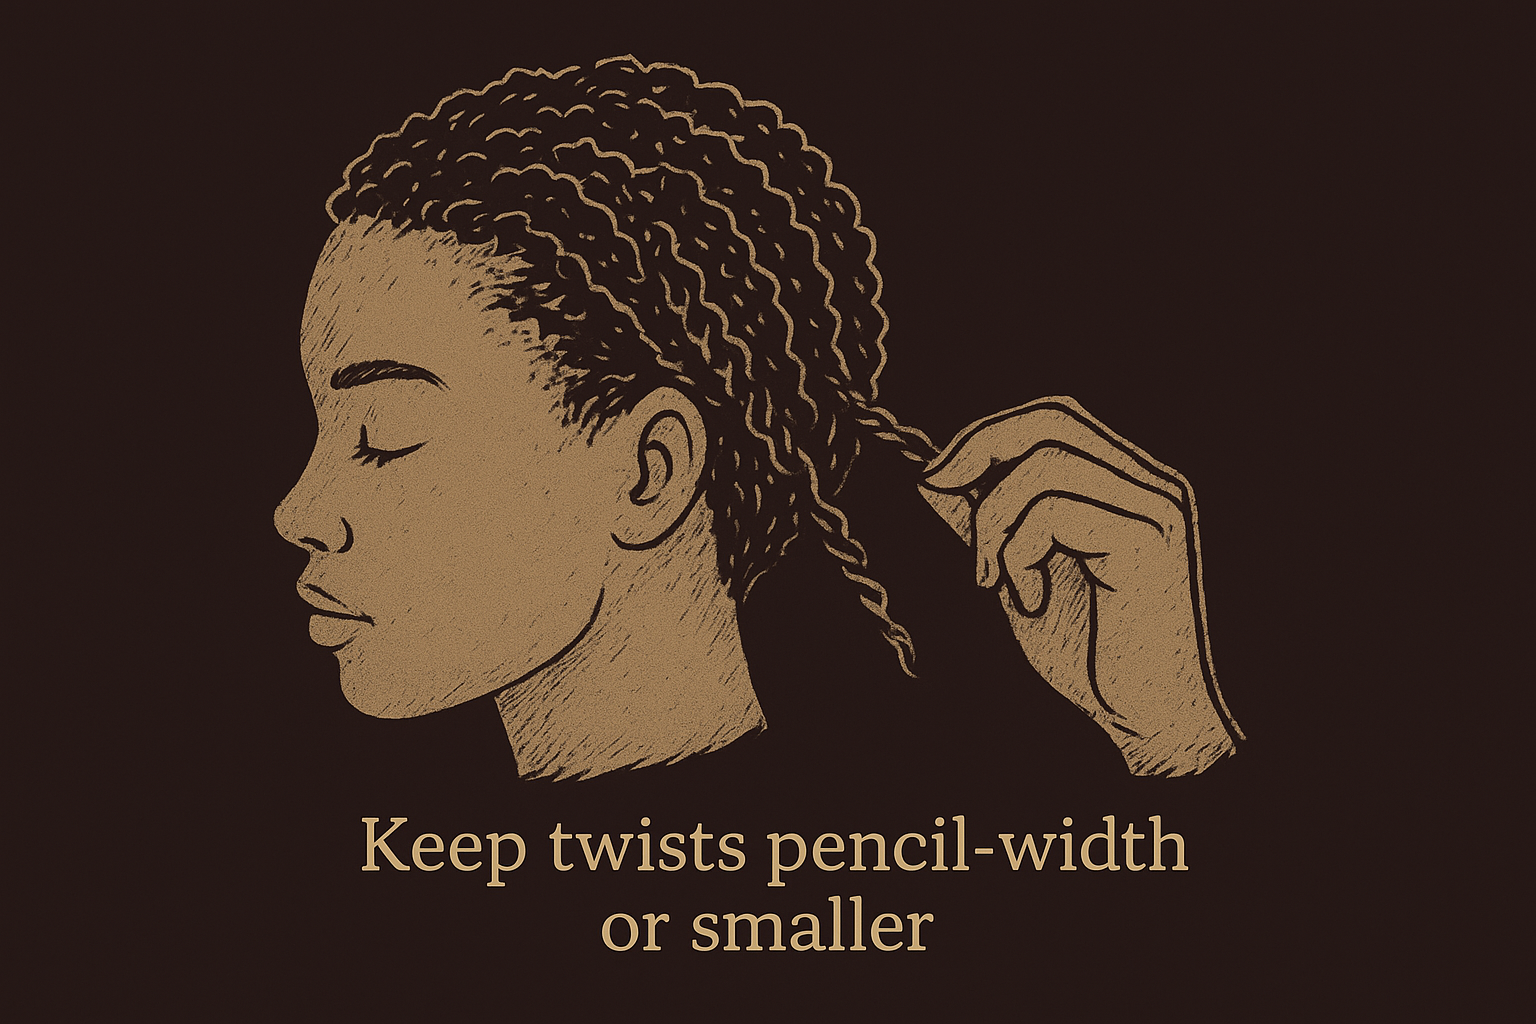
Smaller twists take longer to complete but deliver sharper definition that lasts several days longer than chunky twists.
Twist all the way to your ends
Your ends need to stay twisted for the pattern to hold all the way through. Apply a small amount of gel to your fingertips and roll the last inch of each twist between your palms to seal it. This prevents your ends from unraveling while drying and creates uniform curls from root to tip. Secure extra-short sections with small bobby pins if rolling alone doesn't hold them.
Step 4. Dry fully, then unravel for volume and shine
Unraveling twists before they're completely dry ruins your definition and creates frizz that no amount of product can fix. Patience during the drying stage determines whether your twist out on short natural hair looks polished or messy, so resist the urge to check your progress every few minutes. Touch a few twists randomly throughout your head to verify they're dry from root to tip before you start unraveling.
Let your hair dry completely
Air drying takes four to eight hours depending on your hair's density and the products you used. Hooded dryers cut this time to 45 minutes to an hour on medium heat. Avoid high heat, which causes frizz and dries out your hair mid-style. Your twists should feel crisp and cool to the touch, not damp or warm, before you move to unraveling.
Damp hair unravels into undefined frizz instead of separated curls, wasting all your prep work.
Unravel carefully for defined curls
Apply a lightweight oil to your fingertips before touching your twists. Start unraveling from the bottom of each twist and work toward your roots using gentle, steady motions. Pull each twist apart into two or three smaller sections for added volume without destroying your curl pattern. Fluff your roots with your fingers once all twists are unraveled to create lift and shape.
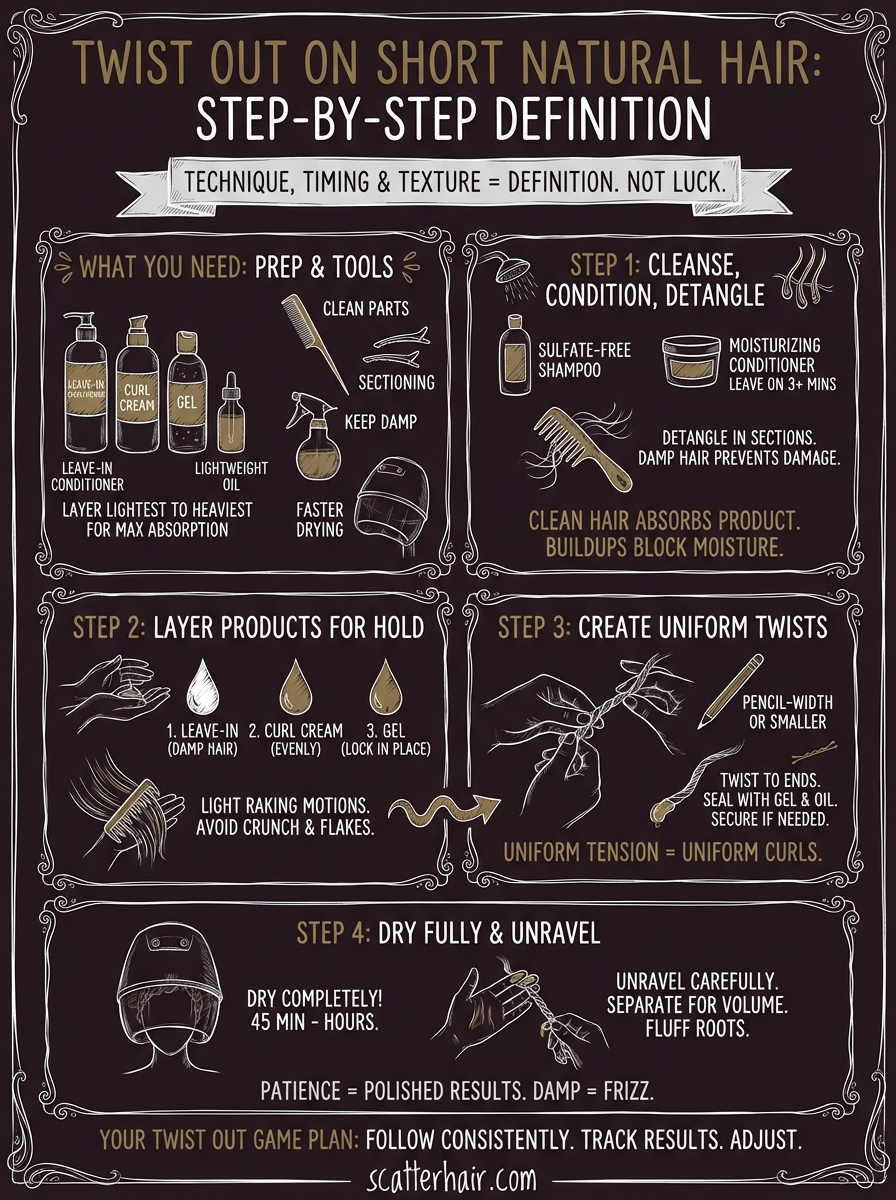
Your twist out game plan
Mastering a twist out on short natural hair comes down to following these four steps consistently: prep with clean, detangled hair, layer products correctly, create uniform twists, and dry completely before unraveling. Each step builds on the previous one, so skipping or rushing any stage compromises your final results. Your hair responds to technique and patience, not expensive products or viral hacks that promise instant perfection.
Practice makes these steps feel automatic rather than overwhelming. You'll learn exactly how much product your hair needs, which twist size works best for your length, and how long drying actually takes. Track what works and adjust based on your results, not what someone else's hair does in a tutorial.
We're building styling products at scatterhair specifically for textured hair because achieving great styles shouldn't require guesswork or frustration. Until our 2026 launch, use these techniques to get the definition you want. Your texture deserves products and methods that actually work, not formulas that leave you fighting your natural pattern.