

How To Refresh A Wash And Go For Day 2–5 Without Frizz Fast
You nailed your wash day. The curls popped, the definition was chef's kiss, and everything fell exactly right. Then day two hits, and suddenly your hair looks like it went through a time warp. Knowing how to refresh a wash and go is the difference between a style that lasts all week and one that forces you back to the sink by Tuesday. The good news: you don't need a full reset to bring your curls back to life.
A solid refresh routine saves time, protects your hair from over-manipulation, and keeps your texture looking intentional, not neglected. But most advice out there either drowns your curls in product or leaves you with a frizzy, crunchy mess. What actually works depends on your texture, your products, and a few techniques that most people skip entirely. That's exactly the kind of real-world styling knowledge we obsess over at scatterhair, where everything we build is designed to make textured hair easier to work with, not harder.
This guide breaks down a day-by-day refresh method that keeps frizz out and definition in from day 2 through day 5. You'll get specific steps, product tips, and fixes for the most common refresh mistakes, so you can stretch your wash and go without sacrificing how it looks.
What a refresh should do on days 2 to 5
A good refresh does not just add moisture and call it a day. When you think about how to refresh a wash and go correctly, the goal is to restore curl definition without introducing frizz or buildup. That means working with what is already in your hair, not fighting against it.
The three jobs a refresh needs to do
Every successful refresh handles three things at once: rehydration, re-definition, and hold preservation. Your curls have dried out overnight, your curl pattern has loosened or clumped in the wrong direction, and whatever gel or cream you used is still sitting on the hair shaft. A refresh works with all three layers of that problem at once.
A refresh that only adds water without re-sealing will leave you with frizz by midday.
The table below shows what changes in your hair from day 1 through day 5 and what each stage needs:
| Day | What's happening | What the refresh needs to fix |
|---|---|---|
| Day 2 | Slight dryness, minor frizz | Light moisture, finger detangling |
| Day 3 | More shrinkage, curl clusters flattened | Water + slip product, re-scrunching |
| Day 4 | Buildup starting, definition patchy | Light refresh + targeted product |
| Day 5 | Max dryness, frizz on top layer | Full refresh or prep for wash day |
What a refresh should never do
A refresh should never strip, overload, or reset your hair from scratch. Piling on fresh product over old product without reactivating the existing hold first is one of the most common mistakes. Your hair ends up heavy, greasy at the roots, and frizzy at the ends. The purpose of a refresh is to extend and protect the style you already built, not start over.
Watch out for these signs that your refresh went sideways:
- Curls feel wet but look frizzy after drying
- Roots are weighed down while ends are dry
- Product sits on top of the hair instead of absorbing
- Definition disappears within an hour of drying
Step 1. Check your hair and pick the right refresh
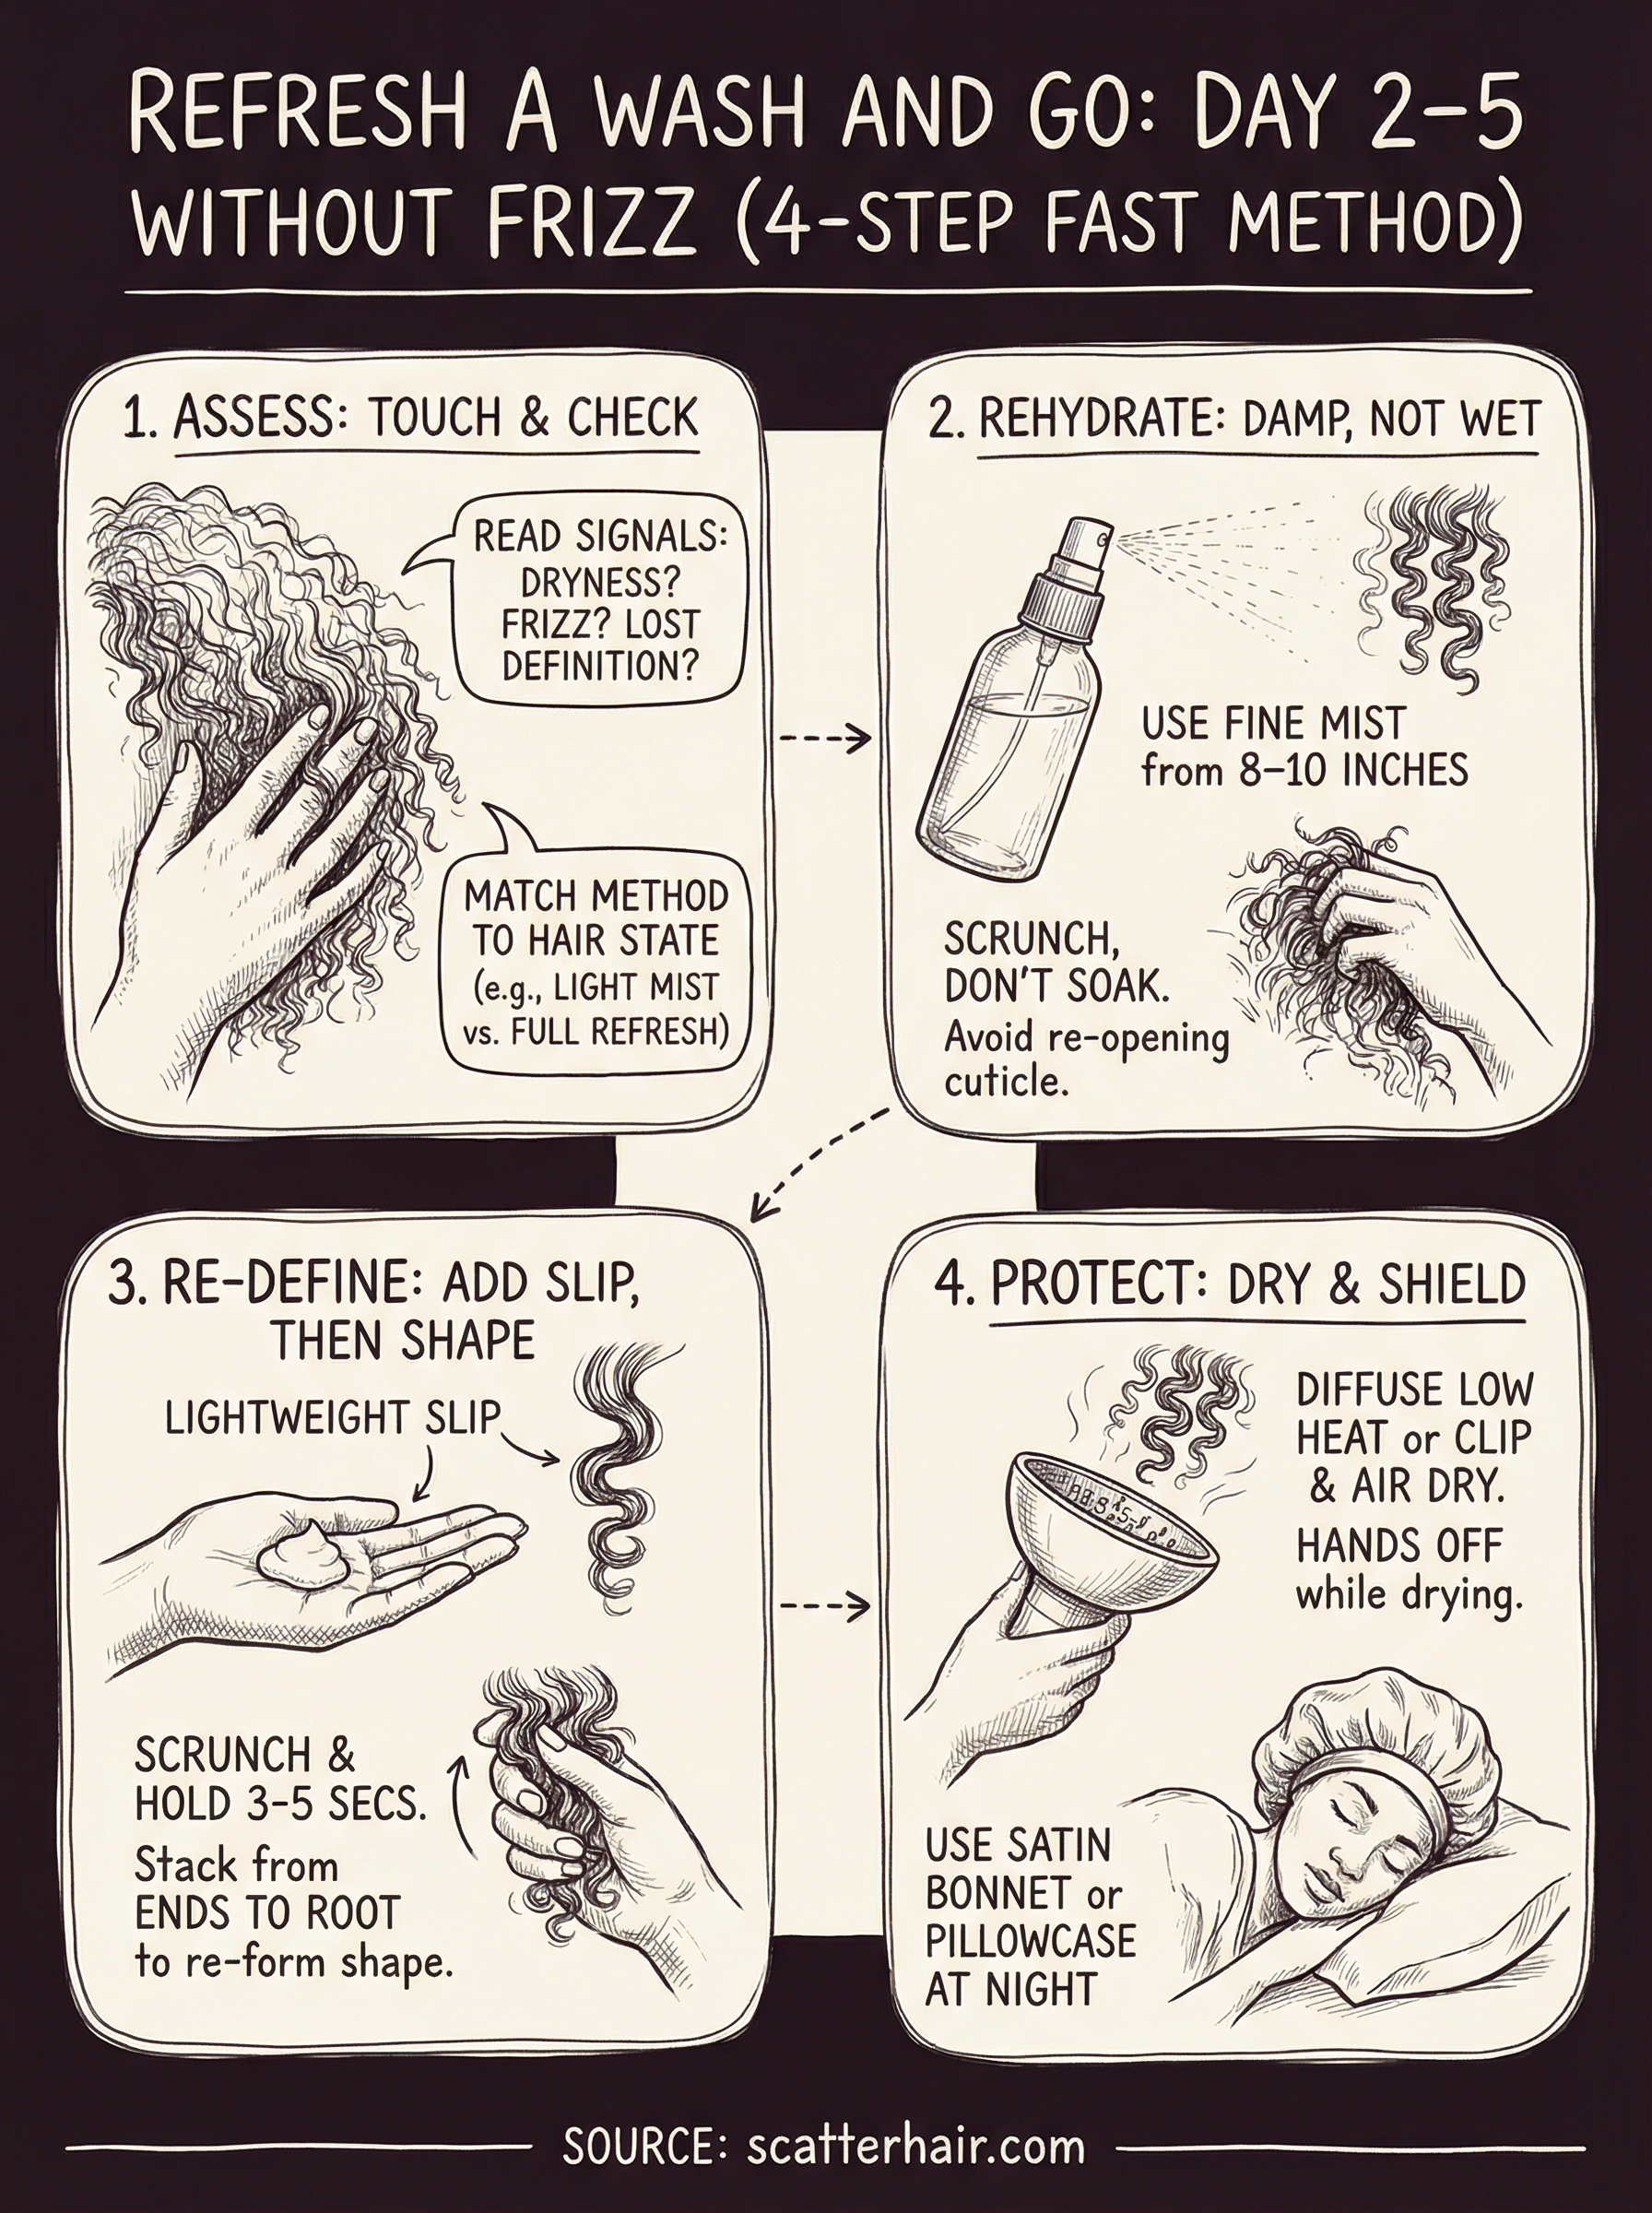
Before you grab any product, touch and look at your hair to understand what it actually needs right now. Rushing into a refresh without this check is exactly what causes frizz and unwanted buildup. The right approach to how to refresh a wash and go always starts with a quick assessment before you open a single bottle.
Read the signals your hair is giving you
Dryness, frizz, and lost definition each point to different fixes, and treating them the same way leads to bad results. Run your fingers through your curls and notice whether they feel crunchy, soft, or brittle. Check your roots separately from your ends since they dry and absorb moisture at different rates.
If your roots feel greasy but your ends feel dry, you need a targeted refresh, not an all-over soak.
Match your method to your hair's state
Use this quick guide to pick the right refresh level based on what you find:
| Hair state | What you need |
|---|---|
| Slightly dry, definition intact | Light water mist only |
| Frizzy, curls separating | Water + light leave-in |
| Flat, no definition | Full refresh with slip product |
| Buildup or greasiness | Skip refresh, prep for wash day |
Starting with the wrong level wastes time and can make your curls harder to revive later in the day.
Step 2. Rehydrate with water the right way
Water is the foundation of any successful refresh, but how you apply it matters as much as how much you use. Soaking your hair with a spray bottle until it drips is one of the fastest ways to undo your curl pattern and invite frizz back in. The goal is damp, not wet.
Applying too much water at once reopens the cuticle and breaks up the curl clumps you spent wash day building.
Use a spray bottle with the right pressure
Misting distance and spray pressure directly affect how water lands on your curls. Hold your bottle 8 to 10 inches away from your hair and use a fine mist setting, not a stream. Work section by section, starting at the back, and scrunch upward immediately after misting each section to push water into the curl rather than onto the surface.
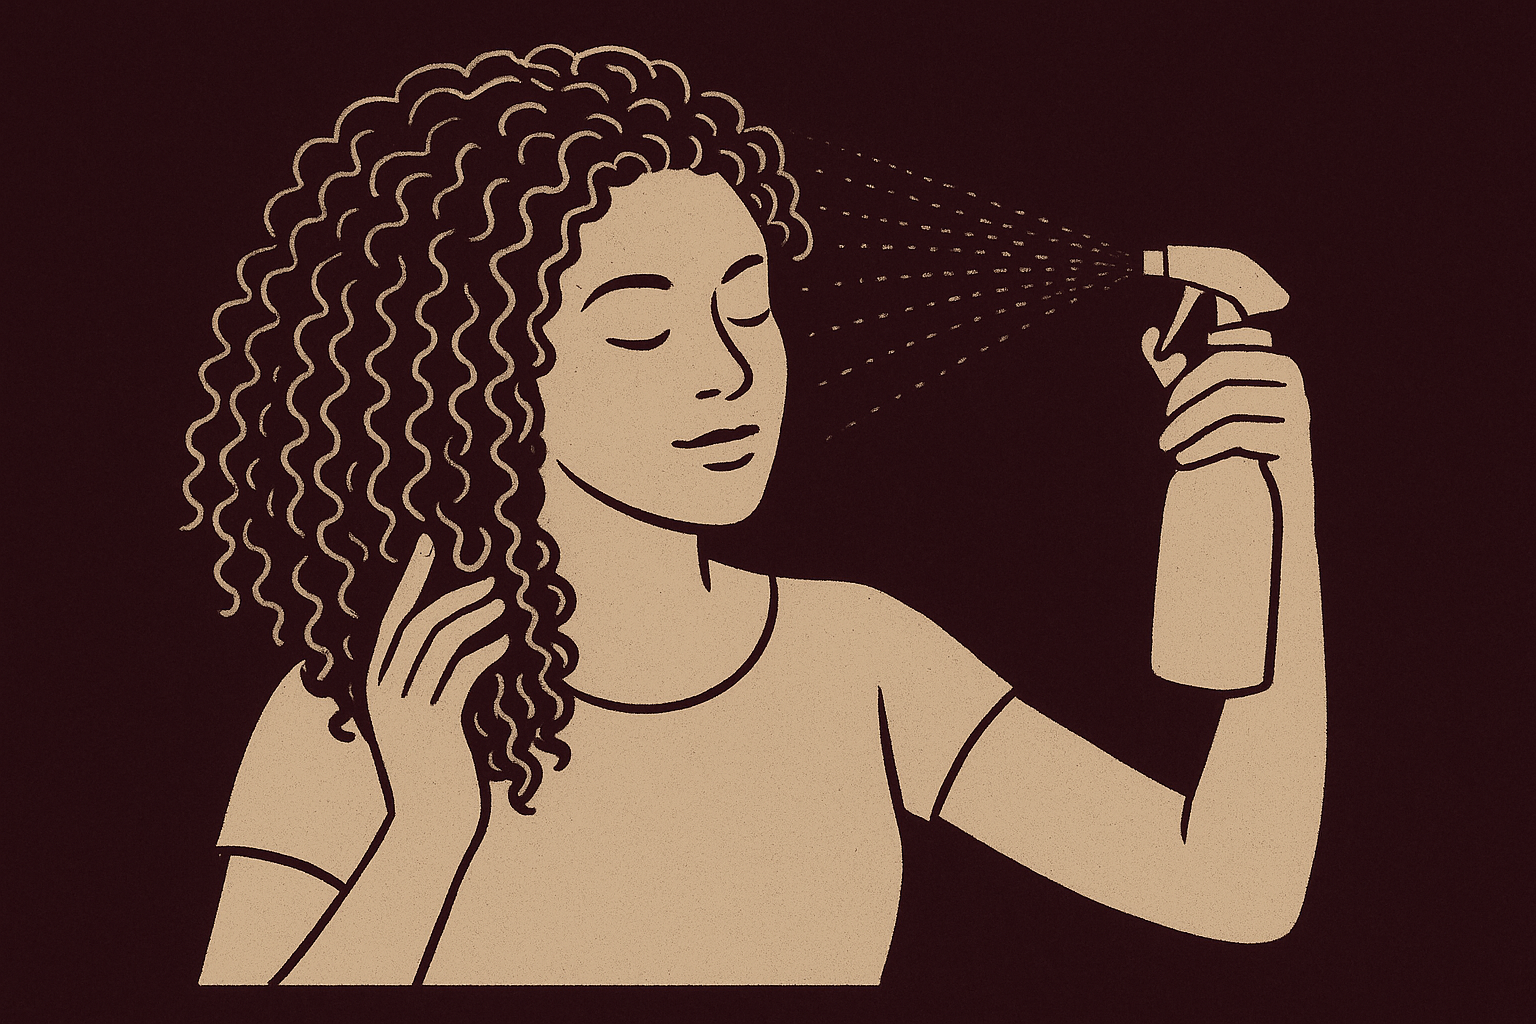
When you know how to refresh a wash and go correctly, you treat each curl cluster as its own zone and avoid dumping moisture in one spot. Mist, scrunch, move on. This keeps the cuticle from lifting unevenly and stops frizz from forming before you even reach the product step.
Step 3. Add slip, then re-define without frizz
Once your hair is damp, slip is the next thing you need before any re-definition work starts. Slip means a product that lets your fingers glide through curl clumps without pulling them apart. Without it, touching your curls while they're damp causes the cuticle to lift and frizz forms immediately.
Pick a slip product that won't weigh curls down
A lightweight leave-in conditioner or curl cream gives you the slip you need without adding so much weight that your roots deflate. Apply a small amount, roughly the size of a dime per section, to your palm and scrunch it upward into damp hair. Do not rake it through from root to tip.
Good options to work with:
- Lightweight spray leave-in conditioner
- Aloe vera gel mixed with a few drops of oil
- Curl cream with low glycerin content
Less product applied with better technique always beats more product applied carelessly.
Re-define curl clumps the right way
Knowing how to refresh a wash and go really comes down to this step. Scrunch and hold each curl cluster for three to five seconds after applying the slip product to encourage the curl to re-form around its original shape. Work from the ends upward toward the root to stack the curl rather than drag it down, and resist touching it again once it springs back.
Step 4. Dry, set, and protect the results
How you dry after a refresh determines whether your curl definition holds or collapses within an hour. Keep your hands out of your hair until each section is fully dry, because touching damp curls breaks up the clumps you just rebuilt.
Dry without disrupting your curl clumps
Diffusing on low heat is the fastest way to set refreshed curls without frizz. Hold the diffuser under each curl cluster and cup it upward, letting heat lift the curl rather than scatter it. If you prefer air drying, clip your roots with a small butterfly clip to hold volume while the rest dries.
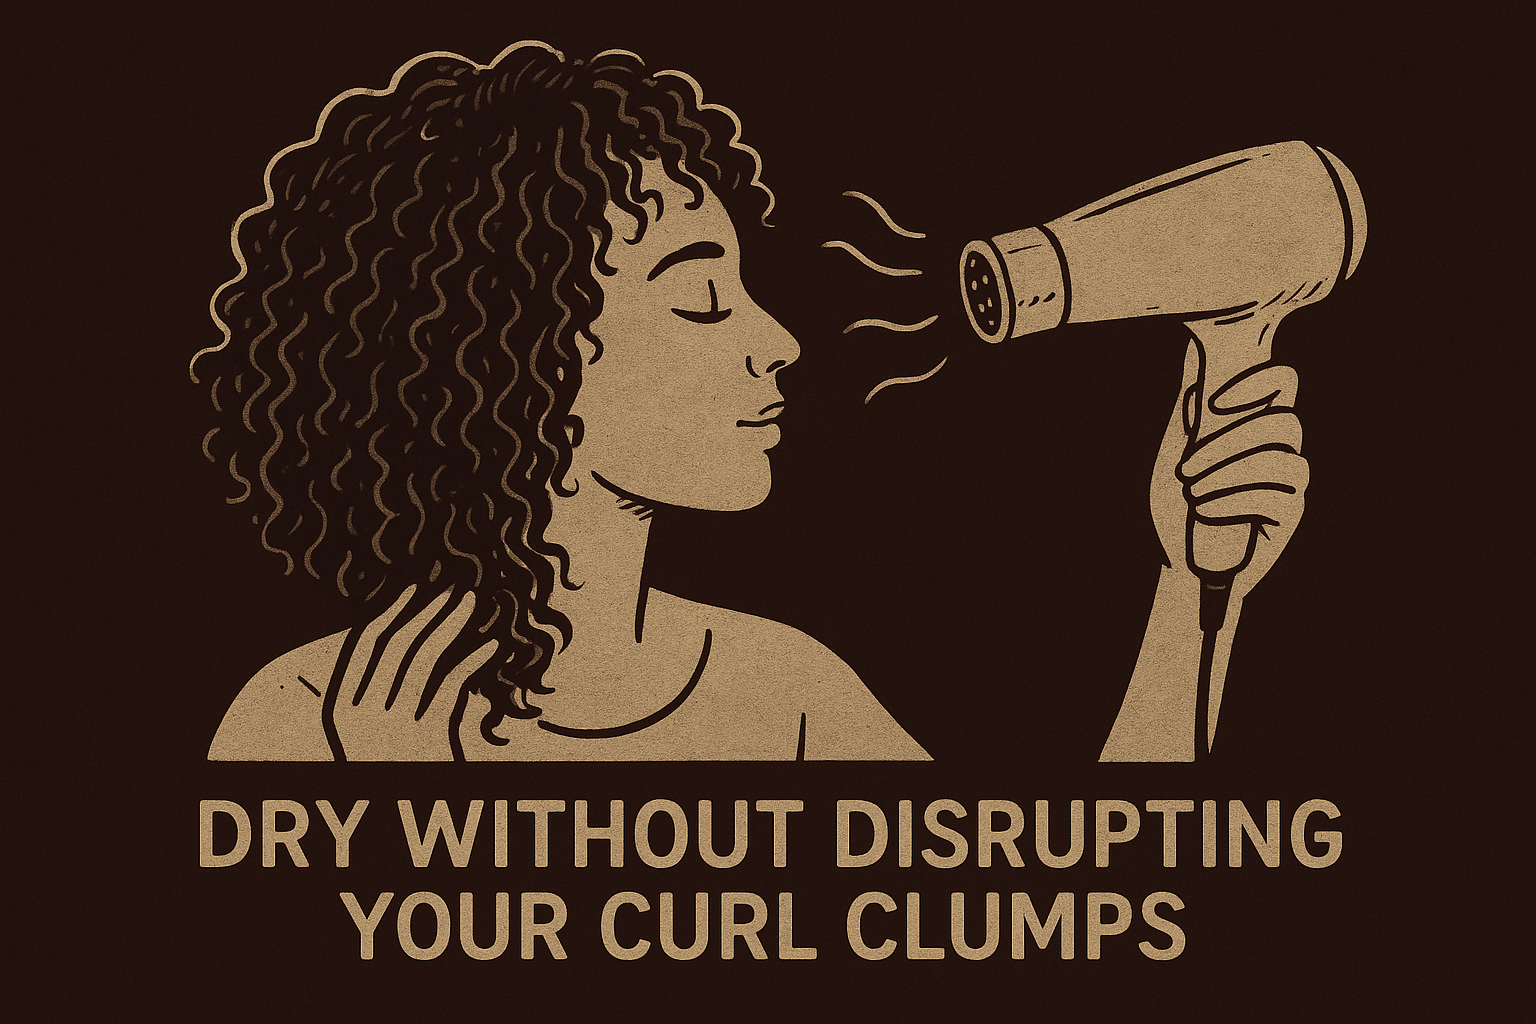
Diffusing on high heat after a refresh reopens the cuticle and undoes every step you just completed.
Protect the results overnight
Knowing how to refresh a wash and go also includes protecting your style before bed. A satin or silk bonnet is your best option for keeping friction off your curls while you sleep. Pick the method that fits your routine:
- Bonnet: best overall protection for curl shape
- Satin pillowcase: easier if bonnets feel uncomfortable
- Loose pineapple with a satin scrunchie: works well for longer hair
Quick recap and next steps
The full process of how to refresh a wash and go comes down to four steps: assess, rehydrate, re-define, and protect. Check what your hair actually needs before you grab any product. Use a fine water mist, apply a lightweight slip product, scrunch from ends to roots, and keep your hands out of your curls until they dry completely.
Your results on day 5 depend on every decision you make on day 2. The biggest wins come from using less product with better technique, protecting your curls overnight with a satin bonnet, and reading your hair before you start instead of troubleshooting after something goes wrong.
Textured hair deserves products built specifically around how it actually works. If you want styling tools designed for your texture from the ground up, explore what we're building at Scatter and sign up for early access before the official launch.