

Morning Curly Hair Routine: Refresh Curls Fast, No Wash
Your alarm goes off, you catch your reflection, and yesterday's defined curls now look like they survived a windstorm. Sound familiar? A solid morning curly hair routine can turn that chaos into something you actually want to leave the house with, no full wash required. The trick isn't starting over every morning. It's knowing how to work with what your curls gave you overnight.
This guide breaks down a fast, step-by-step refresh method for textured hair that cuts through frizz and revives definition in minutes. We'll cover the products, techniques, and small habit shifts that make mornings less of a battle. At scatterhair, we're building styling products specifically for people with textured hair who need performance without the fuss, so this is exactly the kind of routine we obsess over. Let's get into it.
What you need for a fast curl refresh
Before you touch your hair, gather the right tools. A successful morning curly hair routine doesn't require a full product lineup or 30 minutes in the bathroom. What it does require is a short list of targeted items that work fast and handle the specific challenges textured hair faces overnight: moisture loss, flattened roots, and clumps that have fused together. Getting these ready the night before cuts your morning time in half.
The products that actually do the work
The foundation of a no-wash refresh comes down to three product categories: a hydrating mist or water-based spray, a lightweight leave-in conditioner or curl cream, and a light-hold gel or mousse. You don't need a ten-step system. The water-based spray reactivates the styling products already sitting in your hair, which allows the curl pattern to reshape without resistance. The leave-in adds a layer of moisture back in, since your pillow pulls hydration out of your strands while you sleep. The gel or mousse seals everything and rebuilds definition without making your hair feel crunchy or stiff.
Reactivating the products already in your hair is more effective than layering new product on top of dry strands.
A spray bottle filled with plain water works fine if you don't have a dedicated curl refresher. For best results, add a few drops of a lightweight oil, like jojoba or sweet almond, to the water to boost slip and reduce frizz as you work through each section.
The tools that speed up the process
Two tools make this process faster and cleaner: a wide-tooth comb or a detangling brush used only on soaking wet sections, and a microfiber towel or a 100% cotton t-shirt. Both reduce friction, which is the main driver of frizz during a morning refresh. Standard terrycloth towels rough up the cuticle layer and undo the work your products are doing.
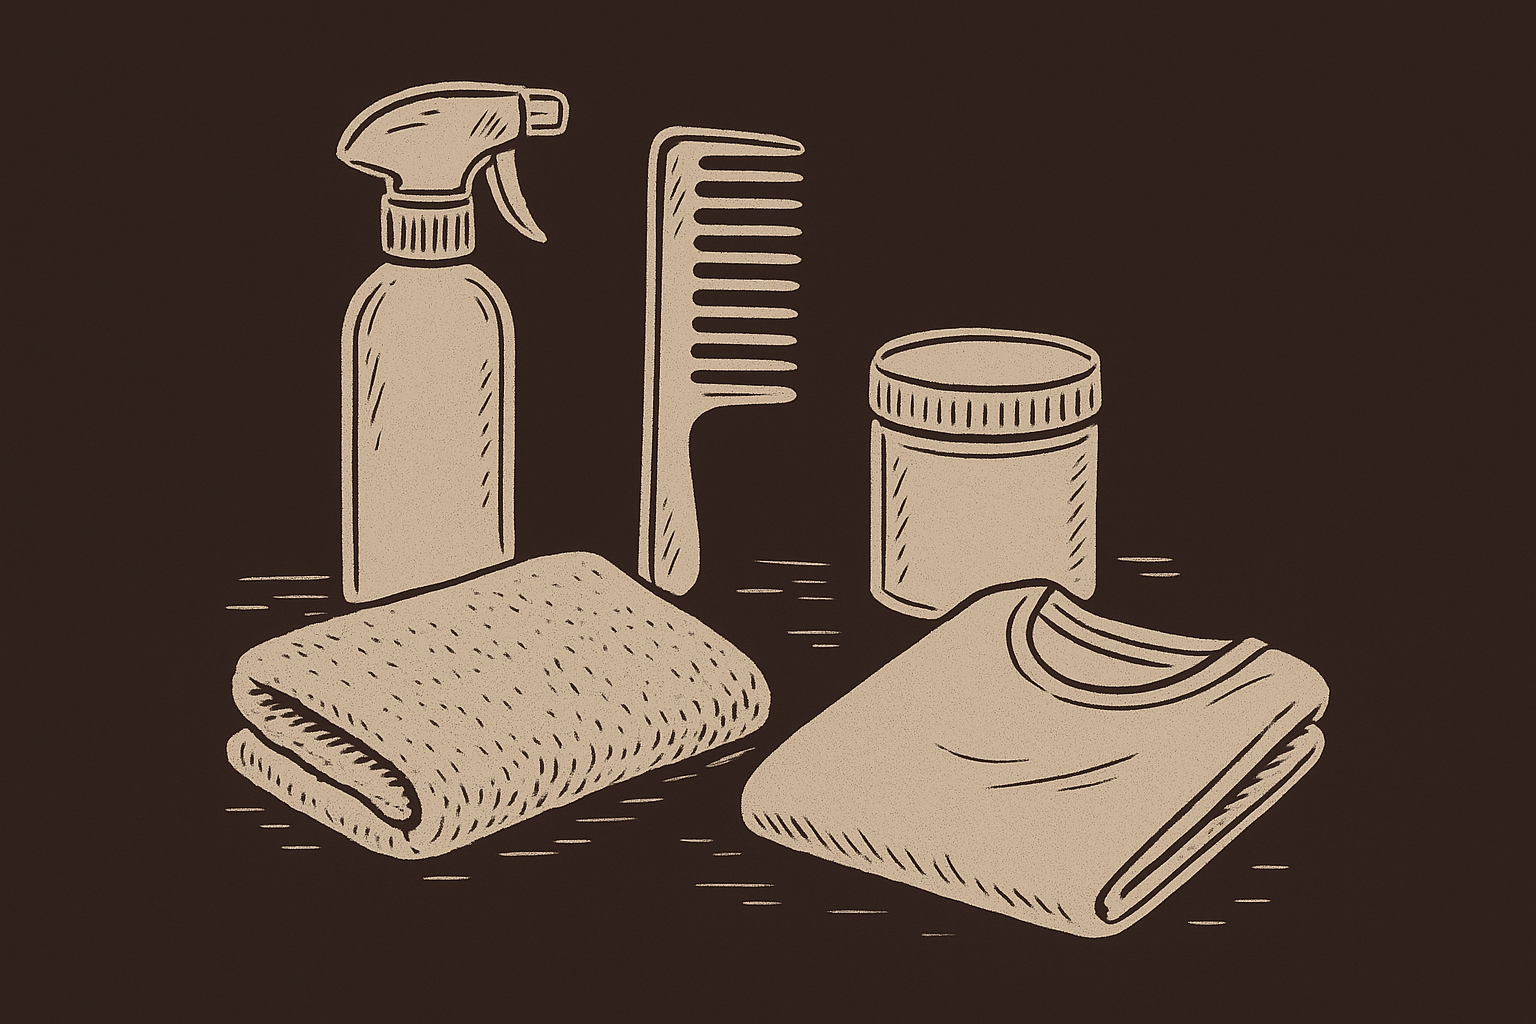
Here's a quick reference for your refresh kit:
| Item | Purpose | Who needs it |
|---|---|---|
| Water spray or curl refresher | Reactivates product and curl pattern | Everyone |
| Lightweight leave-in or curl cream | Restores moisture | Dry or high-porosity curls |
| Light-hold gel or mousse | Rebuilds definition and hold | All curl types |
| Wide-tooth comb or detangling brush | Separates clumps gently | Tight coils and 3C+ curls |
| Microfiber towel or cotton t-shirt | Absorbs excess water without frizz | Everyone |
Keep these items in one spot, whether that's a small basket on your bathroom counter or a pouch on your vanity. When everything is within reach, the routine moves faster and you're less likely to skip steps because something is buried under your sink.
Step 1. Wake up your curls without causing frizz
The first thing you do in the morning sets the tone for everything that follows. How you handle your hair in the first 60 seconds determines whether you spend the rest of the routine fighting frizz or working with curls that are ready to cooperate. The goal at this stage is simple: reintroduce moisture gently so your curl pattern can loosen and reshape without friction tearing it apart.
Release your overnight style slowly
If you slept in a pineapple, a braid, or a loose bun, take the style down carefully before touching anything else. Don't yank the hair tie out or shake your hair loose. Instead, slide the tie off slowly, then use your fingers to gently separate the sections from root to end. Your curls are in a compressed state and they need a moment to fall back into their natural shape before you add product.
The slower you release your overnight style, the less frizz you create before your refresh even starts.
Once your hair is down, tilt your head forward and let gravity help the curl pattern drop open. Give your scalp a light shake from the roots to lift the base and build volume without disturbing the curl clumps forming at the ends.
Mist your hair before you touch it
Before you run your fingers through a single section, spray your hair evenly with your water-based mist. Work in two or three sections if your hair is dense. The water reactivates product residue from your last wash day, which softens the curl structure and reduces the resistance that leads to breakage and puffiness.
Spray from about six inches away so the mist distributes evenly instead of landing heavily in one spot. Hit the ends first since they lose moisture the fastest overnight, then work your way up toward the roots before moving to the next step in your morning curly hair routine.
Step 2. Add moisture the right way for your curl type
Your curl type determines how much moisture you need to add and how you apply it. Dumping the same amount of leave-in on fine waves as you would on tight coils leads to either weighed-down, lifeless curls or strands that soak up product and still feel dry. Once your hair is misted, take 30 seconds to identify what your curl pattern needs before you reach for your leave-in or curl cream.
Looser waves and curls (2A to 3A)
Fine to medium strands in this range absorb product quickly and go limp just as fast. Apply a small amount of leave-in conditioner, about the size of a dime, across the mid-lengths and ends only. Avoid the roots entirely since buildup at the root flattens waves and turns your morning curly hair routine into a losing battle. Work the product through each section with a prayer hands motion, pressing and smoothing downward along the curl rather than rubbing it in.
Less product on looser curl types always outperforms more when your goal is definition without weight.
Scrunch lightly from the ends upward to encourage the wave pattern to form, then move to the next section without over-handling.
Tighter curls and coils (3B to 4C)
Tighter patterns and high-porosity coils need more moisture and more time per section. Take a portion of leave-in or curl cream about the size of a quarter, rake it through the section from root to end with your fingers, then follow with a finger-coiling pass on any sections that have completely lost their shape overnight. This technique works with the natural curl formation instead of forcing a new one.
Work in four to six sections for even coverage. Rushing through this step is where most of the frizz in tighter curl types actually originates, so give each section the full attention it needs before moving on.
Step 3. Bring back definition and hold in minutes
Moisture gets your curls moving again, but hold is what makes them last past noon. This step in your morning curly hair routine is where you lock in the shape you rebuilt during Step 2. Skipping it means your curls dry beautifully for about 20 minutes, then frizz out before you finish your coffee. Apply your hold product while your hair is still damp, not wet and dripping, not dry. That middle-ground moisture level is when gel and mousse bond to the curl structure most effectively.
Choose the right hold product for your pattern
Not every hold product works equally across curl types. Gel delivers a firmer, longer-lasting cast that you can scrunch out later for soft curls with structure. Mousse gives lighter hold with more volume, which works better for fine waves that go flat under heavier products. Use the table below to match your pattern to the right option:
| Curl Type | Best Hold Product | Application Amount |
|---|---|---|
| 2A to 2C (waves) | Light mousse | Golf ball-sized amount |
| 3A to 3B (loose curls) | Gel or mousse | Nickel to quarter-sized |
| 3C to 4A (tight curls) | Medium-hold gel | Quarter-sized per section |
| 4B to 4C (tight coils) | Firm-hold gel | Quarter-sized per section |
Apply gel or mousse without disturbing the curl
Work one section at a time and apply your product using a praying hands motion, pressing the product into the curl rather than rubbing it on. Rubbing breaks up clump formation and introduces frizz at exactly the moment you are trying to stop it.
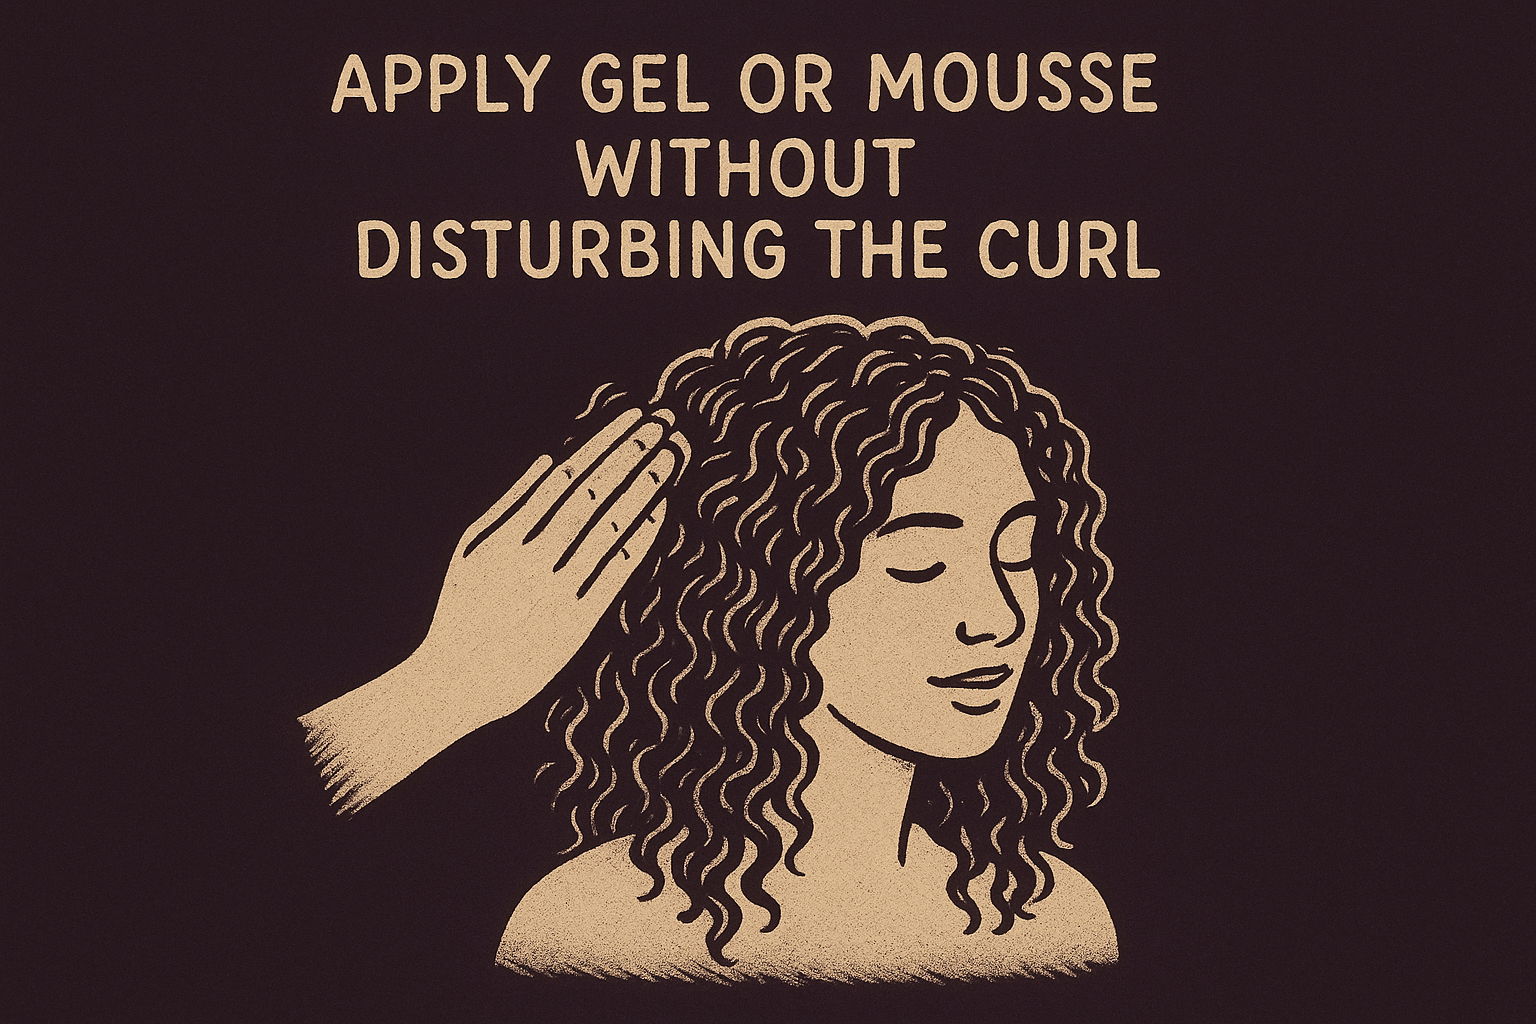
Applying hold product in sections gives you more consistent definition than working it through all your hair at once.
Scrunch upward from the ends after applying to each section so the curl coils back onto itself. This technique encourages the natural curl pattern to tighten and hold its shape as the hair dries rather than stretching out and losing structure.
Step 4. Dry, fluff, and finish so it lasts all day
How you dry your curls in this final stage of your morning curly hair routine decides whether the definition you built in Steps 2 and 3 actually holds. Hands-off drying is the single most important principle here. Every time you touch your curls before they are fully dry, you break the gel cast prematurely and introduce frizz back into the sections you just worked through.
Dry your curls without disturbing the cast
The gel or mousse you applied in Step 3 forms a protective cast around each curl as the hair dries. That cast looks and feels crunchy while wet, but it is doing the work of holding your curl pattern in place. Air drying is the most frizz-free option if you have time. If you are in a rush, use a diffuser on low heat and low airflow, cupping sections of hair in the diffuser bowl rather than moving the dryer back and forth through your hair.
Let the cast fully harden before you touch your curls. Scrunching too early breaks the structure while it is still fragile.
Work from the ends upward when diffusing, tilting your head to the side or forward so the curls fall into the diffuser bowl naturally. Spend about 60 seconds per section before lifting the diffuser and moving on to the next one.
Scrunch out the crunch and add volume
Once your curls are completely dry, scrunch out the cast with clean hands or a small amount of lightweight oil on your palms. Press upward firmly rather than squeezing repeatedly. Three to four scrunches per section is enough to release the cast without disrupting the curl pattern underneath.
To add root volume as a final step, flip your head forward and gently lift the roots with your fingertips. Separate any oversized clumps at the ends by pulling them apart with two fingers, not a comb. Your curls are set and ready to go.
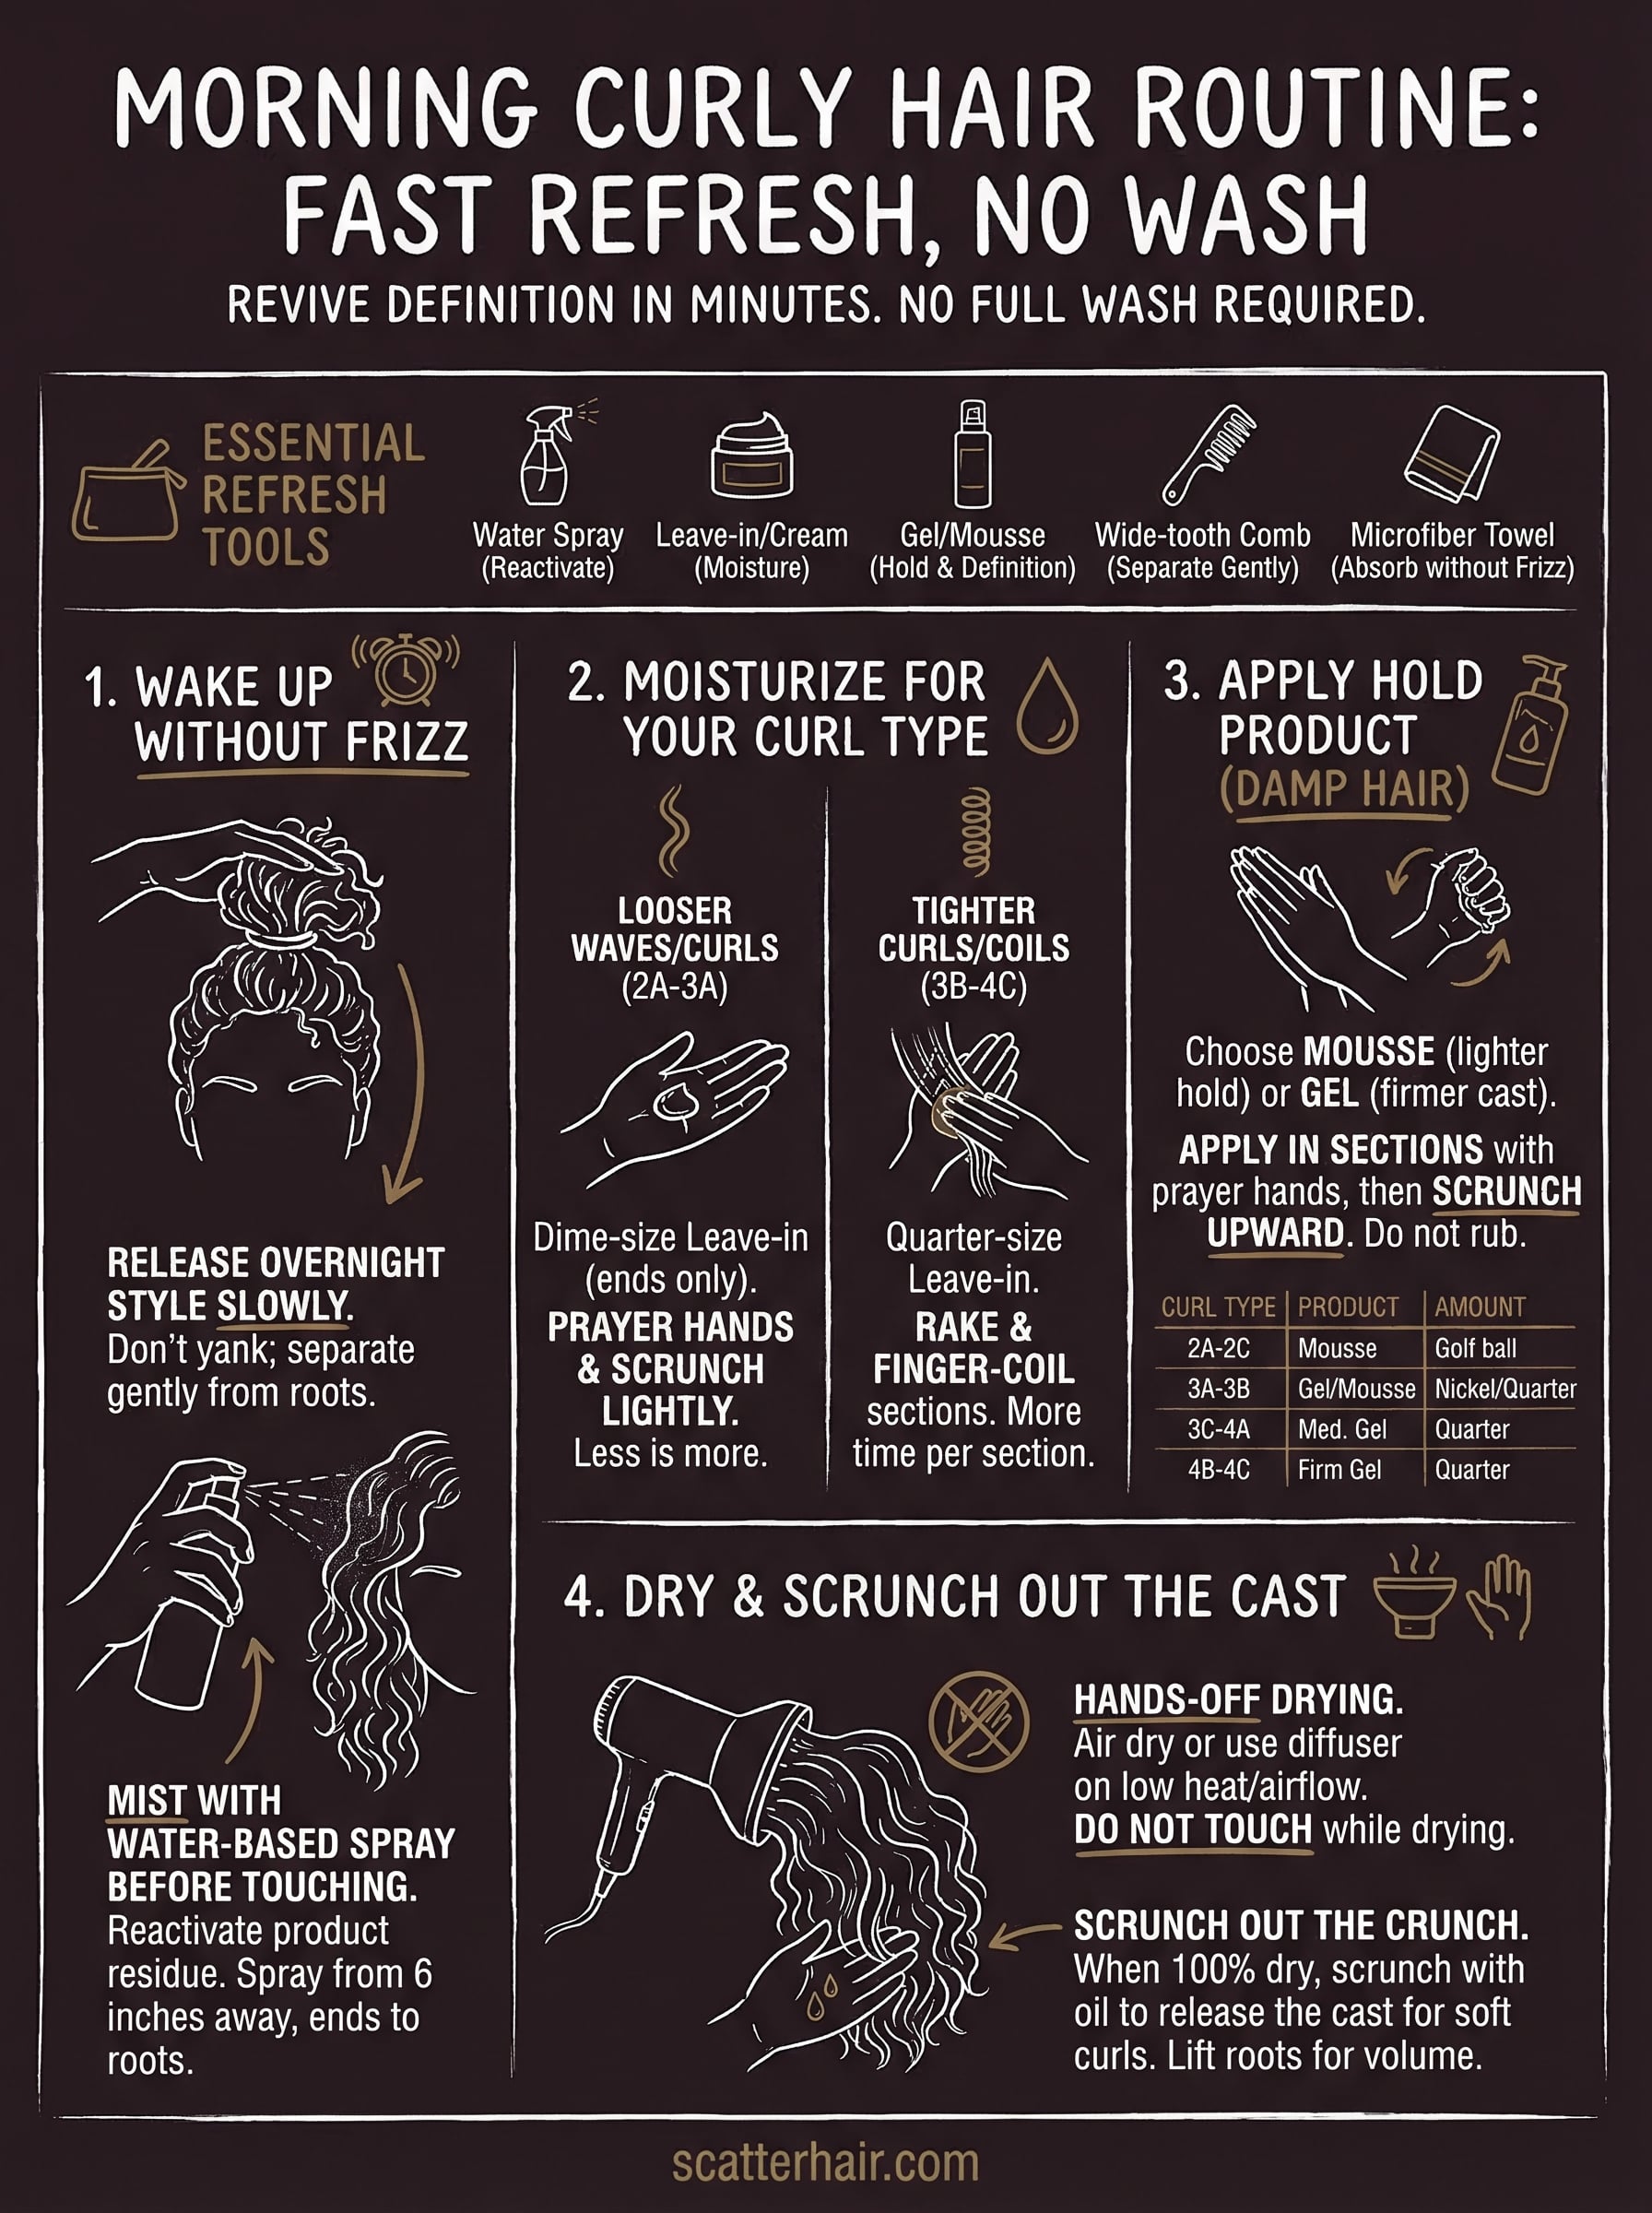
Quick wrap-up
A solid morning curly hair routine does not require starting from scratch every day. The four steps in this guide cover everything from releasing your overnight style without friction, to locking in definition with the right hold product for your curl type. Consistency with these steps is what separates a 10-minute refresh that holds all day from a rushed attempt that frizzes out by mid-morning.
Start with your mist, add moisture in proportion to your curl pattern, apply hold while your hair is still damp, and keep your hands off until the cast is fully dry. Each step builds on the last, so skipping one makes the next one harder. Give the full routine two or three mornings to become habit, and you will stop dreading the mirror after a night's sleep.
For more on textured hair styling and what we are building for people with curls, visit Scatter Hair.