

How To Steam Scalp At Home: Hot Towel And Bonnet Methods
Textured hair thrives on moisture, but getting that moisture to actually penetrate your strands and scalp can feel like a losing battle. That's where scalp steaming comes in. Learning how to steam scalp at home opens up one of the most effective ways to boost hydration, improve product absorption, and support a healthier scalp environment, all without booking a salon appointment.
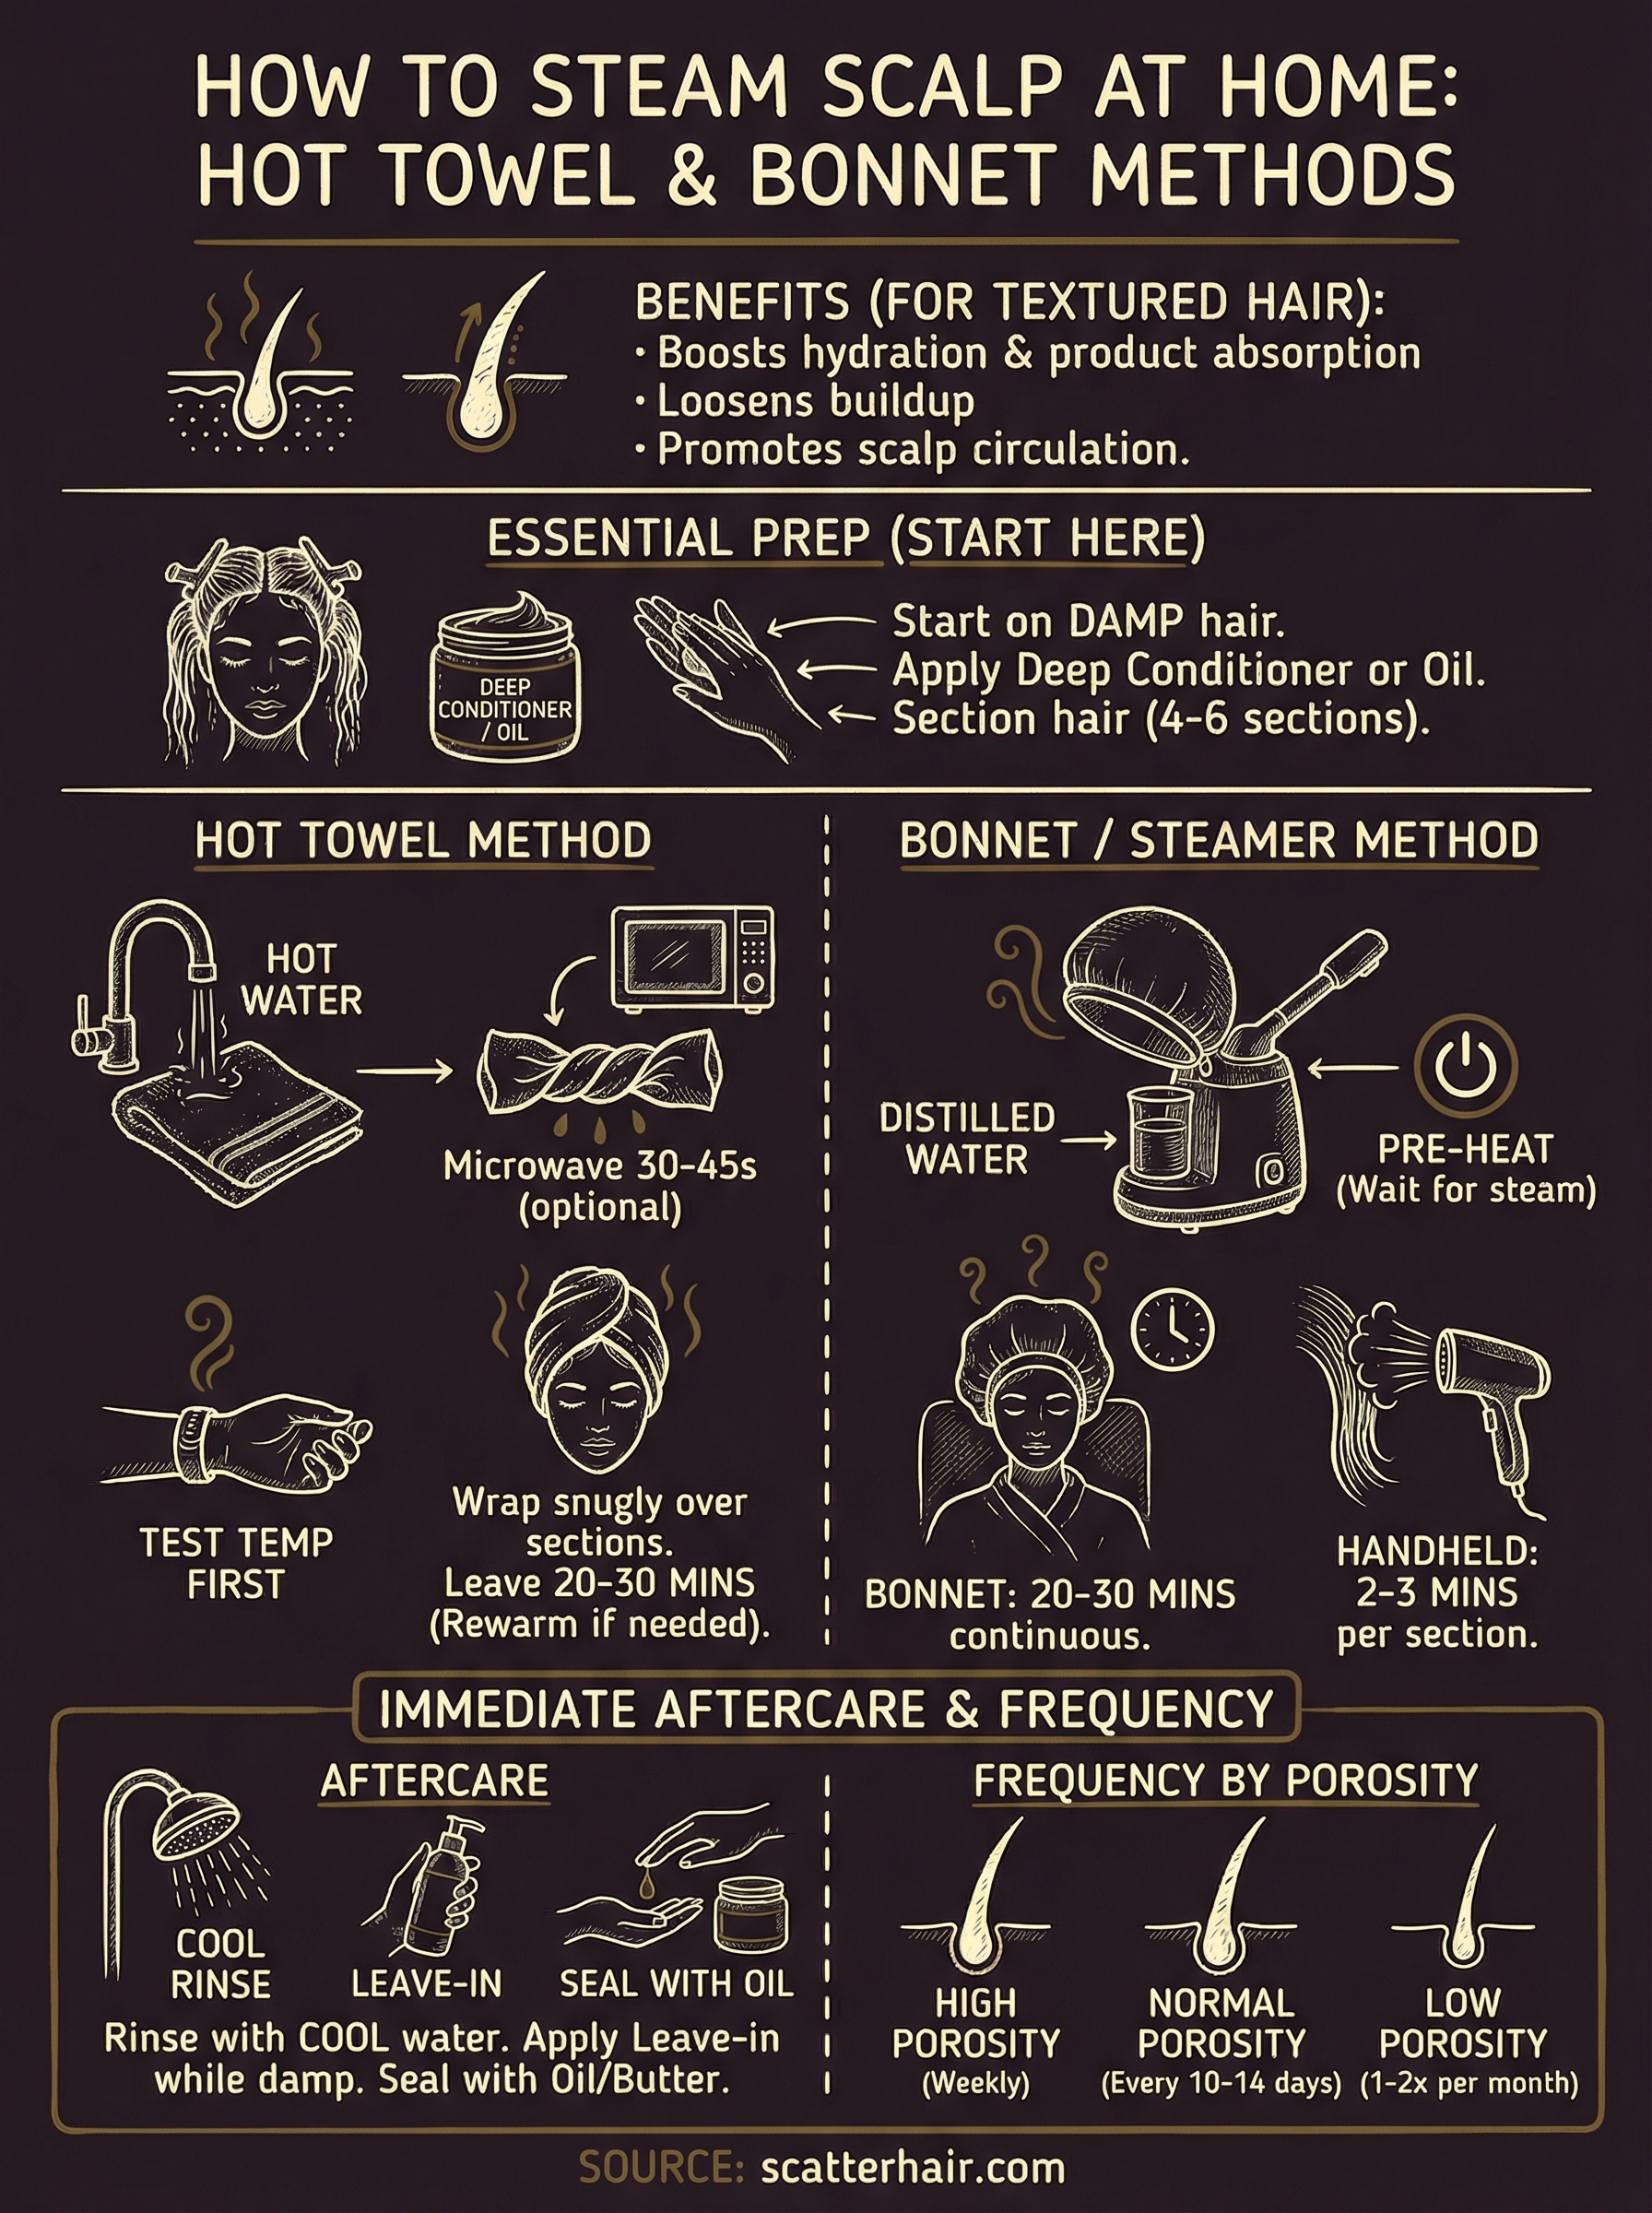
Scalp steaming works by using warm, moist heat to lift the hair cuticle and open up your pores. For those of us with curls, coils, and waves, this matters. Textured hair is naturally more prone to dryness, and steaming helps deep conditioners and oils actually do their job instead of just sitting on top. It can also help loosen buildup, soothe tightness, and promote better blood circulation to your scalp.
At scatterhair, we're building styling products specifically for textured hair, products that perform best when your hair is properly hydrated and prepped. Steaming is one of the simplest ways to set that foundation. In this guide, you'll learn two beginner-friendly methods, the hot towel method and the bonnet method, with step-by-step instructions, tips, and everything you need to get started at home today.
What scalp steaming does and who should skip it
Scalp steaming uses warm, moist heat to create a humid environment directly around your scalp and hair. When steam surrounds your strands, your pores open, your cuticles lift slightly, and your hair becomes far more receptive to hydration. It follows the same basic logic as a facial steam, but it's applied specifically to support scalp health and deep hair hydration in a way that most topical products alone can't achieve.
What happens to your scalp and hair during steaming
When steam reaches your scalp, the heat increases blood flow to that area. Better circulation means more nutrients and oxygen reach your hair follicles, which supports a healthier environment for growth over time. The moisture in the steam also softens buildup sitting on your scalp, including product residue, dead skin cells, and excess sebum, which makes your next wash more effective at actually removing it.
Your strands benefit just as much as your scalp. The gentle heat causes the cuticle layer to lift slightly, which allows your deep conditioner or oil to move past the surface and penetrate deeper into the hair shaft. Think of it like opening a door before you try to walk through it. Steaming without any product in your hair is less effective, so product application timing matters a lot.
Steam doesn't just deposit moisture on the surface. It creates conditions for your products to actually absorb, which is where the lasting benefit comes from.
The benefits for textured hair specifically
Textured hair, whether curly, coily, or wavy, has a naturally elliptical or twisted hair shaft that makes it harder for sebum to travel from your scalp down the length of each strand. This is the main reason textured hair tends to run drier than straight hair. Steaming helps compensate by delivering moisture directly through an open cuticle, rather than relying on sebum to do that job.
People who steam consistently tend to report softer, more pliable strands that are easier to detangle and style. Here's a quick summary of what regular steaming can do for textured hair:
- Improves how deeply conditioners and oils absorb
- Reduces scalp tightness and flaking
- Softens coils and waves for easier detangling
- Supports reduced breakage over time
- Helps define curl and coil patterns
If you've been looking into how to steam scalp at home and wondering whether the results are real, consistency is the variable. One session feels good; several sessions a month over a few weeks is where you start to see a real shift.
Who should skip scalp steaming
Steaming is not right for everyone. If you have active scalp conditions like open sores, infected folliculitis, or a severe psoriasis flare-up, adding heat and moisture can make things worse. The warm, humid environment can encourage bacterial or fungal growth on an already compromised scalp. Talk to a dermatologist before starting a steaming routine if any of these apply to you.
Low-porosity hair also needs some caution. Highly resistant, low-porosity strands can experience hygral fatigue from too much steaming because the cuticles are naturally tight and don't need as much help opening. If your hair feels limp or mushy when wet, scale back your steaming frequency to once or twice a month instead of weekly.
What you need before you start
Neither method requires a salon setup or expensive equipment. Before you figure out how to steam scalp at home, gather a few basic supplies and prep your hair the right way. Skipping the prep entirely is the most common reason people walk away from a session without noticing much difference, because the heat alone is not what creates results.
Supplies for each method
The hot towel method requires things you likely already own: a clean towel, a microwave or pot of hot water, and your chosen deep conditioner or oil. The bonnet steamer method needs either a dedicated hair steamer bonnet or a handheld facial steamer. Both types are widely available online at a range of price points, and you do not need to spend a lot to get started with either one.
Here's what each method calls for at a glance:
| Method | What you need |
|---|---|
| Hot towel | Clean towel, microwave or pot of hot water, deep conditioner or oil |
| Bonnet steamer | Bonnet or handheld steamer, deep conditioner or oil |
| Either method | Shower cap (optional), clips or pins to section hair |
Placing a shower cap over your deep conditioner before adding the towel or bonnet traps additional heat and pushes the steam to work harder.
How to prep your hair before steaming
You should always start on damp or freshly washed hair, not dry hair. Hair that already carries some moisture responds to steam much better, and the products you apply will distribute more evenly across each section. Work your deep conditioner or oil through your hair before the heat goes on, because the steam is what drives that product past the surface and into the shaft where it actually counts.
Divide your hair into four to six sections based on your thickness and density. Sectioning prevents product from clumping in one spot and makes sure steam reaches your scalp consistently. If your coils are very dense, use six or more sections. You only need a moderate, even layer of product per section, not a heavy coat.
Hot towel method step by step
The hot towel method is the most accessible way to learn how to steam scalp at home because it uses items you already own. The key is heat retention, specifically keeping the towel warm enough to generate steam for the full duration of your session. Most people get this right on the first try once they understand the technique.
How to heat and test the towel safely
Run your towel under very hot tap water until it's fully saturated, then wring it out firmly so it's damp but not dripping. If you prefer faster heat, fold the wet towel and microwave it for 30 to 45 seconds, checking every 15 seconds so it doesn't overheat. A towel that's too hot can burn your scalp, so always do a quick temperature test against the inside of your wrist before applying it to your head.
If you've already applied deep conditioner and sectioned your hair, you're ready to apply the towel the moment it passes the wrist test.
Wrapping your hair and timing the session
Place the hot, damp towel over your head and wrap it snugly around your entire hairline, covering all your sections so the heat stays contained. If you added a shower cap over your conditioner during prep, leave it on and wrap the towel directly over it. This combination traps heat much longer and pushes the steam into your scalp more effectively.
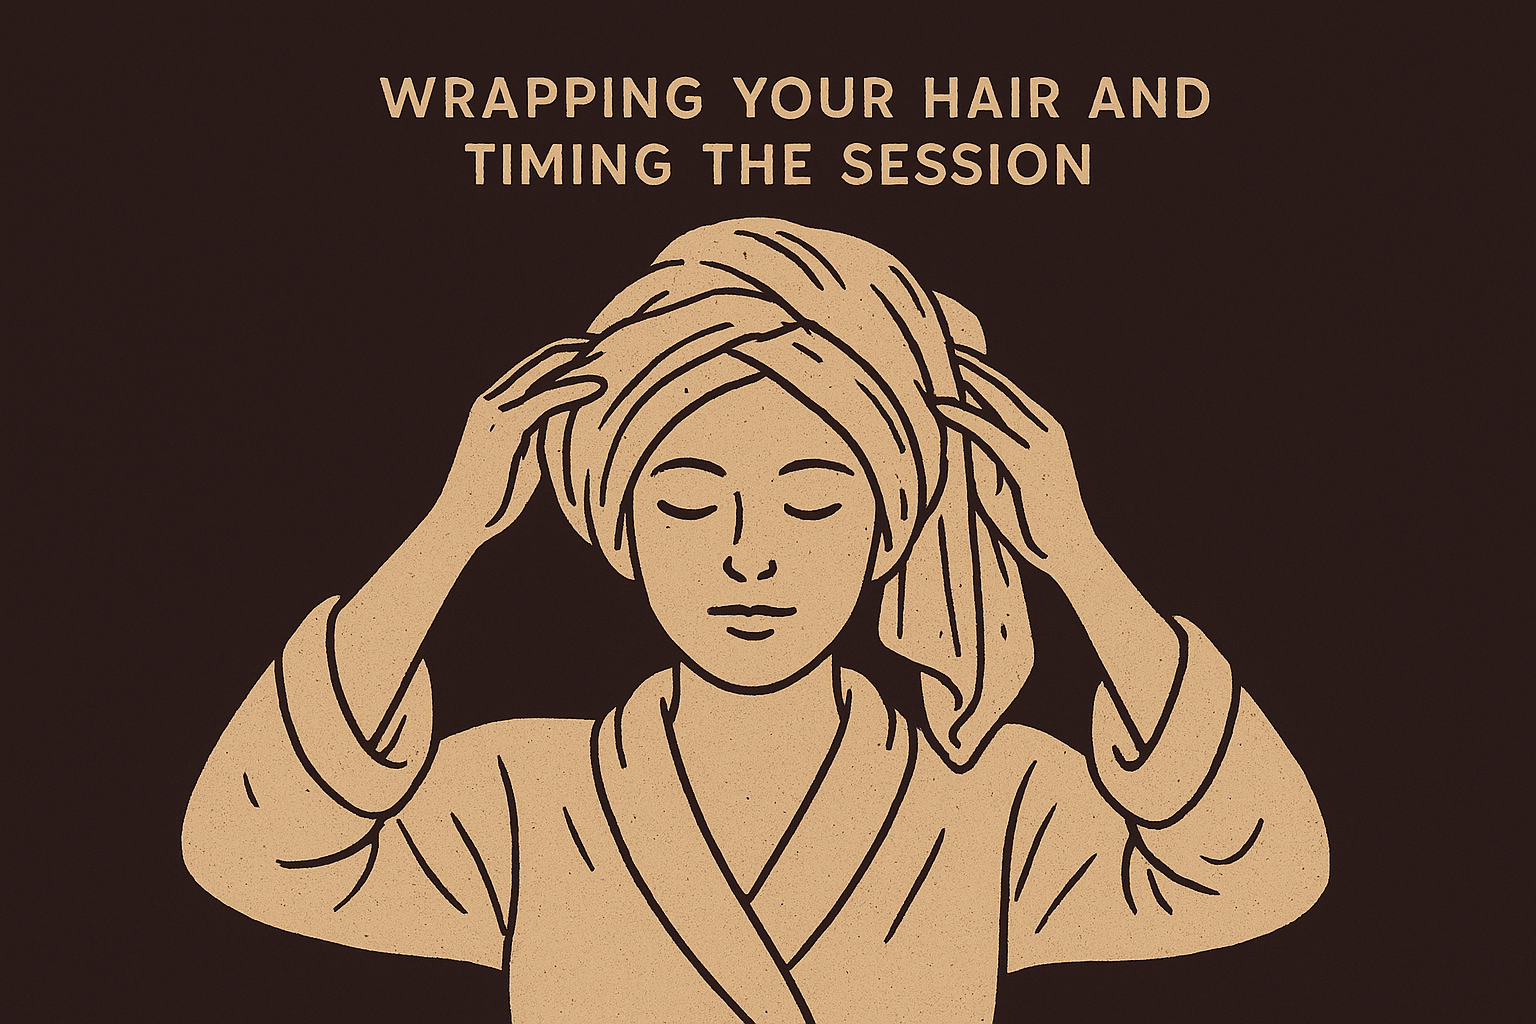
Sit with the towel on for 20 to 30 minutes. You can rewarm it once midway through if it cools down quickly, which is common in colder rooms. Simply unwrap, re-wet in hot water or microwave it again briefly, and rewrap. Two rounds of heat is usually enough to get full benefit from a single session without overdoing it.
Once your time is up, remove the towel and rinse out your deep conditioner with cool water to seal the cuticle back down and lock in the moisture you just worked to absorb. Follow up immediately with your leave-in or styling product while your hair is still damp.
Bonnet or handheld steamer method step by step
A bonnet or handheld steamer delivers consistent, continuous steam for the full length of your session, which gives it an edge over the towel method in terms of sustained heat. If you've been exploring how to steam scalp at home and want results that feel closer to a salon experience, a steamer bonnet is worth the investment. Most models plug in, heat up within a few minutes, and attach over your head while you sit comfortably.
Setting up your steamer
Fill your steamer's reservoir with distilled or filtered water rather than tap water. Tap water can leave mineral deposits inside the device over time, which shortens its lifespan and can reduce steam output. Once filled, turn the unit on and allow two to three minutes for it to heat up fully before you put it on or point it at your head. Most bonnet steamers will produce a visible, gentle mist once they're ready.
Starting your session before the steamer reaches full temperature means the first few minutes are doing very little, so always wait for consistent steam before you begin.
Apply your deep conditioner or treatment oil to damp, sectioned hair before turning the steamer on, the same prep approach as the hot towel method. Clip each section up if needed to keep your hair contained under the bonnet.
Running your session
For a bonnet steamer, place it over your head so the opening sits comfortably around your hairline. Set a timer for 20 to 30 minutes and let the steamer run continuously. You do not need to rewarm or adjust anything mid-session, which is one of the main advantages over the towel method.
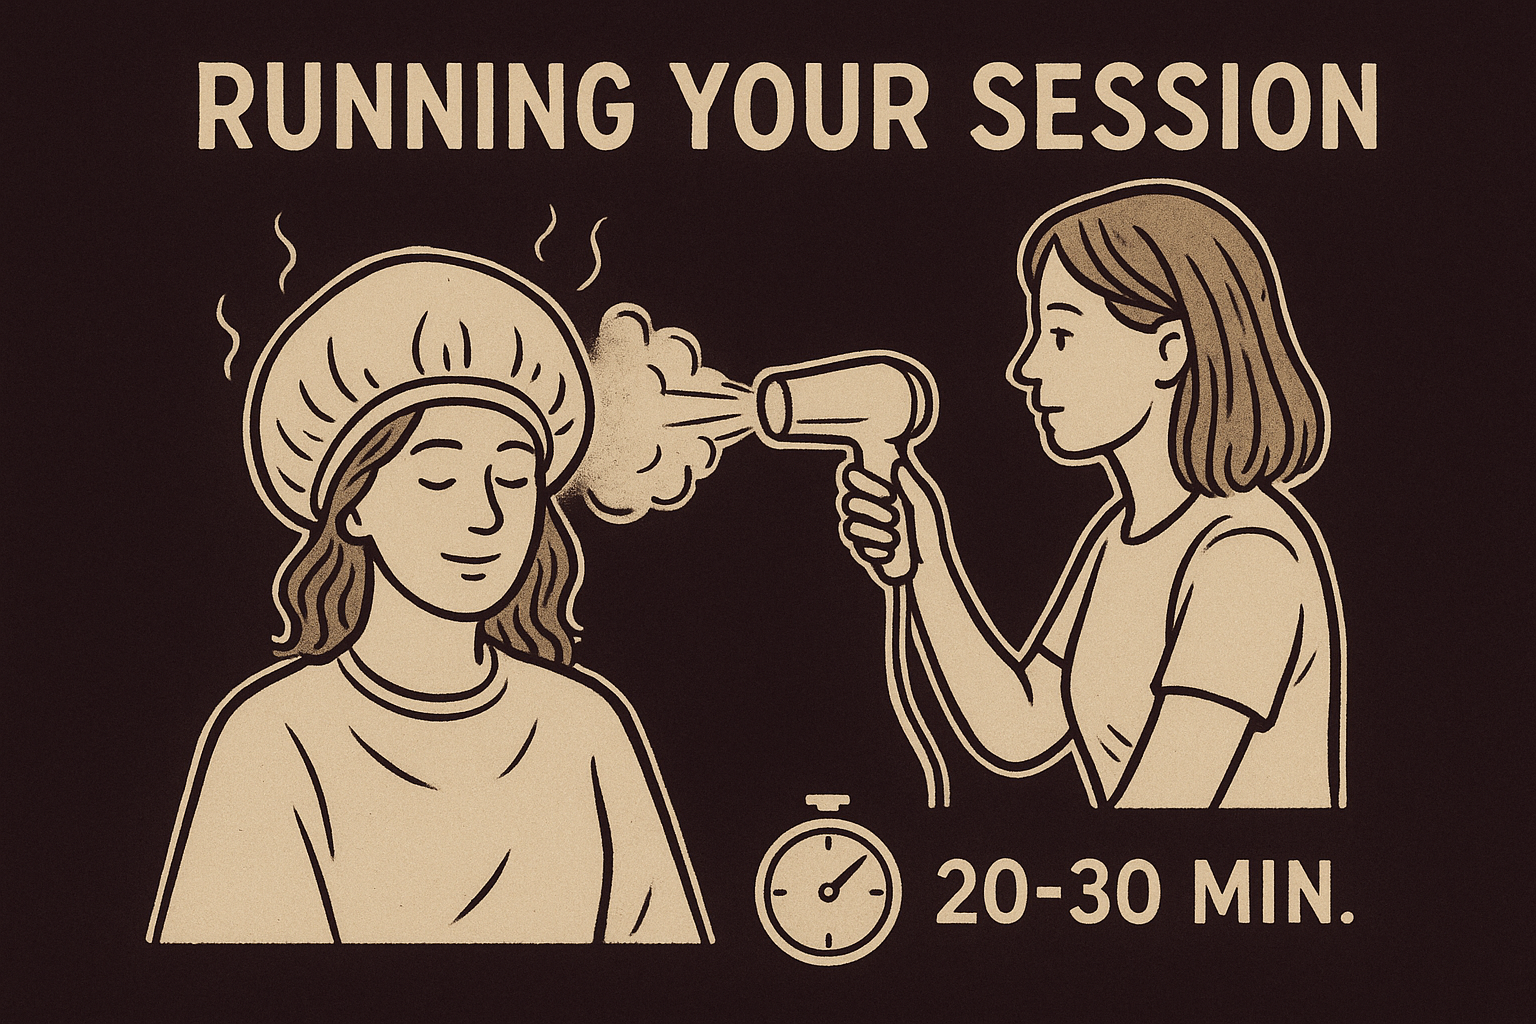
For a handheld facial steamer, hold the nozzle roughly four to six inches from your scalp and move it slowly from section to section. Spend about two to three minutes per section to make sure every area gets even coverage. Work through all sections in order and repeat the pass once if your hair is particularly dense or thick.
Rinse with cool water once your time is up, then apply your leave-in or styling product immediately while your hair is still damp and your cuticles are receptive.
Timing, frequency, and aftercare
Getting the most from how to steam scalp at home means understanding not just the method, but also when to steam, how often, and what to do immediately after. The session itself is only part of the equation. How frequently you repeat the process and what you apply right after determines whether you see a real difference in your scalp and strands over time.
How often to steam based on your hair type
Your steaming frequency should match your hair's porosity and current moisture levels, not a generic schedule that works for everyone. High-porosity hair, which absorbs moisture quickly but loses it just as fast, benefits from steaming once a week or every five days. Normal-porosity hair does well with sessions every one to two weeks. Low-porosity hair, which resists moisture by nature, needs the least steaming of all, once or twice a month at most.
Over-steaming low-porosity hair can lead to hygral fatigue, where your strands feel limp or mushy because the cuticle has been forced open too many times without adequate recovery between sessions.
Use this as a starting point and adjust based on how your hair responds:
| Hair porosity | Recommended frequency |
|---|---|
| High porosity | Every 5 to 7 days |
| Normal porosity | Every 10 to 14 days |
| Low porosity | Once or twice per month |
What to apply right after steaming
Your hair sits at peak receptivity immediately after a steam session, so what you apply in the first few minutes matters more than anything else in your routine. Start with a leave-in conditioner to lock in the moisture your steam session delivered. Apply it while your hair is still damp and work it through each section evenly before moving on.
Follow the leave-in with a light oil or butter to seal the cuticle and slow moisture loss. For textured hair specifically, sealing is a step you do not want to skip. Without it, the hydration you worked for can evaporate within a few hours. Apply your preferred styling product last, while your hair is still damp, to define your texture and hold everything in place.
Your next steam day
Now you have everything you need to know about how to steam scalp at home using two methods that actually work. Pick whichever fits your setup, whether that's a hot towel from your kitchen or a bonnet steamer from your bathroom shelf, and run your first session this week. Start with 20 minutes, apply your deep conditioner beforehand, and seal with a leave-in and oil right after. That single sequence is where the results come from.
Stick to the frequency that matches your porosity level and give it at least three or four sessions before you evaluate the difference. Your scalp, your curl pattern, and how your hair responds to products will all shift when moisture is no longer a barrier. When you're ready to pair that foundation with styling products built for textured hair, check out what's coming at Scatter.