

Wash Day Routine: A Step-by-Step Guide for Textured Hair
You block out three hours, pull out every product you own, and still end up with frizz, tangles, or a wash-and-go that falls flat by noon. A messy wash day routine wastes time and product, and it can leave your curls more damaged than defined. If you have textured hair, you already know wash day is not just a shower, it is a whole event that deserves an actual plan.
This guide breaks down a wash day routine for natural hair into clear, repeatable steps: pre-poo, cleanse, condition, detangle, moisturize, and style. No guesswork, no wasted product, just a sequence that works whether you have coils, curls, or waves. We will also flag where hair growth habits fit in, since how you handle wet hair matters as much as what you put on it.
Whether you are working with a short natural hair wash day routine or need a quick wash day routine for busy weeks, you will find a version that fits. And since Scatter is built around making styling actually work for textured hair, this routine sets the foundation for whatever look you try next.
Why a wash day routine matters for textured hair
Textured hair behaves differently from straight hair the moment water touches it, and that difference is the whole reason a set order of steps matters. The hair cuticle on coily and curly strands sits raised and irregular compared to straight hair, which means it snags against itself constantly. Skip a step, do things out of order, or rush through detangling, and you are not just risking a bad hair day. You are physically stressing strands that already break more easily than straight hair does. A consistent wash day hair routine removes the guesswork so your hands know what to do before you even step into the shower.
A repeatable wash day routine protects your strands from damage that no product can undo later.
The moisture-protein cycle textured hair depends on
Curly and coily hair loses moisture faster than straight hair because of its shape. Each bend and coil is a point where the hair shaft can crack open and let moisture escape, which is part of why textured hair reads as "dry" so often even with heavy products piled on. A proper wash day routine natural hair follows works because it rebuilds moisture and reinforces protein in a specific order, cleansing, conditioning, then sealing, so each step supports the next instead of undoing it. Wash without conditioning afterward and you strip natural oils without replacing them. Condition without sealing and that moisture evaporates within hours.
What skipping steps actually costs you
People skip steps for understandable reasons: time, cost, or just not knowing why a step matters. Here is what typically happens when you cut corners:
- Skipping pre-poo: Shampoo strips hair that is already vulnerable, leading to more breakage during washing.
- Skipping detangling before shampoo: Tangles get tighter under water pressure, and you end up ripping through knots later when hair is more fragile.
- Skipping deep conditioning: Hair dries brittle and loses elasticity, which shows up as snapping strands instead of stretching.
- Skipping the seal step: Moisture you just added evaporates within a few hours, and curls frizz out by afternoon.
- Skipping a drying method: Rough towel-drying roughs up the cuticle and creates frizz you then have to fight with product.
Each shortcut seems small on its own, but they compound. A wash day where you skip two or three steps regularly is a slow drain on hair health, not a one-time inconvenience.
Why this connects directly to hair growth
Hair growth is a scalp and strand-health issue before it is a product issue. Your hair grows the same rate regardless of what you put on it, roughly half an inch a month according to the American Academy of Dermatology, but breakage cancels out length retention. A wash day routine for hair growth is really a breakage-prevention routine in disguise. Every tangle you rip through, every dry patch you leave unsealed, every rough towel-dry session chips away at length you already grew. That is why people obsessed with growth focus less on growth serums and more on gentle handling during wash day, since that is when hair is most fragile and most handled.
One routine, many hair types
Whether you have short coils, waist-length curls, or something in between, the steps stay the same even if timing shifts. A short natural hair wash day routine moves faster simply because there is less hair to detangle and dry, not because any step gets skipped. Understanding why each step exists means you can adjust timing without losing the benefit, which matters once you start building your own rhythm.
Step 1. Pre-poo and detangle your hair
Every solid wash day routine starts before you ever touch water. Pre-pooing means coating dry or damp hair with oil or conditioner before shampoo, and it exists for one reason: to buffer your strands against the stripping effect of cleanser. Textured hair is at its most vulnerable when it is wet and tangled, so you want a layer of slip and moisture in place before shampoo gets anywhere near it. Skip this step and you are sending fragile, dry strands straight into a cleansing process that was never gentle to begin with.
Pre-poo before you tangle, not the other way around.
How to pre-poo the right way
Section your hair into four to six parts before you apply anything. Working in sections keeps you from losing track of which areas you have covered and prevents you from creating new tangles while you finger-detangle. Apply your pre-poo mix generously from root to tip, focusing extra product on your ends since that is the oldest, most fragile hair on your head.
- Divide dry hair into 4 to 6 sections and clip them.
- Apply a mix of oil (like coconut or jojoba) and conditioner section by section.
- Finger-detangle each section first, working from ends to roots.
- Follow with a wide-tooth comb or detangling brush in the same direction.
- Cover hair with a plastic cap and let it sit 20 to 30 minutes.
- Rinse briefly with warm water before moving to shampoo.
Detangling without causing damage
Detangling is where most breakage actually happens, not during shampoo like people assume. Working from the ends up, rather than roots down, means you are removing small knots before they merge into bigger ones, which reduces the pulling and snapping that comes with roots-first detangling. Never detangle hair while it's fully dry with no slip product on it. The friction alone will cost you strands.
Quick timing note: if you're running a quick wash day routine, you can shorten pre-poo sit time to 10 minutes and still get benefit, since even a short buffer beats skipping it entirely. What you should not shorten is the detangling itself. Rushing this step is exactly how people end up with more shedding than their hair actually produces naturally.
Step 2. Shampoo or co-wash your scalp
Once your hair is detangled, the goal shifts to your scalp. Buildup from oils, product residue, and dead skin cells clogs follicles and can slow growth over time, so this step is not optional even on weeks when your ends feel fine. A wash day hair care routine that skips proper scalp cleansing just recycles dirt back into freshly detangled strands.
Clean your scalp like you mean it, then treat your strands like they're fragile.
Shampoo vs. co-wash: which one you actually need
Not every wash day calls for the same cleanser. Shampoo strips more thoroughly, which matters when you have product buildup, but it can also leave dry hair feeling stripped if overused. Co-washing (cleansing with conditioner) is gentler and better suited for weeks between full shampoo sessions.
| Method | Best for | Frequency |
|---|---|---|
| Sulfate-free shampoo | Product buildup, scalp itch, oily roots | Every 1-2 weeks |
| Co-wash | Dry ends, low buildup, in-between washes | Weekly |
| Clarifying shampoo | Heavy silicone or mineral buildup | Monthly |
How to cleanse without creating new tangles
Section your hair again before you add water, using the same four to six sections from pre-poo. Applying shampoo or co-wash directly to loose hair invites new tangles right after you just worked to remove them, undoing the point of Step 1 entirely.
- Emulsify a small amount of shampoo or co-wash in your palms first.
- Apply directly to your scalp, section by section, not to your lengths.
- Massage with fingertips, not nails, in small circles for 60 to 90 seconds per section.
- Let the lather run down your strands as you rinse; avoid scrubbing the ends.
- Rinse with lukewarm water, never hot, since heat opens the cuticle and worsens frizz.
Rinsing technique matters more than people think. Warm-to-hot water feels good but leaves your cuticle raised and more prone to tangling in the very next step. Sticking to lukewarm water here sets your hair up to accept conditioner properly instead of fighting it.
Quick note for anyone running a quick wash day routine: co-washing alone on non-buildup weeks cuts real time off this step without sacrificing scalp health, since you skip the harsher rinse-out phase full shampoo requires.
Step 3. Deep condition for moisture and strength
Deep conditioning is where you actually rebuild what shampoo just took out. This step is not the same as your daily conditioner rinse-out. A real deep conditioning treatment needs heat, time, and a formula built for penetration, not just slip. Skip it, and your wash day routine natural hair depends on falls apart by Step 5, because you will be trying to style hair that never got the internal moisture it needed in the first place.
Deep conditioning is not optional pampering, it is the step that decides whether your curls hold or fall flat.
Moisture versus protein: know which one you need
Hair that feels dry, rough, or stretches without snapping back needs a moisture-based deep conditioner, usually one built around glycerin, aloe, or fatty alcohols. Hair that feels mushy, stretches too far, or snaps easily needs a protein treatment instead, since that signals weak internal structure rather than dryness. Most people need moisture more often than protein, roughly three moisture treatments for every one protein treatment, but overusing protein on hair that is already protein-heavy makes it brittle. Pay attention to how your strands feel wet versus dry, since that tells you more than any product label does.
How to deep condition step by step
- Apply your deep conditioner in sections, saturating from mid-shaft to ends first.
- Detangle lightly again if needed, since conditioner adds slip that catches missed knots.
- Cover hair with a plastic cap to trap body heat, or add a hooded dryer for 15 to 20 minutes.
- Leave the treatment on for at least 20 minutes; longer sessions (up to 45 minutes) work better for very dry or damaged hair.
- Rinse with cool to lukewarm water to help seal the cuticle back down before you move to styling products.
Heat matters more than most people realize here. A plastic cap alone traps some warmth, but adding a hooded dryer or steamer opens the cuticle enough for the conditioner to actually penetrate the strand instead of sitting on top of it. If you're short on time, a quick wash day routine can still include a 15-minute heat session rather than skipping deep conditioning outright, since even a shortened treatment beats none. Rinsing with cool water afterward locks the cuticle flat, which sets you up for the next step: sealing that moisture in before it has a chance to escape.
Step 4. Seal in moisture with leave-in and oil
Wet hair is when your strands hold the most water they will ever hold post-wash, so this step is about trapping that water before evaporation starts pulling it back out. A leave-in conditioner adds a layer of slip and hydration, while oil on top acts as a barrier that slows moisture loss over the next day or two. Applying products in the wrong order, or skipping the oil layer entirely, means the moisture you just spent thirty minutes deep conditioning in evaporates by early afternoon.
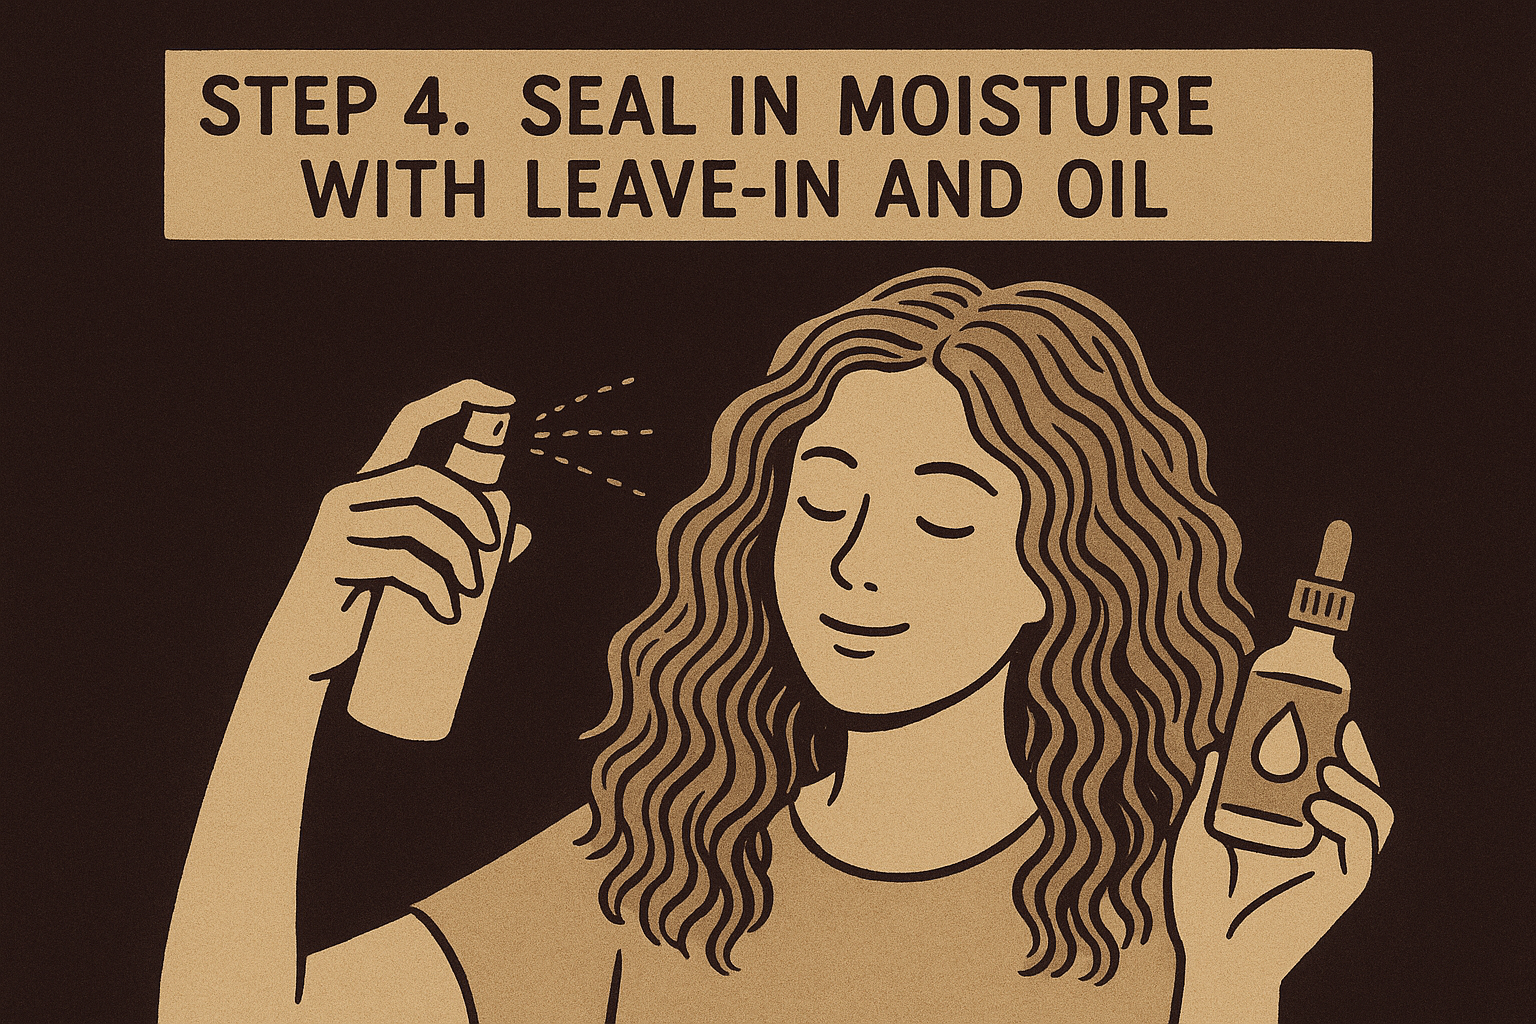
Water hydrates, oil seals. Skip the seal and you're just hydrating hair that dries out by lunch.
The LOC method, step by step
Most curl communities call this the LOC method: liquid, oil, cream. It works because each layer builds on the one before it instead of fighting for space on the strand.
- Apply a water-based leave-in to soaking-wet hair, section by section.
- Seal with a light oil (grapeseed, argan, or jojoba work well for most porosities) while hair is still damp.
- Follow with a cream or butter to lock everything in and add definition.
- Skip the cream step entirely on fine or low-porosity hair, since it can weigh curls down without adding benefit.
Some people flip the order to LCO, cream before oil, and that variation suits high-porosity or coarser hair better since the cream sinks in before the oil seals it. Test both on a single wash day and compare how your curls feel by evening.
Matching products to your porosity
Porosity determines how much product your hair can actually absorb, and guessing wrong here wastes product and leaves curls either greasy or bone dry.
| Porosity | Leave-in texture | Oil weight | Cream needed? |
|---|---|---|---|
| Low | Light, water-based | Very light (grapeseed) | Rarely |
| Medium | Standard leave-in | Medium (argan, jojoba) | Yes, light layer |
| High | Rich, humectant-heavy | Heavier (castor, avocado) | Yes, generous layer |
Running a quick wash day routine? Combine your leave-in and oil into one step by mixing a few drops of oil directly into your leave-in conditioner before application. It's not as precise as layering separately, but it beats skipping the seal step when you're short on time.
Step 5. Style and dry your curls
Styling is where your wash day routine steps finally pay off, but how you apply product and dry your hair decides whether that definition holds or falls apart by evening. Rake, twist, or shingle your product through soaking-wet sections rather than damp ones, since wet hair accepts styling cream more evenly and clumps form better before frizz has a chance to set in. Working section by section, the same way you did for pre-poo and conditioner, keeps your curl pattern consistent instead of leaving some areas defined and others frizzy.
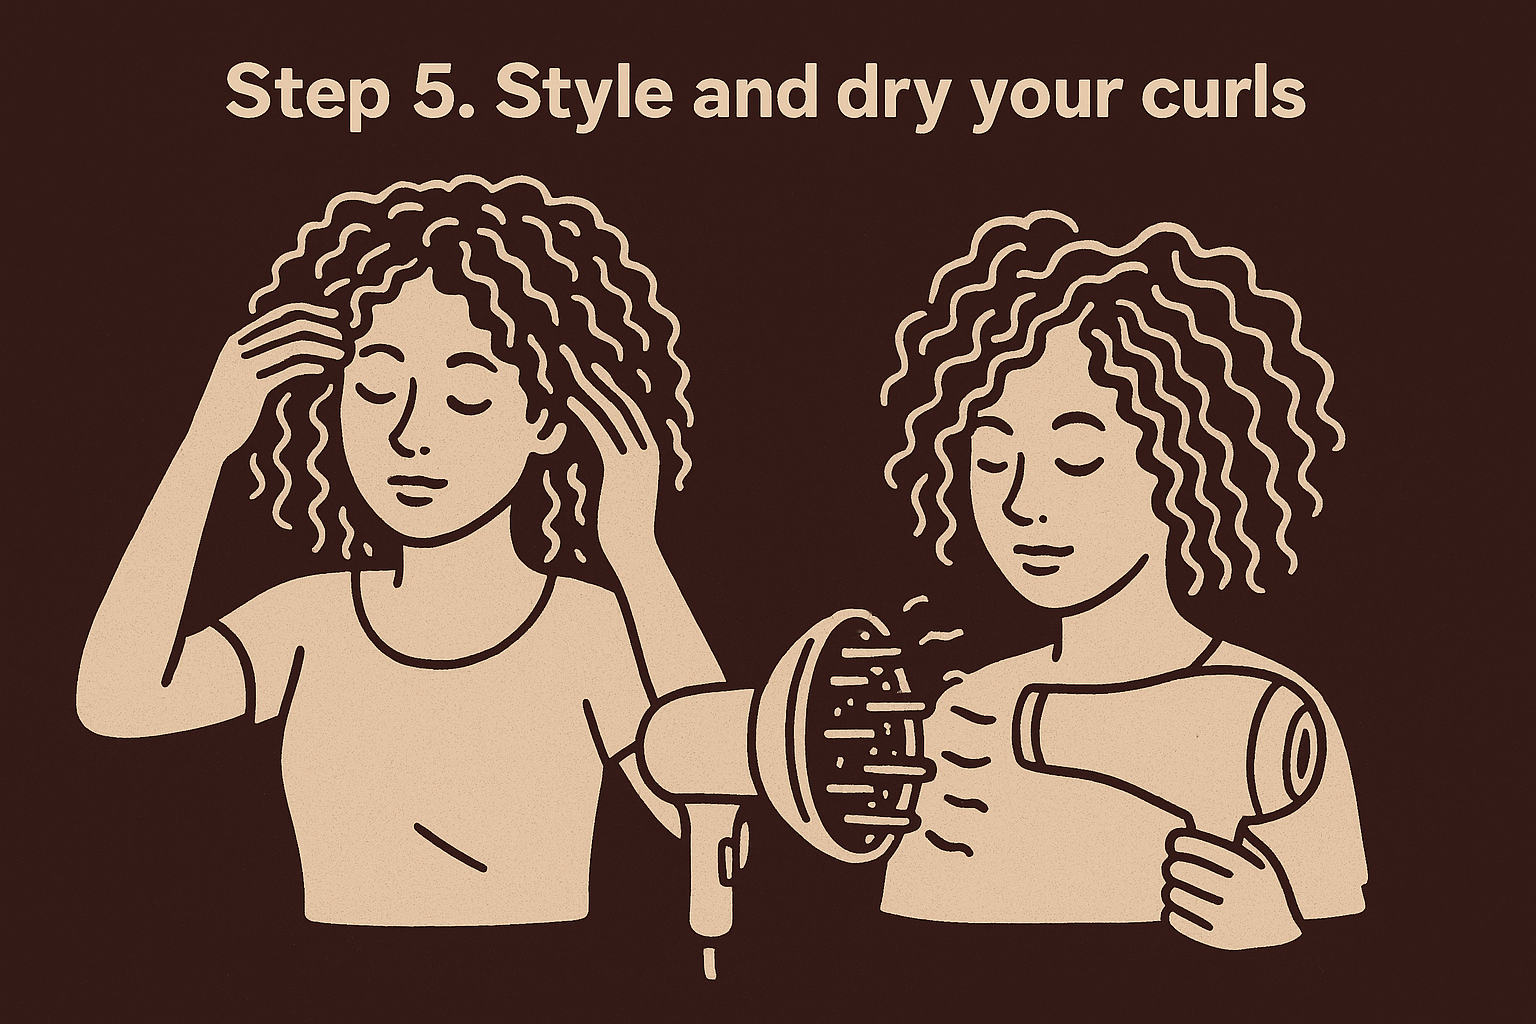
Curl definition is decided in the first five minutes after you apply product, not in how you dry it.
Choosing a styling technique
Technique matters more than product quantity here. Shingling separates hair into small pieces and smooths product down each strand for maximum definition, which suits looser curls and wash-and-gos. Twisting or finger-coiling clumps sections together for more hold, which works better on coilier textures that need extra grip to keep a pattern. Try both on different wash days and watch which one holds past the six-hour mark, since that tells you more than any tutorial will.
Drying methods and what they do to your curls
How you dry hair matters just as much as how you style it, since rough handling here undoes everything the earlier steps built.
| Drying method | Best for | Drying time |
|---|---|---|
| Air dry | Low manipulation, slow schedule | 3-6 hours |
| Diffuser | Faster definition, added volume | 20-40 minutes |
| Plopping | Reducing frizz on wavy/curly types | 10-20 min, then air dry or diffuse |
Diffusing on a low, cool setting speeds things up without disturbing your curl clumps the way high heat or a regular blow dryer nozzle would. Plopping, wrapping soaking-wet hair in a microfiber towel or t-shirt, works well as a first step before diffusing, since it removes excess water without the friction a rough towel-dry causes.
Avoid touching your curls while they dry, no matter which method you pick. Disturbing wet or half-dry curls breaks up clumps and creates frizz you will spend the rest of the day fighting, which defeats the whole point of a careful cg wash day routine.
Building a wash day rhythm that works for you
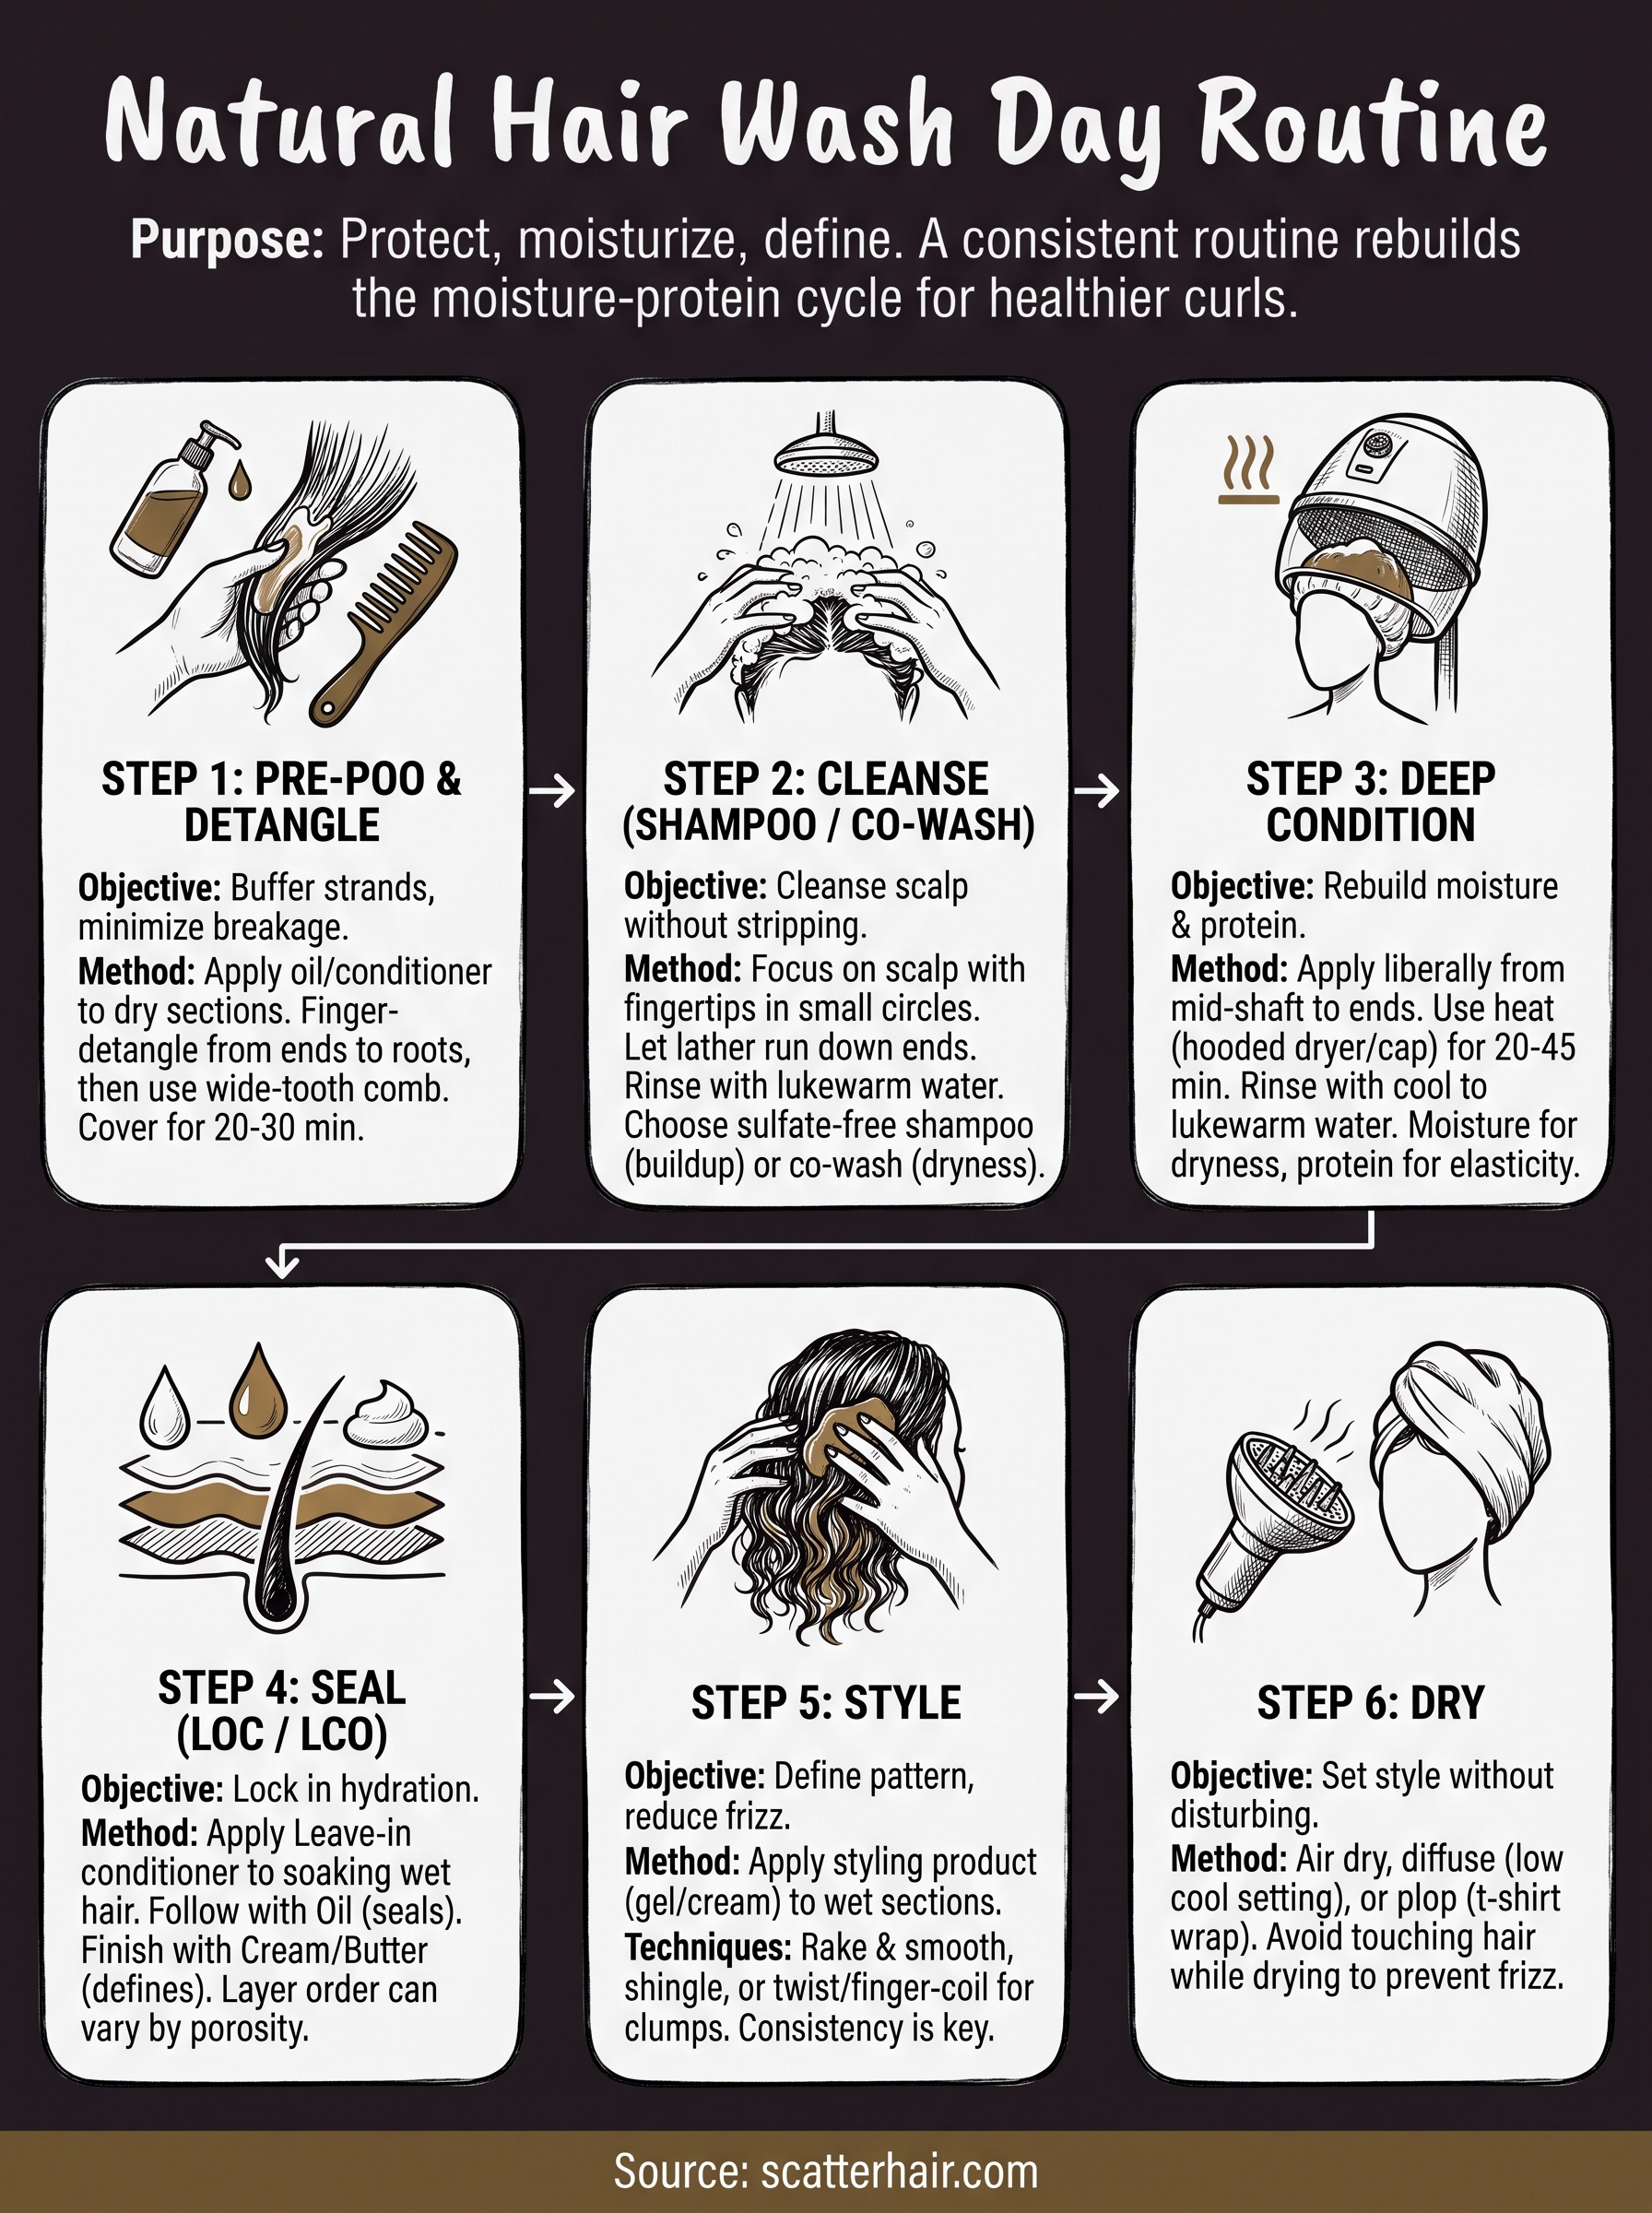
Six steps sound like a lot until you run through them a few times and your hands start moving without you thinking about the order. That's the real goal here, not perfection on the first try, but a wash day routine that becomes second nature whether you have an hour or three. Adjust timing for your schedule, your porosity, and how your hair feels that week. What stays fixed is the sequence: buffer, cleanse, rebuild, seal, style. Get that order right and everything else, product picks, technique, timing, becomes flexible.
Once your wash day is dialed in, the fun part starts: actually styling the result. Scatter is building products specifically for textured hair that make styling after wash day effortless instead of another chore, and we're sharing behind-the-scenes development, playlists, and get-the-look guides as we get closer to launch. Sign up for early access at Scatter and get first pick when we drop.