

How To Diffuse Curly Hair Step-By-Step For Volume Less Frizz
You spent time washing, conditioning, and scrunching your curls into place, only to watch them fall flat or frizz out the second you try to dry them. Sound familiar? The problem usually isn't your hair. It's your technique. Learning how to diffuse curly hair the right way is one of the fastest fixes for limp, frizzy, or undefined curls, and it doesn't require a cosmetology degree. It just requires the right approach and a little patience.
A diffuser attachment changes how heat and airflow hit your curls. Instead of blasting them apart, it distributes air gently and evenly, keeping your curl pattern intact while cutting down on dry time. But there's more to it than just clipping on an attachment and going. Speed settings, head positioning, and product choice all play a role in how your curls turn out. Get one wrong, and you're back to fighting frizz.
Below, you'll find a complete step-by-step breakdown of how to diffuse curly hair for maximum volume with minimum frizz, plus tips to help you fine-tune the process for your specific curl type.
What you need before you start
Getting your tools and products in order before you start makes the whole process smoother. Running back to grab a forgotten product mid-styling is a fast way to disrupt your curl pattern and invite frizz. Spend two minutes setting everything up ahead of time, and the actual diffusing becomes straightforward rather than stressful.
The right diffuser attachment
Not all diffusers work the same way. A bowl diffuser with prongs is your best option for curly hair because the prongs lift and support the curl while the bowl disperses air evenly around it. Finger diffusers and flat plate diffusers exist, but they don't hold the hair the same way and often cause more disruption to your curl clumps.
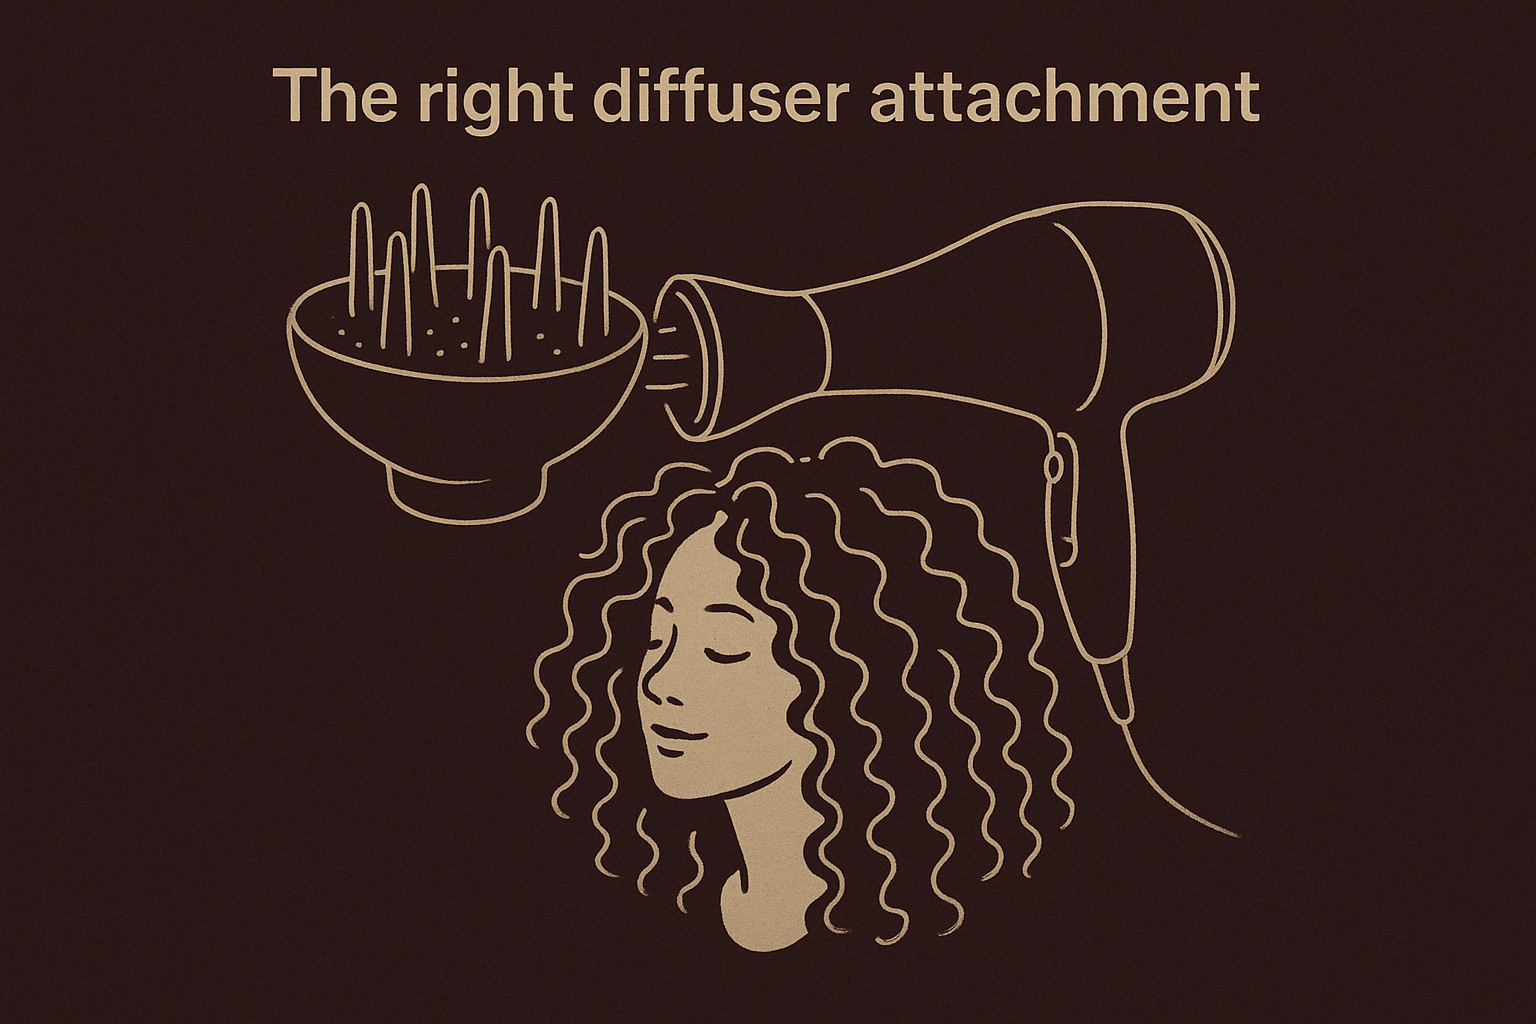
Your diffuser should fit securely onto your blow dryer nozzle. Universal diffusers work with most dryers, but if you have a specific brand, check if they sell a matching attachment for a tighter fit. A loose attachment creates uneven airflow and becomes frustrating to manage mid-dry.
A bowl diffuser with deep prongs gives you the most control over curl placement and prevents the roots from drying flat against your head.
Products you need on hand
The products you apply before diffusing matter as much as the technique itself. Layering a leave-in conditioner with a hold product like a gel or curl cream gives your curls the moisture and structure they need to survive the heat without going puffy or undefined. Apply everything on soaking wet hair before you even pick up the dryer.
Here's a simple product lineup that works for most curl types:
- Leave-in conditioner: adds moisture and reduces friction as you scrunch
- Curl cream or styling milk: defines clumps and smooths the cuticle
- Gel or mousse: locks the curl in place and creates the cast that protects against frizz while drying
Dryer settings to dial in before you begin
Learning how to diffuse curly hair properly starts before you turn the dryer on. High heat and high speed are the two biggest mistakes most people make, because both cause the cuticle to swell and the curl clumps to separate. Set your dryer to low or medium heat and the lowest fan speed your dryer offers.
If your dryer has a dedicated curl or diffuse mode, use it. These settings reduce turbulence so your curls aren't constantly being buffeted around. If your dryer doesn't have one, low heat with low airflow is your default starting point. You can increase heat slightly if your hair is taking too long to dry, but beginning on the gentler end gives your curls a better chance to set with definition intact.
Step 1. Prep and style on soaking wet hair
The timing of your product application is everything. If you wait until your hair is damp or partially dry before styling, your curl clumps won't form properly and hold products won't distribute evenly through the strands. Most people who struggle with how to diffuse curly hair are already making their biggest mistake right here, before the dryer even comes out of the drawer.
Skip the towel and use a microfiber cloth or T-shirt
Rubbing your hair with a regular towel lifts the cuticle and breaks apart the curl clumps you need for definition. Instead, scrunch out excess water gently using a microfiber towel or an old cotton T-shirt, which are both smooth enough to cut down on friction without disturbing your curl pattern. You want your hair to stay soaking wet at this stage, not just damp.
Squeezing rather than rubbing is the single biggest change you can make to reduce frizz before you even touch a product.
Apply your products in the right order
Start with your leave-in conditioner, working it through section by section from the ends up toward the roots. Follow immediately with your curl cream or gel while the leave-in is still wet on the strand. This layering approach allows the products to bond together on the hair shaft, which creates a stronger cast and better curl definition once the diffuser does its work.
Here's the order to follow every time:
- Leave-in conditioner - apply section by section, fingertips to root
- Curl cream or styling milk - smooth over each section while leave-in is still wet
- Gel or mousse - scrunch upward from ends to root to encourage clumping
Once all three layers are in, scrunch gently one final time to help your curls clump together. Don't touch your hair again until you're ready to diffuse.
Step 2. Set the cast with hover diffusing
Hover diffusing is your starting point, and it's exactly what the name suggests: hold the diffuser bowl about an inch away from your hair without actually letting it touch the curls. This technique lets heat circulate around each curl clump without physically disturbing it. Most guides on how to diffuse curly hair skip this step entirely, but skipping it is what causes the cast to set unevenly and frizz to creep back in before you're even finished drying.
Position your head correctly
Flip your head upside down for this first phase of diffusing. Inverting your head lets gravity pull the curls away from the scalp, giving roots more lift and preventing them from drying flat. Hold the diffuser bowl beneath your curls and let the warm air rise up naturally through the bowl's prongs without pressing them into the hair.
Keep the dryer on low speed and medium heat throughout this entire phase. Move the diffuser in slow, small circular motions across each section, hovering close but never making direct contact. Spend roughly 30 to 60 seconds per section before shifting to the next one.
Hover diffusing locks in the outer layer of the cast first, which protects the curl shape before any direct contact happens in later steps.
Know when to move on
You want your hair to reach about 50 to 60 percent dry before you transition to the next step. Each curl clump should still feel cool and slightly wet at its core, but the outer surface should feel tacky rather than dripping wet. Depending on your hair density and length, this phase typically takes between 5 and 8 minutes.
Don't rush through it. Moving on before the cast begins to set means the direct contact in step three will pull the clumps apart instead of building on them.
Step 3. Build volume with pixie diffusing
Once your curls have a partial cast from hover diffusing, you're ready to make direct contact with the diffuser bowl. Pixie diffusing is the technique that builds volume and encourages curl clumps to scrunch upward rather than hang down flat. This is where knowing how to diffuse curly hair pays off most visibly: done right, it adds significant root lift and definition without creating the frizz that direct heat usually causes.
How pixie diffusing works
Place individual curl clumps directly into the diffuser bowl and press the bowl gently toward your scalp, holding it there for 20 to 30 seconds before releasing and moving to the next section. The prongs support the curls from underneath while the bowl traps heat around them, which accelerates drying without blasting the hair apart. Think of it less like drying and more like molding your curls in place with controlled heat.
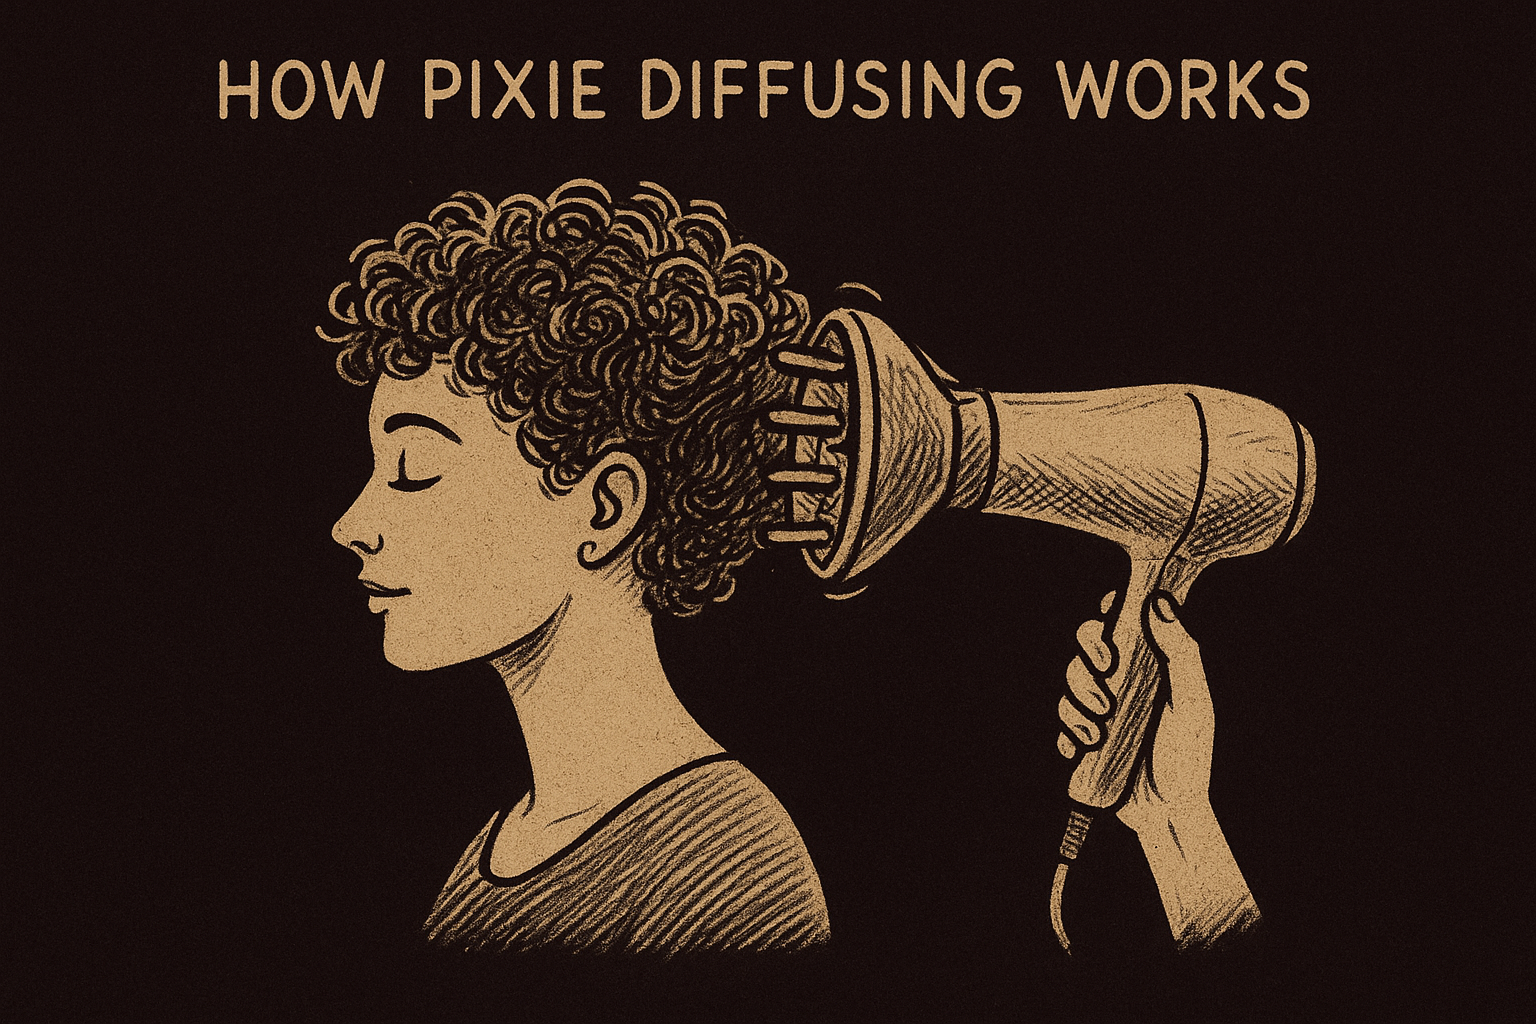
Pressing the bowl toward the scalp rather than pushing hair into the bowl keeps the curl clump intact and maximizes volume at the root.
Where and how to move through your hair
Work in small sections across your whole head, starting at the nape of your neck and moving upward toward the crown. The nape takes longer to dry because of its density and layering, so hitting it first gives it more total time under heat. Keep your dryer on low to medium speed throughout, and resist the urge to comb fingers through your curls between sections. Each time you separate clumps with your fingers at this stage, you introduce frizz and break the definition you just built.
Follow this order for the best results:
- Nape of neck - lift sections into the bowl one at a time, pressing upward
- Sides - press the bowl toward the ear, then the temple
- Crown - tip your head back slightly for direct lift at the root
Step 4. Stretch and finish without frizz
Your curls should feel about 80 to 90 percent dry at this point, with a firm cast on the outside and a slightly cool core. This final step is where you lock in volume and length without sacrificing definition. Knowing how to diffuse curly hair all the way through to this finish step is what separates a good curl day from a great one. Most people stop after pixie diffusing and then wonder why their results fall flat by midday.
Stretch with the diffuser, not your fingers
Reaching into your curls and pulling them apart with your hands at this stage is the fastest way to introduce frizz. Instead, use the diffuser prongs to gently separate oversized clumps by pressing the bowl in at different angles. Tipping your head to one side and diffusing the roots on the opposite side adds natural stretch without breaking the curl's structure. Use low speed and low heat for this phase, since your hair is almost dry and doesn't need aggressive heat anymore.
Switching to cool air for the last two minutes seals the cuticle and locks your curl pattern in place longer than heat alone.
Scrunch out the crunch
Once your hair is fully dry, the gel cast will leave your curls feeling stiff and crunchy. That's exactly what it's supposed to do, and it's a sign the product did its job protecting your curls through the entire drying process. To release the cast, scrunch your curls upward firmly with your palms using a small amount of a light oil or serum on your hands. The crunch breaks apart and leaves behind soft, defined curls with hold still intact underneath.
Scrunch from the ends up toward the roots in quick, deliberate squeezes rather than long raking motions. Raking separates your clumps and replaces softness with frizz. Keep your hands cupped and moving upward the entire time.
Quick wrap-up
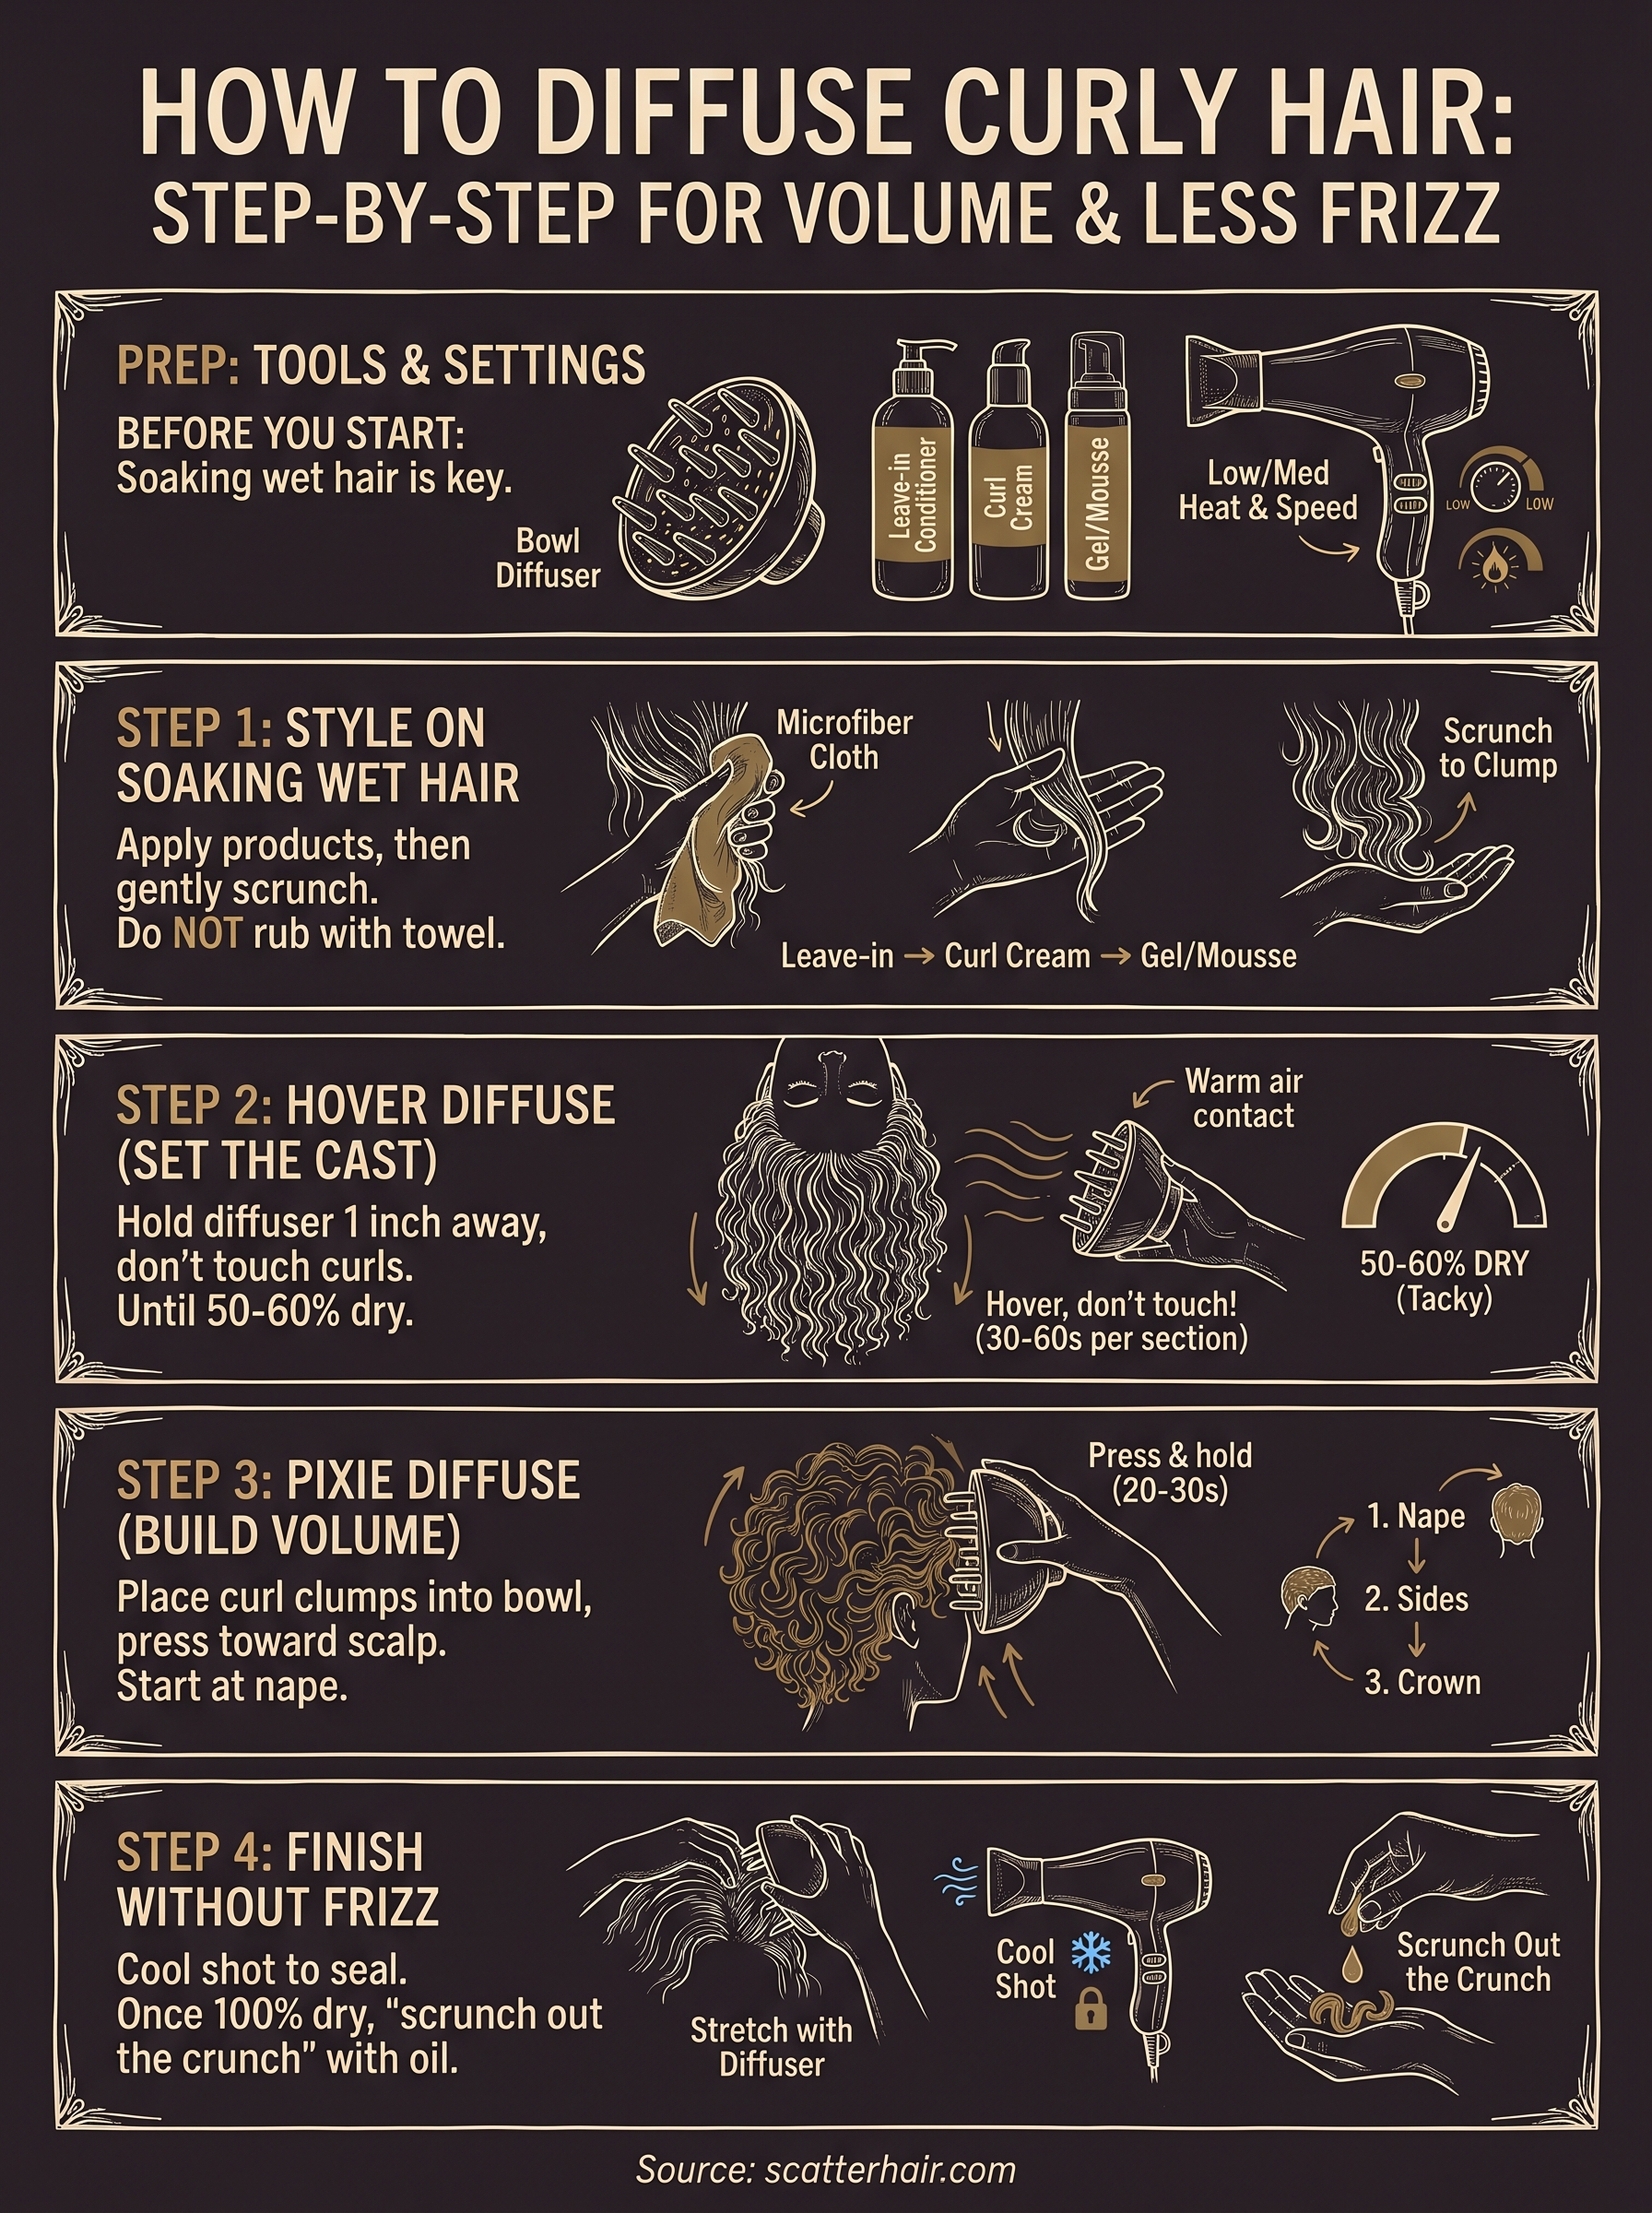
Learning how to diffuse curly hair comes down to four connected steps: product application on soaking wet hair, hover diffusing to set the cast, pixie diffusing to build volume, and a controlled finish to lock everything in place. Each step builds on the one before it, which means skipping ahead or rushing through any stage will show up in your results. The technique works because it respects your curl's natural structure instead of fighting it.
Your tools and products matter, but consistency in your routine is what gets you reliable curl days rather than occasional lucky ones. Once you run through this process a few times, the whole thing becomes second nature and takes less mental effort each wash day. Scatter's first product is Slip, a 2% hyaluronic acid hair serum. Work it through wet-to-damp hair, then air dry for texture or blow dry for body. It's on pre-order now.