

How To Refresh Curls Between Wash Days Without Frizz
You spent an hour on wash day getting your curls just right. By day three, they're flat, frizzy, and barely recognizable. If you've ever searched how to refresh curls between wash days, you already know the frustration of watching your hard work disappear overnight. The good news: you don't need to start from scratch every time your curls lose their shape.
A solid refresh routine saves time, protects your hair from over-washing, and keeps your curls looking intentional, not neglected. But most advice out there skips the details that actually matter, like how much water to use, when to skip product entirely, and which techniques work for different curl patterns.
That's exactly why we built scatterhair, to make styling textured hair less of a chore and more of a choice. Below, we break down a step-by-step refresh method that fights frizz, restores definition, and stretches your wash days further than you thought possible.
What a refresh is and what causes frizz
A curl refresh is a targeted styling session that revives your curls without shampoo, conditioner, or a full detangle. When you figure out how to refresh curls between wash days, the goal is straightforward: restore moisture and redefine curl shape using minimal product and minimal manipulation. Think of it as maintenance, not a reset. You're not starting over; you're working with what's already in your hair.
What a refresh actually involves
A refresh works by reactivating the products still sitting in your strands. Most styling products, especially creams and gels, respond to water, which means a controlled amount of moisture can reawaken hold and definition that went flat overnight. The process typically takes 5 to 15 minutes depending on your curl pattern, your porosity, and how much your hair dried out since wash day.
The less you disturb your curl clumps during a refresh, the better your definition will look afterward.
Your refresh toolkit usually includes a spray bottle with water or a diluted leave-in mix, a small amount of curl cream or gel, and either a diffuser or air-dry time. You are not rebuilding from scratch. Your curl pattern is still there; it just needs rehydration and a little encouragement to bounce back.
Why frizz shows up between wash days
Frizz happens when your hair's outer cuticle lifts to pull moisture from the surrounding air. This occurs because your strands are dry, and the imbalance between your hair's moisture level and the humidity in the air causes the cuticle to swell unevenly. By day two or three, your hair has lost the moisture and product barrier that kept it smooth right after wash day, so frizz accelerates fast.
Three habits make it worse:
- Touching your hair too often breaks up curl clumps and disrupts definition
- Sleeping without a satin bonnet or pillowcase creates friction that roughens the cuticle overnight
- Using too much water during a refresh oversaturates strands and causes swelling instead of smoothing
Knowing why frizz forms stops you from fighting it the wrong way. The fix is not more product; it is addressing moisture loss and cuticle disruption directly.
Step 1. Set up your hair the night before
A good refresh starts the night before, not the morning of. The way you sleep directly affects how much definition survives until the next day. Friction from cotton pillowcases roughens your cuticle all night long, and by morning, you're fighting frizz that didn't have to happen. Protecting your hair before bed is the single highest-return habit in any routine for how to refresh curls between wash days.
Choose the right sleep protection
Your two best options are a satin bonnet or a satin pillowcase. Both reduce friction significantly, but a bonnet keeps your curls contained and maintains their shape better overnight. If bonnets don't stay on while you sleep, a satin pillowcase is your next best move. Silk works just as well if you prefer it.
Switching to a satin bonnet alone can cut your morning refresh time in half by preserving more curl definition overnight.
Protect your curl shape before bed
How you arrange your hair matters as much as what covers it. Two techniques work well depending on your hair length:
- Pineapple: Loosely gather all your curls into a high, soft bun at the top of your head using a spiral hair tie. This lifts your roots and prevents flattening at the back.
- Loose twists: Section your hair into two to four large twists. This preserves curl clumps and reduces tangling without pulling your pattern out of shape.
Pick one method and stick with it consistently. You'll notice a real difference in how little work your morning refresh actually requires.
Step 2. Rehydrate without soaking
Water is your main tool when you figure out how to refresh curls between wash days, but too much of it creates more problems than it solves. Soaking your hair fully reactivates shrinkage, disrupts your curl pattern, and adds significant dry time. Your goal is to add just enough moisture to wake up the products in your hair, not strip away what's already there.
The sweet spot is damp, not wet. Your hair should feel slightly cool to the touch after misting, not dripping.
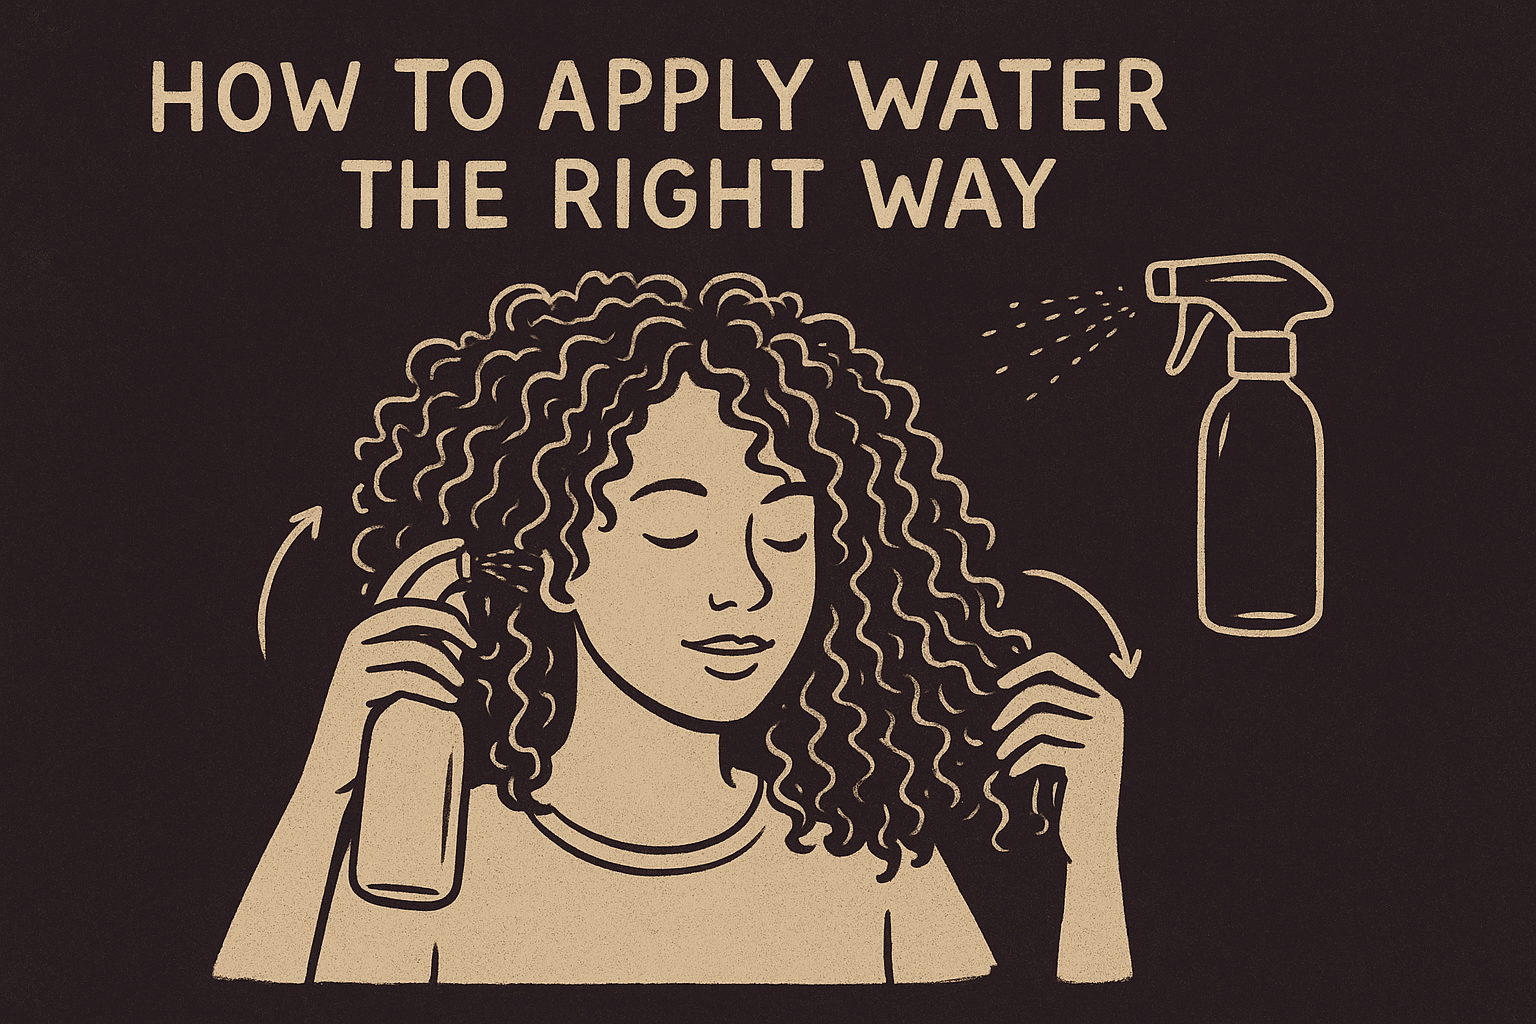
How to apply water the right way
Section your hair into two to four parts before you start misting. Working section by section gives you more control and stops you from oversaturating certain areas while others stay dry. Scrunch upward as you mist each section to encourage your curl clumps to reform rather than separate. Keep your spray bottle at least six inches from your hair so the water disperses evenly instead of pooling on the surface.
What to put in your spray bottle
Plain water works, but a diluted leave-in mix gives better results for most curl types. A simple formula that works across curl patterns looks like this:
| Ingredient | Amount |
|---|---|
| Water | 8 oz |
| Leave-in conditioner | 1 tsp |
| Light oil (optional) | 2 to 3 drops |
Mix these in your spray bottle and shake before each use to keep everything combined. The leave-in adds slip, and the oil helps seal moisture in as your hair dries.
Step 3. Bring back definition and hold
Once your hair is damp, you need to lock in that moisture and restore your curl shape before it starts drying on its own. This is the step most people rush or skip entirely, and it's why frizz creeps back within hours. When you're figuring out how to refresh curls between wash days, product application technique matters just as much as which product you use.
Pick the right product for your curl type
Not every curl type needs the same product on a refresh day. Looser curl patterns (2C to 3B) usually do well with a lightweight curl cream or a small amount of leave-in conditioner alone. Tighter coil patterns (3C to 4C) often need a curl cream layered under a gel to restore hold that lasts through the day.
| Curl Type | Recommended Refresh Product |
|---|---|
| 2C to 3A | Lightweight curl cream or leave-in only |
| 3B to 3C | Curl cream plus a small amount of gel |
| 4A to 4C | Curl cream plus a stronger hold gel |
Use less product than you think you need. Buildup from multiple refresh days adds up fast and weighs curls down.
Apply product the right way
Scrunching is your best method for applying product during a refresh because it works with your curl clumps instead of breaking them apart. Take a small amount of product, emulsify it between your palms, and press your hands upward into each section while scrunching.

Avoid these habits while applying:
- Raking fingers through strands to spread product
- Applying to sections that have already dried out
- Touching curls again after scrunching since this breaks up clumps
Step 4. Dry, lift, and finish
How you dry your hair determines whether all the work you just did holds up or collapses within an hour. This final step is where most refresh routines fall apart. You've added moisture and product, and now your hair needs the right drying method to lock everything in place without creating frizz on its way to dry.
Diffuse for volume and faster results
A diffuser attachment on a low-heat, low-speed setting is your best tool for drying refreshed curls. Hold the diffuser cup against a section of hair, scrunch upward into the cup, and hold it there for 30 to 60 seconds before moving to the next section. This technique encourages your curl clumps to dry together instead of separating.
Drying your hair upside down while diffusing builds root volume that a refresh day often lacks compared to wash day.
Air dry without disrupting your clumps
If you prefer to air dry, your job is to stay out of your hair's way while it dries. Avoid touching your curls until they are completely dry to the touch, since handling damp curls breaks up clumps and creates frizz. Sitting near a fan or an open window speeds up air drying without heat damage.
Once your hair is fully dry, you can scrunch out any crunch left from gel by gently squeezing sections in your palm. This is the final move in how to refresh curls between wash days, and it leaves your curls soft, defined, and ready to go.
Keep your curls looking good between washes
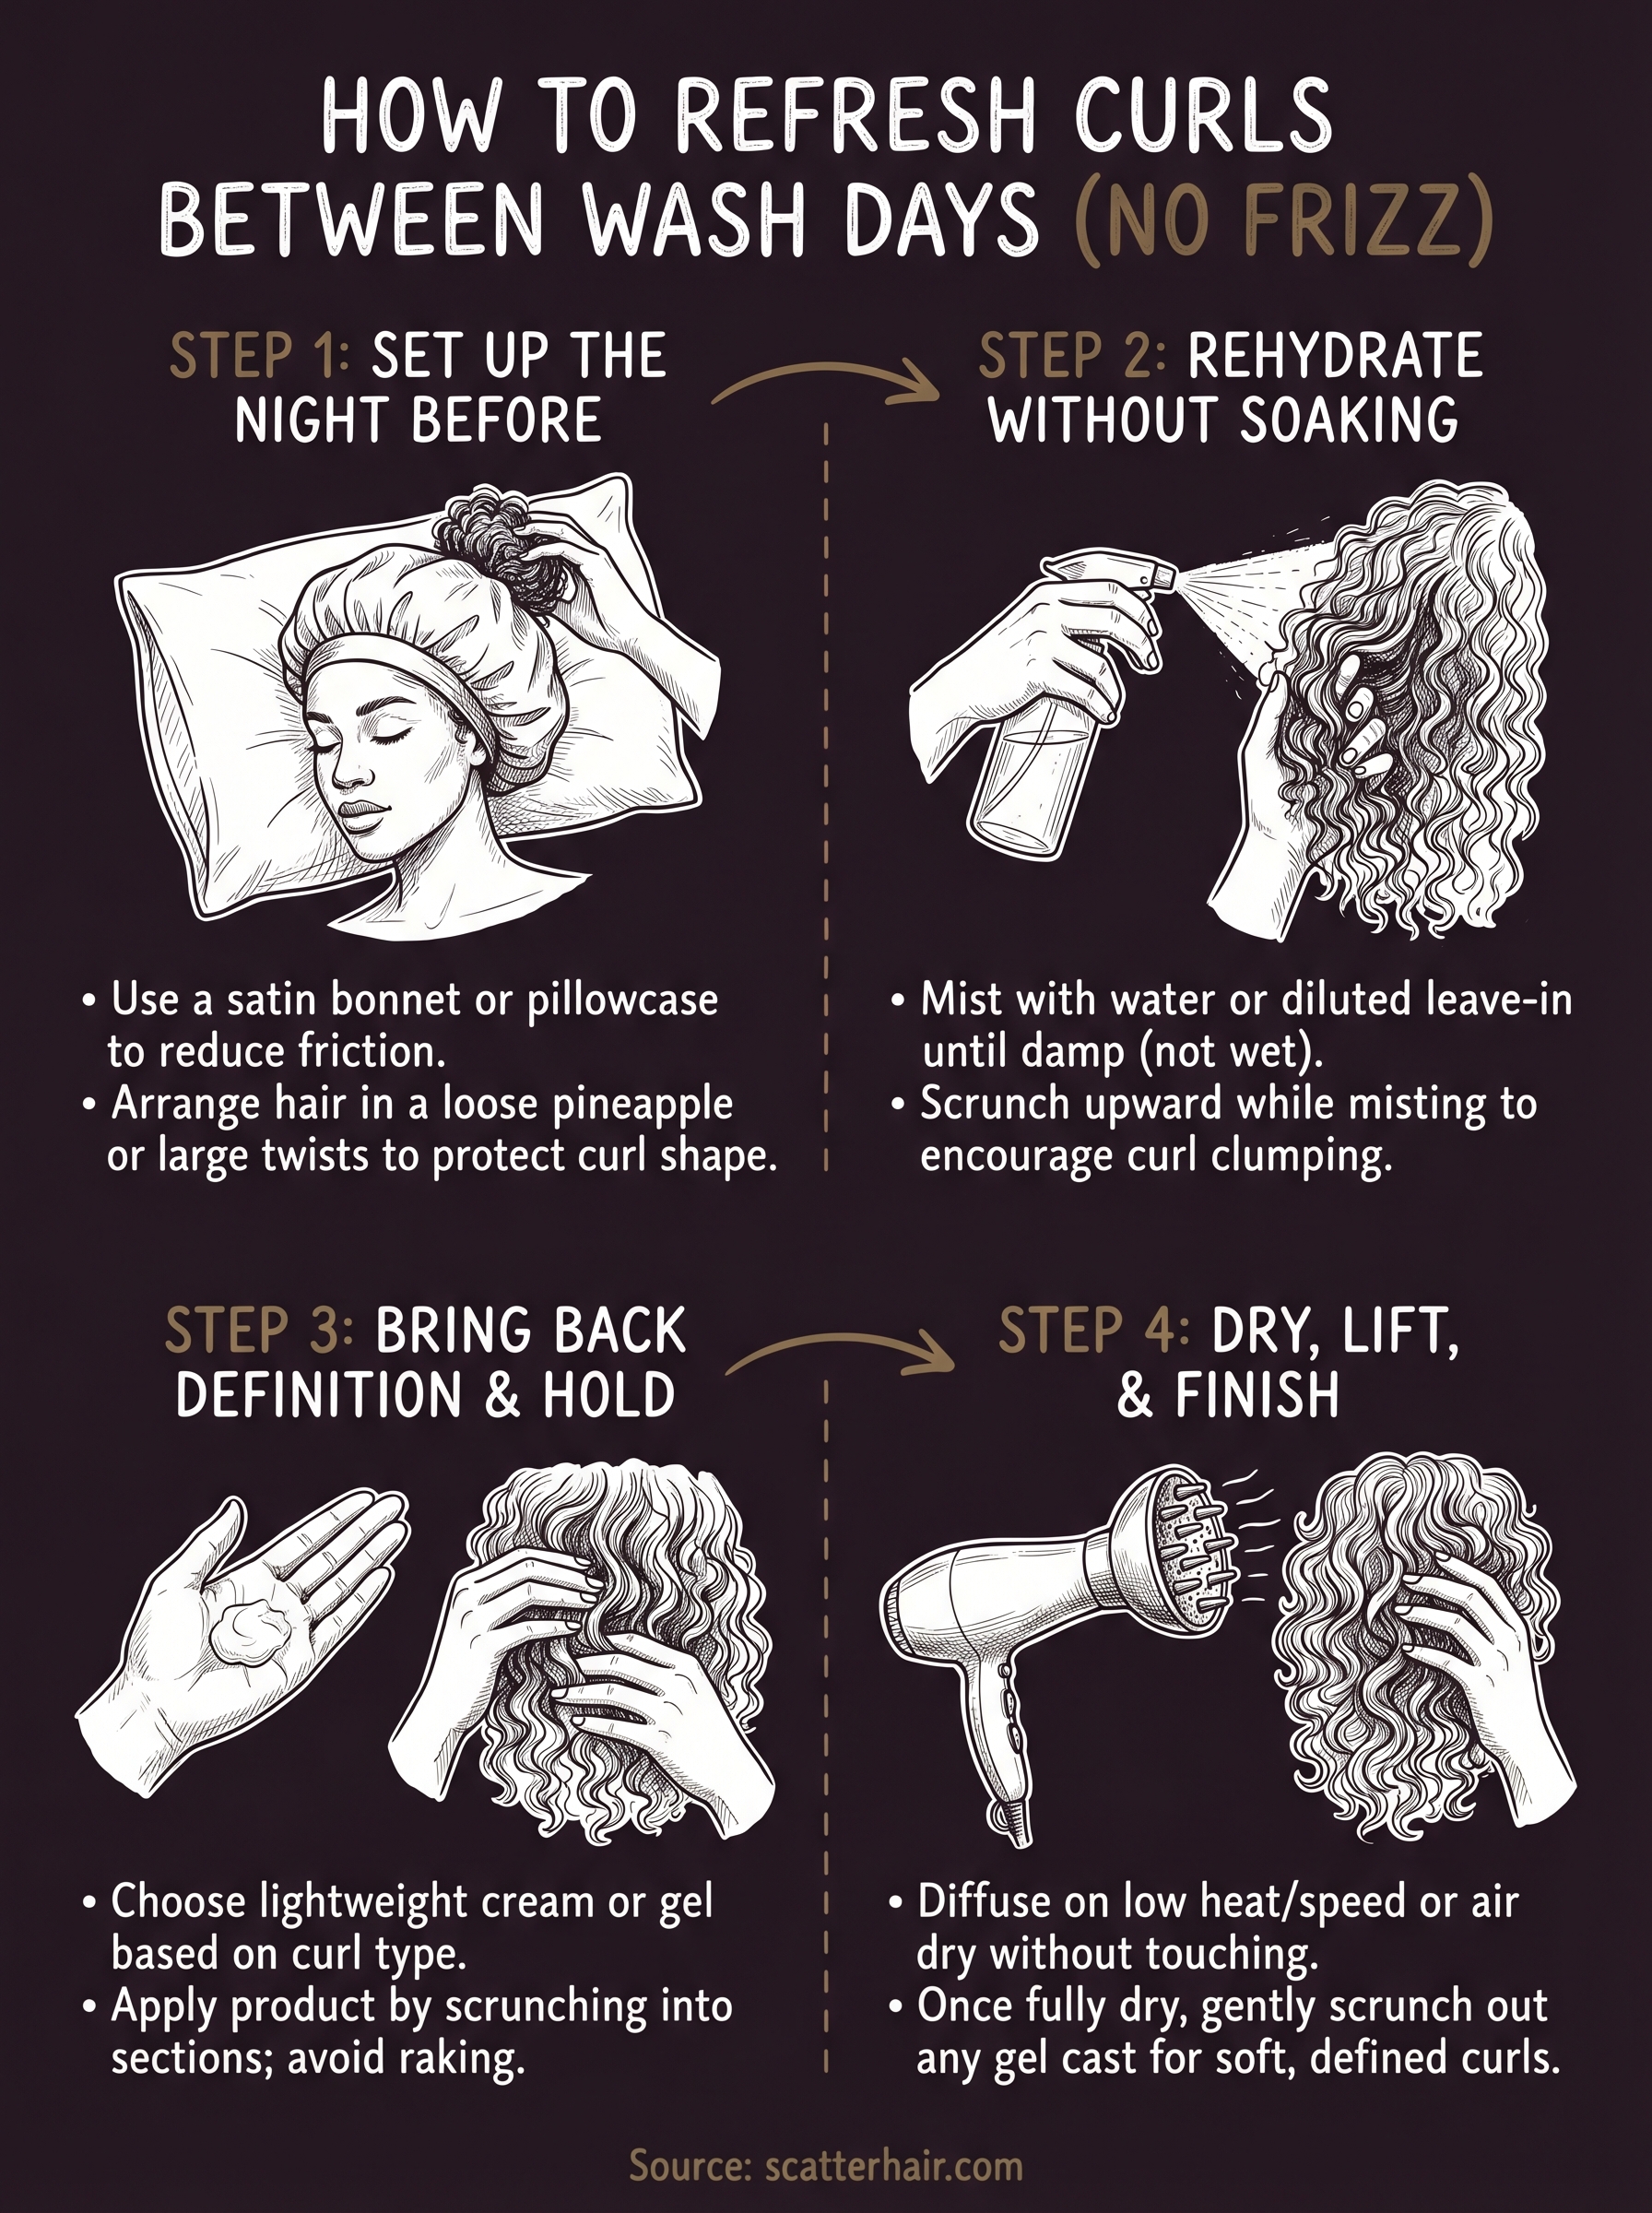
Knowing how to refresh curls between wash days comes down to four repeatable steps: protecting your curls overnight, rehydrating with a controlled amount of moisture, applying product by scrunching rather than raking, and drying without touching your clumps until they're fully set. Each step reinforces the next, and skipping one makes the others less effective. Run this routine consistently and you'll stretch your wash days further while keeping your curls looking intentional every day.
Beyond technique, the products you use matter just as much. A lightweight spray that reactivates your curl pattern without buildup or a curl cream that holds without crunch makes the difference between a refresh that lasts all day and one that fades by noon. Build your toolkit around your curl type and stay consistent with it.
Your texture is worth styling well. Sign up for early access at Scatter and be first in line when the products launch in 2026.