

How to Style Mid Length Curly Hair: 10 Easy Ideas
Mid length curls sit in an awkward zone. Too short for a lot of updos, too long to just scrunch and go, and one wrong move turns your whole look into a triangle of frizz. If you've been reaching for the same claw clip every single day because nothing else seems to work, you're not alone, and you're not out of options.
This guide covers how to style mid length curly hair with real techniques, not just product recommendations. Whether you're wondering how to style medium curly hair for a quick weekday routine or want something more polished for a night out, you'll find methods that actually respect your curl pattern instead of fighting it.
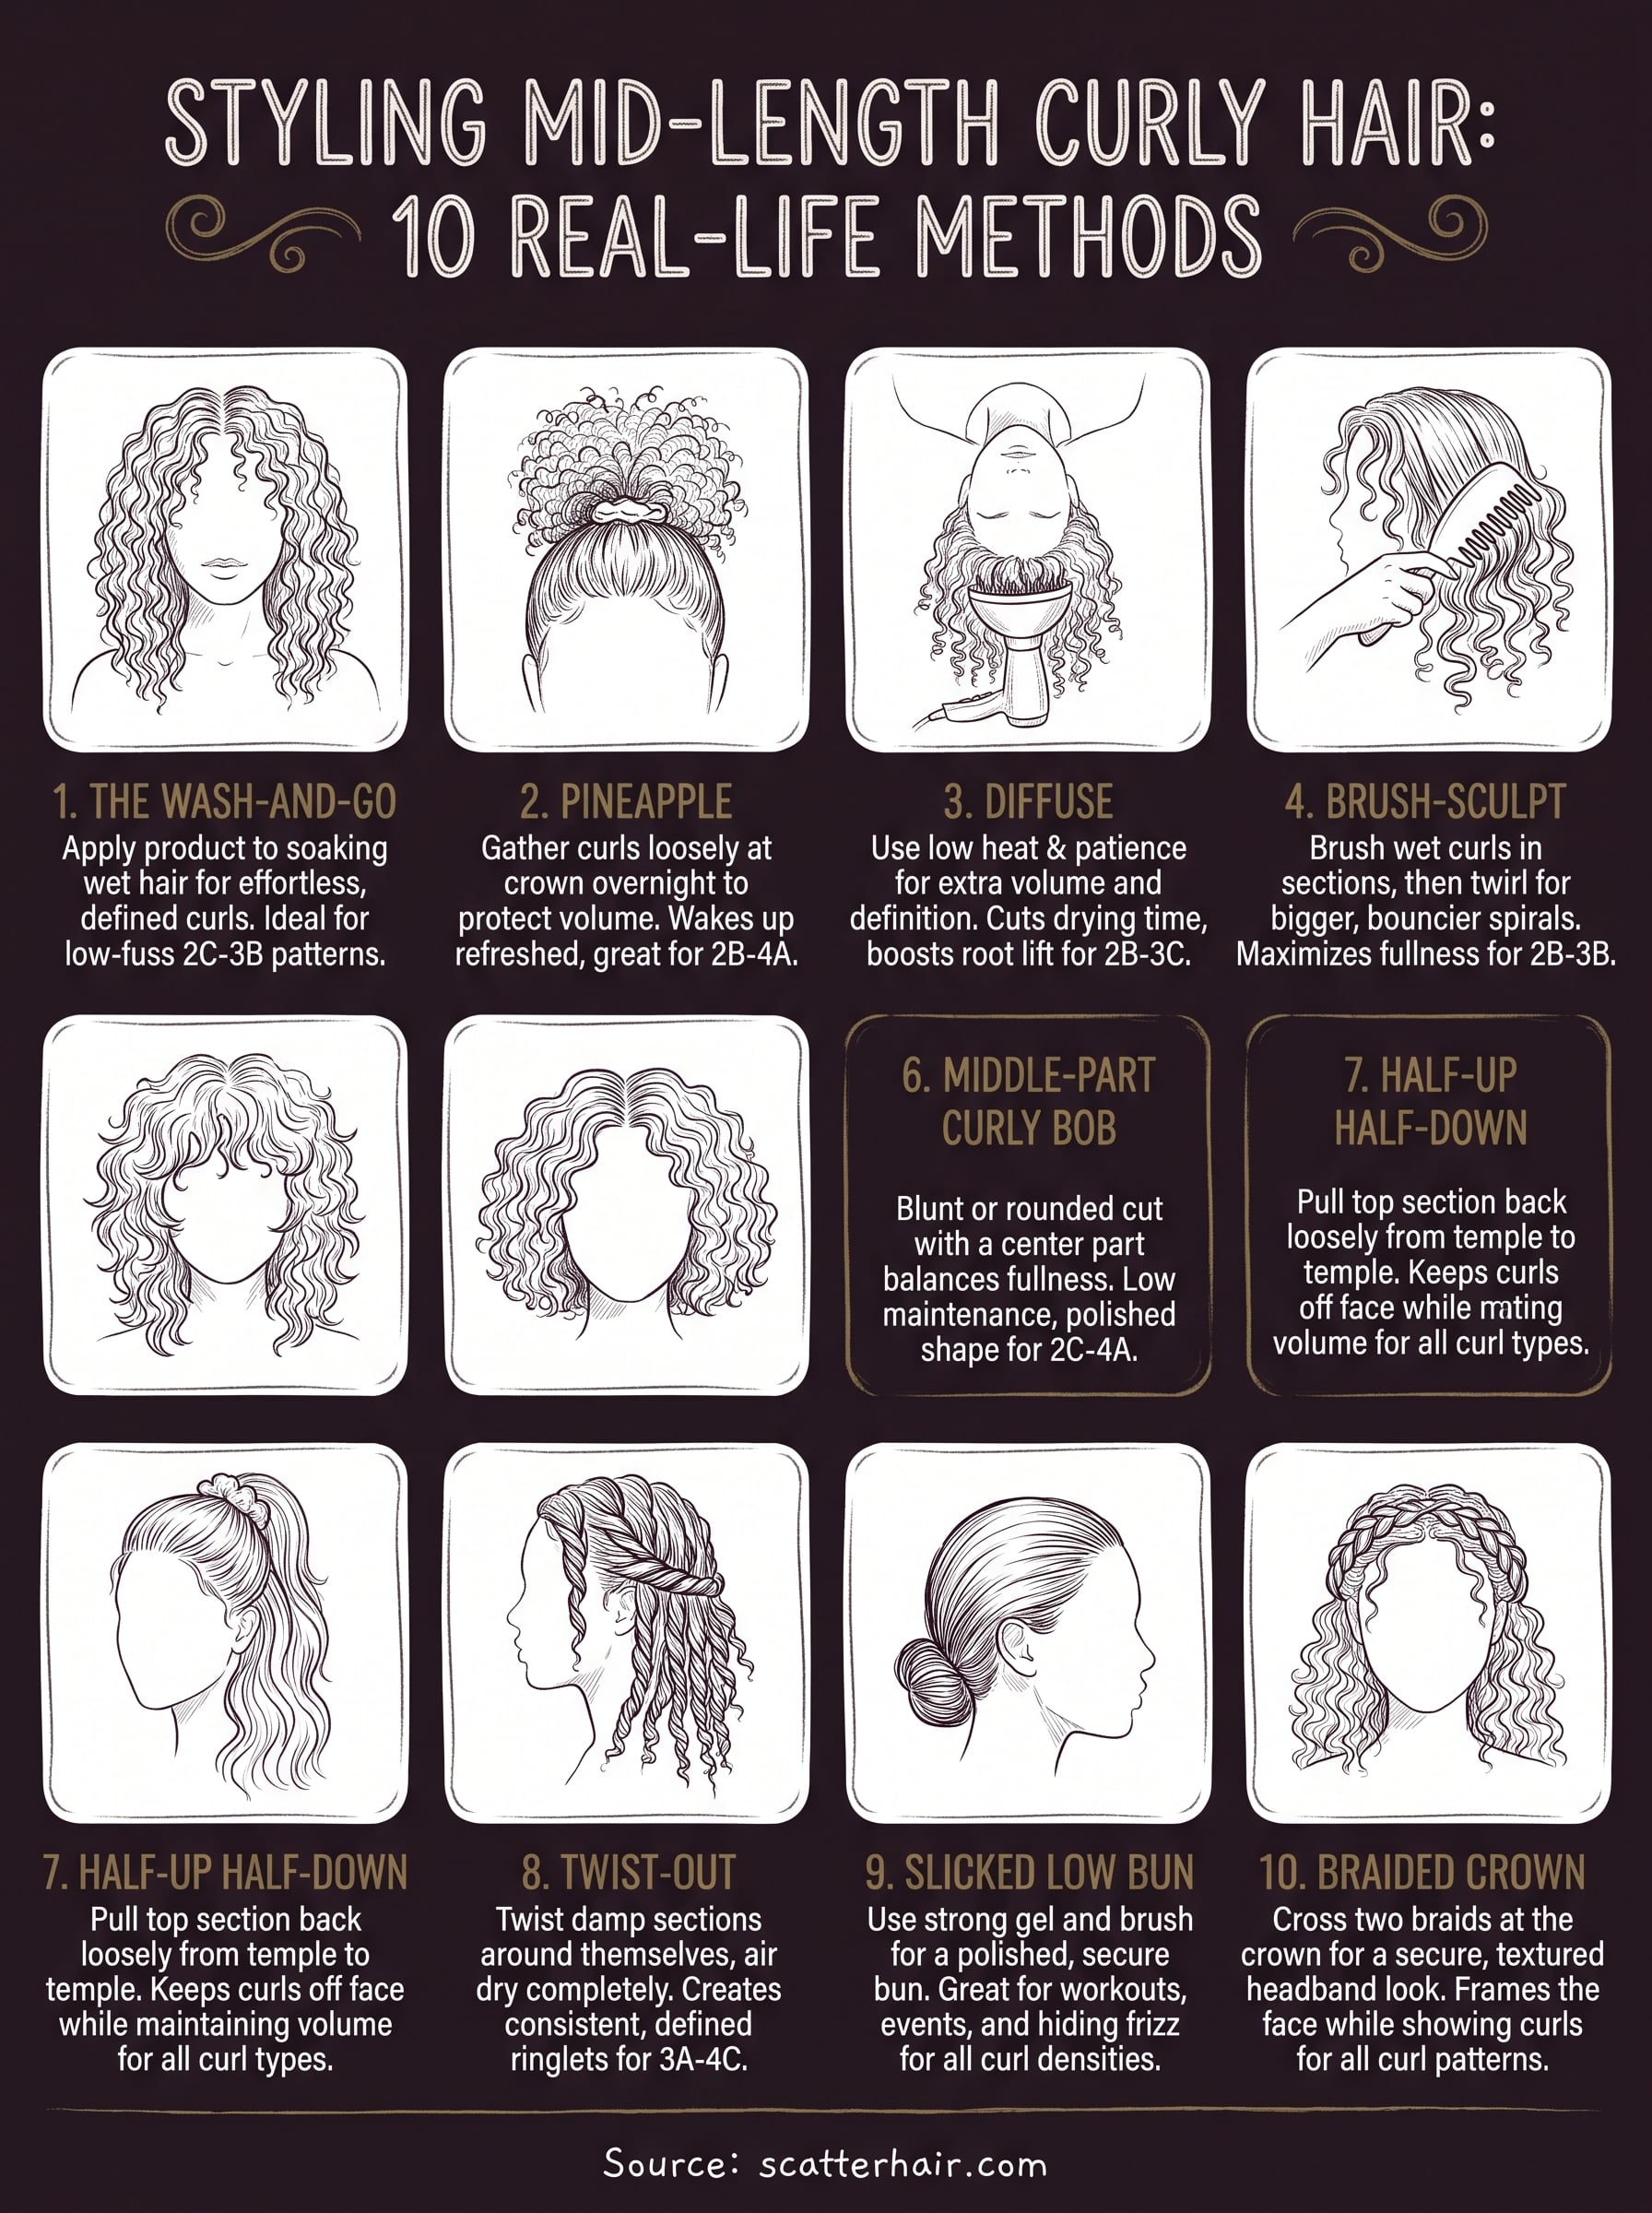
Below are 10 easy ideas, from wash-and-go refreshes to twist-outs and half-up styles, that work with the length you already have. Some take two minutes, others take twenty, but all of them are built for real texture, not the smoothed-out curls you see in filtered photos. Rock the mess, style with intention, and let's get into it.
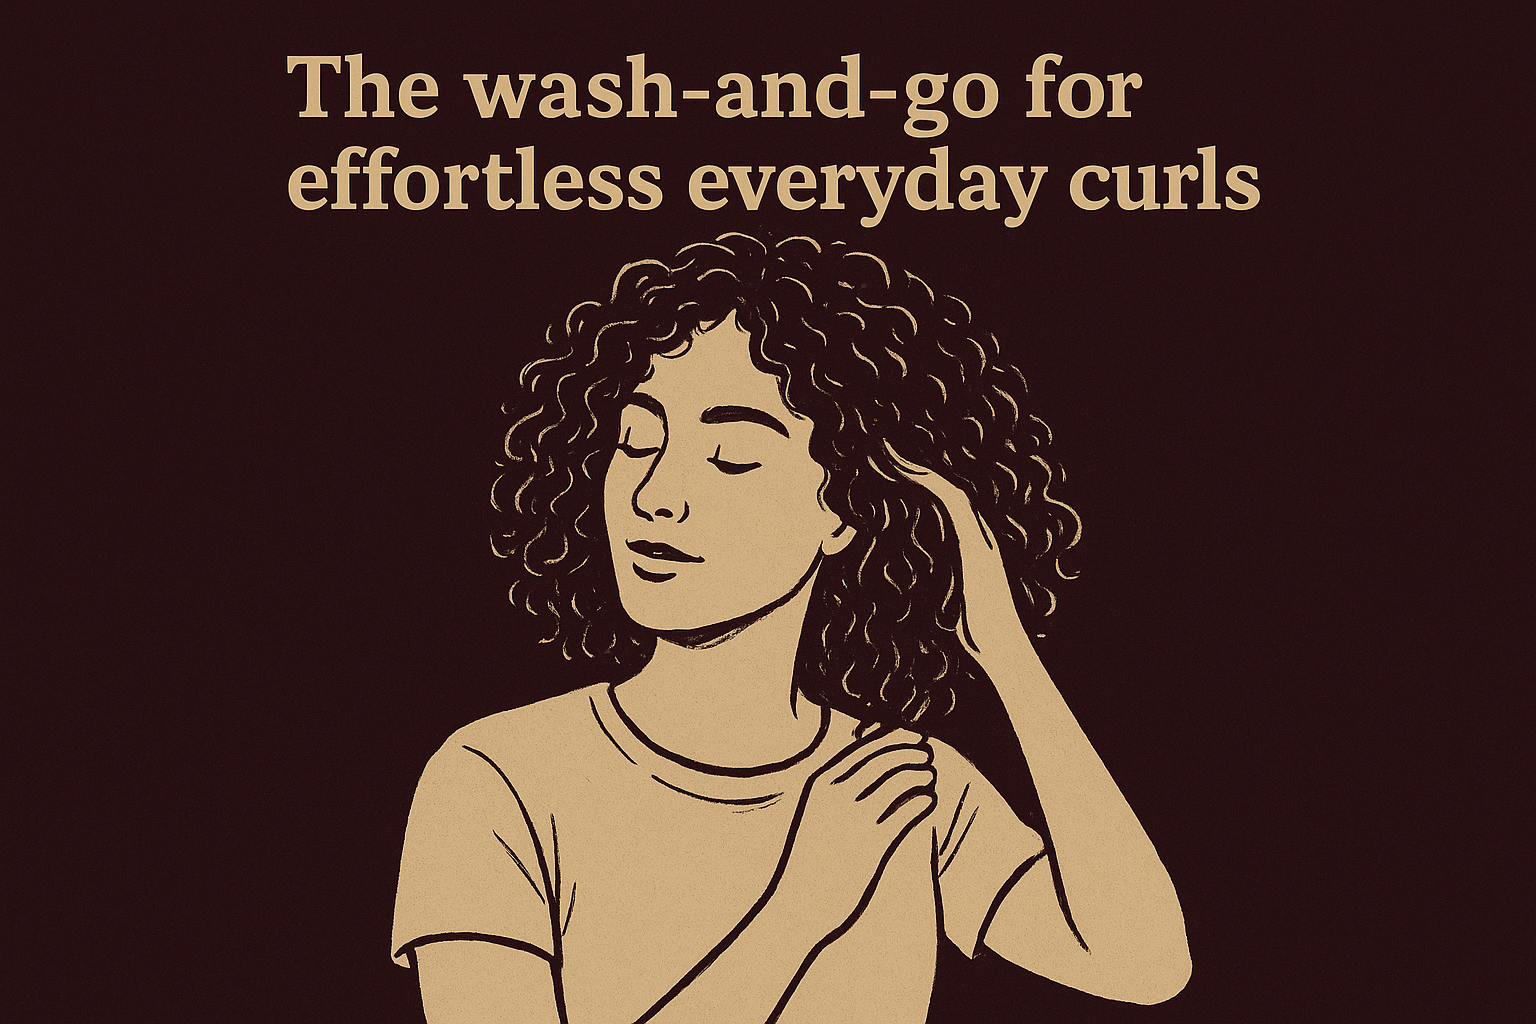
1. The wash-and-go for effortless everyday curls
The wash-and-go is the fastest route to defined curls, and it's usually the first technique anyone learns when they figure out how to style medium length curly hair without a diffuser or a dozen tools. You cleanse, apply product, and let your curls dry into their natural shape with minimal manipulation. No sectioning marathons, no overnight setting, just wet hair and the right product stack doing the work while you get on with your day.
How to do it
Getting a clean wash-and-go depends less on talent and more on sequencing. Skip a step and you'll end up with a frizzy halo instead of defined spirals. Here's the order that actually holds up:
- Cleanse with a sulfate-free or low-poo shampoo and detangle in the shower with your fingers or a wide-tooth comb while conditioner is still in your hair.
- Apply a leave-in conditioner to soaking wet hair, working it through in sections from ends to roots.
- Layer a curl cream or gel on top using the praying hands method, smoothing it down the length of each section.
- Scrunch upward with a microfiber towel or cotton t-shirt to encourage the curl to clump and coil.
- Air dry or diffuse on low heat, then scrunch out the crunch once fully dry.
Wet hair holds the shape you give it, so every product goes on before your curls start drying, not after.
That last point trips up more people than anything else. If you wait until your hair is halfway dry to apply gel, you'll get frizz no matter how good the product is. Soaking wet application is non-negotiable for a defined wash-and-go.
Who it's for
This method suits anyone with 2C to 3B curl patterns who wants low daily effort and doesn't mind a bit of shrinkage. It's especially good if your schedule doesn't allow for twenty minutes of sectioning before work. People with looser waves sometimes find a straight wash-and-go falls flat by midday, and tighter 4A-4C textures often need extra moisture layered in first, but for mid length curls sitting in that classic ringlet range, this is usually the most forgiving option to start with. If you're new to your curl pattern or still building your product routine, this is the technique to master before anything fancier.
Styling time and maintenance
A wash-and-go takes roughly 10 to 15 minutes of active styling, plus air-dry time if you skip the diffuser. Diffusing cuts drying time down but adds a few minutes of hands-on work holding the dryer at the roots. Maintenance is where this style earns its reputation for being low-fuss:
| Task | Frequency | Time needed |
|---|---|---|
| Full wash-and-go | Every 2-4 days | 10-15 min styling |
| Refresh with water + light gel | Daily between washes | 3-5 min |
| Pineapple at night | Every night | Under 1 min |
| Full re-wash | Weekly or as needed | 20-30 min |
Between washes, a light misting of water mixed with a bit of leave-in brings curls back to life without disturbing the clumps you already built. Sleeping with a satin bonnet or pillowcase protects the style overnight, which matters more for mid length hair since it's long enough to get crushed against fabric. Most people get two to four days out of a single wash-and-go before roots start looking flat or product buildup calls for a refresh. That stretch makes it one of the most practical everyday options on this list, and a solid foundation before you try anything more involved.
2. Pineapple your curls for second-day volume
Pineappling is the trick that turns a one-day wash-and-go into a three-day style. You gather your curls into a loose, high ponytail on top of your head before bed, which keeps the roots from getting crushed flat while you sleep. The name comes from the shape it leaves behind, a little curl fountain sprouting from your crown, and it's one of the simplest answers to how to style medium curly hair without touching a single product in the morning.
How to do it
Getting the pineapple right is mostly about placement and pressure. Too tight and you'll wake up with a dent, too loose and your curls flop out overnight. Follow this sequence:
- Flip your head forward and gather all your curls at the very top, near your hairline.
- Secure loosely with a scrunchie or silk scrunchie, no elastics that dig in.
- Tuck in any escaping pieces around your hairline with a bit of leave-in if they're frizzing.
- Cover with a satin bonnet or scarf, or sleep on a satin pillowcase if you skip the bonnet.
- Release and shake gently in the morning, adding a spritz of water and a drop of gel to any flat sections.
A loose ponytail at the crown protects your curl pattern all night, so you wake up with volume instead of a flat back and full sides.
Who it's for
This technique works best for anyone whose curls have enough length to gather without pulling, which usually means shoulder-length and longer. It's the natural next step once you've mastered the wash-and-go and want to stretch results across multiple days instead of restyling constantly. Textures from 2B through 4A all pineapple well, though tighter curl patterns sometimes need two smaller pineapples instead of one to avoid flattening the crown. Anyone with fine or thin curls should watch the tension, since too much weight pulling on one section can leave a crease that's hard to shake out.
Styling time and maintenance
Setting a pineapple takes under a minute, and releasing it in the morning takes even less. Maintenance is nearly nonexistent beyond keeping a bonnet or scarf within reach at bedtime. Combined with a midweek refresh spray, this habit alone can stretch a single wash-and-go from two days to four, which matters when mid length curly hair is prone to tangling if left loose overnight. It costs nothing extra and adds no time to your morning, making it one of the easiest habits to build into an existing routine.
3. Diffuse your curls for extra volume and definition
Diffusing takes the wash-and-go a step further by using controlled heat and airflow to lock curls into shape faster, with more lift at the roots than air-drying alone gives you. A diffuser is that bowl-shaped attachment that clips onto your blow dryer, and it spreads air out instead of blasting it directly at your strands, which keeps frizz down while still cutting drying time dramatically. If you've ever wondered how to style medium curly hair for a special occasion without waiting two hours to air dry, this is usually the answer.
How to do it
Diffusing rewards patience with your hands more than your dryer settings. Rushing the process, or using too much heat, undoes the volume you're trying to build. Work through it like this:
- Apply your leave-in and gel the same way you would for a wash-and-go, while hair is still soaking wet.
- Flip your head upside down and cup sections of curls into the diffuser bowl.
- Set the dryer to low or medium heat, never high, and hold each section in place for 20-30 seconds before moving to the next.
- Scrunch gently while diffusing, pressing curls up into the bowl rather than shaking them around.
- Finish on cool shot once curls feel about 80% dry to seal the cuticle and lock in shape.
Low heat and patience build volume that high heat and speed will only frizz away.
Stopping at 80% dry matters more than most people realize. Over-diffusing to bone-dry can leave curls stiff and crunchy, so let the last bit finish air-drying while you do your makeup or get dressed.
Who it's for
Diffusing suits anyone with fine to medium density curls who wants more root lift than a plain air-dry provides, especially on curl patterns from 2B to 3C that tend to fall flat by midday without help. It's also the better option when you're short on time, since it can cut a two-hour air-dry down to twenty or thirty minutes. Thicker or coarser curl types can diffuse too, but they'll usually need a diffuser with a longer prong length to reach through the density without pulling curls apart.
Styling time and maintenance
Diffusing adds about 15 to 25 minutes to your routine compared to air-drying, depending on hair density and dryer power. The payoff is a style that holds its shape and volume for two to three days with minimal touch-ups, since the heat-set curl pattern resists humidity better than air-dried curls do. Refresh with a light water-and-gel mix on non-wash days, and pineapple at night to protect the extra lift you worked for.
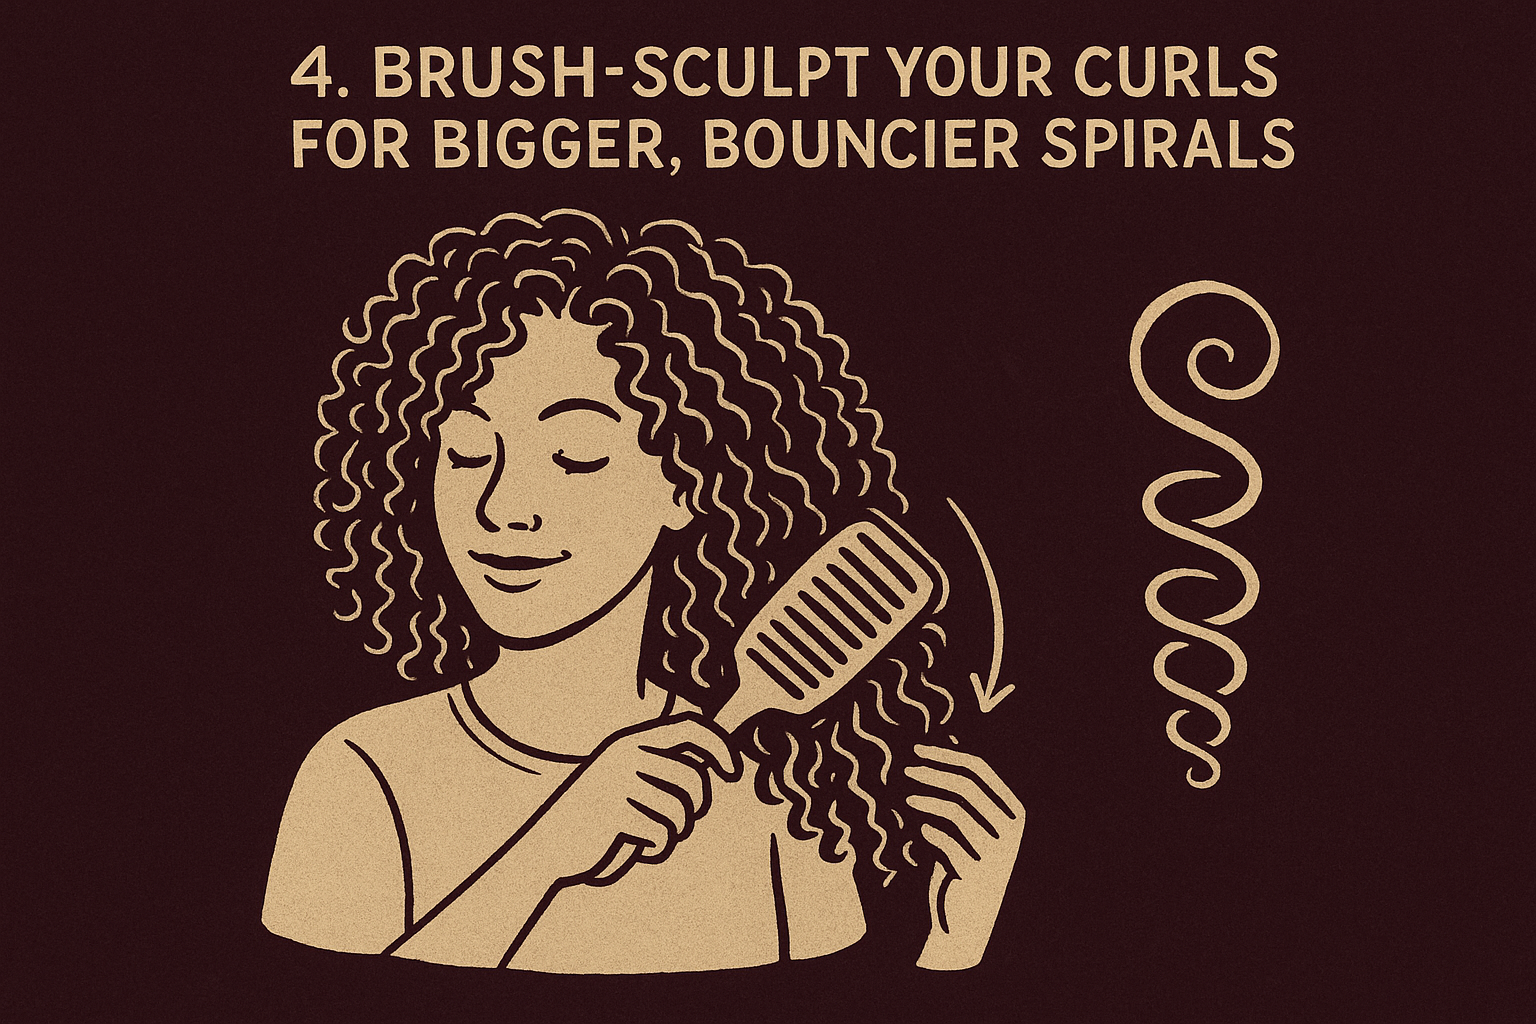
4. Brush-sculpt your curls for bigger, bouncier spirals
Brush-sculpting takes wet curls and reshapes them with a wide-tooth brush or Denman-style brush, breaking up your natural clumps to build bigger, more uniform spirals. Instead of letting curls form on their own like a wash-and-go, you're actively raking product through soaking wet hair in small sections, encouraging each strand to coil rather than clump into one big ringlet. It's a favorite technique for anyone chasing volume, since it fluffs curls out wider than a standard wash-and-go while still keeping definition intact.
How to do it
The brush does more work here than any single product, so technique matters more than what's in the bottle. Follow this order for the best result:
- Apply leave-in and gel to soaking wet hair, saturating each section fully before you pick up the brush.
- Section hair into four to six parts, working one at a time so earlier sections don't dry out.
- Rake the brush through each section from root to tip in one smooth motion, breaking the curl clump apart.
- Twirl the section around your finger immediately after brushing to reform smaller, tighter coils within the bigger shape.
- Diffuse or air dry without touching, since re-scrunching after brushing flattens the volume you just built.
Brushing wet curls doesn't destroy your pattern, it multiplies it into fuller, bouncier spirals.
Skipping the twirl step is the most common mistake. Without it, brushed curls dry into a triangular puff instead of soft, separated spirals.
Who it's for
This method works best on 2B to 3B textures that want extra fullness without losing shape entirely, especially fine or medium density hair that tends to look thin after a plain wash-and-go. Coarser 3C to 4A curls can brush-sculpt too, though the volume payoff is bigger on lighter textures since dense hair already has natural lift. If your goal leans toward how to style mid length curly hair for photos or an event where you want maximum fullness, this technique outperforms a standard wash-and-go every time.
Styling time and maintenance
Brush-sculpting takes a bit longer than a plain wash-and-go, usually 20 to 25 minutes including diffusing, since sectioning and twirling add extra hands-on time. The style holds well for two to three days, though the bigger, airier curl pattern tends to lose definition slightly faster than a tightly clumped wash-and-go. Refresh with a light water spritz and a small amount of gel scrunched back in, and pineapple loosely at night to protect the volume without flattening the crown.
5. Ask for a curly shag with face-framing layers
A curly shag shifts the conversation from styling technique to the cut itself. This is a haircut, not a routine, and it changes how much work your curls need to look good in the first place. Layers cut throughout the length remove weight from the bottom, letting each curl spring up and move independently instead of pulling into one heavy mass. For anyone stuck wondering how to style mid length curly hair that always looks bottom-heavy no matter what product you use, the shag fixes the problem at the source.
How to do it
Getting a good curly shag depends entirely on finding a stylist who cuts curl by curl, dry, rather than cutting wet and hoping the shrinkage lands right. Bring reference photos and be specific about what you want:
- Book with a curl specialist who cuts dry curls in their natural state, not wet hair pulled straight.
- Ask for layers starting at the cheekbone or chin to frame your face without losing overall length.
- Request internal layers throughout the crown to remove bulk and let individual curls separate.
- Keep the perimeter slightly longer so the shape doesn't look choppy once curls spring up.
- Style as usual afterward, since a shag works with a wash-and-go, diffusing, or brush-sculpting equally well.
A great curly shag does half the styling work for you before you ever touch a bottle of gel.
Once it's cut right, this shape needs almost nothing extra. The layers do the volume work that brush-sculpting or diffusing usually handles.
Who it's for
The curly shag suits anyone with dense or thick curls carrying too much weight at the ends, especially 2C to 3C patterns that tend to pyramid outward without layering. It also flatters rounder face shapes, since the face-framing pieces break up width and draw the eye downward. If you've been layering products just to fake the movement a shag gives naturally, this cut is worth the salon visit.
Styling time and maintenance
Daily styling drops to whatever your go-to method already takes, since the cut itself does the shaping. The trade-off sits in upkeep: shags need a trim every 8 to 10 weeks to keep layers from growing out into a blob. Between cuts, a wash-and-go or diffuse routine keeps the shape looking sharp with no extra steps required.
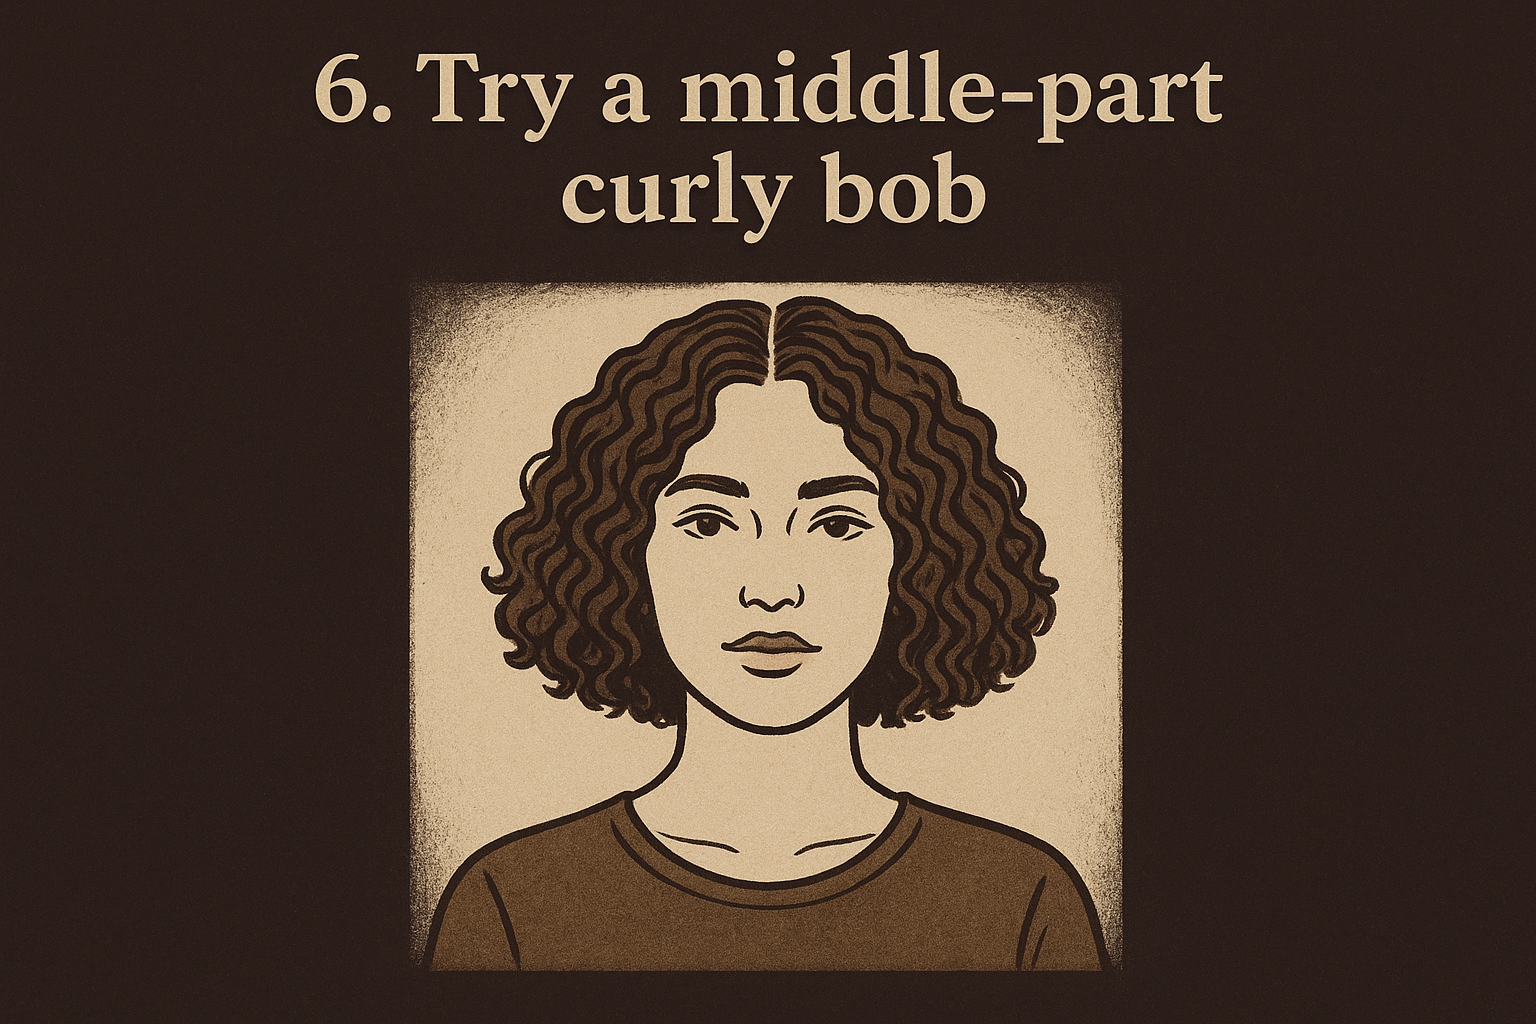
6. Try a middle-part curly bob
A middle-part curly bob is another cut-first solution, this time trading length for shape and symmetry. Chopping curls to hover around the chin or collarbone changes how they behave entirely, since shorter strands spring up tighter and sit closer to the face than the same curl pattern would at mid length. Splitting the part straight down the center balances the fullness on both sides, which keeps a bob from looking lopsided the way an off-center part sometimes does on curly hair. This is a solid answer for anyone who finds mid length curly hair gets weighed down and wants a shape that reads polished with almost no daily effort.
How to do it
A bob lives or dies by the cut, so getting there takes a specific approach from your stylist before you even think about product:
- Request a dry cut so your stylist sees exactly how each curl falls before trimming, since curls shrink unpredictably when cut wet.
- Ask for a blunt or slightly rounded perimeter rather than heavy layers, which keeps the bob's shape intact as curls dry.
- Part down the center while hair is wet and styling, using a rat-tail comb to keep the line straight.
- Apply gel or curl cream as usual, scrunching from the part outward on each side.
- Diffuse or air dry, letting the shorter length spring into shape faster than it would at longer lengths.
A blunt perimeter and a center part turn a bob into one of the lowest-maintenance curly shapes you can wear.
Who it's for
This cut flatters most face shapes since the center part creates symmetry, though it works especially well on oval and heart-shaped faces where a side part sometimes overloads one side. Curl patterns from 2C through 4A all suit a bob, though tighter textures should expect more shrinkage and may want to cut slightly longer than the target length to account for it. If you're tired of asking how to style medium curly hair every morning and would rather the cut handle it, this length trims your routine down significantly.
Styling time and maintenance
A bob typically styles in 10 minutes or less since there's simply less hair to work through. It holds shape well between washes, though trims every 6 to 8 weeks matter more here than on longer cuts, since growing-out layers change a bob's silhouette faster than they would on a shag.
7. Wear a half-up half-down curly style
Half-up half-down is the style you reach for when you want your curls visible but off your face, without committing to a full updo. You pull the top section back, usually from temple to temple, and secure it while leaving the rest of your curls loose. This works particularly well as a technique for how to style mid length curly hair that's long enough to feel heavy but not quite long enough for a full bun that stays put. It also solves the practical problem of curls falling into your eyes without flattening the volume you built during your wash-and-go.
How to do it
Getting a clean half-up section depends on where you part it and how much tension you use pulling it back. Follow this sequence:
- Style your curls first using a wash-and-go, diffuse, or brush-sculpt method and let them fully dry before touching the top section.
- Section from temple to temple, using your fingers rather than a comb to avoid disturbing curl clumps.
- Twist or braid the gathered section loosely before securing, which adds texture instead of a flat ponytail bump.
- Secure with a soft scrunchie or bobby pins hidden underneath the curls, never a tight elastic that leaves a dent.
- Pull a few face-framing pieces loose at the front for softness.
Securing the crown loosely and letting the rest fall gives you height without sacrificing a single curl's shape.
Who it's for
This style suits almost every curl pattern and length, which is part of why it's such a reliable option when you're short on ideas for how to style medium curly hair on a busy day. It works especially well for anyone growing out bangs or dealing with shorter face-framing layers that won't stay tucked into a full updo. Thicker curls benefit most since the half-up section removes weight from the crown, while finer curls should keep the gathered portion small to avoid a flat, thin-looking base.
Styling time and maintenance
Once your curls are already styled, pulling the top section back takes under two minutes. It holds through a full day of movement, and re-securing it after a nap or workout takes just as little time. There's no real maintenance beyond keeping a few scrunchies on hand, which makes this one of the easiest styles on this list to fall back on between more involved looks.
8. Twist-out your curls for defined ringlets
A twist-out swaps your natural curl clump for a hand-formed ringlet, and it's one of the most reliable answers when wash-and-go results feel inconsistent from day to day. You section damp hair, twist each piece around itself, and let it dry before unraveling the twist to reveal a tighter, more uniform coil than your hair would make on its own. This technique gives you control over curl size in a way few other methods do, which matters if parts of your hair curl tighter than others and you want a consistent pattern throughout.
How to do it
A twist-out rewards even sectioning and patience while the twists dry completely. Rushing the unraveling step is where most people lose definition:
- Apply leave-in and curl cream to damp hair, working section by section so nothing dries out before you twist it.
- Divide hair into four to eight sections, using smaller sections for tighter, smaller ringlets.
- Twist each section around itself from root to tip, keeping tension even the whole way down.
- Air dry or diffuse fully, since unraveling a damp twist collapses the shape entirely.
- Separate gently with your fingers once bone dry, pulling from the bottom up to avoid frizz.
A twist only holds the shape you built if it dries completely before you touch it.
Who it's for
Twist-outs suit 3A through 4C textures especially well, since coarser or looser curl patterns that struggle to hold shape on their own respond strongly to the added structure. It's also a smart pick for anyone learning how to style medium length curly hair with inconsistent curl formation across their head, since twisting lets you standardize the size regardless of what each section naturally does. Fine, thin curls can twist-out too, though smaller sections work better to avoid a stringy result.
Styling time and maintenance
Sectioning and twisting takes roughly 30 to 40 minutes, plus full drying time if you air dry instead of diffuse. That upfront investment pays off in longevity: a well-set twist-out holds shape for three to five days with proper nightly pineappling, longer than a standard wash-and-go. Refresh with a light oil on your fingertips to smooth frizz rather than water, since re-wetting a twist-out can loosen the definition you worked to build.
9. Slick your curls into a low bun
Slicking your curls into a low bun trades definition for polish, and it's the style to reach for when you want a finished, buttoned-up look in under five minutes. Gel and a brush smooth the surface while a low, secure bun keeps every curl tucked away instead of springing loose throughout the day. Unlike the half-up style, this one hides your texture almost entirely, which makes it a useful contrast when you've been wearing curls out all week and want a change without cutting or coloring anything. It's also one of the most practical answers to how to style medium length curly hair for work, gym days, or anything that demands your hair stay put.
How to do it
A slicked bun depends on gel strength and brush pressure more than any fancy technique. Follow this order for a clean result that lasts:
- Apply a strong-hold gel or edge control to damp or dry hair, focusing on the front and sides where flyaways show most.
- Brush back firmly with a boar-bristle or edge brush, working from your hairline toward the nape.
- Gather hair low at the nape and secure tightly with a hair tie, smoothing any bumps as you go.
- Twist the ponytail into a bun and pin around the base, tucking loose ends underneath.
- Set the edges with a scarf or wrap for a few minutes while the gel dries to a hard shine.
A strong-hold gel and a firm brush do more to keep a slicked bun neat all day than any amount of extra pinning.
Who it's for
This style works on every curl pattern and density, since the bun itself carries the shape rather than relying on your natural curl formation. It suits anyone who wants a break from visible texture, plus anyone heading into a workout, a formal event, or a humid day where loose curls tend to frizz out of control. Thicker curls hold a bun size well, while finer curls may need extra gel or a hair donut for volume at the base.
Styling time and maintenance
A slicked bun takes about five to ten minutes start to finish, making it one of the quickest styles on this list. It holds for a full day and often survives a second day with a fresh edge touch-up, though your curls underneath will need a full wash-and-go or twist-out once you take it down to recover their shape.
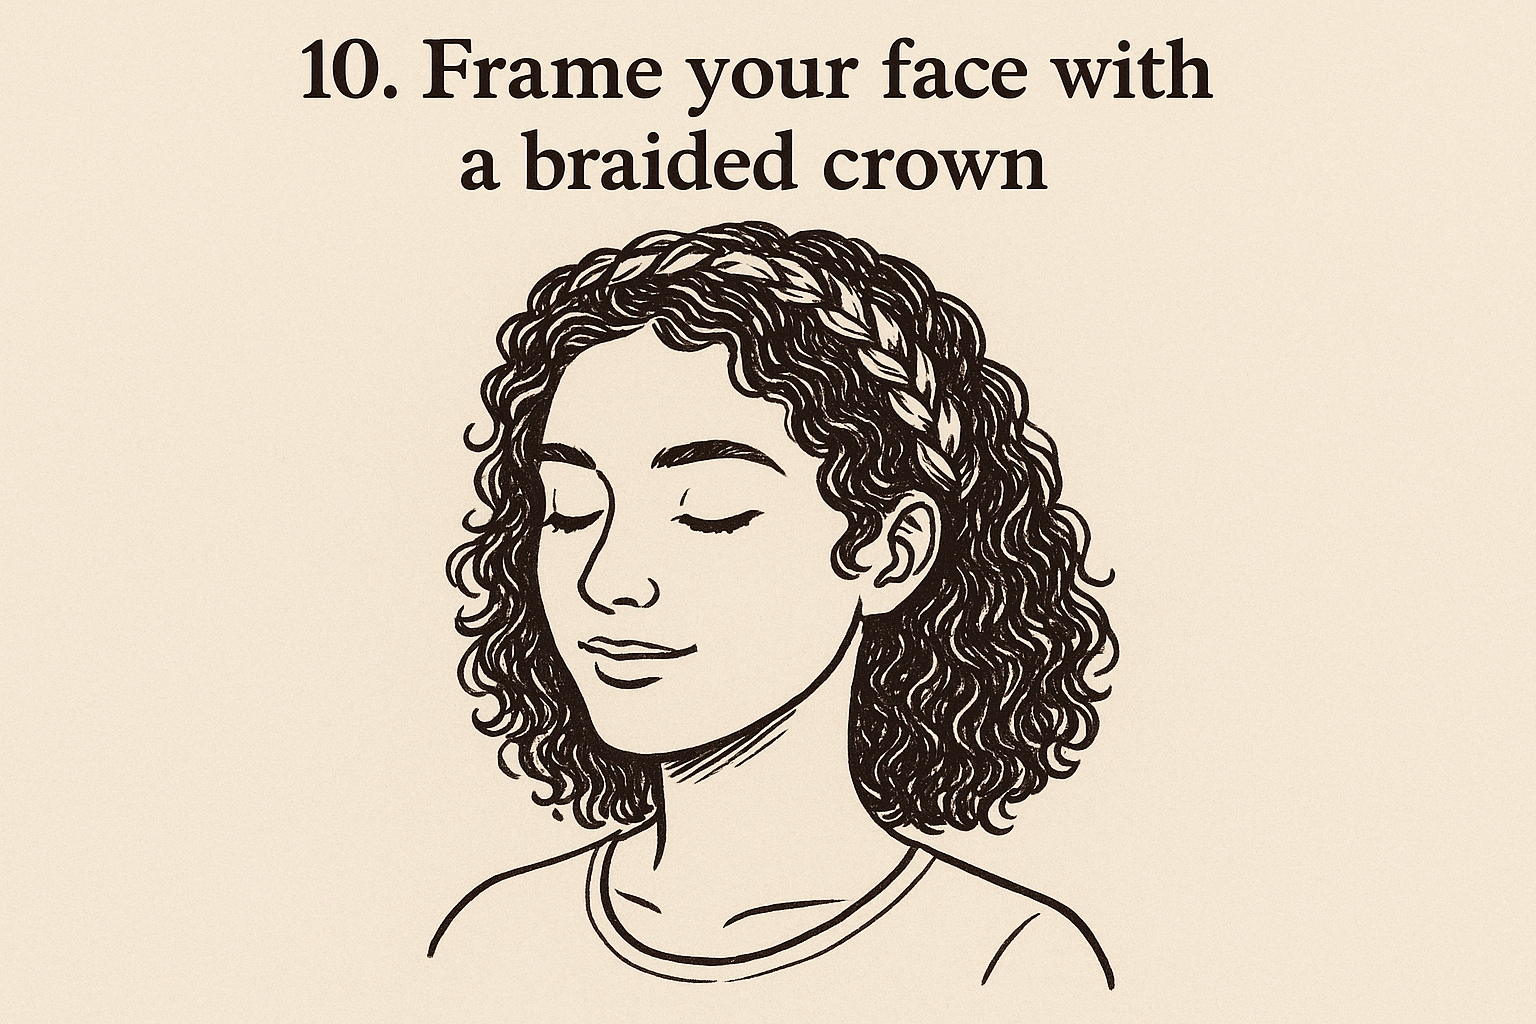
10. Frame your face with a braided crown
A braided crown wraps one or two braids across your hairline and around your head, holding curls back without a single clip or pin showing. Unlike the slicked bun, this style keeps your texture visible everywhere except the braided sections, so you get the practicality of an updo with the personality of loose curls still on display. It's a strong pick when you're figuring out how to style mid length curly hair for a wedding guest look, a festival, or any day you want something that reads intentional rather than thrown together.
How to do it
A braided crown depends on securing the braid flat against your scalp so it lies smooth instead of bunching up under everything else. Work through it in this order:
- Section two pieces at your temples, each about an inch wide, leaving the rest of your curls loose.
- French or Dutch braid each section back toward the crown, picking up small pieces of curl as you go for texture.
- Cross the braids over the top of your head and pin them flat with bobby pins hidden underneath your curls.
- Tuck the ends under the opposite side's braid so nothing pokes out at the back.
- Fluff the loose curls at the crown and nape to blend the braided sections into your natural texture.
Two thin braids crossed at the crown do the work of a headband, minus the crease it leaves behind.
Who it's for
This style suits every curl pattern since the braid itself provides the structure, though looser 2B and 2C waves braid up smoother while tighter 3C and 4A textures give the braid more visible dimension. It's a great option for anyone with shorter face-framing layers that won't stay tucked into a bun, since the braid catches those pieces and holds them in place all day. If you're growing out bangs or dealing with a fringe that keeps escaping other updos, this technique solves that specific problem better than most.
Styling time and maintenance
Braiding both sections and pinning them in place takes about 15 to 20 minutes, longer if your curls are dense or your braiding hand is still learning. The style holds through a full day of activity and often survives a light workout without unraveling. Take it down at night, pineapple loosely, and your curls will be ready for a quick refresh the next morning without needing a full rewash.
Finding the curl routine that fits your life
Ten techniques, one goal: curls that look intentional instead of accidental. You don't need to master all of them. Pick two or three that fit your actual schedule, your curl pattern, and the occasions you actually have, then build from there. A wash-and-go for Monday, a slicked bun for the gym, a braided crown for whatever event lands on your calendar this month. That's a real routine, not a Pinterest board you never touch.
What separates good curl days from frustrating ones usually comes down to two things: technique and product. You now have the technique half covered. The right formulas make every method on this list faster and more forgiving, whether you're diffusing for volume or twisting for definition. Scatter is building exactly that, styling products made for textured hair that actually performs. Sign up for early access and be first in line when we launch.