

How to Style the Front of Curly Hair: Step-by-Step
Your curls in the back can look great for days, but the front section is another story. It shrinks up unevenly, frizzes before noon, or falls flat right where everyone actually looks first, your face. If you have spent time googling how to style the front of curly hair and gotten vague advice about "embracing your curl pattern," you already know that answer doesn't fix anything.
This guide gives you the actual mechanics: how to section your hairline, which techniques create lift without stiffness, and how to keep your edges defined through humidity, sleep, and a full workday. You will learn specific moves, like pinning your part while it dries and diffusing your front pieces separately from the rest of your head, that solve the exact problems curly hair runs into right at the hairline.
We put this together because effortless styling for textured hair is the whole point behind what we're building at Scatter. Below, you'll get a step-by-step breakdown of prepping, shaping, and finishing your front curls, plus the small adjustments that make the difference between a frizzy hairline and one that actually holds its shape and volume all day.
What you need before styling your curly front
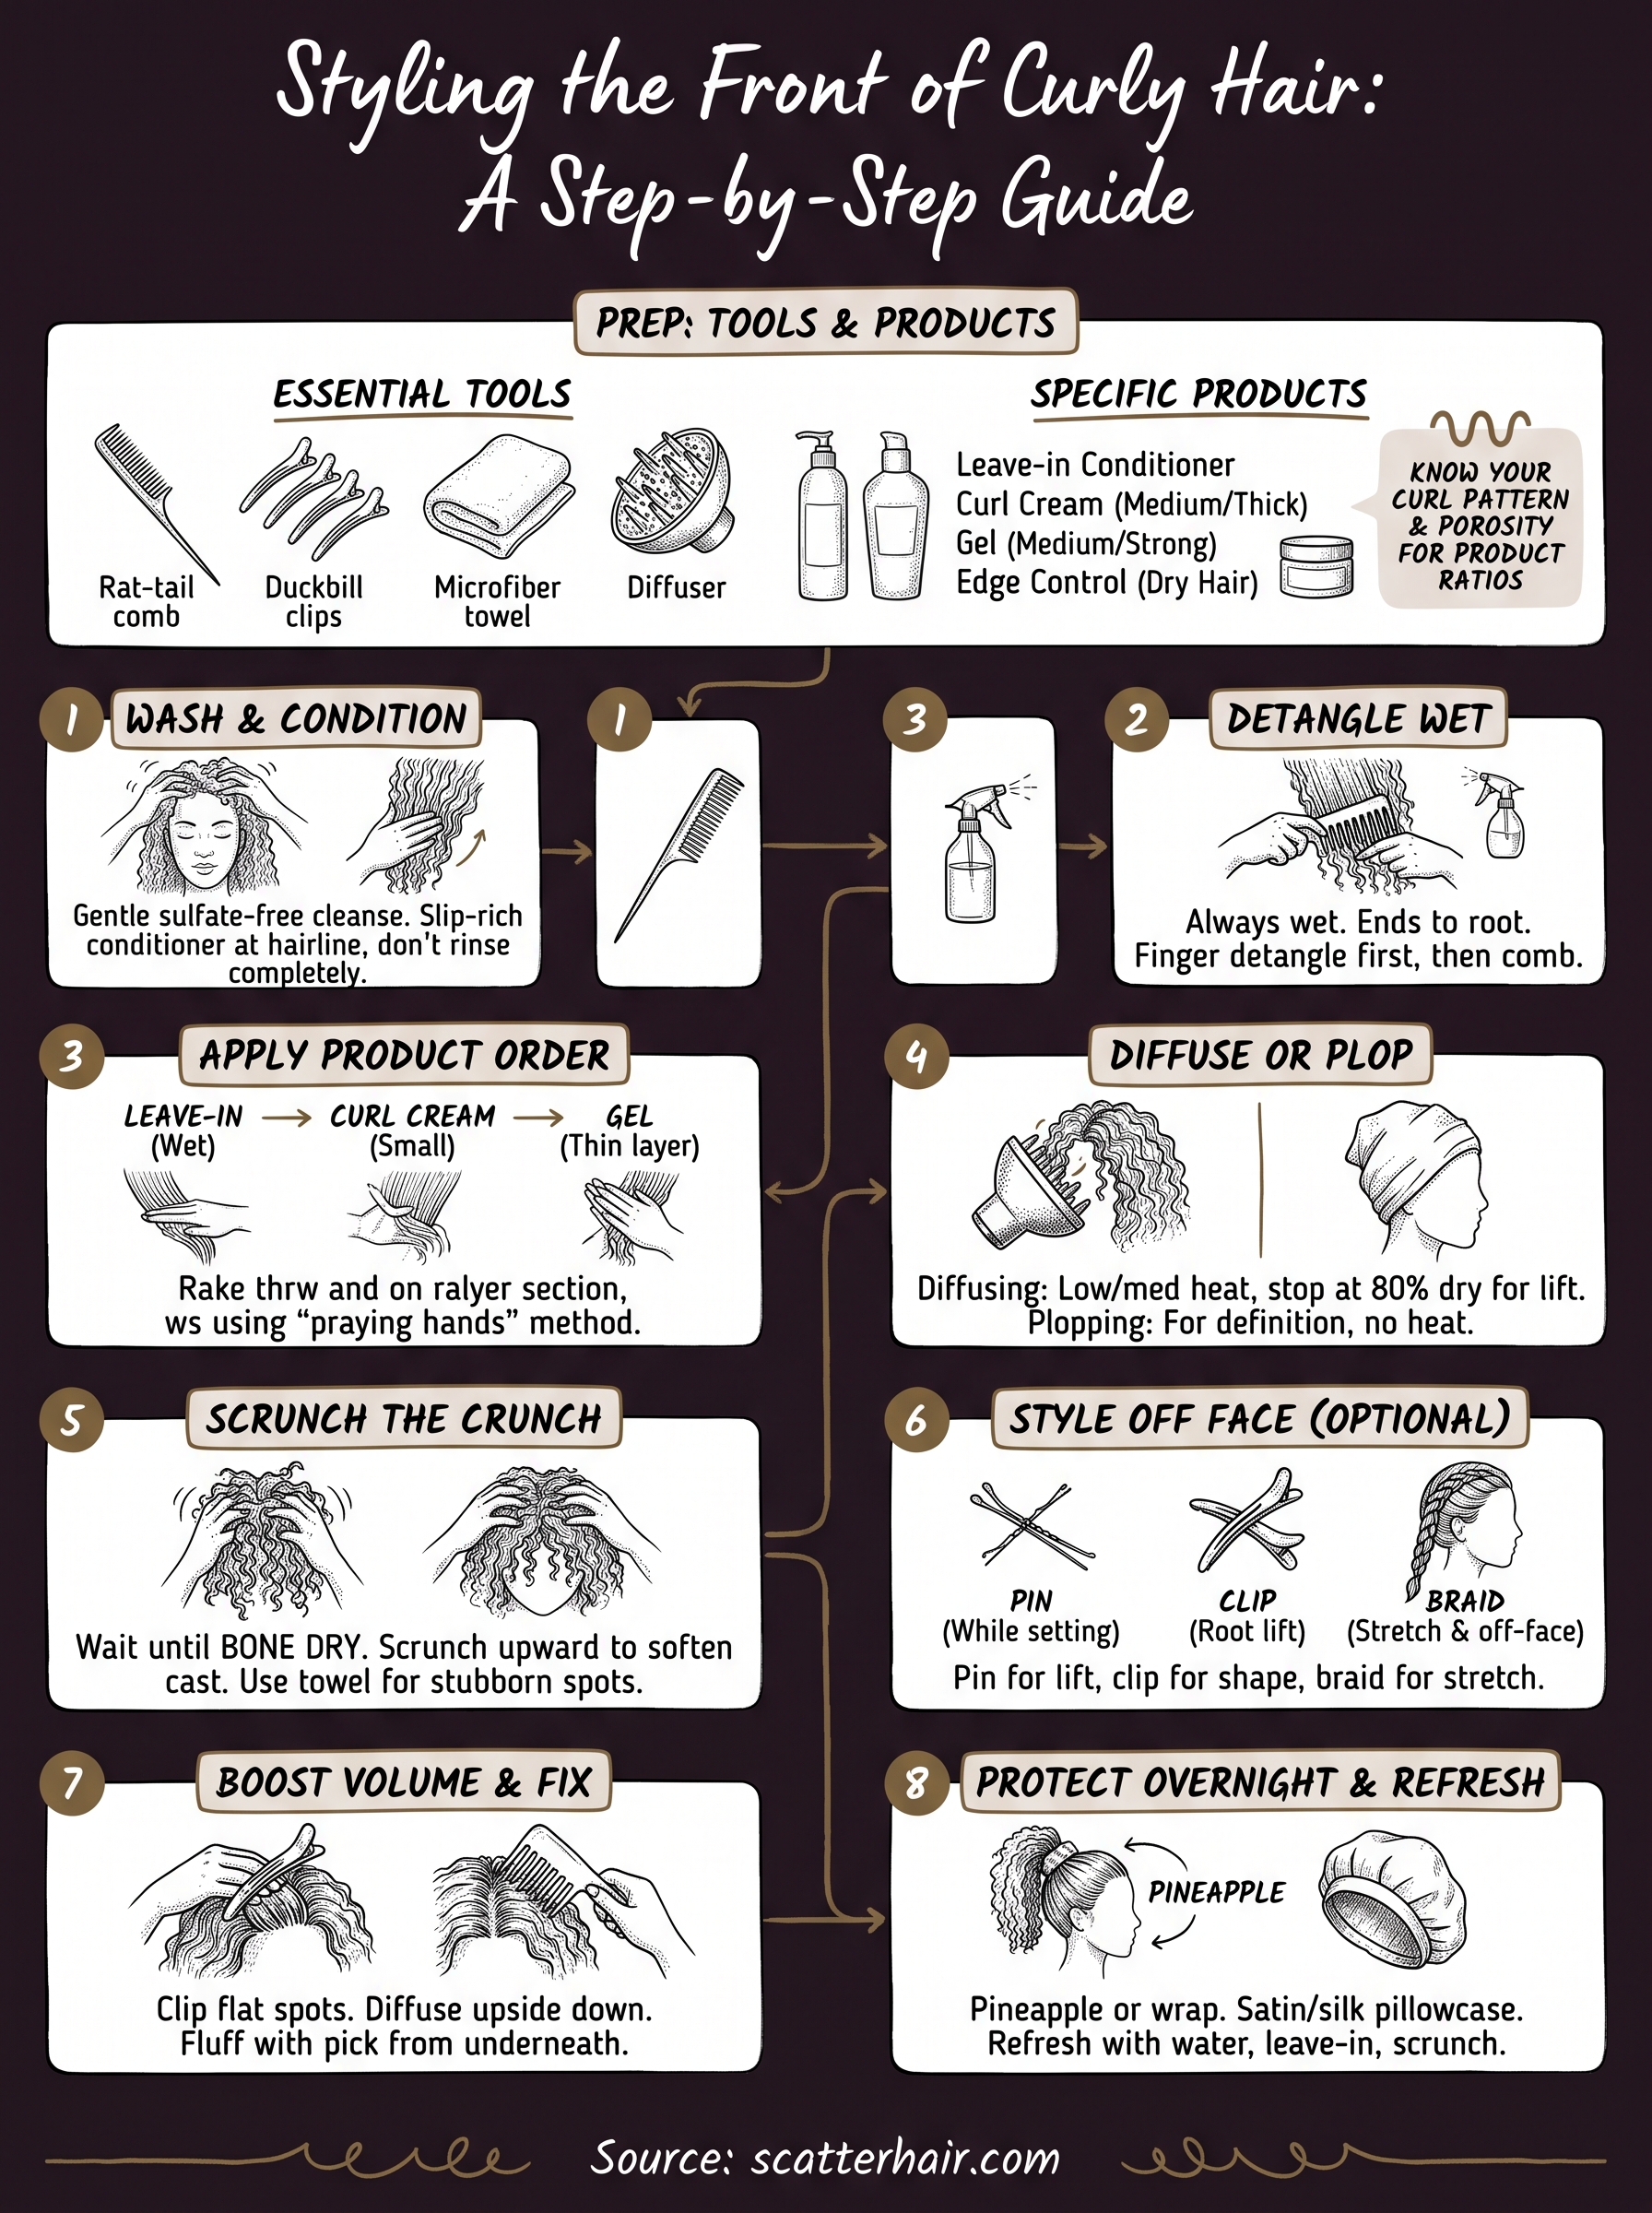
Good front-curl styling starts before you touch a single strand. Rushing straight to product without the right tools is the number one reason hairlines frizz out by lunch. You need a short list of gear, a couple of specific product types, and a quick read on your own curl pattern and porosity so you're not guessing at ratios every wash day.
Tools that actually make a difference
Most of what you already own works fine for the back of your head and fails at the hairline, where curls are finer, shorter, and more prone to shrinkage. Swap in tools built for precision instead of speed.
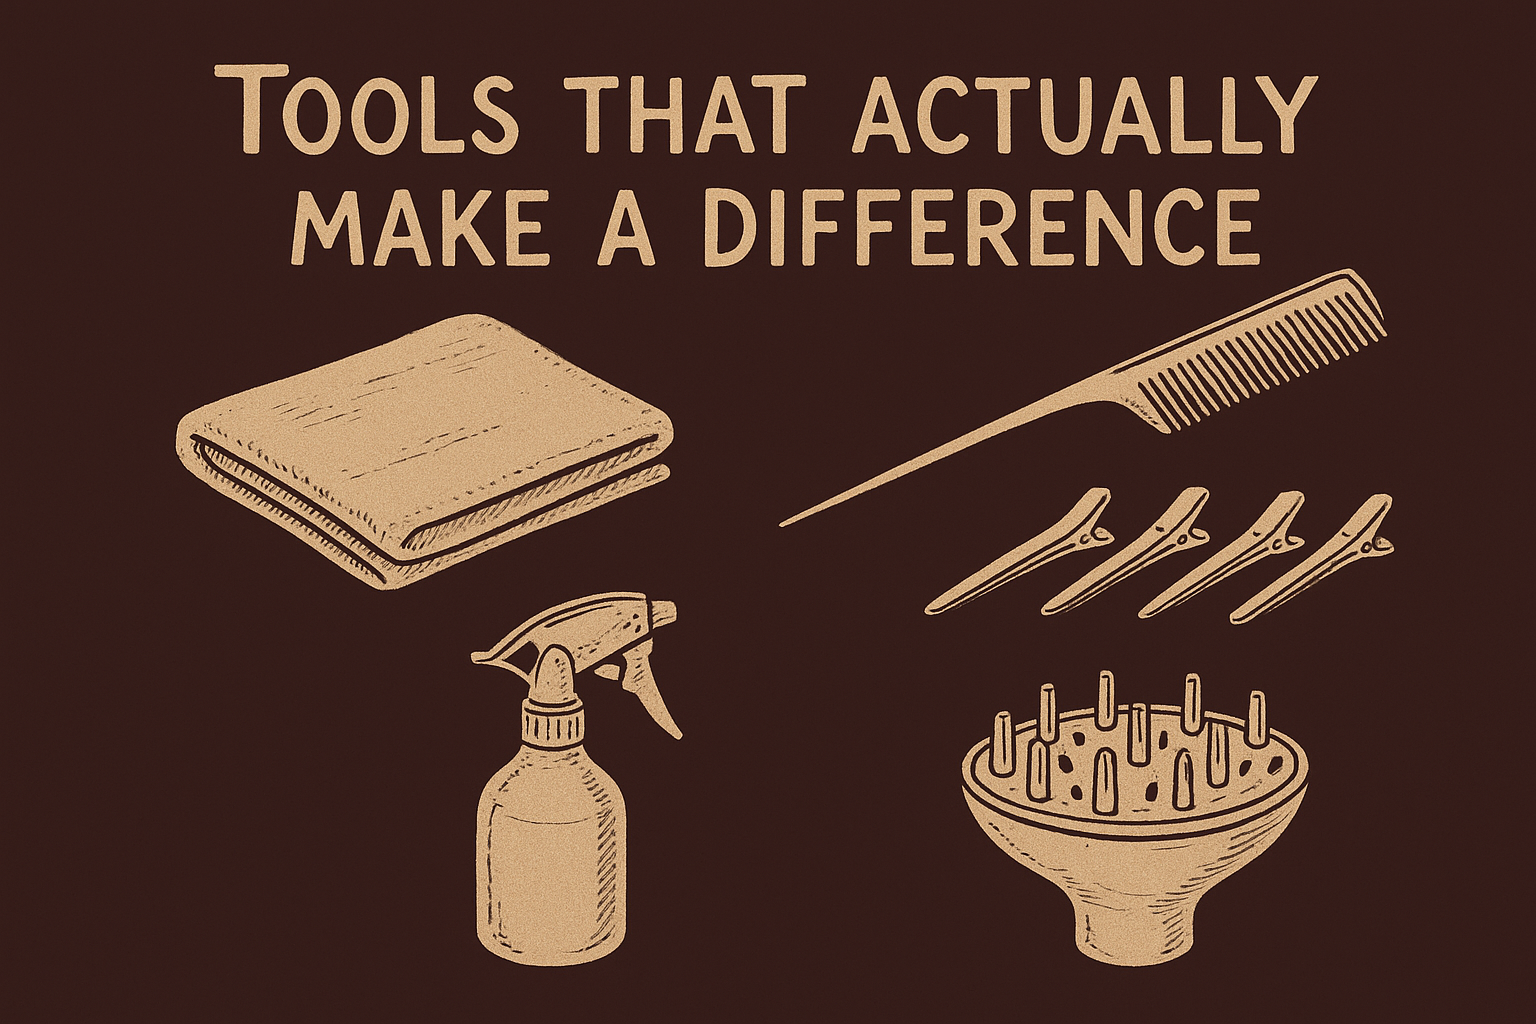
- A rat-tail comb for clean, straight parts along your hairline (a wide-tooth comb smears your part instead of cleaning it up)
- Duckbill clips, at least four, to pin sections flat while they dry
- A microfiber towel or old cotton t-shirt to plop or scrunch without adding frizz
- A diffuser attachment for your blow dryer, ideally one with a narrow opening for concentrating heat on small front sections
- Small perm rods or flexi rods if you want tighter definition right at the part
- A spray bottle with filtered water for refreshing curls without fully rewetting your whole head
The right tools do half the styling work before a single drop of product touches your hair.
Skip anything with a fine-tooth comb or a boar-bristle brush on dry curls. Both break up your curl clumps and turn your front section into a frizz halo, which defeats the entire point of this routine.
Products for your hairline specifically
Your front curls dry faster than the rest of your head because they're shorter and more exposed to air. That means they need a slightly different product stack, usually lighter on cream and heavier on gel-hold, so they don't end up limp by midday. Here's how the main product categories break down for hairline use specifically.
| Product type | Best use at the hairline | Watch out for |
|---|---|---|
| Leave-in conditioner | Detangling and slip while wet | Too much weighs down fine edge curls |
| Curl cream | Definition on medium to thick curls | Can leave front pieces greasy if overused |
| Gel (medium to strong hold) | Locking curl shape and fighting frizz | Skipping it is the top cause of front-section frizz |
| Edge control or styling wax | Smoothing baby hairs and flyaways | Only apply to dry hair, a little goes far |
| Root-lifting spray | Preventing flat spots near the part | Apply only at the root, not mid-shaft |
A thin layer of gel at the hairline, applied last, is the single biggest upgrade most people skip. It's not optional if you want your front curls to survive humidity or a full commute.
Know your curl pattern and porosity
Before you apply anything, spend two minutes figuring out your curl type and porosity, because both change how much product your hairline actually needs. Wavy or loose curls (2B to 3A) usually need less product overall and benefit from lighter creams, while tighter coils (3C to 4C) need richer creams and more gel to hold definition without drying out. Porosity matters just as much: low-porosity hair repels product and does better with lighter, water-based leave-ins applied on soaking wet strands, while high-porosity hair soaks product up fast and needs heavier creams plus a sealing gel to lock in moisture before frizz sets in.
Run a quick strand test if you're not sure: drop a clean strand of hair into a glass of water. If it sinks fast, you're high porosity. If it floats for a while, you're low porosity. Knowing this now saves you from over- or under-applying product at your hairline in every step that follows.
Step 1. Wash and condition for defined curls
Everything downstream depends on this step. If your wash routine strips moisture or leaves cuticles rough, no amount of gel or diffusing will save your front curls later. Your hairline takes the brunt of daily exposure, sweat, sunscreen, hats, so it needs a gentle cleanse that removes buildup without leaving strands dry and frizz-prone before you even start styling.
Cleanse without stripping your curls
Start with a sulfate-free shampoo or a co-wash if your curls lean high-porosity and dry out fast. Focus the cleanser on your scalp, not the lengths, and let the suds run down through the rest of your hair as you rinse. Your front section usually gets the most product buildup from edge control and root sprays, so give that area an extra few seconds of gentle scalp massage. Skip harsh clarifying shampoos more than once every two or three weeks unless you're dealing with heavy product residue, since over-cleansing your hairline leaves those shorter curls looking dull and frayed faster than the rest of your head.
Condition with slip, especially at the hairline
Your front curls are usually the shortest and most fragile on your head, which means they tangle first and break first if you skip a real conditioning step. Work a moisture-rich conditioner through your hairline section by section, using your fingers to smooth it down the strand rather than rubbing it in circles. This is also the moment to apply a leave-in if you're using one, while your hair is still saturated and coated in slip. Don't rinse conditioner out completely if your curls run dry or high-porosity; leaving a light film behind gives your gel something to grip later instead of sliding off frizz-prone strands.
Conditioner is what determines whether your curls hold a shape later or just frizz out by noon.
Rinse temperature and technique matter
Rinse with cool or lukewarm water, never hot. Heat opens the cuticle and pulls moisture back out of the exact strands you just conditioned, undoing the work before you've even reached for a towel. Squeeze water out gently, front section first, using your palms in an upward motion toward the scalp rather than wringing or rubbing, which roughs up the cuticle and sets you up for frizz two steps down the line. If you're using the squish to condish method, do it at your hairline specifically, cupping water and product upward into those shorter curls until you hear the telltale squish that means they're saturated and ready for the next step.
Step 2. Detangle your curls while soaking wet
Detangling dry curls at your hairline is a losing fight. Your front curls are shorter, finer, and more likely to have single-strand knots that dry hair only tightens. Work through knots while your hair is soaking wet and still coated in conditioner, since the slip from that product lets your comb glide through instead of tearing at the cuticle. Wait until your hair air-dries even a little and you're stuck fighting frizz and breakage instead of just clearing tangles.
Start at the ends, work toward the root
Section your hairline into two or three small pieces before you pick up a comb. Begin detangling at the very ends of each section and move upward in small increments, never starting at the scalp and dragging down through a full knot. This bottom-up approach keeps you from forcing a tangle through your entire strand length, which is what causes breakage right at the hairline where curls are already more fragile. A rat-tail comb works well here because its narrow teeth separate curl clumps without ripping through them.
Detangle from the ends up, and your front curls stay intact instead of snapping off at the root.
Finger detangle first, comb second
Before any comb touches your hairline, run your fingers through each section first. Finger detangling catches the bulk of loose shed hair and breaks up major knots gently, so by the time you switch to a comb, you're only clearing small remaining tangles instead of fighting through matted curls. This two-step method matters most for people learning how to style front of curly hair without constant breakage, since finger work protects the cuticle far better than a comb alone ever will.
Keep hair saturated the whole time
Grab your spray bottle if any section starts drying out mid-process. Curls that dry even slightly while you're still detangling snap back into their shrunken shape and grip onto knots harder, undoing progress you already made. Reapply a small amount of conditioner or water directly to that section before continuing, and don't move on to product application until every knot in your front section is fully cleared. Skipping this check is how people end up applying gel over hidden tangles, which locks in lumps and uneven clumps for the rest of the day.
Step 3. Apply product to your hairline curls
With tangles cleared and hair still dripping, you're ready for the step that decides whether your front curls hold shape or fall apart by noon. Product application order matters more at the hairline than anywhere else on your head, since these curls dry fastest and get the least protection from the rest of your hair. Work section by section, starting at your part and moving outward toward your temples, so no strand gets skipped or double-coated.
Layer light to heavy, never the reverse
Apply your leave-in first while hair is still soaking wet, then follow with a small amount of curl cream, then seal everything with gel. Going in this order lets each product do its specific job instead of fighting the one underneath it. Applying gel first and cream after is the most common mistake at the hairline, since it traps the cream on top of a hardened layer instead of letting it coat the strand, and you end up with flakes or a greasy film by afternoon.
Front curl application order:
1. Leave-in conditioner (wet hair)
2. Curl cream (small amount, medium curls and up)
3. Gel (thin, even layer, sealed last)
4. Edge control or wax (only once fully dry)
Rake or praying-hands, pick one method per section
Use the raking method, running your fingers through each hairline section like a wide comb, if your curls are looser or you want more separation. Switch to praying hands, smoothing both palms down the length of a section in one motion, if your curls are tighter and prone to frizz, since this keeps clumps together instead of splitting them apart. Don't mix both methods on the same section. Switching back and forth breaks up curl clumps you just formed and reintroduces the exact frizz you're trying to avoid.
Product order and application method decide whether your hairline curls clump together or frizz apart before they even dry.
Give your part and edges extra attention
Your part line and the curls right along your forehead take more friction and exposure than any other section, so they need a slightly heavier hand with gel specifically. Smooth a bit more product directly along the part itself, since this is where flat spots and frizz show up first once hair dries. Skip edge control or wax at this stage entirely, since applying it to wet hair just dilutes it and leaves your edges sticky instead of smoothed. Save that product for after your curls are fully dry, which you'll cover once you get through diffusing or plopping in the next step.
Step 4. Diffuse or plop for shape and volume
Once product is worked through your hairline, you have two real options for locking in shape: diffusing with heat or plopping without it. Both dry your curls into their intended pattern instead of letting gravity pull them flat, but they solve slightly different problems. Diffusing adds volume fast, while plopping preserves definition with zero heat damage. Most people learning how to style the front of curly hair end up using both, just at different points in their routine or on different days depending on how much time they have.
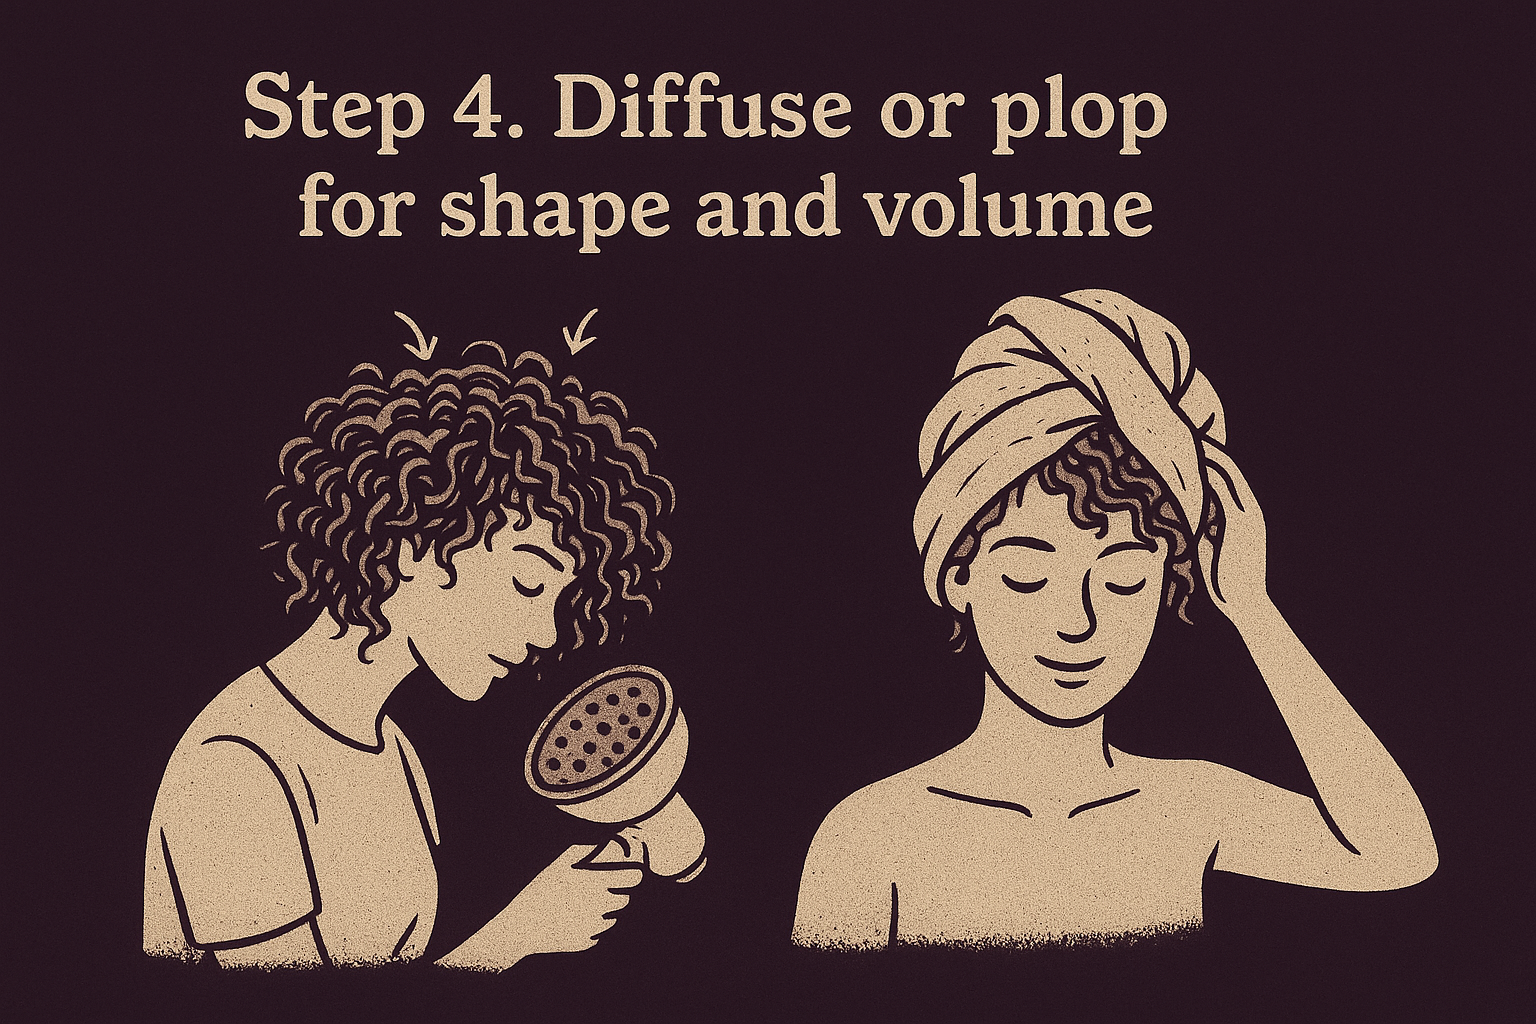
Diffusing your front section for lift
Flip your head forward and cup your diffuser directly under your hairline curls, holding the attachment still instead of moving it around. Constant motion breaks up curl clumps you just formed with product, so let the diffuser bowl hold each section in place for ten to fifteen seconds before shifting to the next. Use a low to medium heat setting, since your front curls are finer and more heat-sensitive than the rest of your head, and high heat here causes frizz faster than it dries hair. Stop diffusing once your curls are around eighty percent dry. Pushing to bone dry with direct heat is what leads to the frizz you'll spend the rest of the day fighting.
Stop diffusing at eighty percent dry, and you keep the volume without inviting the frizz.
Plopping for definition without heat
Lay your microfiber towel or cotton t-shirt flat, flip your head forward, and gather your front curls into the center of the fabric. Twist and tuck the ends up and over your head, securing the wrap so your curls sit compressed against your scalp for ten to twenty minutes. This method skips heat entirely, which makes it the better call on days you want to protect curl health or you're dealing with heat-damaged hairline strands that need a break. Plopping also encourages tighter, more defined clumps than diffusing alone, since the fabric holds curls in their wet shape while excess water gets absorbed instead of dripping down and stretching the pattern out.
Combine both for the best hold
Plop first for ten minutes to pull excess water and set your curl shape, then finish with a short diffusing session to add lift right at the root. This two-step combo gives you definition and volume without overdoing heat exposure, and it's the fastest way to get front curls that hold their shape through a full day without collapsing by early afternoon.
Step 5. Scrunch out the crunch
Gel dries into a stiff cast around each curl, and that cast is doing real work: it holds your shape while everything sets. But nobody wants to walk around with crunchy hair, especially right at the hairline where people notice first. Scrunching out the crunch breaks that hardened shell without breaking the curl clumps underneath, leaving soft, springy definition instead of a helmet of gel flakes.
Why the crunch happens in the first place
Gel needs to fully harden before you touch it, which usually means your front curls need to feel completely dry, not just dry to the touch on the surface. Touching gel too early is the single fastest way to ruin the exact shape you spent the last two steps building, since half-set gel smears instead of cracking cleanly. Check your hairline by gently pressing a section between two fingers. If it still feels tacky or damp underneath, give it another twenty to thirty minutes before moving on, even if the surface looks dry.
Scrunch too early and you smear the gel, scrunch too late and you never get the softness back.
The technique that actually softens curls
Once your front section is bone dry, cup your hands around a small piece of hair right at the hairline and scrunch upward toward the scalp in short, firm motions. Work in the same direction the curl naturally coils, not against it, since fighting the curl pattern here just pulls clumps apart and reintroduces frizz. Move section by section instead of scrunching your whole head at once, so you can feel exactly when the crunch breaks in each spot rather than guessing.
- Start with your fingertips, not your full palm, for more control near the part
- Scrunch upward only, never side to side or downward
- Stop as soon as the crunch feels gone, don't keep going out of habit
- Move to a dry microfiber towel for stubborn spots that won't soften with hands alone
Use a towel for stubborn hairline crunch
Sometimes fingers alone don't fully break the cast, especially on thicker gel layers along the part. Grab a dry microfiber towel or an old t-shirt and scrunch that same section again, letting the fabric's texture do a bit more of the work than bare hands can. This towel-scrunch trick works especially well right along the hairline, where gel tends to build up thicker than it does further back. A light shake of your head afterward helps redistribute any loosened curls back into place without flattening the volume you built during diffusing.
Step 6. Pin, clip, or braid curls off your face
Once your front curls are dry and the crunch is broken, you're left with a choice: wear them loose, or get them off your face without flattening the shape you just built. Pinning, clipping, and braiding each solve this differently, and picking the wrong one for your curl type or hair length usually undoes the volume you spent the last two steps creating. Match the method to what your hairline actually needs that day, not just whatever's fastest.
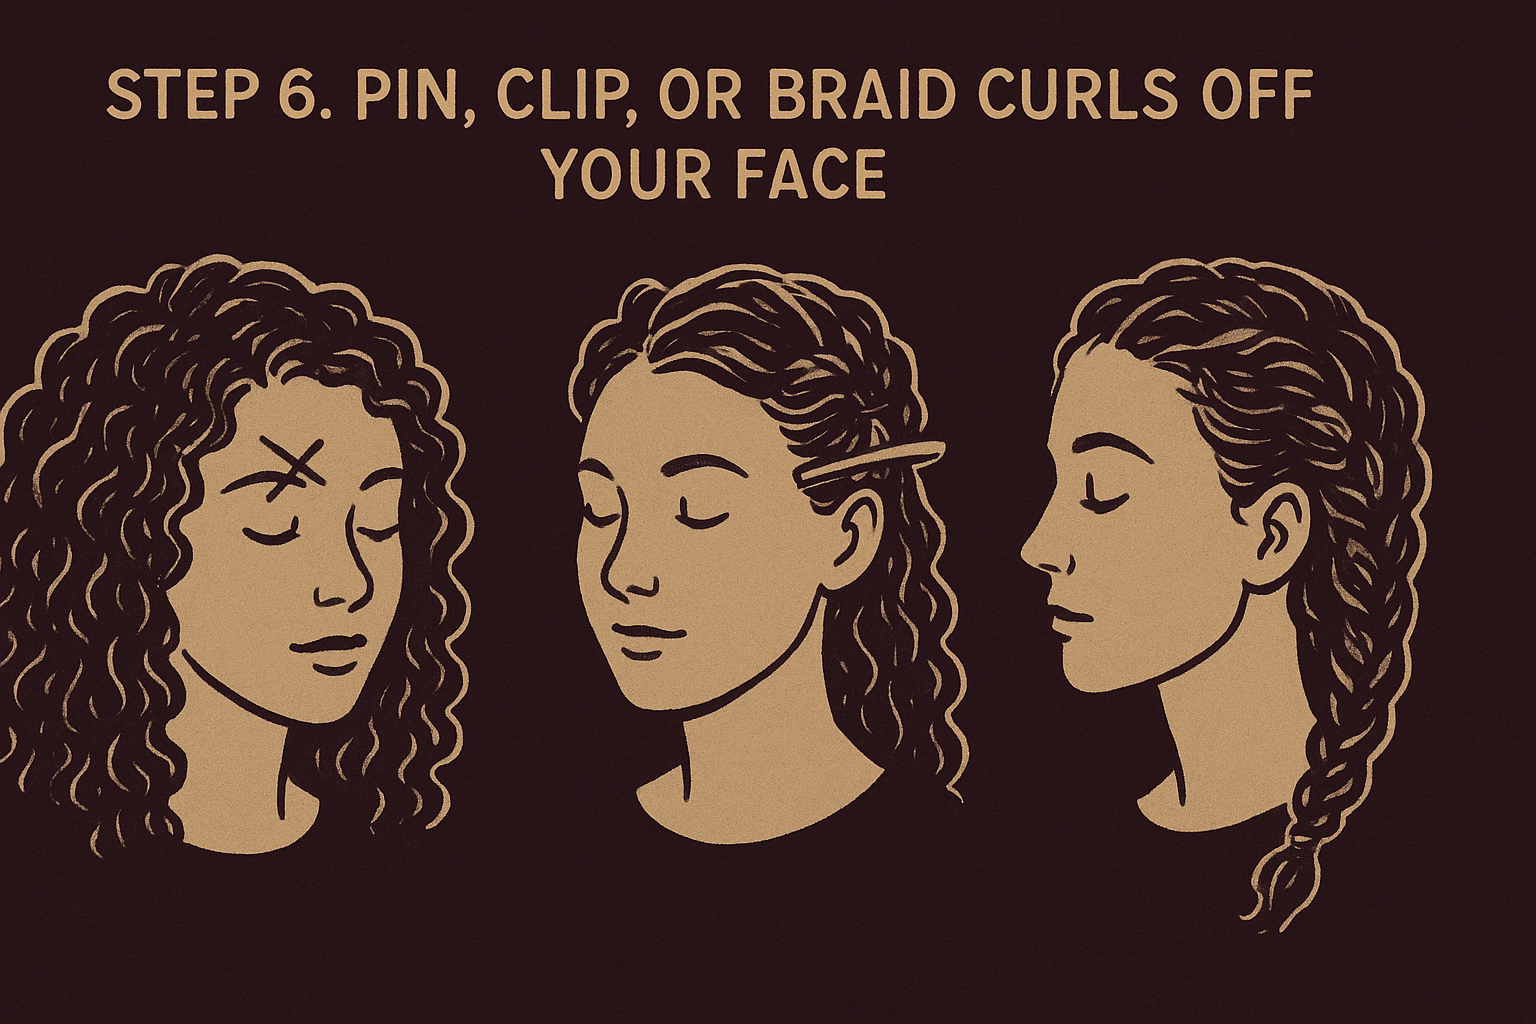
Pin your curls while they're still setting
Grab a couple of small bobby pins or curl pins and section off the front pieces you want out of your face before they finish drying completely. Cross two pins in an X pattern at the root, angling them into your part rather than straight down, so they hold the curl's lift instead of crushing it flat against your scalp. Removing pins too early is the main reason this method fails, since curls need to finish setting in that lifted position to actually hold the shape once you let go. Leave pins in until your hair is fully dry, then unclip slowly and let the curl fall into place instead of pulling it loose with your fingers.
Pin curls into place while they set, and gravity never gets the chance to pull them flat.
Clip sections for a face-framing look
Duckbill clips work well when you want volume at the root without committing to a full pin-up. Twist a small front section away from your face, then clip it flat against your scalp so the curl dries with lift built into the root instead of drooping under its own weight. This is the same clip-and-dry method from earlier in the routine, but now you're using it purely for styling instead of just managing wet hair. Leave clips in for at least thirty minutes once hair is dry to lock in the shape before removing them.
Braid for stretch and an off-face style
A loose two- or three-strand braid along your hairline stretches shrinkage without heat and keeps curls fully off your face for the day. Braid tighter for more stretch and definition, or looser if you want softer, wavier movement once you take it down.
| Method | Best for | Typical hold time |
|---|---|---|
| Pinning | Root lift, formal looks | Until fully dry |
| Clipping | Quick volume, casual days | 30+ minutes |
| Braiding | Stretch, all-day off-face style | Several hours to overnight |
Spray each option lightly with gel or edge control before securing it, since a little extra hold here keeps flyaways down without adding stiffness to the rest of your curls.
Step 7. Boost volume and fix flat spots
Even a perfect wash-and-style routine can leave your hairline looking flat right at the root, especially if you slept wrong, wore a hat, or your curl pattern naturally sits closer to the scalp up front. Boosting volume after the fact doesn't mean starting over. It means targeting the exact spots where curls collapsed and lifting them back up without disturbing the shape you already built.
Clip your roots one more time
Grab your duckbill clips again, even after your curls are fully dry, and clip any flat section straight up at the root for ten to fifteen minutes. This second round of clipping works because it retrains the curl to sit higher without adding more product or heat. Root clipping after drying is the fastest fix for a hairline that looked great right after diffusing but settled flat by mid-morning.
A flat hairline isn't a failed style, it's just a root that needs a second push upward.
Flip and diffuse upside down
Bend forward at the waist and diffuse your front section upside down for thirty seconds on low heat if you have a few extra minutes. Gravity works in your favor here, pushing volume up toward the root instead of letting curls hang against your scalp. This trick works especially well on days you skipped diffusing entirely and went straight to air-drying, since upside-down diffusing rescues volume without redoing your whole routine.
Fluff and pick with intention
Once your roots have lift again, use your fingers or a wide-tooth pick to gently separate clumps right at the part, lifting from underneath rather than pulling from the top. Working from underneath keeps your curl definition intact while still opening up the section that looked pressed down. A few quick options for stubborn flat spots:
- Root-lifting spray applied directly at the scalp, then fluffed with fingers
- A small amount of dry shampoo at the root for texture and lift
- A quick blast of cool air from your dryer to set the lift in place
Standing your front curls up this way solves the exact complaint most people have when they search how to style the front of curly hair and get flat, lifeless results despite doing everything else right. Fixing volume is rarely about more product. It's almost always about targeting the root, not the length.
Step 8. Protect your style overnight and refresh
All the work you just put into your hairline gets undone in about twenty minutes of tossing on a cotton pillowcase. Overnight protection is the step most people skip, and it's the reason perfectly styled curls look flat and frizzy again by the next afternoon. Your front section takes the most friction while you sleep since it's the shortest hair and the closest to your face, so it needs its own plan, not just a general nighttime routine for the rest of your head.
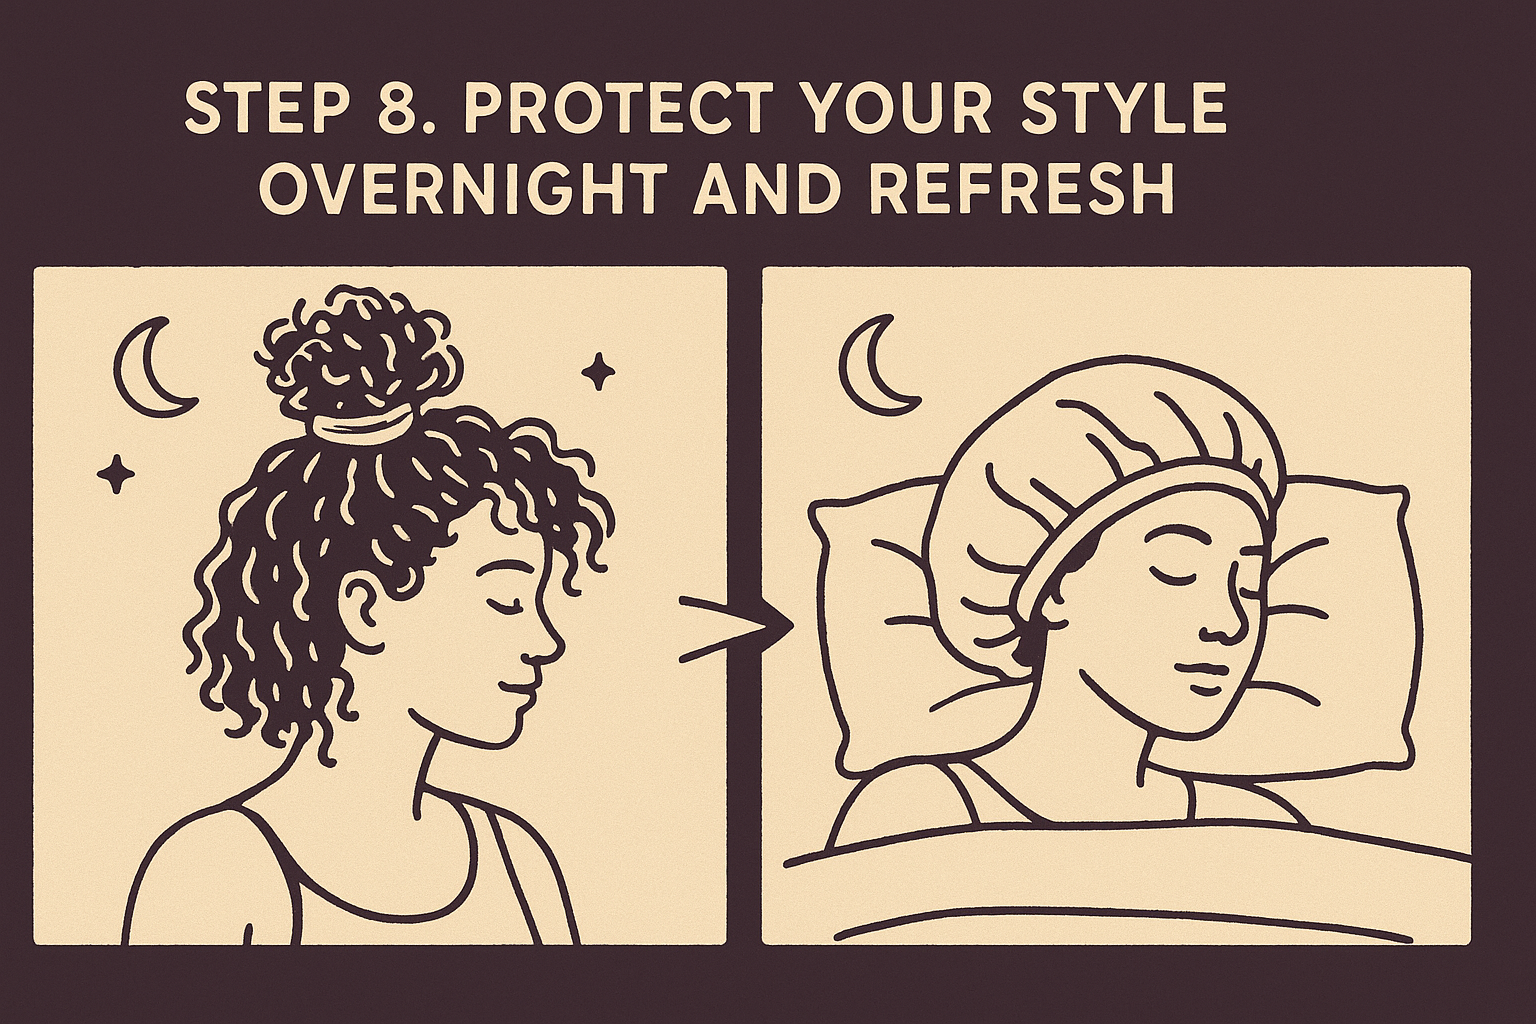
Pineapple or wrap before bed
Gather your front curls loosely at the crown, high enough that they don't press flat against your pillow, and secure with a scrunchie that has no metal parts. This pineapple method keeps your hairline curls suspended instead of crushed, which matters most for people with looser curl patterns that flatten easily overnight. Tighter curl types often do better with a low, loose wrap around the whole head using a silk or satin scarf, tucking front sections gently so they hold shape without getting smashed against the scalp.
Swap your pillowcase or add a bonnet
Switch to a satin or silk pillowcase if you do nothing else from this list. Cotton pulls moisture out of your curls all night and creates enough friction to frizz your hairline before you even wake up. A silk or satin bonnet works even better if you tend to move around a lot in your sleep, since it keeps the wrap in place instead of slipping off halfway through the night.
A silk pillowcase does more overnight for your hairline than any product you'll apply in the morning.
Refresh without starting over
Morning curls usually just need moisture back, not a full restyle. Spray your front section lightly with your water bottle, add a small amount of leave-in or curl refresher, and scrunch gently in the same upward motion from Step 5. Skip a full rewash unless your curls feel completely stripped or matted, since daily washing dries out your hairline faster than anywhere else on your head.
Morning refresh, front section only:
1. Mist with water (light, not soaking)
2. Small amount of leave-in or refresher spray
3. Scrunch upward, same direction as original curl
4. Optional: quick low-heat diffuse for 10-15 seconds
Repeat this short routine daily and your front curls will hold their shape for several days between full wash sessions, without the frizz that used to force you back to square one every morning.
Finding a routine that works for your curls
Every curl pattern reacts a little differently to these eight steps, so expect some trial and error before your hairline holds its shape without a second thought. Porosity, curl type, and even your local humidity all shift the ratios, so the gel amount that works for a friend's 3B curls might drown out your finer 2C edges. Notice what your hair does after each wash, not just right after styling, and adjust one variable at a time instead of overhauling the whole routine.
Once you land on a sequence that holds, write it down so you're not reinventing it every wash day. That's exactly the kind of effortless styling we're building products around at Scatter, formulas made for textured hair that actually cooperate at the hairline instead of fighting you. If you want early access and behind-the-scenes looks before we launch, join the Scatter email list and get first pick when the products drop.